DIY ergonomic keyboard assembly kits let you build customizable mechanical keyboards designed for comfort and wrist health. You’ll select switches, keycaps, and layouts to reduce strain, often with split designs encouraging better hand positioning. These kits may require soldering or offer hot-swap options for easier assembly. By tailoring everything from angles to firmware, you’ll create a keyboard that fits your typing style perfectly. Keep exploring to discover ideal kits and how to optimize your build.
What Are DIY Ergonomic Keyboard Kits: And Who Should Build One?
What makes DIY ergonomic keyboard kits stand out? You get a fully customizable mechanical keyboard designed to improve hand and wrist comfort, often featuring a split keyboard layout that encourages healthier positioning.
DIY ergonomic keyboard kits stand out for their customizable design that promotes healthier hand and wrist positioning.
With a DIY keyboard, you select switches and keycaps to match your preferred tactile feel and typing experience. This customization helps reduce strain and suits those with chronic pain or anyone seeking ergonomic keyboards for daily use.
Assembly follows a clear build guide where you install switches, stabilizers, and PCBs into durable frames. Some kits even offer no-solder options and user-friendly firmware for layout remapping.
Whether you’re a beginner or an enthusiast, these kits deliver a lightweight, portable, and ergonomic typing solution you can tailor exactly how you want.
Tools And Skills Needed For DIY Keyboard Assembly
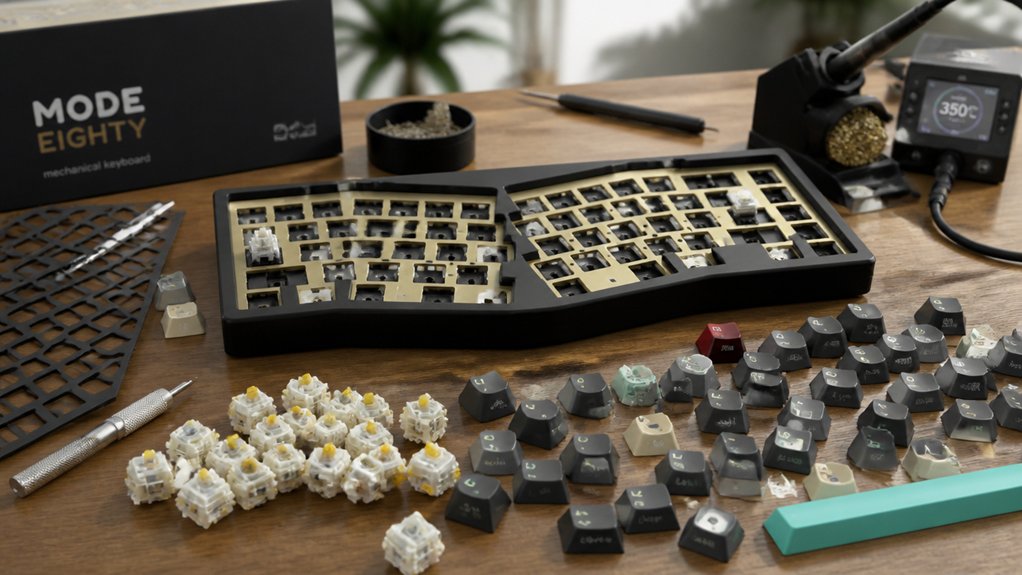
Though assembling a DIY ergonomic keyboard might seem intimidating at first, having the right tools and basic soldering skills will make the process much smoother. A soldering iron set around 250°C is essential for mounting switches to the PCB properly, ensuring solid connections that boost build quality.
You’ll also need a hex key or small screwdriver to fasten the keyboard layers securely, as many kits use multiple acrylic or aluminum layers. Tweezers help manage tiny parts like stabilizer stems and straighten bent switch prongs.
Being comfortable reading PCB layouts and following detailed guides prevents mis-soldering or damage during assembly. Optional but handy tools include flux to improve solder flow, a multimeter for troubleshooting, and keycap pullers for final adjustments.
With these tools and skills, your DIY keyboard kit build will be more precise and enjoyable.
Key Components In DIY Ergonomic Keyboard Kits

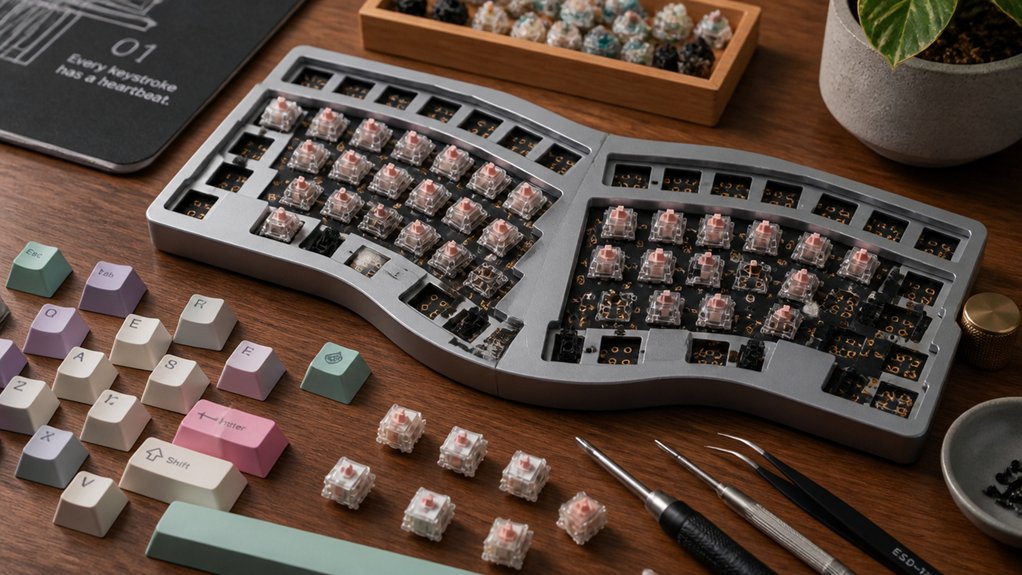
Once you have the right tools and skills for assembling, it’s helpful to know the key components you’ll be working with in your DIY ergonomic keyboard kit. Typically, a DIY Kit includes a PCB (printed circuit board), aluminum or acrylic plates, stabilizers, screws, and support posts.
You’ll often find premium mechanical keyboard switches like Cherry MX or Kailh Jade, all designed for a durable, tactile experience. Many kits feature hot-swap PCBs, so you’ve never soldered before—you can still swap switches easily.
Modular parts like magnetic cables and thumb clusters support split keyboards, enhancing ergonomic comfort and portability. Plus, customizable firmware like VIA or QMK lets you personalize layouts and macros. Knowing these components needed streamlines your build and sets you up for success assembling your ergonomic keyboard.
How Building Your Own DIY Ergonomic Keyboard Improves Comfort
While many keyboards offer a one-size-fits-all approach, building your own DIY ergonomic keyboard lets you tailor key layouts, angles, and splits to fit your unique wrist and hand positioning. When you build from a kit, you customize split and tilted designs that promote healthier wrist angles, reducing strain and preventing pain such as hEDS.
You also get to personalize key placement and thumb clusters, putting frequently used shortcuts right where your fingers can reach easily, which cuts down repetitive stress. Choosing quality materials in your build adds stability and comfort for long typing sessions.
As you gradually get used to your custom keyboard, you’ll likely find typing feels easier and pain flares decrease. That makes customizing your keyboard not just a project but a smart move for lasting comfort.
Top DIY Ergonomic Keyboard Kits For Every Experience Level
Choosing the right DIY ergonomic keyboard kit can transform your typing experience, whether you’re a beginner or a seasoned builder.
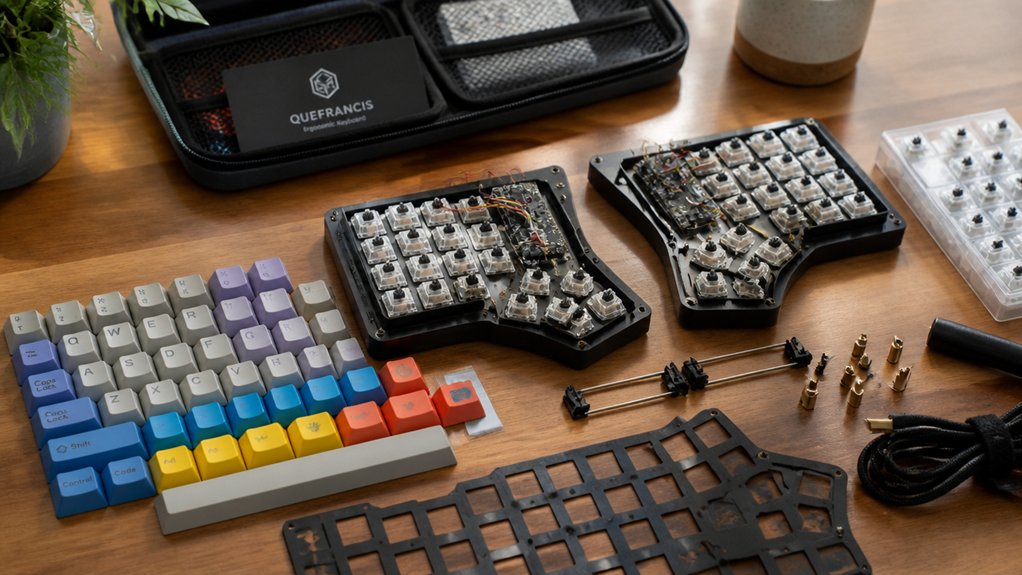
For open source keyboards, the Iris SE Kit offers excellent split design and customization options, perfect for different switches and skill levels. If you want a sleek, low-profile option, check out the Iris LM Kit.
Hobbyists seeking ortholinear layouts will appreciate the Nyquist/Levinson Rev. 5 PCB Kit’s minimal soldering setup. For gamers and ergonomic enthusiasts, the Sinc Rev. 4 PCB Kit delivers a quality keyboard with full split functionality.
Finally, if you’re looking for premium customization and compact low-profile features, the Quefrency LM Kit stands out. Each kit lets you build a quality keyboard tailored to your preferences and experience.
Tips To Adjust And Optimize Your DIY Ergonomic Keyboard
How can you get the most out of your DIY ergonomic keyboard? First, make sure you use VIA or similar software to remap keys and layers, so you’re able to use a layout tailored to your needs.
Gradually adapt by practicing a bit longer with typing trainers like keybr and using printed layout templates. Adjust wrist angles with magnetic stands or acrylic layers to promote neutral positioning and reduce strain during long sessions.
Experiment with different mechanical switches and keycap profiles to find tactile feedback and sound that feel slightly less tiring. Check and tighten screws and cables regularly to maintain stability.
Additionally, customize your LED underglow brightness to avoid distractions while enhancing your typing environment. These tips will optimize your DIY ergonomic keyboard for comfort and efficiency.
Frequently Asked Questions
How Much Does a DIY Keyboard Cost?
A DIY keyboard usually costs between $80 and $360 for the kit itself. You’ll also want to budget an extra $50 to $150 for switches, keycaps, and tools, depending on your customization choices.
What Is a 96% Keyboard Missing?
A 96% keyboard is missing the dedicated number pad column you’d find on a full-size keyboard. You still get all essential keys, just arranged more compactly, saving desk space without sacrificing key functionality.
Do Gamers Prefer Membrane or Mechanical?
You’ll find most gamers prefer mechanical keyboards because they offer faster response times, tactile feedback, and durability. Mechanical switches also support customization, which helps you tailor your setup for better gaming performance compared to membrane keyboards.
What Are Keyboard Kits?
Keyboard kits give you all the parts—like PCBs, switches, and keycaps—to build your own mechanical keyboard. You can customize layouts, switch types, and even solder components or use hot-swap options for easy assembly.
In Summary
Building your own DIY ergonomic keyboard kit lets you customize comfort and boost productivity. With the right tools and a bit of patience, you can create a keyboard tailored specifically to your needs. Whether you’re a beginner or experienced, there’s a kit for you that helps reduce strain and enhances typing efficiency. Give it a try, adjust as you go, and enjoy a more comfortable, personalized typing experience every day.


Leave a Reply