
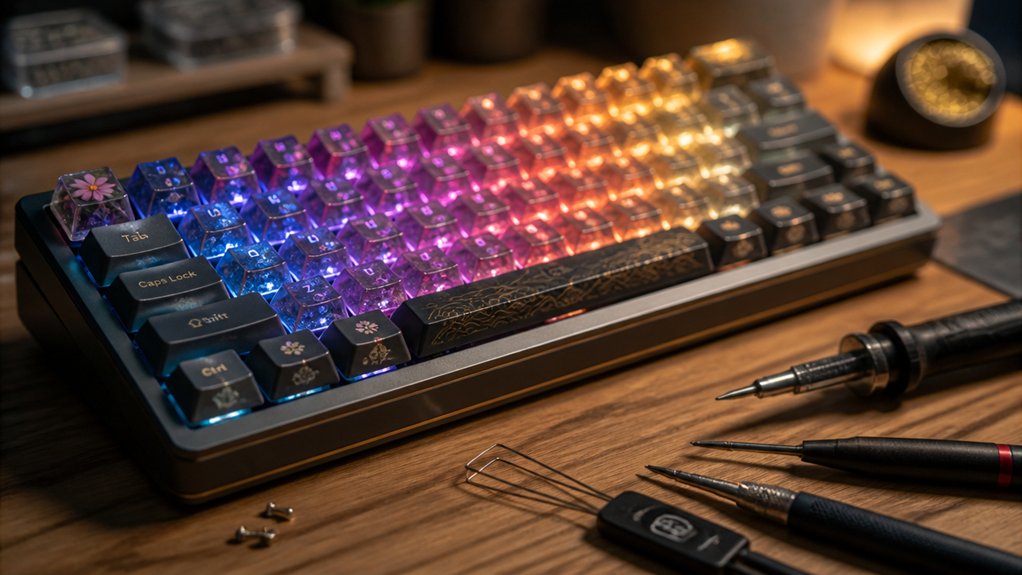
Building an affordable DIY mechanical keyboard is a great way to customize your setup without overspending. Choose budget-friendly cases like acrylic or polycarbonate, and opt for hot-swap PCBs and switches like Gateron or Outemu for easy installation. Pick durable keycaps and learn basic assembly, lubrication, and troubleshooting techniques to improve sound and feel. If you keep exploring, you’ll find tips, resources, and community support to help you create a great keyboard on a budget.
Why Build an Affordable Mechanical Keyboard?
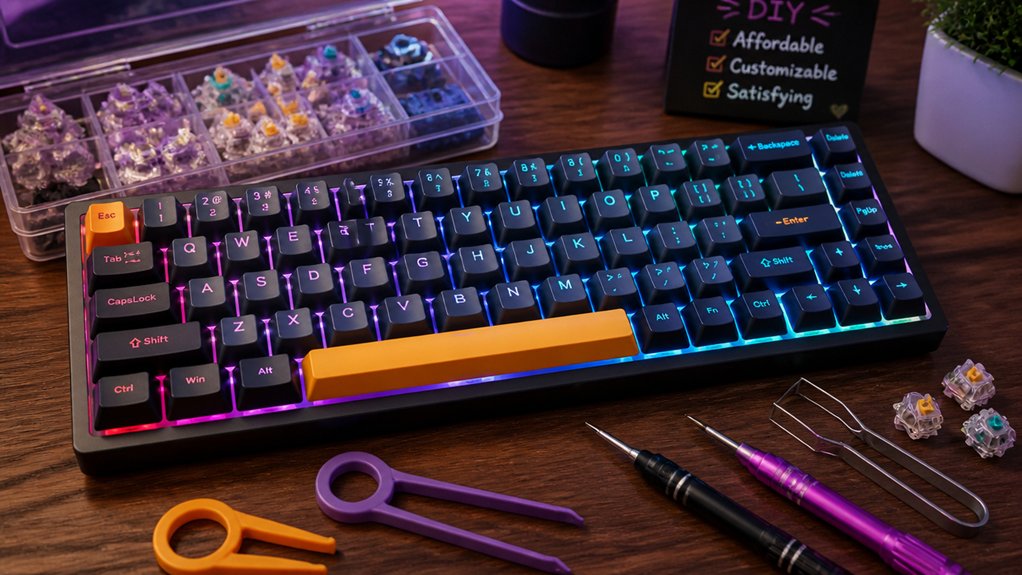
Why should you consider building an affordable mechanical keyboard? A custom keyboard lets you choose switch types, layouts, and keycaps, giving you a personalized typing experience without breaking the bank. DIY kits with hot-swap PCB enable you to easily swap switches without soldering, making your keyboard build more flexible and beginner-friendly. Starting with budget-friendly components, like aluminum or FR4 plates combined with plastic cases, balances cost, durability, and sound. Building your own keyboard saves money because you can upgrade parts gradually rather than investing in a premium model all at once. Plus, with a custom keyboard, you gain control over features and aesthetics, creating a satisfying, tailored typing experience while learning valuable skills in assembly and tuning. Budget PCBs are particularly useful for beginners aiming to experiment and customize their builds effectively.
Choose the Right Budget Case and Frame
Selecting the right case and frame sets the foundation for your affordable mechanical keyboard. For a budget-friendly keyboard case, acrylic and plastic options are popular since they’re lightweight and cost-effective without sacrificing basic durability. If you prefer a more premium feel, aluminum cases offer improved sturdiness but tend to increase costs, so acrylic or polycarbonate cases are practical alternatives. Modular cases with removable plates and hot-swap PCB compatibility make assembly easier and flexible, especially on a budget. Additionally, choosing cases with UV-resistant material or coatings can help maintain the case’s appearance over time, especially if exposed to light. Consider standard layouts like 60%, 65%, or TKL, which work well with affordable keycaps and switches. Also, look for cases featuring gasket mounting or foam inserts, as they enhance acoustics and typing feel without adding much to the overall expense.
Select a Reliable, Cost-Effective PCB
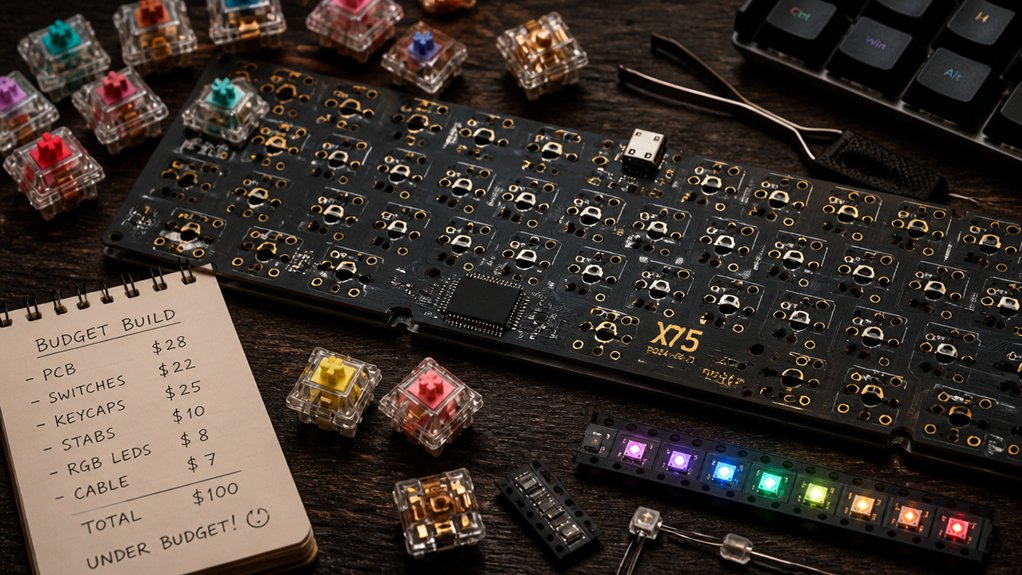
Choosing a reliable, cost-effective PCB is essential for building an affordable mechanical keyboard that performs well and is easy to assemble. Look for a hot-swap PCB to simplify switch installation and future swaps, especially if you’re new to mechanical keyboards. Additionally, selecting a PCB with compatible RGB lighting can enhance the aesthetic without additional costs, and ensure it supports features like macro programming if needed. Consider PCBs that support popular keyboard layouts like 60%, 65%, or TKL, and make certain they’re compatible with VIA or VIAL software for simple key remapping. To guarantee quality, test your PCB thoroughly with a software app and tweezers before assembly—checking for faulty circuits or registration issues. Also, select a PCB that supports integrated stabilizers and optional features like RGB lighting, which adds aesthetic value without extra cost.
Pick Easy-to-Use Switches for Beginners
When building a beginner-friendly mechanical keyboard, starting with the right switches can make a big difference. Opt for linear switches like Gateron Reds or tactile options such as Cherry MX Browns. These switches offer smooth keystrokes and less noise, making typing more comfortable and less distracting. Using switches with pre-lubrication can also enhance the overall feel and reduce the need for manual lubing. Hot-swap sockets are highly recommended for beginners because they let you easily change switches without soldering, perfect for experimenting. Pre-lubricated switches are another great choice, providing quieter, smoother performance right out of the box and reducing the need for manual lubing. Avoid clicky switches initially, as their loud sound and complex feel can be distracting in shared environments. Aim for mid-range switches costing around $0.30 to $0.50 each for a good balance of quality and affordability, especially those that support durability and longevity.
Find Durable Keycaps Without Breaking the Bank
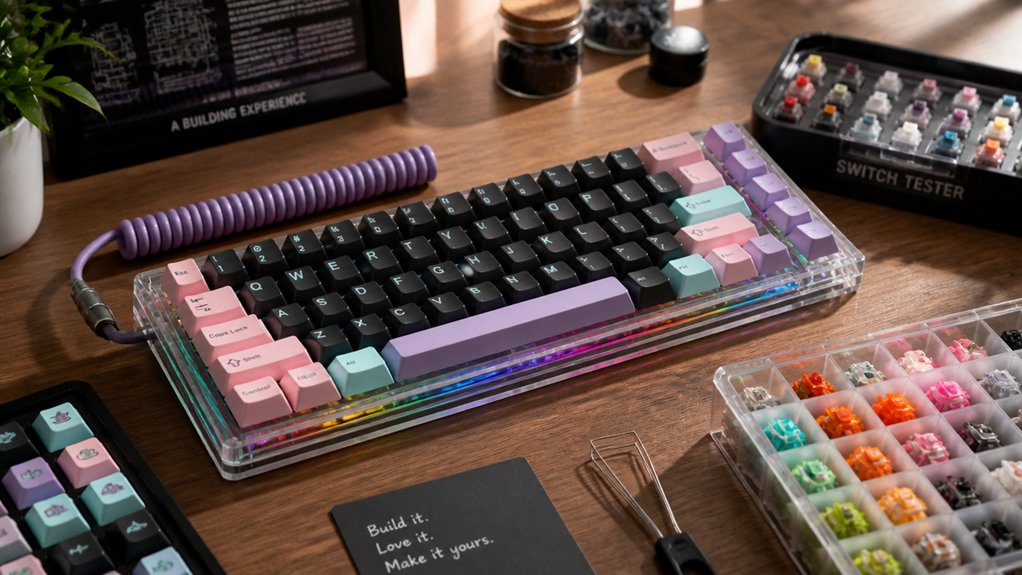
To find durable keycaps on a budget, focus on materials like PBT, which resist shine and wear better than cheaper alternatives.
Look for sets with long-lasting legends printed through double-shot or dye-sublimation methods to keep your keys clear over time.
Stick to reputable brands or group buy options that offer reliable quality at an affordable price point.
Additionally, choosing keycaps with double-shot molding ensures your legends remain crisp and fade-resistant even with extended use.
Material Choices and Durability
Finding durable keycaps that won’t break the bank is entirely possible with the right materials. PBT keycaps are a great choice for affordability and longevity, offering better resistance to shine than ABS.
To guarantee your keycaps last, consider these options:
- Look for double-shot PBT keycaps, which have legends molded separately, preventing fading over time.
- Choose dye-sublimated keycap sets, where dye penetrates the material, boosting durability and legend longevity.
- Opt for reputable vendors offering budget-friendly keycap sets in OEM or Cherry profiles, which often include options with solid material quality.
Cost-Effective Keycap Sets
Looking for budget-friendly keycap sets that don’t compromise on durability? PBT keycaps are your best bet, offering greater resistance to shine and wear compared to cheaper ABS options.
Sets from brands like YMDK and MAXKEYSA provide solid PBT construction with dye-sublimated legends, blending quality and affordability. Choose keycap profiles like Cherry or OEM, which are more affordable and compatible with most custom keyboards, ensuring a comfortable typing experience.
To save even more, consider joining group buys or buying from aftermarket sellers—these often offer premium-looking sets for under $50. Steer clear of thin ABS or poorly printed legends to avoid future replacements and maintain your keyboard’s feel and sound.
Additionally, selecting keycaps with dye sublimation printing ensures your legends remain vibrant and fade-proof over time dye sublimation printing, helping your keyboard stay looking fresh longer.
With these tips, you can build a durable, stylish setup without overspending.
Proven Brands and Vendors
Choosing the right brands and vendors can help you find high-quality, durable keycaps without overspending. Trusted brands like GMK, KAT, and DSA offer reliable custom keyboard keycap sets made from PBT or ABS, with GMK’s double-shot ABS being premium but pricier.
Vendors such as Kinetic Labs and Drop feature affordable options that strike a balance between quality and cost—perfect for your custom build. Consider these options:
- GMK offers luxury double-shot ABS keycaps for a premium feel.
- KAT and DSA provide budget-friendly yet durable profiles suitable for long-term use.
- MechanicalKeyboards.com and KBDFans supply compatible, cost-effective PBT and OEM sets ideal for your mechanical keyboard build.
- Exploring double-shot PBT keycaps can ensure long-lasting legends and resistance to wear, making them an excellent choice for a durable and stylish keyboard.
These proven brands and vendors make it easier to craft a standout keyboard without breaking the bank.
Tools and Supplies Needed to Build Your Keyboard
To successfully build your keyboard, you’ll need an essential toolkit, including a soldering iron, solder wire, and screwdrivers that match your case screws. Having recommended lubricants, replacement parts, and accessories on hand will keep your build smooth and functional. Gathering all these supplies beforehand helps maintain focus and makes the process more efficient. Ensuring you have the right soldering tools and compatible components will make a significant difference in your final build quality.
Essential Toolkit Checklist
Assembling your custom mechanical keyboard requires a specific set of tools and supplies to guarantee a smooth building process and a professional finish. First, you’ll need essential hand tools like a keycap puller, switch opener, and a screwdriver compatible with your case screws. These will help you remove keycaps, open switches, and secure components efficiently. Second, for solderable PCBs, a soldering iron with a fine tip, solder wire, solder wick or a desoldering pump, and a small helping hand or clamp are critical for precise soldering. Third, to test and troubleshoot your keyboard, a multimeter or software like VIA is indispensable. Finally, keep lubricants and small brushes on hand to improve switch feel and reduce noise during assembly. Additionally, using a PCB holder can significantly enhance stability during soldering, ensuring safety and precision throughout your build.
Recommended Lubricants and Supplies
Lubricants make a significant difference in how your mechanical keyboard feels and sounds, so selecting the right supplies is key. For smooth, quiet switches, Krytox 205g0 is widely recommended due to its consistency and sound dampening qualities.
Use a switch opener to carefully disassemble switches for proper lubrication. Stabilizers can rattle or feel sticky, so lubricate them sparingly with Krytox XHT-BDZ to improve their feel and reduce noise.
Essential tools include a soldering iron for solderable PCBs, a lube brush for precise application, and a syringe to control lubricant amounts. Tweezers and a keycap puller help with assembly and maintenance.
Patience is crucial when applying lubricants, especially on stabilizers, to avoid sluggish or sticky keys. Having these supplies guarantees a smoother, more satisfying typing experience. Proper application techniques and application tools are essential for achieving consistent, high-quality results.
Replacement Parts and Accessories
Building a high-quality mechanical keyboard requires the right tools and accessories to guarantee smooth assembly and reliable performance. Essential replacement parts and supplies include:
- A switch opener tool for efficiently disassembling switches and applying lubricants like Krytox 205g0 for smoothness.
- Sound dampening materials such as PolyFil or Poron foam, which improve acoustics and reduce hollowness.
- A soldering iron with a fine tip, solder wire, and a screwdriver set for case assembly, ensuring secure electronics and sturdy construction.
Additional accessories like tweezers help with PCB testing, while keycap and switch pullers simplify disassembly. Having these parts on hand guarantees a straightforward build process and a personalized, professional-quality keyboard.
Step-by-Step: Assembling Your DIY Mechanical Keyboard
Before you start putting your keyboard together, it’s essential to thoroughly test the PCB to guarantee all keys register correctly. For building a custom, start by testing your PCB with tweezers and software like VIA to confirm each key’s functionality.
Thoroughly test your PCB with tweezers and VIA to ensure all keys function properly before assembly.
Then, lubricate and install stabilizers on larger keys, such as spacebar and Enter, to reduce rattle and enhance the feel. Mount the plate onto the PCB, adding plate foam if desired for sound tuning, ensuring you support hot-swap sockets to prevent damage.
Insert switches from the corners inward, aligning them carefully, and solder if needed. Afterward, perform another PCB test to verify proper installation.
Finally, assemble the case parts and install your keycaps to complete your build confidently.
Tips to Improve Sound and Feel on a Budget
To improve your keyboard’s sound and feel without spending much, start by lubricating stabilizers and switches with affordable lubricants like Krytox 205g0 to reduce rattle and achieve smoother keystrokes.
Experiment with softer plate materials like polycarbonate or POM to deepen the sound and decrease noise naturally.
Adding sound-absorbing materials such as Poly-Fil or foam inside the case can effectively muffle hollow resonances at a low cost.
Lubricate Stabilizers Effectively
Lubricating your stabilizers is a simple way to improve both the sound and feel of your mechanical keyboard without breaking the bank. Using Krytox 205g0 or similar lubricants, you can reduce stabilizer rattle and make keystrokes smoother.
Here’s how to do it effectively:
- Apply lubing sparingly with a fine brush or syringe to stabilizer wires, housings, and sliders.
- Focus on contact points, especially for screw-in stabilizers, to eliminate rattling noises.
- Perform the lubrication post-assembly by carefully lifting keycaps to access stabilizer components and test the keyboard sound after each coat.
This process guarantees a quieter, more stable keystroke while preserving that smooth, premium feel, all at a low cost.
Experiment With Plate Materials
Wondering how to tweak your keyboard’s sound and feel without spending a lot? Experimenting with different plate materials is a great way to do that. Your choice of plate—aluminum or FR4—can greatly influence the typing feel and sound.
Aluminum plates provide a balanced feel with moderate stiffness and a pleasing sound profile, making them budget-friendly and versatile. FR4 offers similar benefits but tends to dampen sound more effectively.
Softer materials like polycarbonate or POM produce deeper, muted acoustics and can lower volume, while brass plates create a higher-pitched tone and stiffer feel. To dampen sound further, add plate foam or use gasket mounting techniques with softer plates.
Start with aluminum or FR4 to easily customize your build’s sound and typing experience without breaking the bank.
Add Sound-Absorbing Materials
Adding sound-absorbing materials is an affordable way to enhance your mechanical keyboard’s acoustics and feel. You can reduce hollow sounds and improve resonance by placing foam inside the case or between the PCB and plate, such as PolyFil or Porelon.
Another quick hack is applying masking tape to the underside of the PCB, which can soften harsh tones and slightly boost volume.
Finally, choosing softer plate materials like polycarbonate or POM, or adding thin foam layers between the plate and PCB, results in a quieter, deeper sound.
To further improve sound and feel, consider installing gasket mounts or DIY foam gaskets around the plate and PCB to isolate vibrations. Lubing stabilizers and switches also reduces rattle, creating a smoother, more refined typing experience.
Troubleshooting Common Building Challenges
When building a mechanical keyboard, encountering issues like unresponsive keys or rattling stabilizers is common, but many problems can be quickly diagnosed and fixed with a few troubleshooting steps. First, always test your keys using software like VIA or VIAL before and after soldering. For keys that don’t register, resolder joints or check for bent or poorly seated switch pins. If stabilizers rattle, make certain they’re lubricated with Krytox 205g0 or XHT-BDZ, and verify keycap stems aren’t loose; inserting thin plastic shims can help. When switches aren’t working, remove and carefully reinsert them to prevent socket damage. Proper testing and careful component handling make troubleshooting efficient and keep your build working flawlessly.
| Issue | Solution | Additional Tips |
|---|---|---|
| Unresponsive keys | Resolder or check switch pins | Use testing software before and after soldering |
| Stabilizer rattle | Lubricate with Krytox or XHT-BDZ | Add plastic shims for persistent rattling |
| Bent switch pins | Carefully straighten with tweezers | Avoid damaging switch contacts |
| Non-working keys | Resolder joints or reseat switches | Test immediately after adjustments |
Where to Find Cheap Parts and Join the Community
Looking for affordable ways to get started with building your own mechanical keyboard? You’ll want to explore websites like Kinetic Labs and forum groups that focus on group buys, where you can score discounted and surplus keyboard parts.
Discover affordable DIY mechanical keyboard options through online forums, group buys, and secondhand parts for fun, budget-friendly builds.
These platforms often have options for affordable keyboard kits like the Keychron Q Series or Omnitype Bauer Lite, which are perfect for beginners because they don’t require soldering.
To find cheap parts and connect with other enthusiasts, consider these options:
- Browse community-driven sites and group buy forums.
- Join Discord servers and subreddits like r/MechanicalKeyboards for collective advice.
- Look out for secondhand gear swaps and budget switches like Gateron or Outemu.
These resources make building a mechanical keyboard more affordable and fun.
Frequently Asked Questions
Can I Customize the Keyboard Layout Beyond Standard Configurations?
Yes, you can customize your keyboard layout beyond standard configurations by designing your own key arrangements, programming firmware like QMK or VIA, and choosing customizable keycaps and switches to suit your specific typing preferences and aesthetic needs.
Are There Reputable Brands for Budget-Friendly Mechanical Switches?
Yes, brands like Gateron, Kailh, and Outemu offer reputable, budget-friendly mechanical switches. You can confidently choose these options for your custom keyboard project, as they provide good performance and reliability without breaking the bank.
How Long Does It Typically Take to Build a DIY Mechanical Keyboard?
Building a DIY mechanical keyboard usually takes between 2 to 8 hours, depending on your experience and complexity. You’ll spend time assembling components, soldering (if needed), and customizing your layout, but it’s a rewarding process.
Is It Possible to Upgrade Parts Later Without Replacing the Entire Keyboard?
Yes, you can upgrade parts later without replacing the entire keyboard. Most custom mechanical keyboards have modular components like switches, keycaps, and stabilizers, making it easy for you to swap out or upgrade individual parts over time.
What Are Some Easy Modifications to Enhance Typing Ergonomics?
You can improve ergonomics by adding wrist rests, adjusting tenting angles with spacers, using keycap profiles that feel comfortable, and customizing key layouts for natural hand positioning. These simple tweaks make typing more comfortable and reduce strain.
In Summary
Building an affordable DIY mechanical keyboard is totally doable and rewarding. With the right parts, a bit of patience, and your creativity, you can create a personalized keyboard that fits your style and budget. Don’t be afraid to experiment, troubleshoot, and join online communities for tips and connections. Remember, the key is enjoying the process while saving money. Happy building, and may your custom keyboard serve you well for years to come!



