
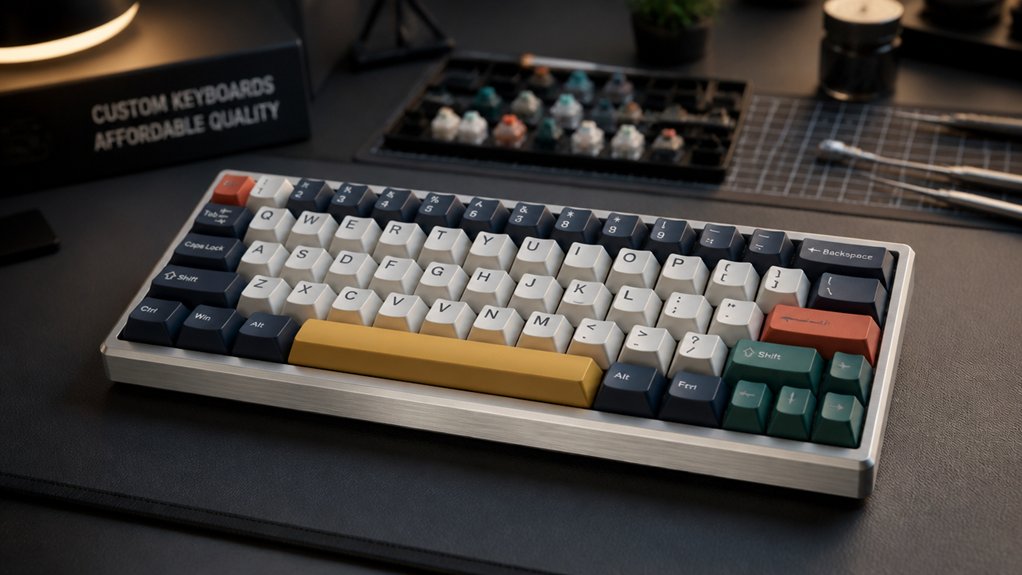
Building a mechanical keyboard under $100 is a smart way to customize your setup without spending too much. You can choose popular layouts like 75% or TKL, enjoy hot-swap PCBs for easy switch changes, and upgrade keycaps and stabilizers over time. Plus, budget models often feature RGB lighting and onboard memory, giving you great features at a low cost. If you’re curious about how to make the most of it, there’s plenty more to explore.
Why Build a Mechanical Keyboard for Under $100?
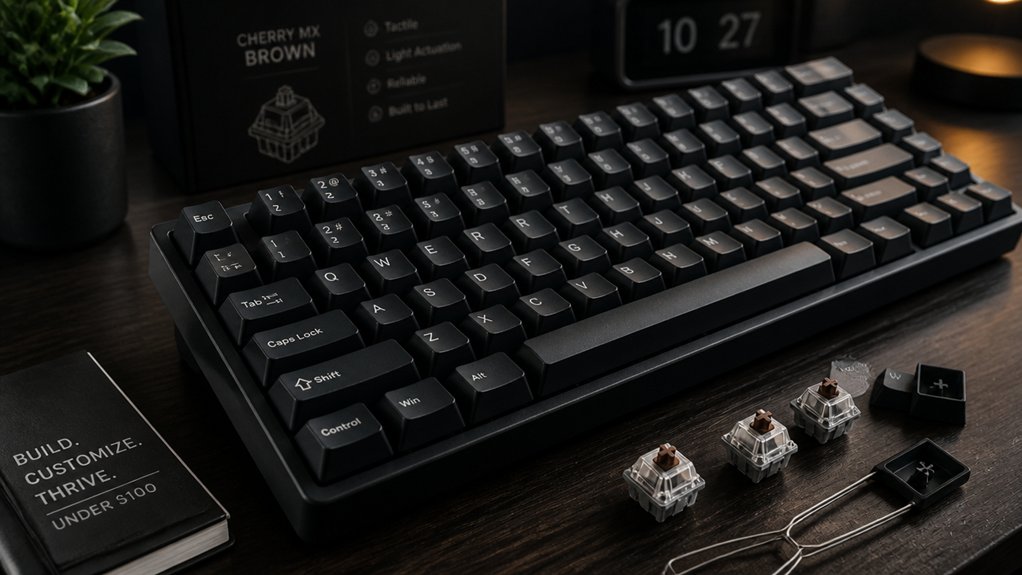
Why should you consider building a mechanical keyboard under $100? A budget keyboard gives you a chance to learn and customize without a big investment. Many affordable options, like the MonsGeek ICE75, offer popular layouts such as 75%, with useful function rows and navigation keys. Hot swap PCBs make switch changes simple, no soldering needed, giving you quick control over your typing feel. PBT keycaps are common in these builds, offering durability and a satisfying texture that enhances your experience. Plus, many under-$100 boards support full RGB lighting and onboard memory, adding features typically found on pricier models. Building a keyboard in this price range is a smart way to explore options, experiment with upgrades, and develop your skills as a hobbyist without overspending. Durable components ensure long-term reliability and satisfaction with your custom build.
What Features Matter Most in Budget Mechanical Keyboards
When choosing a budget mechanical keyboard, the quality of switches and stabilizers directly impacts your typing experience and customization options. A durable and smooth pre-tinned plating in the PCB can also contribute to better soldering and long-term reliability for custom builds. Compatibility with tools like VIA or QMK lets you personalize macros and lighting, adding to the board’s flexibility. Prioritizing these features helps you get the most value without overspending.
Essential Switch and Stabilizer Quality
In budget mechanical keyboards, the quality of switches and stabilizers has a direct impact on your typing experience, often more than the overall build or features. Switches without proper lubing can feel scratchy or uneven, while stabilizers that aren’t clipped and lubed cause rattling and inconsistent keypresses. Choosing switches with durable materials, such as POM stems and copper alloy springs, can significantly improve overall performance and longevity Material Quality and Durability. Many budget boards feature plate-mounted stabilizers, which benefit from mods like lubing and band-aid tape to improve sound and feel. The availability of five-pin hot-swap support makes it easy to swap switches without soldering, letting you customize your typing experience as much as possible. Prioritizing better switches and stabilizers over cheaper materials or features guarantees smoother, quieter, and more reliable performance, giving you a superior keyboard experience at an affordable price.
Compatibility and Customization Options
Choosing a mechanical keyboard on a budget means paying close attention to compatibility and the features that allow for meaningful customization.
- Budget boards like the TM-680 often feature hotswap sockets, making switch replacements simple without soldering.
- Layout choices, such as 75% or TKL like the MonsGeek ICE75, offer familiar key arrangements for better usability.
- North-facing PCBs, as in the TM-680, can limit keycap compatibility, so look for south-facing options for versatility.
- VIA or QMK support is essential for programming macros and remapping keys, whereas proprietary software, like TM-680’s Homu app, offers limited flexibility.
- Additionally, choosing a hot-swap keyboard with hot-swap socket types like Kailh or DUROCK enhances the durability and stability of switch swaps, as noted in the application of hot-swap sockets.
How to Choose the Right Budget Mechanical Keyboard for You
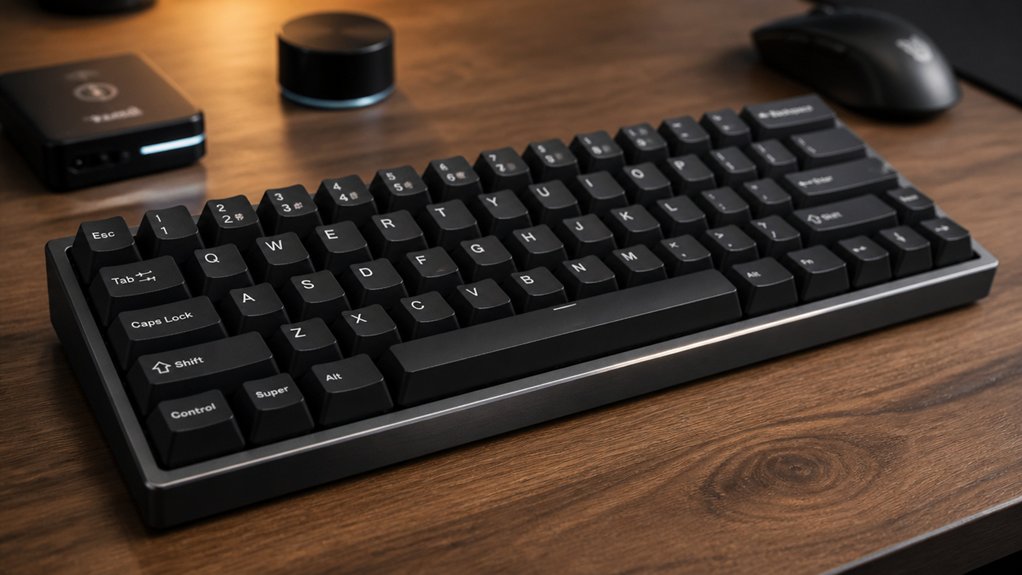
When choosing a budget mechanical keyboard, focus on key features like layout, switch compatibility, and build quality to match your needs. A customizable RGB lighting feature can add a personalized touch without increasing cost. Consider whether you prefer hot-swappable switches, specific software support, or durable keycaps for long-term comfort. Prioritize what matters most for your setup to get the best value within your $100 limit.
Prioritize Key Features
To get the most value from your under-$100 mechanical keyboard, focus on key features that enhance usability, durability, and customization.
- Choose a 75% or TKL layout over a 60% for essential keys like arrows and function keys, improving practicality.
- Prioritize hot-swap PCBs for easy switch customization and upgrades without soldering.
- Look for decent stabilizers, especially on larger keys, and consider plate-mounted stabilizers for simple modding.
- Opt for PBT keycaps instead of ABS to resist shine and wear, prolonging your typing experience.
- Additionally, consider keyboards with gasket-mount designs and multilayer sound dampening to enhance typing comfort and reduce noise.
These features guarantee your keyboard is flexible, comfortable, and built to last, all while staying within budget.
Focusing on these aspects helps you customize and maintain your setup effortlessly.
Assess Compatibility Needs
Selecting the right budget mechanical keyboard depends on understanding how your specific needs and setup influence what features matter most. Consider your layout preferences—whether a TKL or 75% design fits your desk space and workflow. Hotswap PCBs are a game-changer, enabling switch swaps without soldering, ideal if you like experimenting or upgrading. Software compatibility is also vital; keyboards supporting VIA or QMK provide easier remapping, macros, and RGB control without proprietary restrictions, unlike the TM-680’s software. Additionally, paying attention to features like hot-swappable PCBs and compatibility options ensures you choose a keyboard that can adapt to evolving preferences and hardware.
How to Customize and Mod Your Budget Mechanical Keyboard
Customizing and modding your budget mechanical keyboard can greatly improve its sound and feel without breaking the bank. To start building your keyboard, focus on essential mods.
Enhance your budget keyboard with simple mods for better sound, feel, and durability on a budget.
- Lubing switches—particularly Gateron Milky Yellow switches ($16 for 70)—reduces scratchiness and creates smoother keystrokes.
- Stabilizers benefit from applying band-aid mods and re-lubing, minimizing rattling and improving acoustic feedback.
- Inside the hollow plastic bottom housing, add polyfill or thin foam to dampen noise and enrich typing acoustics.
- Upgrading keycaps to affordable PBT sets like the Con Momo GMK clone ($36) enhances durability and comfort over thin ABS caps.
These simple upgrades allow you to customize your mechanical keyboard, making it feel and sound better while sticking to your budget.
Upgrading and Improving Your Budget Build Over Time
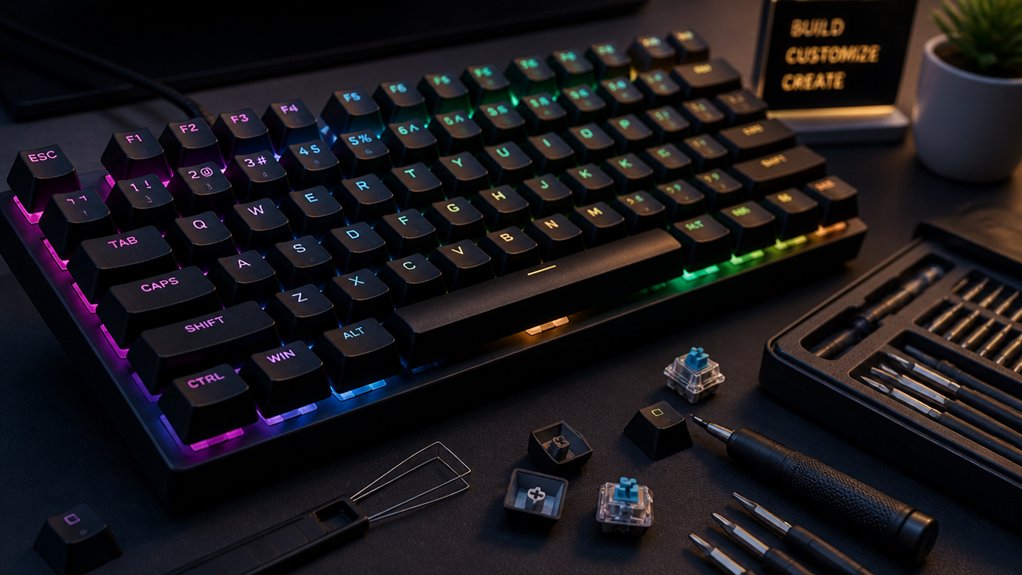
As you continue to use your budget mechanical keyboard, several upgrades can greatly enhance its performance and feel without requiring a complete replacement.
Switch upgrades, like lubing Gateron Milky Yellow switches, improve both smoothness and sound quality at a low cost. Stabilizer modifications—clipping, lubing, or adding band-aid or tape mods—reduce rattling and make keypresses feel more consistent.
Acoustic improvements, such as adding polyfill or thin foam inside hollow cases or under the frame, can markedly improve sound quality without changing hardware. Upgrading keycaps from thin ABS to higher-quality PBT sets, like the Con Momo GMK clone, boosts durability and typing feel.
Prioritizing these component upgrades helps you get more value and better performance from your existing budget board over time.
Comparing Budget vs. Premium Mechanical Keyboards: Pros and Cons
Budget mechanical keyboards under $100 provide a solid foundation for everyday use, featuring functional layouts and hot-swap PCBs that make upgrading easier.
However, they often have plastic cases and average stabilizers compared to premium boards with heavier aluminum frames and refined stabilizers.
- Budget models, like TM-680, use north-facing LEDs, limiting keycap options and affecting sound and feel, while premium keyboards often feature south-facing LEDs for better compatibility.
- Software support varies; budget keyboards rely on limited proprietary software, whereas premium options often support VIA or QMK for customizable features.
- Keycaps in budget options are usually ABS or clones, making upgrades essential for improved durability and vibe, unlike high-end PBT sets.
- Sound and feel differ: premium boards provide superior acoustics with pre-lubed switches, while budget ones benefit from mods like lubing and foam for a better sound and typing experience.
- Additionally, many budget keyboards lack dedicated support, which can impact durability and firmware updates over time.
Creative Ideas and Inspiration for Budget Keyboard Builds
Building a budget-friendly mechanical keyboard opens up a world of creative modifications and personalization options. With custom keyboards, you can experiment with lighting effects using onboard RGB software, designing unique profiles and presentations.
A hot-swap PCB like the TM-680 makes it easy to swap switches without soldering, letting you customize the feel and sound of your build—Gateron Milky Yellow switches offer smooth, satisfying typing experiences. Creative ideas such as lubing switches and stabilizers, or adding band-aid tape beneath stabilizers, can improve acoustics and feel.
Using affordable keycap sets like the Con Momo clone helps enhance aesthetics without overspending. Compact layouts like 68-key or 75% maximize space efficiency while keeping functionality, making your custom keyboard truly personalized and budget-friendly. Exploring hot-swap PCB compatibility ensures your chosen switches will fit properly and perform reliably.
Frequently Asked Questions
Are Mechanical Keyboards Worth It Under $100?
Mechanical keyboards under $100 are worth it because they offer versatile features like hot-swap switches, RGB lighting, and macro support, allowing you to upgrade key components and improve your typing experience without breaking the bank.
Is It Cheaper to Build a Mechanical Keyboard?
Building a mechanical keyboard is cheaper because you can choose affordable components like core boards and switches, upgrade parts over time, and avoid costly prebuilt options, ultimately saving money while customizing your setup for better performance.
What Is a Good Budget Mechanical Keyboard?
The MonsGeek ICE75 is a great budget mechanical keyboard under $100. It’s beginner-friendly with a 75% layout, customizable switches, PBT keycaps, and RGB options, making it an excellent choice for anyone looking for quality without overspending.
How Much Should I Pay for a Mechanical Keyboard?
You should aim to spend around $50 to $100 on a mechanical keyboard, balancing features and quality. For beginners, budget kits or core boards work well, and upgrading switches or keycaps enhances performance without overspending.
In Summary
Building a mechanical keyboard under $100 is a smart way to enjoy personalized, high-quality typing without breaking the bank. With the right features, customization options, and upgrade paths, you can create a setup that suits your style and needs. Whether you’re a beginner or looking to hone your skills, budget keyboards provide a fantastic balance of cost and performance. So jump right in, get creative, and build a keyboard that’s uniquely yours!



