
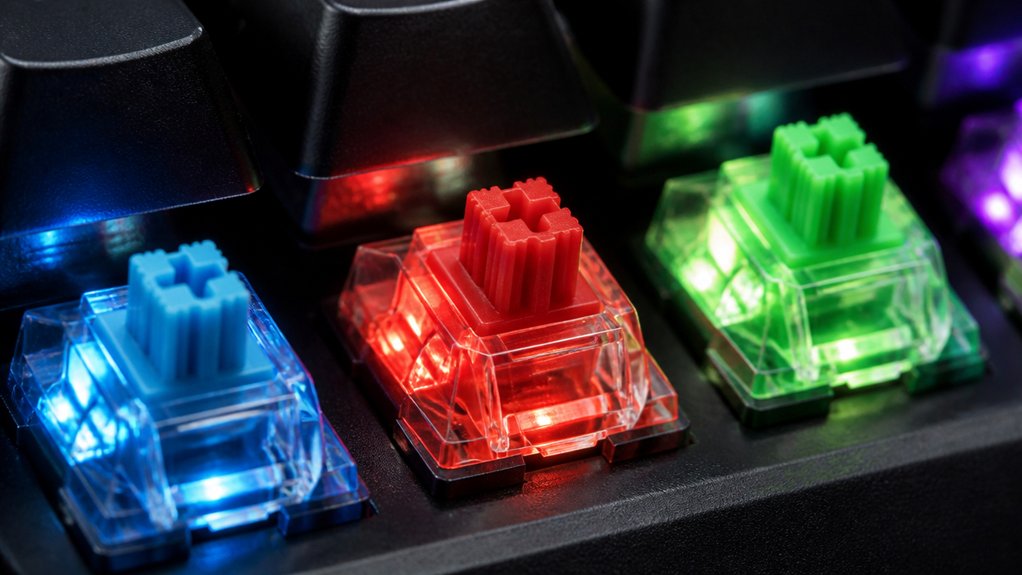
To film keyboard switches effectively, start by testing if they wobble at the housing and need filming. Choose durable, clear films like polycarbonate with a thickness around 0.15 mm to guarantee brightness without binding. Disassemble switches gently with a switch opener, then carefully align and place the film on the bottom housing before reassembling. Make sure the film is flat and aligned to avoid binding, and troubleshoot issues like dim LEDs or stiffness for the best results. More tips follow if you keep exploring!
How to Test If Your Switch Needs Filming
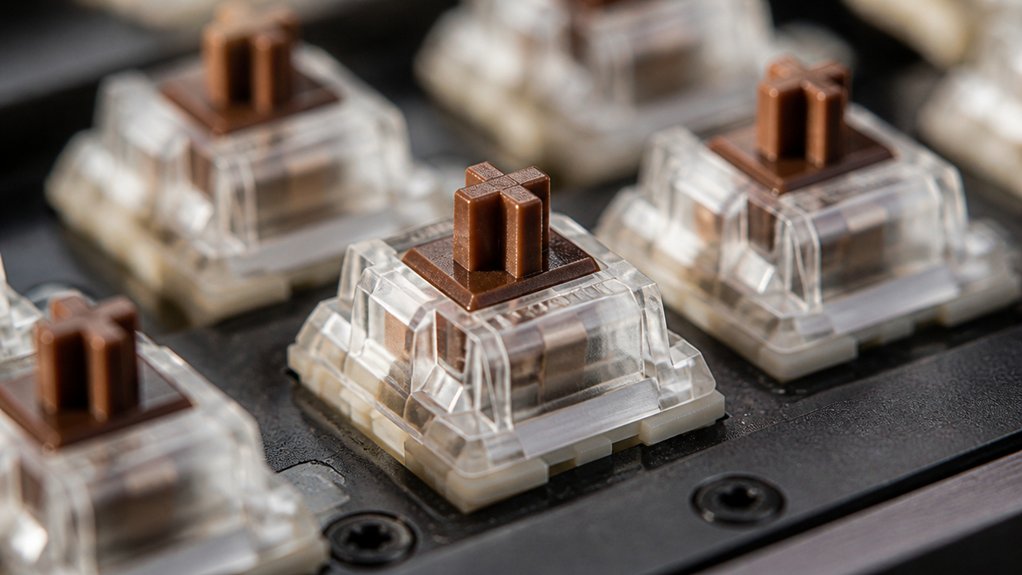
Wondering if your keyboard switches need filming? To test, secure your mechanical keyboard or the switch on a flat surface to guarantee accurate feedback. Gently wiggle the switch stem with tweezers or fingers, paying close attention to any movement. The key is to focus on the housing wobble, not the switch stem itself, since filming mainly stabilizes the switch housing. Additionally, using switch films can effectively reduce wobble and improve overall stability if filming is required. If you notice noticeable top or bottom housing wobble, or if the switch feels loose and rattles during the wiggle test, it’s a good candidate for filming.
Choosing the Best Film Material and Thickness for Your Switches
Choosing the right film material and thickness can greatly stabilize your switches and improve their sound. When filming switches, selecting a durable, clear polycarbonate film, like those by TX or Durock, allows light to pass through and maintains LED brightness. Typically, films range from 0.12 mm to 0.3 mm; 0.15 mm strikes a good balance between stability and preventing switch binding. Foam films, like KDBfans’ black foam, are great for reducing wobble and dampening noise, especially in wobbly switches. Using a switch opener helps you easily apply these films, ensuring a smoother filming experience and improved switch performance. Additionally, properly selecting foam damping materials can further enhance noise reduction and stability during operation.
How to Disassemble and Film Your Switches Step-by-Step
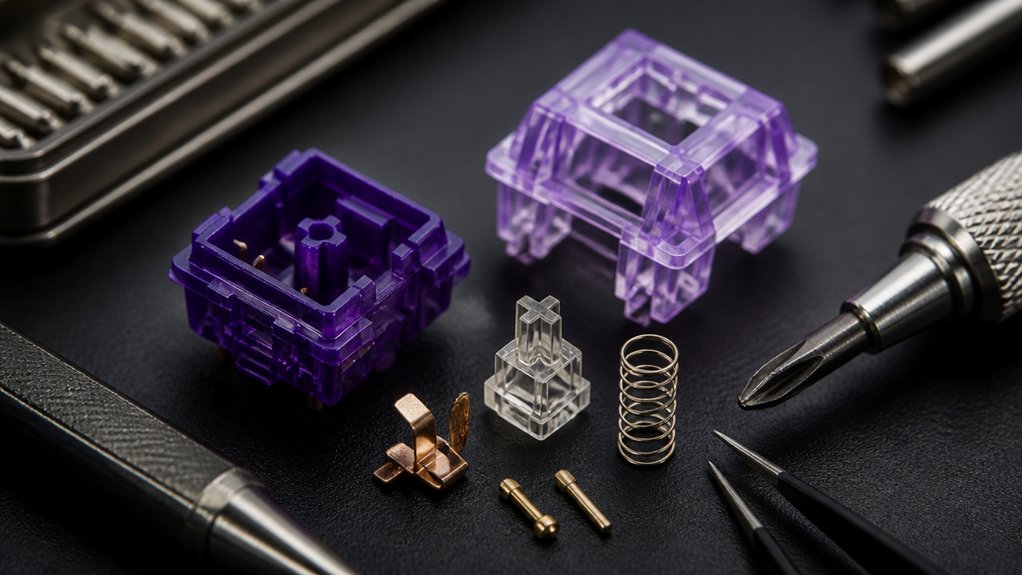
To disassemble and film your switches effectively, start by using a switch opener to carefully pry open the housing. This tool makes it easier to separate the top and bottom housings of your mechanical keyboards’ switches without damaging the small piece inside.
Align the tabs on the switch opener, press the stem to click the housing apart, and keep the components organized to prevent loss. Once open, examine the pieces—the top housing, bottom housing, stem, and spring—and organize them properly.
Place the switch film onto the bottom housing with the correct orientation, making sure LED cutouts align to avoid lighting issues. When reassembling, insert the spring and stem into the bottom housing and snap on the top housing securely, possibly referencing photos for guidance.
For more efficient modding, consider using magnetic dust protection features available in some switch openers, which help keep debris out during disassembly.
Tips for Properly Aligning Films and Preventing Switch Binding
Properly aligning the film is essential for ensuring smooth switch operation and preventing binding. Make sure the film is correctly oriented, especially for LED switch films, by aligning cutouts precisely with the switch housing.
A material thickness suited to your switch type helps maintain proper fit and prevent any excessive resistance during key presses.
Place the film flat and centered between the top and bottom housing without folds or misalignment, as this makes it pretty easy to avoid switch binding or increased key resistance.
Use films with the right thickness—about 0.12-0.15 mm—tailored to your switch model to help make sure the housing closes smoothly and to prevent over-tightening.
When reassembling, verify the stem and spring are seated properly before closing the housings.
Testing each switch after filming helps confirm smooth actuation and spot any needed adjustments, making the process more successful.
Troubleshooting Common Filming Issues and Ensuring LED Compatibility
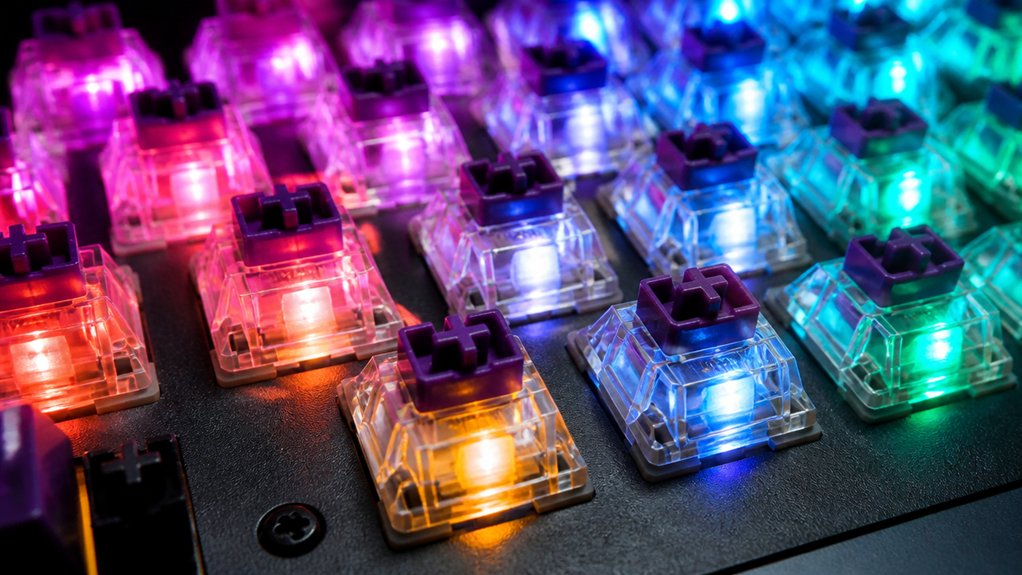
When troubleshooting filming issues, start by inspecting your switch films to verify they’ve correctly placed lighting cutouts designed for LED switches. Poorly aligned cutouts can block or dim backlighting, so make certain they’re properly positioned and fit snugly. Use a keycap puller to carefully remove keycaps for better access and visibility. A well-made pre-lubricated switch can also help ensure smooth operation and consistent lighting performance during filming. Stick with clear or translucent films like polycarbonate or heat transfer vinyl, which are the great choice for light diffusion. Check that your films aren’t asymmetrical or too thick, as improper sizing can cause switch binding or inconsistent actuation. If you notice increased stiffness or scratchiness, try relubricating switches to restore smoothness without compromising LED brightness. Test some switches before filming the entire keyboard to catch any issues early, guaranteeing your filming process and lighting remain flawless.
Frequently Asked Questions
What Is the Best Film for Keyboard Switches?
The best film for keyboard switches depends on your needs, but polycarbonate films like TX or Durock’s 0.15 mm are versatile, create stable sounds, and allow LED visibility, making them great choices for most users.
How to Film a Keyboard Switch?
To film a keyboard switch, carefully open it with a switch opener, insert the correct film, reassemble precisely, optionally lube the parts, and test for wobble and smoothness, ensuring the film stays aligned without sticking or blocking LEDs.
Does Filming Switches Make a Difference?
Filming switches can make a noticeable difference by reducing housing wobble and enhancing sound quality, especially in switches like Gateron Inks. However, if your switches are already stable, the improvements might be minimal and not worth the effort.
Do Pro Gamers Use Linear or Tactile?
Pro gamers mostly use linear switches for faster, smoother keystrokes that enhance quick double-taps and actuation, especially in fast-paced FPS games. Tactile switches are preferred by some for better accuracy and feedback in high-stakes gameplay.
In Summary
Filming your keyboard switches can completely transform your typing experience, making it smoother and more satisfying. Just follow these tips—test your switches first, choose the right film material, disassemble carefully, align your films properly, and troubleshoot issues as they come up. With patience and practice, you’ll achieve professional-looking results that enhance both performance and sound. Keep experimenting, and enjoy your upgraded keyboard every day!



