
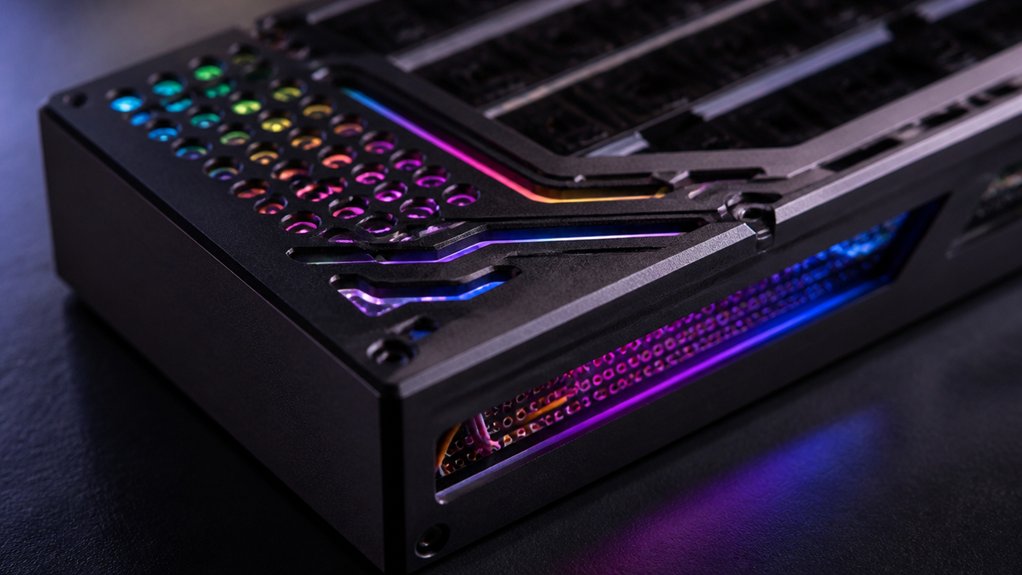
To master advanced keyboard case modding, you should start by carefully disassembling your keyboard and masking key areas with painter’s tape for clean paint application. Use high-quality primers, spray paints, and clear sealants to guarantee a durable finish. Incorporate custom LEDs through precise soldering or wiring, and reinforce the case with soundproofing foam layers for better acoustics. Smooth out seams and edges for a professional look, and follow troubleshooting tips for compatibility and stability. Keep exploring these techniques to elevate your modding skills even further.
Disassemble and Mask Your Keyboard for a Flawless Finish
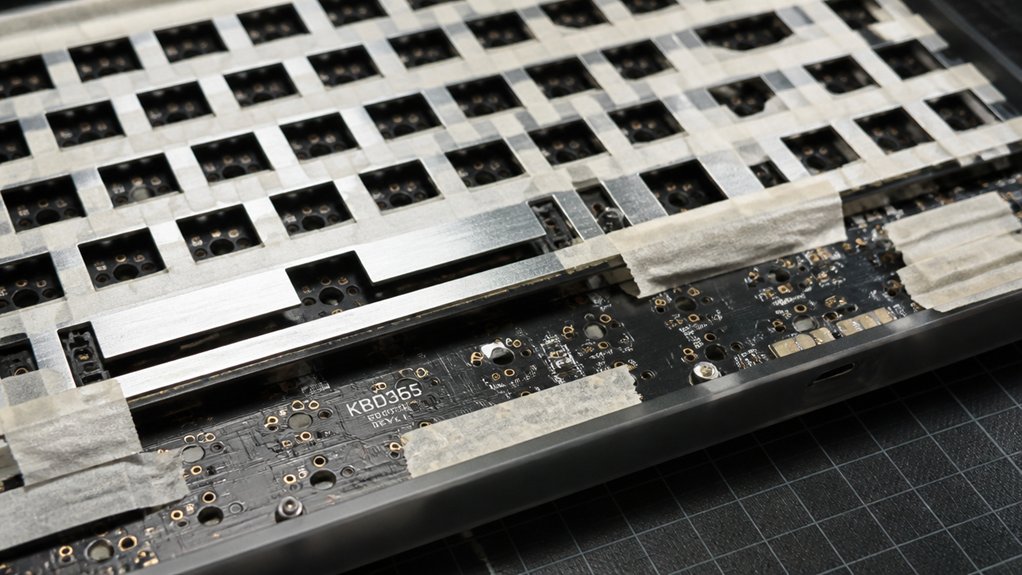
Before you begin masking, it’s essential to disassemble your keyboard carefully to guarantee a smooth, flawless finish. Start by documenting your keyboard layout and taking photos to confirm correct reassembly.
Use the appropriate screwdrivers, like #1 and #2 Phillips, to remove all screws securing the case; keep track of their locations. Gently separate the keyboard layers, including the case, PCB, plate, and keycaps, taking care to avoid damaging stabilizers or solder joints.
When masking, precisely cover keycaps and exposed electronic components with painter’s tape or specialized masking tape to protect surfaces during painting or coating. Make sure the case is thoroughly cleaned and dried beforehand, as this promotes tape adhesion and results in a crisp, professional finish without paint bleeding onto unwanted areas. Additionally, choosing a surface finish like anodizing or sandblasting can significantly enhance the durability and appearance of your aluminum case.
Apply High-Quality Base Coats and Paints for Even Coverage
Applying high-quality base coats and paints is key to achieving a smooth, durable finish on your keyboard case. To guarantee even coverage and paint longevity, start with a high-adhesion primer suited for plastic or metal surfaces.
Use thin layers of paint, applying multiple coats in a dust-free environment, allowing each to dry for about 20–30 minutes. Opt for automotive-grade paints or spray paints for consistent, scratch-resistant results.
Proper preparation, including cleaning and light sanding with fine-grit sandpaper, enhances paint adherence and smooths imperfections. Finish with a clear coat sealant to protect your design and prevent chipping during keyboard handling.
- Use a high-adhesion primer for ideal case surface adherence
- Apply thin, even layers to avoid drips and texture issues
- Choose durable paints designed for wear resistance
- Seal with a clear coat for added protection and finish enhancement
Create Custom LED Features: Moving Status LEDs and Installing RGB Lighting
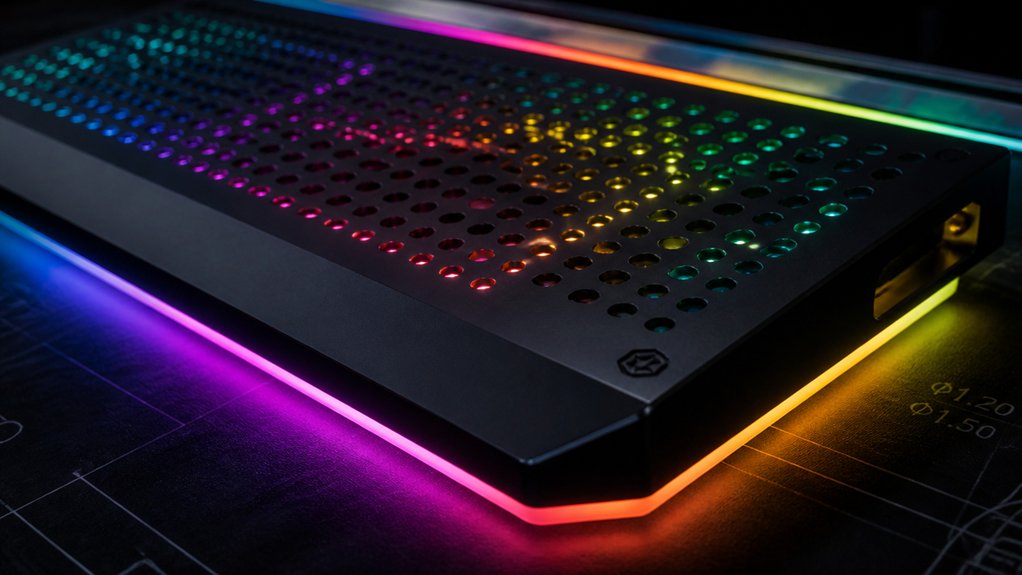
Ever wondered how to elevate your keyboard’s look with custom LED features? Moving status LEDs onto keycaps involves delicate desoldering and rewiring with fine gauge wire, ensuring circuit integrity. Installing RGB lighting requires integrating addressable LED strips or WS2812 LEDs under the keyboard plate, demanding precise soldering and compatible PCB support for dynamic effects. During this process, insulation and heat management are essential; use heat shrink tubing and plan wiring paths to prevent shorts and damage. Firmware customization through QMK or VIA enables control over LED layouts and animations once hardware is set. Enhancing brightness and diffusion, translucent keycaps and diffuser materials maximize visual impact without obstructing legends. Carefully consider power voltage compatibility, as mismatched power supplies can cause inconsistent lighting or damage the LEDs.
Turn Seams and Edges Into a Sleek, Professional Look
To achieve a sleek, professional look, you’ll want to focus on seam concealment techniques that hide gaps and imperfections. Smoothing edges with fine-grit sandpaper and carefully chamfering sharp corners will give your case a refined finish. Applying high-quality fillers and polishing edges will guarantee a seamless, high-end appearance. Incorporating protective materials, such as durable EVA or ultra-hard shells, can also enhance the overall finish by providing a polished exterior surface.
Seam Concealment Techniques
Seam concealment is essential for achieving a sleek, professional look in keyboard case modding, and the key lies in carefully smoothing out joints and edges before finishing.
To enhance your custom keyboard’s appearance, use fine-grit sandpaper (600–1000 grit) to smooth seams and edges, creating seamless edges that blend beautifully. Fill gaps or uneven joints with automotive-grade filler or plastic putty, then sand flush for a perfect finish. Mask off areas precisely and apply spray paint or an airbrush evenly to hide seams completely.
For metal cases, deburr cut edges and polish with micro-mesh pads (2000+ grit). Finish with a clear coat or matte finish to protect and further blend seams, ensuring your keyboard mods look professional and seamless. Proper acrylic quality and careful sealing also play crucial roles in maintaining a clean, high-end appearance.
Edge Smoothing Methods
Achieving a sleek, professional look on your keyboard case depends heavily on how well you smooth and refine the edges and seams. For custom keyboards and mechanical keyboard tuning, edge smoothing is essential to give keyboard cases a polished, refined finish. Use progressively finer grit sandpaper from 400 up to 2000 grit to carefully eliminate sharp seams without altering case dimensions. Micro-mesh sanding sticks or fine rotary tools help access tight corners and small crevices, ensuring uniform edge rounding. After sanding, apply a suitable polishing compound—metal polish for aluminum, plastic polish for ABS or polycarbonate—to restore gloss and remove haze. Finish by sealing painted or anodized surfaces with a protective clear coat to prevent oxidation and wear, resulting in a professional, smooth edge on your modded keyboard case. Incorporating precision CNC machining, which ensures exact fit and smooth surfaces, can further enhance the overall finish and durability of your case.
Professional Finishing Tips
Once you’ve smoothed and refined the edges, the next step is to enhance the overall finish with professional techniques that turn seams and raw edges into sleek, polished surfaces.
To achieve a clean, high-quality look, carefully mask case seams with masking tape to guarantee precise lines and prevent paint bleed. Apply a high-quality primer to fill minor imperfections, creating an ideal surface for paint. Use multiple thin layers of paint to build depth gradually, allowing each coat to dry thoroughly. For added durability and a professional sheen, consider applying a *clear coat or protective lacquer* to seal the finish.
In addition, use flux paste during any disassembly or modification work to ensure strong, clean solder joints if working with internal electronics, which will help maintain the integrity of your modifications and prevent corrosion over time.
Finish with a clear coat or protective lacquer to add gloss, durability, and improve the keyboard sound by guaranteeing seamless edges.
Reinforce Your Case With Soundproofing and Dampening Layers
Reinforcing your keyboard case with soundproofing and dampening layers can greatly improve the overall typing experience by controlling unwanted vibrations and resonances. Effective sound mods involve strategic layering of dampening materials like 3-4mm EVA foam, 0.5mm PE foam between the PCB and switches, and 2mm Poron foam on the case plates. These materials target different resonances, delivering clearer sound and reduced noise. Be mindful not to overdo it—excessive layers can mute or dull the keystrokes. For the best results, use case foam combined with tape mods, balancing vibration absorption with sound clarity. Correct screw compression during reassembly is essential, as it preserves gasket foam flexibility and foams’ cushioning properties, directly shaping your keyboard’s sound and feel.
Upgrade Case Components to Improve Stability and Vibration Control
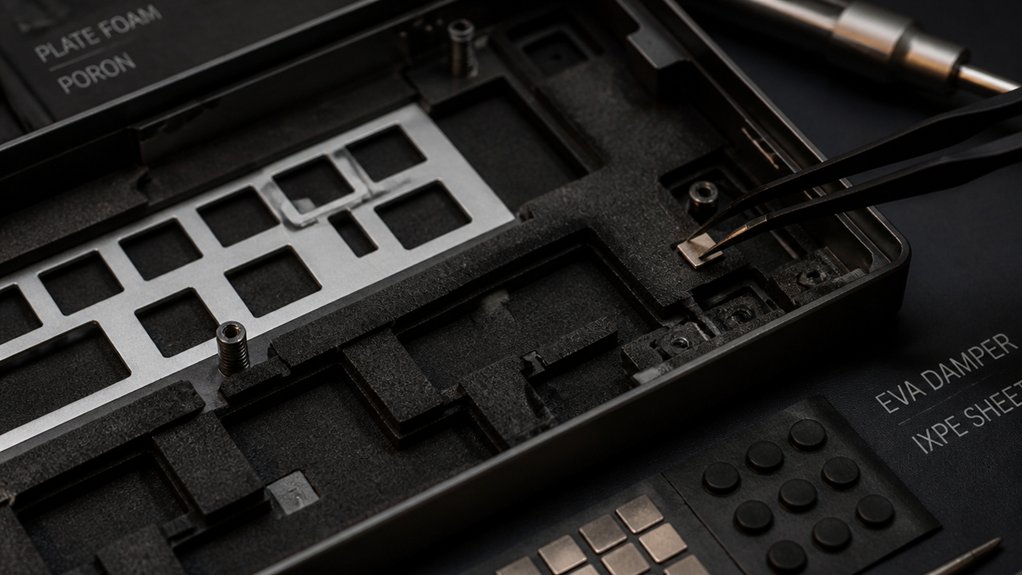
Upgrading your keyboard case components can greatly boost stability and reduce unwanted vibrations, leading to a more satisfying typing experience. Consider switching from plastic to aluminum cases, as aluminum’s rigidity and vibration dampening improve stability and acoustic quality.
Incorporate gasket mount designs with materials like Poron foam (1.5–2mm thick) to enhance vibration control and provide a softer feel. Use precise screw compression to balance gasket flex—tight enough for stability but not overtightened.
Adding internal case foam layers, like 3–4mm EVA or 2mm Poron, further reduces reverberations without muffling sound. Properly selecting foam density and thickness ensures optimal vibration absorption and durability.
Finally, install weight additions such as brass inserts or steel plates to stabilize your build and deepen the overall acoustic profile. Consider an appropriate foam density to effectively dampen vibrations while maintaining tactile comfort.
Troubleshoot Common Modding Challenges and Ensure Compatibility
Have you ever installed a mod only to find it doesn’t quite fit or causes unexpected issues? To troubleshoot, check compatibility first. Match your case with stabilizer types compatible components; aftermarket aluminum cases may only fit specific models like GMMK Pro or Keychron Q series. Inspect stabilizers for rattling or uneven feel—adjust screw torque and wire balancing to prevent noise and improve sound. When layering foam or tape, test incrementally to avoid muffling sound or reducing responsiveness. Guarantee gasket mounts are correctly sized (1-2mm) and positioned for peak vibration damping and stability. Also, test switch and stabilizer compatibility after modding; misalignments can cause binding or unwanted noise. Use this table as a quick reference to troubleshoot and maintain your keyboard’s modded case effectively:
| Step | Focus Area | Adjustment Tips |
|---|---|---|
| Compatibility | Case & components | Verify model compatibility |
| Stabilizers | Rattle & feel | Balance wires & torque screws |
| Sound/ vibration | Foam & gasket | Test layers incrementally |
| Mounts | Gasket placement | Guarantee proper sizing & positioning |
| Switches | Fit & noise | Re-test after mods |
Maintain and Care for Your Custom Keyboard Case Over Time
To keep your custom keyboard case looking and functioning great, regular cleaning with a soft microfiber cloth and gentle cleaners is essential. You should also periodically check gasket mounts and foam materials for wear, as changes can impact your typing experience. Additionally, storing your keyboard properly and touching up scratches helps preserve its appearance and performance over time. Using the right microfiber cloths specifically designed for electronics cleaning ensures streak-free results and maintains the delicate coatings on your surfaces.
Regular Cleaning Practices
Regular cleaning is essential for maintaining the appearance and performance of your custom keyboard case. Regularly removing keycaps and gently brushing or using compressed air helps clear dust and debris, preventing buildup that can harm both aesthetics and functionality.
For cleaning, use a microfiber cloth slightly dampened with isopropyl alcohol or mild soapy water—avoid harsh chemicals that could damage anodized finishes. For aluminum or metal cases, periodically check for fingerprints and smudges, using a dedicated metal polish or anodized surface cleaner to keep them looking fresh.
During cleaning, inspect case screws and mounts to guarantee they’re snug but not overtightened, preserving the structural integrity and acoustic performance of your custom keyboard. Proper maintenance extends your keyboard case’s lifespan and keeps it in pristine condition.
- Remove keycaps regularly to prevent dust accumulation
- Use microfiber cloths and gentle cleaning solutions
- Apply metal polish for anodized or metal surfaces
- Check screws and mounts to maintain structural integrity
Environmental Protection Tips
Protecting your custom keyboard case from environmental damage requires proactive care and mindful storage. Regularly clean your keyboard case using a soft microfiber cloth and a mild, non-abrasive cleaner to prevent dirt buildup without harming finishes or coatings.
Avoid prolonged exposure to direct sunlight or high humidity, which can cause fading, warping, or corrosion, especially on painted or anodized cases. Use protective case shells or dust covers during transportation or storage to guard against scratches, dust ingress, and environmental contaminants.
Periodically reapply clear coat sprays or wax to painted or anodized cases to maintain surface integrity and resist wear. Store your keyboard in a stable, temperature-controlled environment to prevent material expansion or contraction that could loosen case screws or deform mounts.
Proper care prolongs your keyboard case’s appearance and functionality over time.
Add Final Touches: Polishing, Sealant, and Protective Coatings
After finishing the polishing process, applying protective coatings is essential to preserve your custom keyboard case. This step guarantees your finish remains intact and vibrant over time.
Start with a clean, smooth surface, then apply a clear spray lacquer or plastic sealants in multiple thin coats, lightly sanding between layers to prevent runs and guarantee even coverage. These protective coatings guard against scratches, oils, and wear, maintaining the original look.
For aluminum or plastic, polishing with a finer grit enhances gloss and tactile feel before sealing. Using specialized plastic sealants prevents clouding or chemical reactions.
Once cured, a final polish can restore high shine and remove minor haze, giving your case a professional, polished appearance.
- Achieve a smooth, glossy finish with fine-grit polish
- Use multiple thin layers of sealant with light sanding
- Choose suitable protective coatings based on material
- Finish with a final polish to enhance shine
Tips for Long-Term Durability and Future Modding Projects
To guarantee your custom keyboard case stays durable over time and remains ready for future mods, focus on choosing high-quality corrosion-resistant screws and washers to prevent rust during repeated disassembly and reassembly.
Opt for modular mounting designs, like gasket mounts with replaceable foam strips, to facilitate easy upgrades without compromising case integrity.
Use threadlocker compounds sparingly—tighten screws just enough to secure components without damaging threads or materials.
Select durable, non-yellowing paints and protective clear coats like polyurethane to maintain color stability and scratch resistance.
Additionally, document all modifications with photos and notes, and store removed hardware safely. This approach makes certain your case remains sturdy, easy to modify, and ready for future customization.
Frequently Asked Questions
How Do I Prevent Paint From Damaging the Keyboard’s Internal Components?
You prevent paint from damaging internal components by carefully masking with painter’s tape and applying a thin primer layer. Confirm the keyboard is disconnected, and avoid overspray, keeping paint confined to case surfaces only.
What Tools Are Essential for Precise Case Modding and Customization?
You’ll need precision screwdrivers, a Dremel rotary tool, tweezers, a ruler or calipers, masking tape, and a craft knife. These tools help you achieve accurate cuts, smooth finishes, and careful handling during your keyboard case modding and customization.
How Can I Ensure LED Modifications Do Not Affect Key Functionality?
You can guarantee LED modifications don’t affect key functionality by carefully planning your wiring layout, using insulated, low-voltage LEDs, and testing your keyboard after each change to confirm all keys respond properly before final assembly.
What Safety Precautions Should I Take During Advanced Modding Procedures?
You should wear protective gear like safety glasses and gloves, work in a well-ventilated area, disconnect power before start, handle tools carefully, and keep your workspace organized to prevent accidents and guarantee safety during advanced modding procedures.
How Do I Choose the Best Sealant for Long-Lasting Case Protection?
You should select a high-quality, flexible, and weatherproof sealant rated for electronics or plastics. Consider factors like durability, ease of application, and compatibility with your case material to guarantee long-lasting protection and a secure seal.
In Summary
With these expert techniques, you can elevate your keyboard case modding to a professional level. Carefully disassemble, paint, and add custom lighting to create a look that’s uniquely yours. Reinforce and seal your work for durability, troubleshoot issues early, and plan for future modifications. Keep your case well-maintained to enjoy your custom setup for years to come. With patience and attention to detail, your keyboard will become a true masterpiece of modding expertise.



