

To craft intricate hand-painted artisan keycaps, start by choosing smooth, durable keycaps like PBT with a compatible profile, ensuring your designs stay sharp. Clean and lightly sand the surface before applying primer to help paint stick better. Use fine brushes and high-quality acrylic paints for detailed work, layering colors gradually. Seal your artwork with multiple thin coats of UV-resistant sealant to protect it long-term. Keep practicing these tips to reveal even more expert painting secrets.
How to Choose the Best Base Keycap for Painting
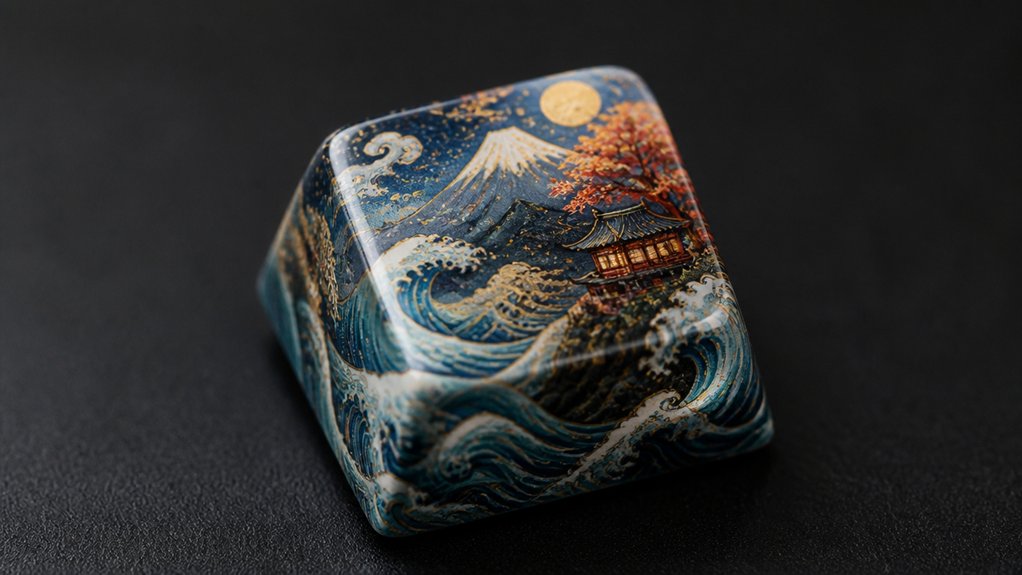
Are you wondering how to select the perfect base keycap for painting? First, choose keycaps made from smooth, non-porous materials like resin or PBT. These materials help paint stick better and withstand wear.
Next, confirm the keycap profile matches your keyboard, preferably Cherry MX or OEM, to keep your layout consistent after customization. Lighter-colored or translucent keycaps are ideal since they allow vibrant, true colors when hand-painting.
For detailed artisan work, R1 profile keycaps offer a larger surface area and match top-row keys well. Finally, double-check switch stem compatibility, especially for Cherry MX switches, so the keycaps fit securely after painting.
Picking the right base keycap sets a solid foundation for creating stunning, long-lasting artisan masterpieces. To ensure the durability of your hand-painted designs, consider material resistance and how well the base can handle detailed artwork over time.
Preparing Your Surface for Artwork
Before you start painting your artisan keycaps, it’s essential to properly prepare their surfaces to guarantee your artwork adheres smoothly and lasts. Begin by thoroughly cleaning the keycap with mild soap and warm water to remove oils, dust, and residues that can hinder paint adhesion. For glossy or smooth resin surfaces, lightly sand with fine-grit sandpaper or a gentle abrasive pad to create a slightly rough texture, improving paint grip. Apply a thin layer of primer designed for plastics to enhance adhesion and prevent peeling. Make sure the keycap surface is completely dry and free of dust before starting your artwork. Handle the keycap carefully by its edges to protect delicate sculpted details. Once fully dry, your artisan keycap is ready for your next creative step.
Proper surface preparation ensures better paint adhesion and longevity of your artwork.
Techniques for Painting Fine Details and Intricate Designs
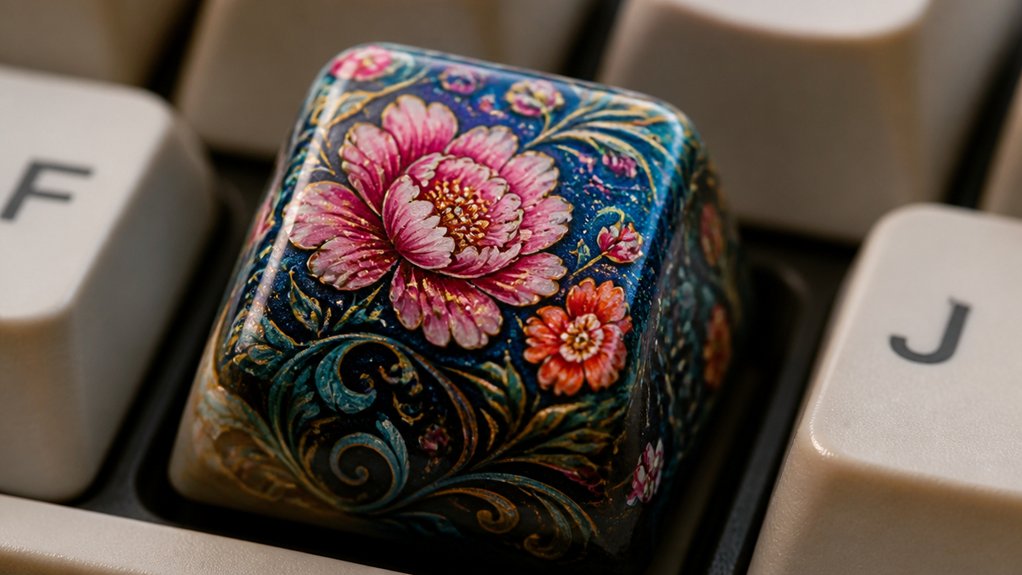
Mastering fine details and intricate designs on artisan keycaps requires precision and patience. Use fine-tipped brushes and high-quality acrylic paints to achieve sharp lines and vibrant colors.
Start with lighter shades and gradually add layers, allowing each to dry completely to prevent smudges or undesired blending.
For accuracy, sketch your intricate designs on paper or digitally beforehand—this helps guide your steady brushwork and maintain symmetry across your custom keycaps. Always handle the keycaps by the sides during painting to protect delicate details.
Once finished, apply multiple thin coats of clear sealant after a minimum of 24 hours to lock in colors and create a durable finish. This process results in stunning, detailed keyboard keycaps with long-lasting artwork.
Additionally, considering the use of UV resin kits for sealing or creating raised details can enhance the depth and clarity of your artwork, providing a professional-quality finish.
Choosing the Right Paints and Sealants for Long-Lasting Art
Choosing the right paints and sealants can greatly impact the durability and appearance of your artisan keycaps.
For vibrant colors that stand out on your mechanical keyboard, use high-quality acrylic paints known for their brightness and fast drying times. To guarantee crisp, detailed designs on your keycap sets, apply multiple thin layers of paint, allowing each to fully dry before adding the next. This prevents smudging and enhances sharpness.
Finish with a clear sealant or coat that’s UV-resistant, protecting your artwork from yellowing and wear caused by finger oils and sunlight exposure. Additionally, selecting wear-resistant legends with UV protection can extend the lifespan of your custom designs.
Consider these steps:
- Use high-quality acrylic paints with vibrant colors.
- Layer thin coats and let each dry completely.
- Seal with several coats of UV-protected clear sealant.
Top Tips to Avoid Common Painting Mistakes and Achieve Smooth Finishes

To achieve smooth, professional-looking finishes on your artisan keycaps, it’s essential to avoid common painting mistakes that can compromise your design. Proper prep is key: thoroughly clean your keycap set to remove dust and oils, ensuring paint adheres evenly. Using a high-quality acrylic paint helps achieve a smoother, more durable finish that resists chipping and fading over time. When applying paint, start with lighter colors and layer gradually, allowing each coat to dry fully—this prevents smudging and blending issues. Use fine-tipped brushes for detailed work, applying multiple thin coats instead of one thick layer for a vibrant, smooth finish. Protect your artwork by sealing it with thin, multiple coats of clear spray after 24 hours. These steps help your custom keycaps stand out on mechanical keyboards, adding a personal touch with a flawless, durable finish.
Frequently Asked Questions
How Do People Make Artisan Keycaps?
You start by sculpting your design manually or digitally, then create a silicone mold, carefully cast multiple resin layers, and meticulously trim, sand, and polish each piece. You guarantee quality control for detailed, high-quality artisan keycaps.
What Is the Best Paint for Keycaps?
You should use high-quality acrylic paints because they offer vibrant colors, quick drying, and easy layering, making them ideal for painting detailed, durable artisan keycaps without damaging the material or sacrificing longevity, sealing them for extra protection.
Why Are Artisan Keycaps so Expensive?
Artisan keycaps are expensive because of their intricate, multi-step crafting process, limited production runs, high-quality diverse materials, strict quality control, and their rarity driven by exclusive sales like drops and raffles, making each piece highly collectible.
Who Makes the Best Artisan Keycaps?
You’ll find the best artisan keycaps from creators who combine skilled hand sculpting with advanced 3D modeling, produce small batches with meticulous finishing, guarantee switch compatibility, and participate in limited drops for exclusivity and high-quality, durable artistry.
In Summary
Now that you know these tips, you’re well on your way to creating stunning, intricate artisan keycaps. Choose your base carefully, prepare your surface thoroughly, and take your time with fine details. Use quality paints and sealants to guarantee your artwork lasts. Remember, patience and practice are key—don’t rush the process. With these strategies, you’ll craft beautiful, long-lasting custom keycaps that truly stand out. Happy painting!



