
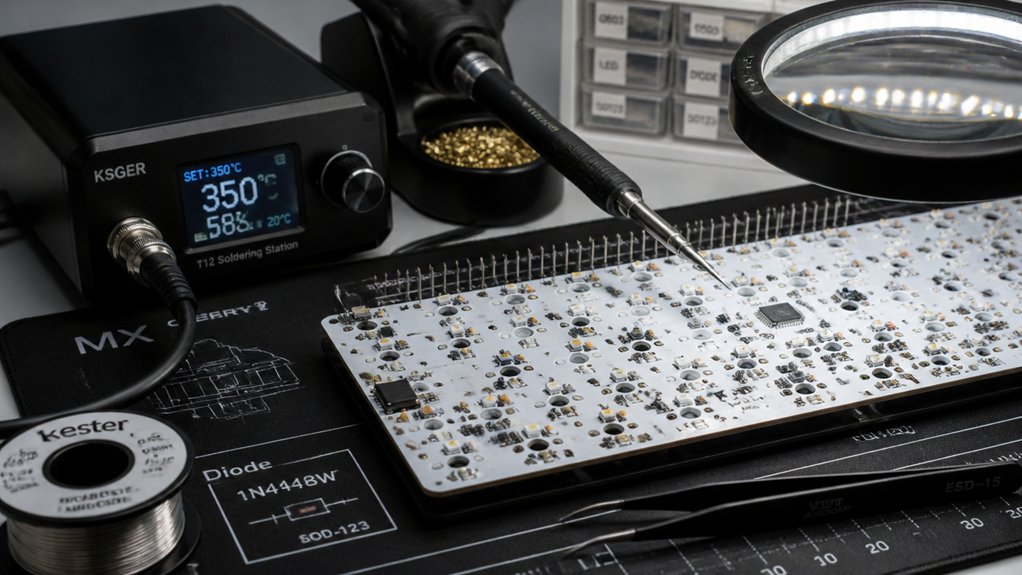
To solder your custom keyboard PCB like a pro, make certain your workspace is clean, well-lit, and ventilated before starting. Keep your soldering iron at around 330°C, and regularly clean and tin the tip for better heat transfer. Use minimal solder, heating both the pin and pad simultaneously to avoid cold joints. If you follow these expert tips, you’ll achieve reliable, long-lasting connections—plus, you’ll discover more essential techniques as you continue.
How to Prepare Your Workspace and Tools for Perfect Solder Joints
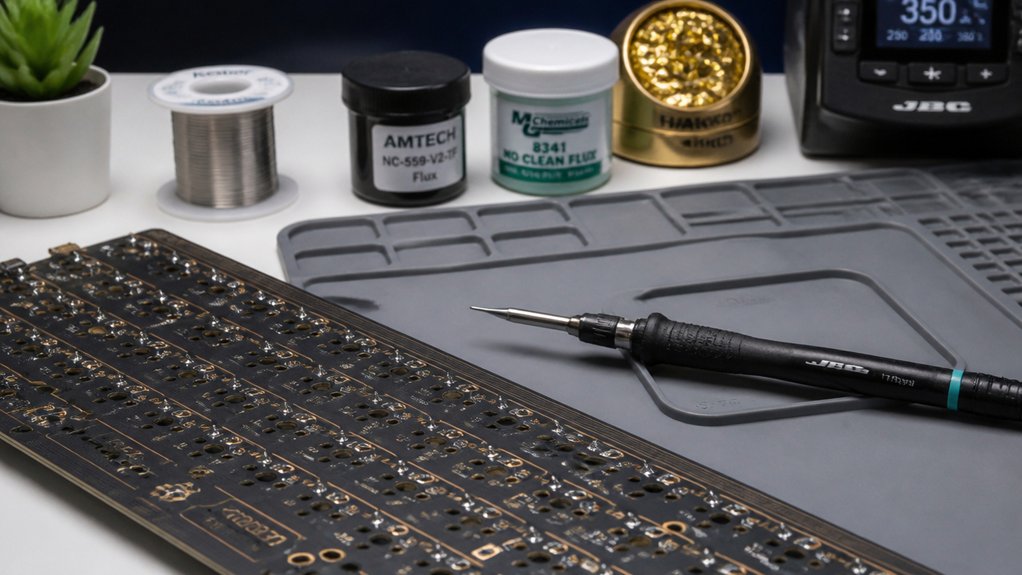
Before you start soldering your custom keyboard PCB, it’s essential to set up a clean and organized workspace. Arrange all components, tools, and safety gear, including eye protection, a solder sucker or desoldering gun, and a soldering iron stand with tip cleaner. Keep your workspace well-lit, ventilated, and use a fume absorber or work outdoors to avoid inhaling flux residue fumes. Prepare your soldering iron by heating it to around 330°C, tinning the tip, and cleaning it regularly. Use a rubber grounding mat to prevent static damage, especially with sensitive PCB electronics. Additionally, choosing the solder wire composition carefully ensures strong, reliable joints and minimizes thermal stress on components. Clear a 1’ x 2’ area for the keyboard, switches, solder wire, and accessories. Proper preparation guarantees efficient workflow and high-quality, reliable solder joints for your hot-swap sockets and other components.
How to Solder Like a Pro: Tips for Reliable, Clean Connections
Once your workspace is ready and tools are prepped, it’s time to focus on executing your solder joints with precision. To make sure your mechanical keyboard PCB connections are reliable, heat the switch pin and PCB pad simultaneously for 1-2 seconds, then feed minimal rosìn core solder to form a small cone-shaped volcano—no blobs or gaps. Keep the soldering iron tip clean and well-tinned by wiping with brass wool every 3-4 joints. Use a temperature around 330°C, never exceeding 350°C, to avoid damage. Reheat soldered pins while pressing the switch firmly to guarantee full seating. Pause and take breaks to maintain focus, with each solder motion lasting 4-5 seconds. Proper temperature control ensures consistent results and prolongs tip life.
Troubleshooting Common Soldering Problems and Ensuring Your Joints Last
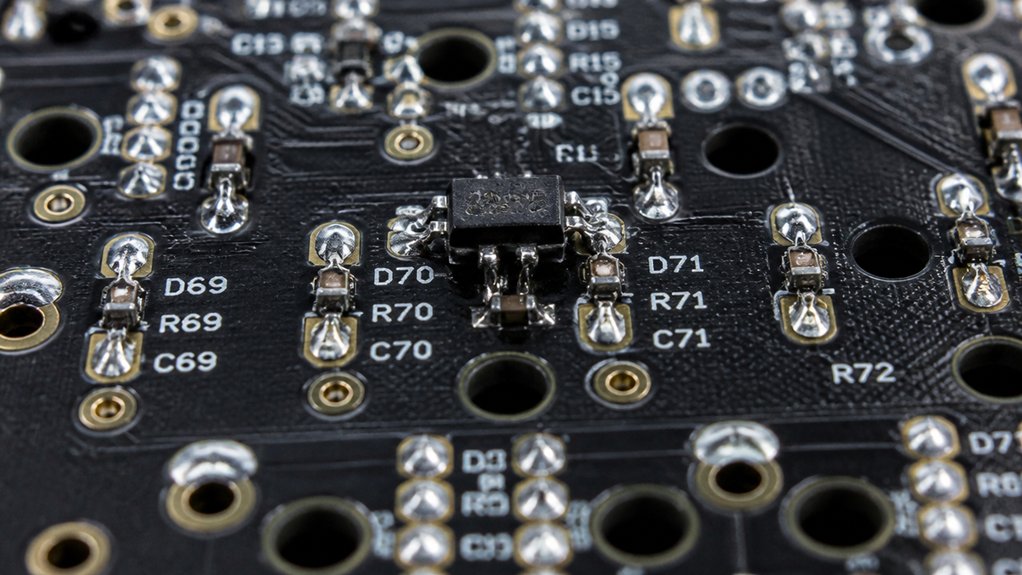
Even experienced soldering enthusiasts encounter issues like cold joints or weak connections, but these problems are easy to fix with proper troubleshooting. Check your solder joints to confirm they form by heating both the PCB pad and switch pin for 1-2 seconds before applying solder; this prevents cold joints and establishes a strong electrical contact. Using the correct flux type can significantly improve wetting and reduce the likelihood of defects. To avoid solder bridges, use minimal solder to create small, cone-shaped joints, maintaining mechanical stability over time. Reheat dull, cracked, or gapped joints while adding a bit of solder, holding the switch firmly until it cools. Keep your soldering iron tip clean by using brass wool after every few joints and re-tin it regularly for efficient heat transfer. Finally, clean flux residue with isopropyl alcohol to prevent corrosion, helping your solder joints last.
Frequently Asked Questions
What Are the Best Safety Precautions During Soldering?
You should always wear safety glasses and work in a well-ventilated area to protect yourself from fumes and splashes. Keep your workspace organized, use a soldering iron with a temperature control, and avoid touching the hot tip.
How Do I Prevent Cold Solder Joints?
To prevent cold solder joints, confirm your soldering iron is properly heated and clean, apply the right amount of solder quickly, hold the component steady until the solder cools, and avoid movement during cooling to form solid, reliable connections.
What’s the Ideal Soldering Iron Temperature for PCB Work?
You should set your soldering iron to around 350°C (662°F) for PCB work. This temperature melts solder effectively without damaging components. Adjust slightly based on your solder type and component specifications for the best results.
How Can I Avoid Damaging Delicate Components?
You can avoid damaging delicate components by using a temperature-controlled soldering iron set to the lowest effective temperature, applying gentle pressure, using leaded solder, and practicing proper technique to prevent excessive heat exposure and accidental bridges.
What’s the Best Way to Clean and Maintain My Soldering Iron?
You should clean your soldering iron regularly with a damp sponge or brass wool to remove oxidized solder. Keep the tip tinned, store it in a safe, dry place, and lightly apply flux before each use for peak performance.
In Summary
Now that you know how to prepare your workspace, master soldering techniques, and troubleshoot issues, you’re ready to create reliable custom keyboard PCBs. Take your time with each step, stay patient, and keep your tools clean. With practice, you’ll achieve neat, durable connections that enhance your keyboard’s performance. Remember, thorough preparation and steady hands are key to soldering success. Happy building!



