

To clean your wireless mechanical keyboard effectively, start by unplugging it and removing batteries. Photograph the layout for easy reassembly, then carefully remove the keycaps with a keycap puller. Wash the keycaps in warm, soapy water, and clean the surface with a soft brush, damp Q-tips, and isopropyl alcohol. Dry everything thoroughly before reassembling. Regular maintenance and proper cleaning techniques will keep your keyboard in top shape; discover more tips to master your cleaning routine.
Unplug and Prepare Your Wireless Mechanical Keyboard
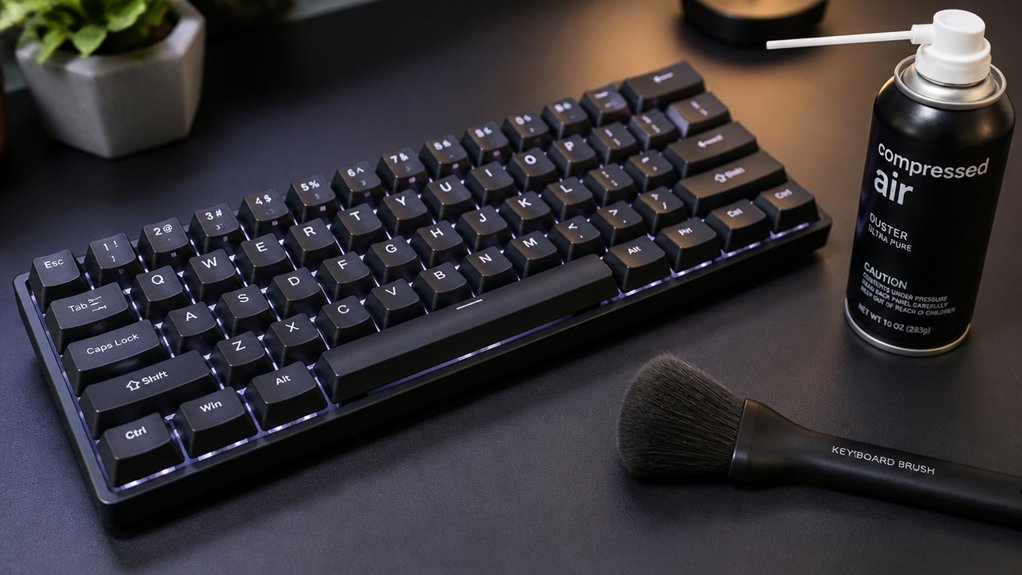
Before you start cleaning, unplug your wireless mechanical keyboard and remove the batteries to prevent any accidental activation or damage. This step guarantees no power runs through the device while you’re working on it.
Always disconnect and remove batteries to ensure safe, damage-free cleaning of your wireless keyboard.
Next, unplug any connected dongle or power cable to fully disconnect the keyboard from your computer or other devices. Once unplugged, turn your keyboard upside down and gently shake it to dislodge loose debris and dust particles. Taking this initial step helps make your deeper cleaning more effective.
Before you begin wiping down or deep cleaning, it’s helpful to take a clear photo of the keyboard layout. This way, you’ll know exactly where each key belongs when you reassemble everything.
Additionally, using an anti-static spray can further neutralize static buildup and prevent dust attraction during the cleaning process. Properly unplug and prepare your keyboard to keep your cleaning safe and efficient.
Take a Photo to Reassemble Keys Correctly
Taking a clear photo of your keyboard layout before removing the keys guarantees you’ll have a precise reference for reassembly. This photo acts as a visual guide, especially for locating uncommon keys like multiply, divide, or Print Screen. Keep your phone or computer handy to easily compare the original layout during reassembly, preventing mistakes. Using a paper towel to gently wipe the keys and surrounding area after photo-taking keeps everything clean while you work. The photo minimizes time wasted on trial and error, ensuring you place each key correctly the first time. Remember, a well-placed photo helps you remember key positions and makes it easier to restore your keyboard’s full functionality with less frustration. Incorporating keycap compatibility knowledge ensures you’re reassembling the keys on the correct switches and profiles for seamless operation.
Remove and Clean the Keys With Proper Techniques
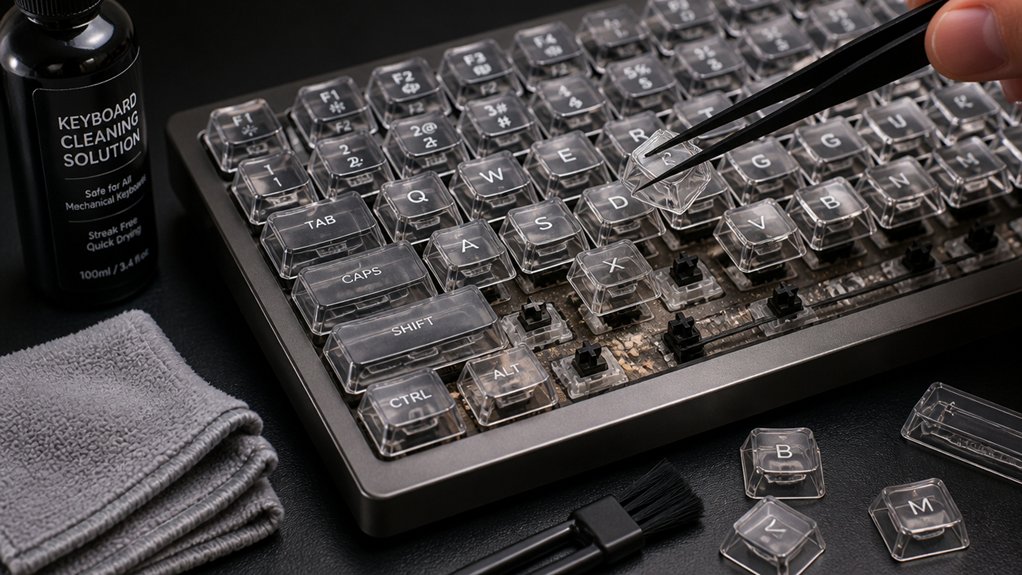
To effectively remove and clean your keyboard keys, start by carefully using a keycap puller to lift each key from one end, which helps prevent damage to the stems or stabilizers. Once removed, place your keys in a plastic strainer and rinse them under warm water to clear away loose debris. Next, soak the keys for 15-20 minutes in warm water mixed with dish soap to break down oils and dirt. After soaking, stir the keys in the soapy water, then rinse thoroughly with warm water. Finally, dry each key with a microfiber towel to prevent lint residue. To guarantee safe reassembly, double-check that all keys are completely dry. Proper drying with a lint-free cloth helps maintain the overall keycap integrity and prolongs their lifespan.
Deep Clean the Keys and Keyboard Surface Safely
Before deep cleaning, make sure to unplug your keyboard and remove the batteries for safety.
Carefully remove each key using a keycap puller, then soak and rinse them thoroughly before drying. Use gentle tools like a soft brush and damp Q-tips to clean the surface, and guarantee everything is completely dry before reassembling. Additionally, ensure you’re using a residue-free cleaning solution like high-purity IPA to prevent any sticky deposits or contamination.
Removing Keys Safely
Always unplug your wireless mechanical keyboard and remove the batteries before you start.
To make sure you remove keys safely, gently use a keycap puller to lift each key from one end to the other. Be especially careful with larger keys that have metal stabilizers, as these are more delicate.
Here’s what to keep in mind:
- Make sure to remove keys systematically, following your planned layout.
- Place the removed keys in a plastic strainer and rinse under warm water.
- Soak the keys in soapy water for 15-20 minutes to degrease and remove grime.
- Using a specialized cleaning brush can help dislodge stubborn debris from between the keycaps and surface.
Ensure all keys are completely dry before reseating them. Taking these steps prevents damage and guarantees a thorough clean.
Cleaning Keyboard Surface
Deep cleaning your wireless mechanical keyboard’s surface and keys is essential for maintaining peak performance and hygiene. Start by removing the batteries to prevent any electrical issues.
Use a microfiber cloth to wipe down the keyboard surface gently, removing dust and fingerprints. For disinfecting, apply disinfectant wipes that won’t leave lint or residue, guaranteeing a thorough cleanup.
For detailed surface cleaning, lightly dampen Q-tips with isopropyl alcohol and clean around the keys and hard-to-reach areas. Avoid oversoaking or using harsh chemicals, which could damage the surface.
Remember to let everything dry completely before reassembling and reattaching batteries. This routine keeps your keyboard clean, sanitized, and functioning smoothly, while a microfiber cloth guarantees a lint-free, streak-free finish. Proper cleaning methods help prevent residue buildup, ensuring your keyboard remains in optimal condition.
Drying and Reassembly
To guarantee your keyboard is fully ready for use, it’s essential to dry and reassemble it carefully after cleaning. First, confirm all keycaps are completely dry by gently blotting them with a microfiber towel to prevent lint and moisture residue.
Next, check that each keycap is aligned correctly onto its switch, using the initial photo as a reference, and press firmly until you hear a clicking sound, confirming they’re securely seated. Before reattaching the keys, use damp Q-tips with isopropyl alcohol to thoroughly clean the keyboard surface and switch tops. Additionally, consider the quick heat-up or cooling features of your cleaning tools to ensure safety and efficiency during maintenance.
Finally, allow the entire keyboard to dry fully by placing it upside down, making certain no trapped moisture can damage electronic components. This process guarantees a safe, deep clean while maintaining your keyboard’s integrity.
Essential Tools and Cleaning Agents for Deep Cleaning
Preparing your keyboard for deep cleaning requires gathering the right tools and cleaning agents. You’ll need a keycap puller, microfiber cloth, disinfectant wipes, and a small brush or vacuum with an anti-static attachment. Isopropyl alcohol is perfect for removing stubborn dirt and sanitizing key surfaces—use sparingly on a cloth or Q-tip to avoid damage. Cleaning slime is also effective for reaching crevices and embedded dirt between keys that are otherwise tricky to clean.
| Tool/Agent | Purpose | Tips |
|---|---|---|
| Keycap puller | Remove keycaps for soaking | Be gentle to avoid damage |
| Microfiber cloth | Wipe surfaces and apply isopropyl alcohol | Use dry or slightly damp cloth |
| Disinfectant wipes | Sanitize outer surfaces | Avoid excess moisture |
| Small brush / vacuum | Clean between keys and in crevices | Use anti-static attachment |
Reassemble Keys and Verify Correct Placement
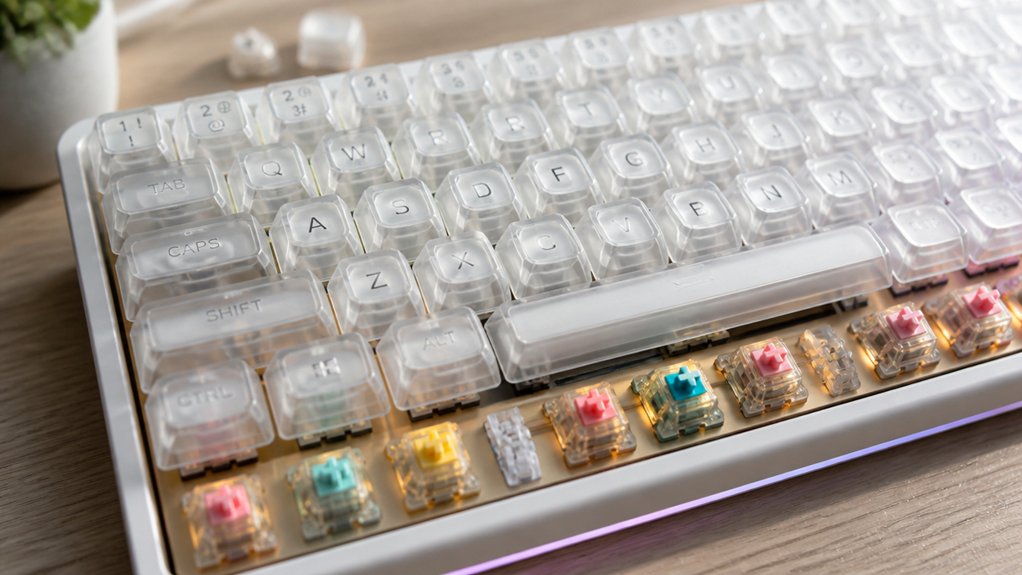
Before you start reassembling the keys, refer closely to the original photograph of your keyboard layout to guarantee each key is placed correctly. This safeguards your keyboard look remains as intended and prevents typing errors.
As you reassemble, follow these steps:
- Start from one end of the keyboard and work across to maintain organization.
- Carefully press each keycap onto its corresponding switch until you hear a click, confirming it’s secure.
- For large keys with metal stabilizers, confirm proper alignment and placement to keep functionality intact.
Double-check the key placement against your reference photo before testing your wireless mechanical keyboard. This careful verification guarantees the proper keyboard look and peak performance.
Tips to Keep Your Keyboard Clean Between Deep Cleans
To keep your keyboard clean between deep cleans, regularly wipe the surface with a microfiber cloth to remove oils and germs. Using a keyboard cover and avoiding eating near your device can help prevent buildup and messes. These simple steps make maintenance easier and keep your keyboard looking fresh longer. Incorporating proper case material like wood can also reduce the accumulation of dust and debris, making your cleaning routine more effective.
Regular Surface Wipes
Wondering how to keep your wireless mechanical keyboard looking clean during regular use? Regular surface wipes are your best defense. Use disinfectant wipes or a microfiber cloth dampened with isopropyl alcohol to gently clean the keyboard surface. This removes oils, germs, and dirt, preventing buildup between deep cleanings.
Remember to keep the wipes only slightly damp to avoid excess moisture that could damage internal components, especially for wireless models. Focus on high-touch areas and frequently used keys to maintain hygiene and prevent germ transfer.
To get the most out of these wipes:
- Always use disinfectant wipes designed for electronics.
- Wipe in gentle, circular motions to avoid damaging key labels.
- Clean weekly or biweekly to reduce the need for deeper cleaning sessions.
- For removable keycaps, consider keycap removal and cleaning separately to ensure thorough sanitation.
Use Keyboard Cover
A practical way to maintain a clean wireless mechanical keyboard between deep cleans is by using a keyboard cover. A silicone cover fits snugly over your keys, shielding against dust, crumbs, and debris. It’s flexible, washable, and preserves key visibility. Regularly cleaning the cover with mild soap and water keeps it hygienic and effective. Using a microfiber cloth, you can easily wipe away surface smudges without removing the cover. This minimizes contamination and reduces how often you need to deep clean. To guarantee peak protection and visibility, choose a clear cover that doesn’t interfere with typing or key legends. Ensuring the cover is made from a high-quality material will help it retain its form and protective qualities over time.
Avoid Eating Near Keyboard
Keeping food away from your keyboard is essential for maintaining cleanliness and preventing buildup of crumbs and grease, which can attract dirt and cause sticky keys. To avoid frequent deep cleanings, establish habits that minimize messes.
- Create a no-food zone around your workspace, reducing the chances of crumbs settling between keys.
- Always wash your hands before using the keyboard to prevent transferring oils and food residues.
- Regularly wipe the surface with disinfectant wipes or a microfiber cloth to catch food particles early, stopping them from accumulating.
Using compressed air or cleaning slime between deep cleans will help remove loose debris without disassembling your keyboard. Staying conscious of eating habits helps keep your wireless mechanical keyboard cleaner longer and reduces the frequency of deep clean sessions.
Troubleshooting Common Cleaning Challenges
Have you encountered issues where your wireless mechanical keyboard isn’t responding properly after cleaning? If so, start by turning the keyboard upside down to gently remove any trapped debris or moisture.
If your wireless mechanical keyboard stops responding after cleaning, try flipping it upside down to clear trapped debris or moisture.
Check that all keycaps are properly seated, especially on larger keys with stabilizers, since misaligned keys can cause input problems. Make certain all components, including batteries and internal electronics, are completely dry before reassembly—moisture can cause electrical failures or corrosion.
If reconnected, the keyboard still doesn’t work, compare your reassembly with initial photos to verify proper key placement and wiring. For stubborn debris under keys, use a Q-tip dipped in isopropyl alcohol or cleaning slime for safe removal without disassembling the board further.
Proper troubleshooting can often resolve common cleaning-related issues efficiently.
Final Inspection: Make Sure Your Keyboard Is Spotless and Works Properly
Once you’ve finished cleaning and reassembling your wireless mechanical keyboard, it’s crucial to perform a thorough inspection to confirm everything is in order. Use a bright light to carefully wipe away any remaining debris or residue on the keys and board’s surface.
Next, test each key individually to make certain proper responsiveness, especially after deep cleaning and drying. Verify that all keycaps are securely seated and aligned according to your initial layout to avoid typing errors.
Confirm the keyboard is completely dry and free from moisture before powering it on or reconnecting the wireless features to prevent damage.
Finally, wipe away fingerprints or streaks with a microfiber cloth to maintain a clean, polished appearance. This final step guarantees your keyboard looks great and functions flawlessly.
Frequently Asked Questions
How to Clean Wireless Mechanical Keyboard?
To clean your wireless mechanical keyboard, unplug it, remove batteries, take photos for reassembly, carefully pull keys, soak and rinse them, clean the board with a brush and alcohol, and confirm everything’s dry before reassembling.
Can I Use WD40 to Clean My Mechanical Keyboard?
You shouldn’t use WD40 on your mechanical keyboard. It’s a lubricant that can damage electronic parts, leave oily residues, and cause corrosion. Instead, opt for isopropyl alcohol or specialized electronic cleaners with a soft cloth.
Is Dawn Dish Soap Safe for Keycaps?
Yes, Dawn dish soap is safe for cleaning keycaps. You soak the keycaps in warm, soap-infused water, then scrub gently, rinse thoroughly, and dry with a microfiber towel to keep them clean without damage.
How Do You Clean a Keyboard Without Ruining It?
To clean your keyboard without ruining it, unplug or remove batteries first, then gently wipe with isopropyl alcohol or disinfectant wipes. Use compressed air or cleaning slime for debris, and avoid saturating the device.
In Summary
Now that you know how to clean your wireless mechanical keyboard properly, it’s easy to keep it in top shape. Regular maintenance prevents dust buildup and keeps your typing smooth. Just remember to unplug it before cleaning, take photos for reassembly, and use the right tools. With a little effort, your keyboard will stay spotless and function flawlessly, giving you a better typing experience every time. Happy cleaning!



