
To set up RGB mechanical keyboard lighting with Arduino, start by selecting the right Arduino model that matches your LED count and PWM needs, like an Arduino Nano or Pro Mini. Use common anode or cathode RGB LEDs suited for keyboard key sizes, and wire each with current-limiting resistors through PWM pins. Program your Arduino with effects like fading or rainbow cycles, controlling color via PWM signals. Ensuring proper wiring, power supply, and mounting is essential for reliable brightness and longevity. Keep exploring for detailed steps and tips to perfect your setup.
Getting Started With RGB Mechanical Keyboard Lighting
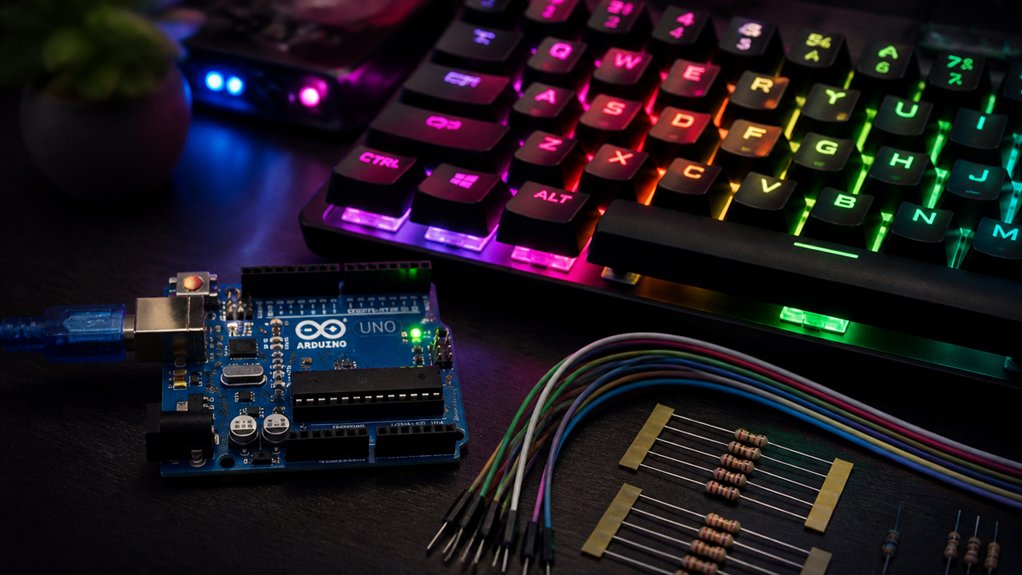
Are you ready to bring your mechanical keyboard to life with vibrant RGB lighting? Start by connecting RGB LEDs to your Arduino using three 220 Ω resistors on pins 9, 10, and 11, ensuring you identify whether your LEDs are common anode or cathode for correct wiring. Incorporate lighting effects variety into your design to create dynamic and animated keyboard underglow patterns. Using the Arduino IDE, write code that controls the LEDs through PWM (analogWrite), adjusting red, green, and blue intensities for a full spectrum of colors. For common anode LEDs, subtract the color value from 255 to invert the signal; common cathode LEDs use the direct 0-255 range. Cycle through preset colors like red, green, and blue with timed delays, and add external controls or buttons to switch lighting schemes for customized keyboard backlighting.
Choosing the Right Arduino Model for Your RGB Keyboard
When choosing an Arduino model for your RGB keyboard lighting, consider the number of LEDs you plan to control and the available pins. For multiple keys with independent RGB lighting, you’ll need at least 18 PWM-capable pins, which may require external LED drivers or multiplexing.
The Arduino Uno, with 14 digital I/O pins, works well for simpler setups. For compact installations, the Arduino Nano or Pro Mini offer small size and enough PWM pins to run your Arduino code, controlling different colors effectively.
Low-power options like the ATTiny85 can handle simple lighting effects but are limited by fewer pins and processing power.
Power supply stability is key; select an Arduino that can be powered via USB and handle the current for multiple RGB LEDs to guarantee consistent power management.
Picking and Preparing RGB LEDs for Your Keyboard
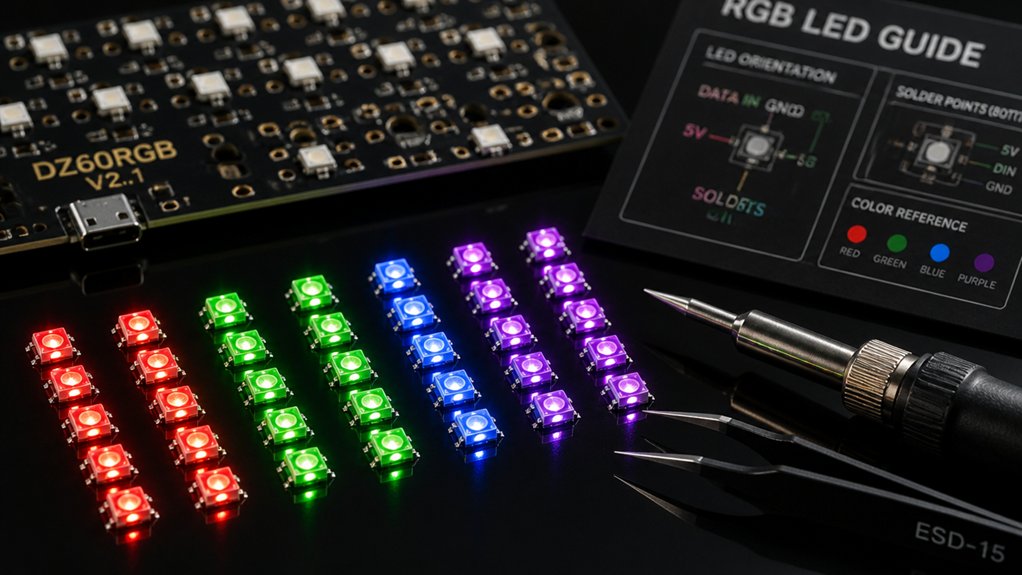
Before installing RGB LEDs into your keyboard, it’s essential to identify whether they’re common anode or common cathode. This guarantees your wiring and code work correctly, saving time and frustration.
Identify LED type first to ensure correct wiring and proper function, saving time and avoiding frustration.
To prepare your LEDs, follow these steps:
- Test with a 3V battery pack to determine LED polarity—positive to longer leg or marked pin for common anode, negative for common cathode.
- Choose RGB LEDs with approximately 3mm diameter to fit comfortably under keycaps, especially with transparent cuts.
- Use 220 Ω resistors for each color pin to limit current, protecting your Arduino and LEDs.
- Solder wires carefully, then use hot glue to protect fragile traces if salvaging from strips.
Additionally, understanding the electrical characteristics of your LEDs ensures they operate efficiently and safely within your project. Following this will give you everything you need for a smooth setup, avoiding issues that could violate terms of service.
Wiring Your LEDs and Microcontroller: A Step-by-Step Guide
To wire your RGB LEDs to the Arduino effectively, start by connecting each LED’s common pin to either the 5V supply or GND, depending on whether you’ve identified it as common anode or common cathode. This guarantees the correct voltage reference for each LED.
Next, connect each color leg (red, green, blue) through a 220 Ω resistor to dedicated PWM pins on the Arduino, such as pins 11, 10, and 9. Using separate resistors on each channel prevents excess current flow, protecting both the LEDs and the microcontroller.
Secure all connections on a breadboard or perfboard, keeping wires short and tidy to minimize noise. Also, power the Arduino via USB or an external source, and set up serial communication if you’re planning to control lighting effects through PC input or buttons. Additionally, consider OLED display modules for visual feedback or customization of your lighting patterns.
Programming Arduino to Create Dynamic RGB Effects
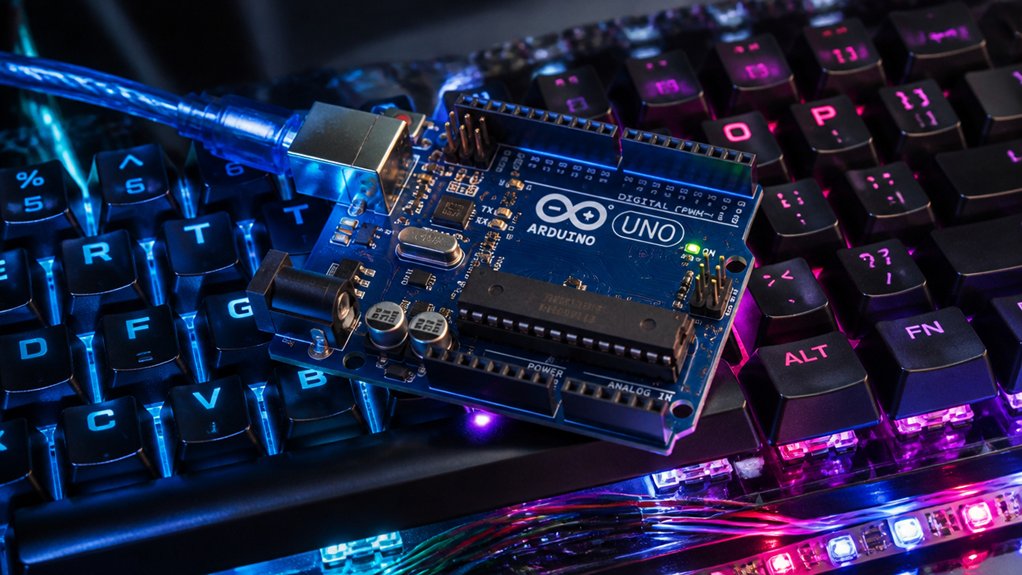
Creating dynamic RGB effects with your Arduino involves controlling the brightness of each color channel using PWM signals. You modulate brightness smoothly between 0 and 255 to generate effects like fading, rainbow waves, or reactive lighting. Utilizing high-quality PBT RGB keycaps can enhance light diffusion, making your effects appear more vibrant and evenly distributed. For common anode RGB LEDs, remember to invert the color values (255 minus desired brightness) due to wiring. You can enhance your lighting by: 1. Writing functions like setColor() for clear, reusable code. 2. Using loops with delays to sequence colors and create animations. 3. Cycling through predefined color schemes or blending colors programmatically. 4. Incorporating serial communication or input buttons to switch effects or respond to external triggers. This approach grants you fine control over each key’s lighting, creating vibrant, fluid effects on your RGB mechanical keyboard.
Syncing Lighting With Keyboard Inputs and Commands
Since Arduino can’t directly detect keyboard inputs, you’ll need a PC program, like a Python script, to capture keystrokes and send serial commands. To ensure smooth color transitions, managing serial messages and PWM outputs effectively is essential for syncing your keyboard lighting with user inputs. Additionally, understanding switch compatibility and their features helps optimize your lighting setup for different switches and customization options.
Capturing Keyboard Inputs
Because Arduino can’t directly detect keystrokes from a PC keyboard, capturing keyboard inputs to sync your RGB lighting requires a PC-side program that sends keystroke data over a serial connection. You’ll use software like Python with libraries such as `pyserial` or `msvcrt` to capture keystrokes and transmit them to your Arduino. Using USB-C connectors with suitable data transfer speeds ensures stable communication between your PC and Arduino setup, especially for more complex or high-frequency inputs. To effectively parse input, your Arduino code must read serial data with `Serial.read()` and interpret commands for lighting changes. Proper initialization with `Serial.begin(baud_rate)` in the `setup()` function guarantees reliable communication.
To add functionality, connecting a physical button to Arduino pins allows manual scheme cycling, providing an independent control method. This setup makes your lighting responsive and customizable, syncing with both software commands and physical inputs.
Communicating With Arduino
To enable real-time updates, the microcontroller must receive signals for key presses or commands that change lighting profiles. You can use external USB-serial converters or software libraries like Python’s `pyserial` to facilitate this communication effectively. Additionally, implementing USB serial communication ensures seamless data transfer between your PC and Arduino for dynamic lighting control.
Managing Power and Extending LED Lifespan
Managing power effectively is essential for prolonging the lifespan of your RGB keyboard LEDs and ensuring safe operation. To do this, use current-limiting resistors (around 220 Ω) for each LED color channel to prevent excessive current that causes overheating.
Avoid running LEDs at maximum brightness continuously; instead, use PWM dimming to reduce heat and energy consumption. Implement automatic lighting shut-offs or ambient light sensors to turn off LEDs when not needed, minimizing wear.
When powering multiple RGB LEDs from a single Arduino and USB power source, carefully calculate the total current to prevent voltage drops and damage. And finally, regularly adjusting brightness or turning off backlighting during idle times can greatly extend LED life and conserve power. Additionally, selecting appropriate switch types with built-in RGB compatibility can optimize lighting performance and longevity.
Troubleshooting Common Problems With Your RGB Keyboard
If your RGB keyboard isn’t lighting up properly, start by checking your wiring connections to guarantee LEDs are correctly wired with the right resistors and the proper common anode or cathode configuration.
Next, review your code for errors, especially in handling PWM signals and serial communication, to prevent color mismatches or input issues.
Finally, confirm your power supply can handle multiple LEDs, as insufficient power causes flickering or dim lighting.
Additionally, ensure your lighting configurations are compatible with the RGB lighting options available for your specific keyboard kit, such as the south-facing RGB LEDs often used in these models.
Incorrect Wiring Connections
Incorrect wiring is a common issue that can prevent your RGB keyboard from lighting properly or cause inconsistent color rendering. To troubleshoot, start by verifying the LED type: connect the common anode pin to 5V or the common cathode pin to GND, as reversing these stops proper control.
Next, guarantee each color leg (red, green, blue) has a 220 Ω resistor in series to prevent damage from excess current. Confirm that your RGB LED legs are connected to the correct PWM-capable digital pins (like pins 9, 10, and 11) for accurate color mixing.
Finally, check for loose or misplaced jumper wires and confirm all contacts are solid. Double-check soldered joints for shorts and match your code’s logic with your LED type to avoid unexpected lighting issues.
Faulty Code Implementation
Faulty code implementation is a common reason your RGB keyboard lighting doesn’t function as expected. You might’ve missed declaring variables like “keypressed,” causing compilation errors that prevent your code from running. Remember, Arduino IDE requires all variables to be explicitly declared and assigned before use.
Since Arduino boards can’t directly detect PC keyboard keypresses, make certain you’ve set up proper serial communication with `Serial.begin()` in `setup()` and read inputs with `Serial.read()` inside your `loop()`. When checking for specific characters, use single quotes, such as `’a’`, and match variable types to avoid logical errors.
Confirm your hardware connections align with your code. Verifying these aspects helps you troubleshoot common code issues effectively, guaranteeing smooth RGB lighting control.
Power Supply Limitations
Power supply limitations often cause RGB keyboard lighting issues, especially when adding multiple LEDs. Your Arduino’s USB port supplies up to 500mA, which can be insufficient for many LEDs. Ignoring resistor requirements can cause power instability or damage. Drawing too much current from the Arduino risks voltage drops or resets.
To prevent problems:
- Use external power supplies or powered hubs when scaling beyond six LEDs.
- Add a 220 Ω resistor to each LED leg to limit current and prevent overheating.
- Pay attention to LED polarity—common anode and common cathode LEDs need correct wiring.
- Employ external regulators and shared grounds for stable voltage.
Proper power management guarantees consistent lighting, avoiding flickering or non-functioning LEDs, and prolongs your setup’s lifespan.
Enhancing Effects With Libraries and Custom Animations
By leveraging libraries like FastLED and NeoPixel, you can greatly simplify the process of creating dynamic RGB keyboard lighting effects. These libraries offer built-in functions for managing colors, adjusting brightness, and creating animations, all while using memory efficiently.
You can craft custom effects such as gradient color progressions, blinking, fading, and cycling colors by manipulating LED color values with straightforward API calls and timing functions.
Using predefined color palettes and correction features boosts color accuracy and guarantees consistent lighting across different LED types and batches.
Implementing non-blocking code with millis() enables smooth, continuous animations without disrupting key scanning or other keyboard functions.
For more advanced effects, you can synchronize lighting with keyboard input or external sensors, adding reactive, immersive visuals.
Expanding Your Setup: Adding More LEDs and Features
Expanding your RGB keyboard setup to include more LEDs and features opens up exciting possibilities for customization and visual effects.
To control extra LEDs, consider techniques like multiplexing or using LED driver ICs such as the TLC5947, which help overcome pin limitations on smaller Arduinos. Alternatively, integrating addressable RGB LED strips like WS2812B simplifies wiring and allows individual LED control with just one data pin and specialized libraries.
Use multiplexing, TLC5947 drivers, or WS2812B strips for easier, scalable RGB LED control in your keyboard setup.
You can add features such as lighting scheme selection by connecting buttons or rotary encoders, then programming the Arduino to cycle through patterns. To support increased power demands, use external power supplies or powered USB hubs.
Finally, expanding software to include serial communication enables PC integration for dynamic lighting based on gameplay or user input.
Installing, Maintaining, and Final Tips for Your RGB Keyboard
Getting your RGB keyboard installed properly is key to long-lasting, vibrant lighting.
Regular maintenance, like cleaning and inspecting connections, helps keep everything consistent and prevents issues.
Finally, calibrate your setup carefully to guarantee your lighting schemes look just right and work smoothly.
Proper Installation Techniques
Proper installation of your RGB keyboard lighting is essential to guarantee reliable performance and a clean look.
First, identify if your RGB LEDs are common anode or common cathode to verify correct wiring polarity.
Second, use 220 Ω resistors in series with each LED leg to protect both the LEDs and Arduino pins from excess current.
Third, secure the LEDs properly beneath the keys, considering the 3mm hole diameter in switches like Cherry MX for proper alignment and even lighting.
Fourth, regularly inspect and clean the connections and wiring to prevent shorts and maintain consistent brightness.
Additionally, utilize Arduino PWM control with correct coding—remember to invert values for common anode LEDs—to achieve smooth color shifts and extend LED lifespan.
Maintaining Light Consistency
To guarantee your RGB keyboard lighting remains consistent and visually appealing, regular maintenance and careful installation are essential.
First, make certain all LEDs are correctly installed with proper polarity—matching common anode or cathode types—to keep lighting uniform. Clean the keyboard and LED lenses frequently to prevent dust buildup, which can reduce brightness and distort colors over time.
Use PWM control with calibrated brightness settings on your Arduino to achieve smooth color shifts and consistent light intensity across all keys. Secure wiring and solder joints firmly inside the case to prevent loose connections that cause flickering or intermittent lighting.
Finally, periodically update your Arduino firmware, optimizing effects and making certain stable performance. These steps keep your RGB lighting consistent and vibrant.
Final Calibration Tips
Achieving the perfect RGB keyboard lighting requires careful final calibration to guarantee all keys display consistent colors and brightness. To do this effectively, focus on these steps:
- Secure the RGB LEDs firmly under your keys with double-sided foam tape or suitable mounts to prevent displacement during use.
- Regularly clean the keyboard and LED contacts using compressed air or isopropyl alcohol to maintain brightness and prevent flickering.
- Check solder joints and wiring connections periodically for wear or looseness, which can cause inconsistent lighting or failure.
- Adjust color intensity and brightness through your Arduino code or software controls, balancing vividness with power efficiency to extend LED lifespan.
Proper calibration guarantees your keyboard looks sharp and functions reliably over time.
Frequently Asked Questions
How Do I Prevent Arduino From Overheating When Controlling Many LEDS?
To prevent Arduino overheating, limit the current draw by using current-limiting resistors, add a power supply, and incorporate a proper heat sink or active cooling. You can also control fewer LEDs or use external drivers for bigger setups.
Can I Customize Lighting Effects for Individual Keys?
Yes, you can customize lighting effects for individual keys using Arduino by assigning specific colors and patterns to each key’s LED. You’ll need to modify your code and data structure to control each LED independently, creating unique effects per key.
What’s the Best Way to Reduce Power Consumption of My RGB Keyboard?
To reduce your RGB keyboard’s power consumption, lower brightness levels, switch to static lighting, disable animations, and reduce the frequency of color changes. Adjusting settings through your keyboard’s software or firmware helps conserve energy effectively.
How Do I Ensure Consistent Color Appearance Across All LEDS?
To guarantee consistent color across all LEDs, calibrate each LED individually and use uniform color data in your code. Regularly test under same lighting conditions, and adjust the color values until all LEDs display the desired hue uniformly.
Is It Possible to Update or Change Effects After Initial Programming?
Yes, you can update or change effects after initial programming. You simply upload new code or modify existing code on your Arduino, allowing you to customize effects anytime and easily switch between different lighting patterns or create new animations.
In Summary
Now that you know the basics, you’re ready to bring your RGB mechanical keyboard to life. With the right components and a bit of coding, you can create stunning lighting effects tailored to your style. Keep experimenting, troubleshoot as needed, and don’t hesitate to explore new animations and features. Before you know it, you’ll have a uniquely personalized keyboard that not only looks great but also feels like a true extension of your setup. Happy building!



