
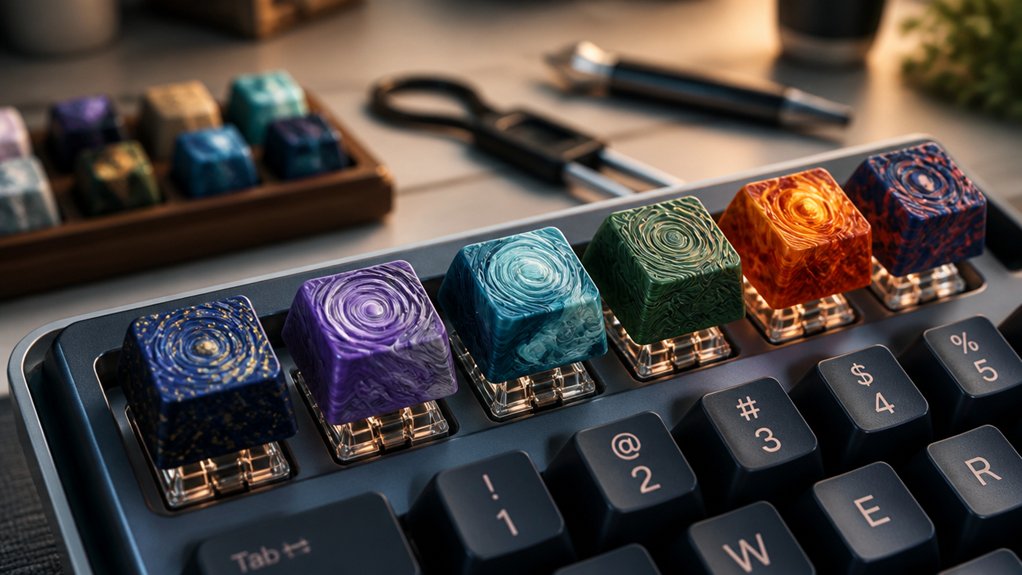
Installing artisan keycaps properly is essential to keep their delicate resin designs safe from chips, cracks, or damage. Using the right tools and gentle pressure guarantees they fit securely on Cherry MX or TMX switches, preventing wobble and internal harm. Proper installation also protects artwork and extends the keycap’s lifespan. If you want to learn how to avoid common mistakes and guarantee your artisan caps stay beautiful and functional, keep exploring this guide.
Why Installing Artisan Keycaps Carefully Matters
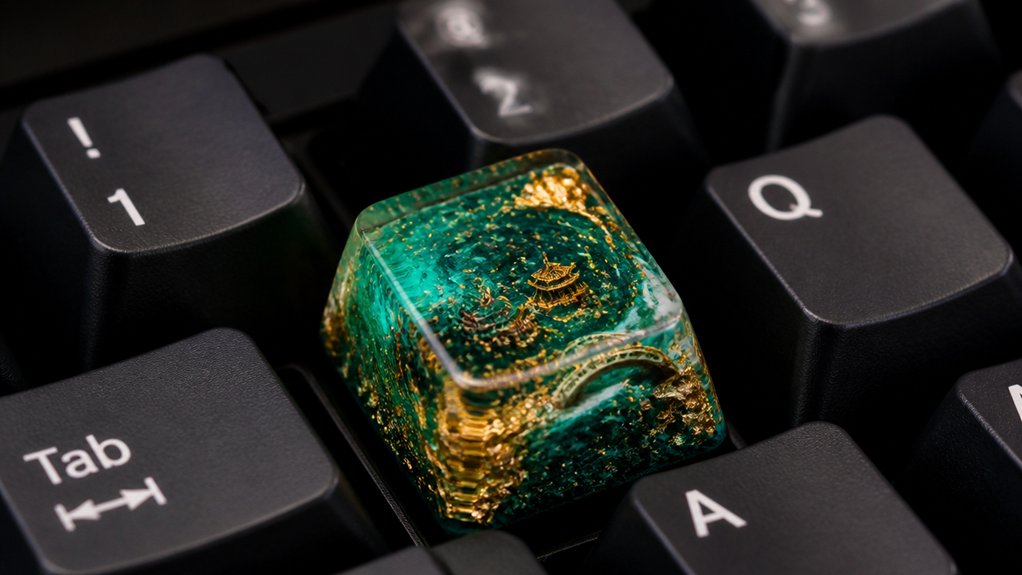
Installing artisan keycaps carefully is essential to protect their intricate designs and delicate materials. Proper installation using a wire-loop keycap puller prevents damage to fragile resin and fine details.
Careful alignment guarantees the artisan keycap fits securely on Cherry MX or TMX stems, preventing wobble and maintaining smooth typing. It’s important to install artisan keycaps on appropriate keys, like Escape or function keys, to avoid interference with neighboring keys and preserve keyboard ergonomics.
Gentle pressing avoids cracking or stressing resin materials, which are prone to damage from rough handling. Taking your time during installation helps preserve the artisan keycap’s aesthetic appeal and longevity. Additionally, understanding compatibility considerations ensures that the keycap fits properly without damage or obstruction.
Ultimately, careful installation shields your investment, keeps your keyboard looking sharp, and guarantees you enjoy the full beauty and functionality of your artisan collection.
Common Mistakes That Can Damage Your Artisan Keycap or Switch
Many common mistakes during installation can easily damage your artisan keycap or switch if you’re not careful.
First, using a non-wire keycap puller or prying the artisan cap from the side can crack or chip delicate resin details. Second, forcing the keycap onto an incompatible switch type may strip the artisan cap’s mounting area or harm the switch itself. Third, pulling or pressing the keycap with excessive force risks internal resin fractures and reduces lifespan.
Additionally, frequent swapping without proper care accelerates wear on both the artisan keycap’s stem and the switch, leading to premature damage. Always use the correct tools and handle your keycaps gently to avoid costly mistakes and preserve the beauty and functionality of your keyboard components. Being mindful of compatibility considerations can help prevent these issues and ensure a longer lifespan for your artisan keycaps and switches.
How Proper Installation Keeps Your Keyboard Looking Good and Working Well
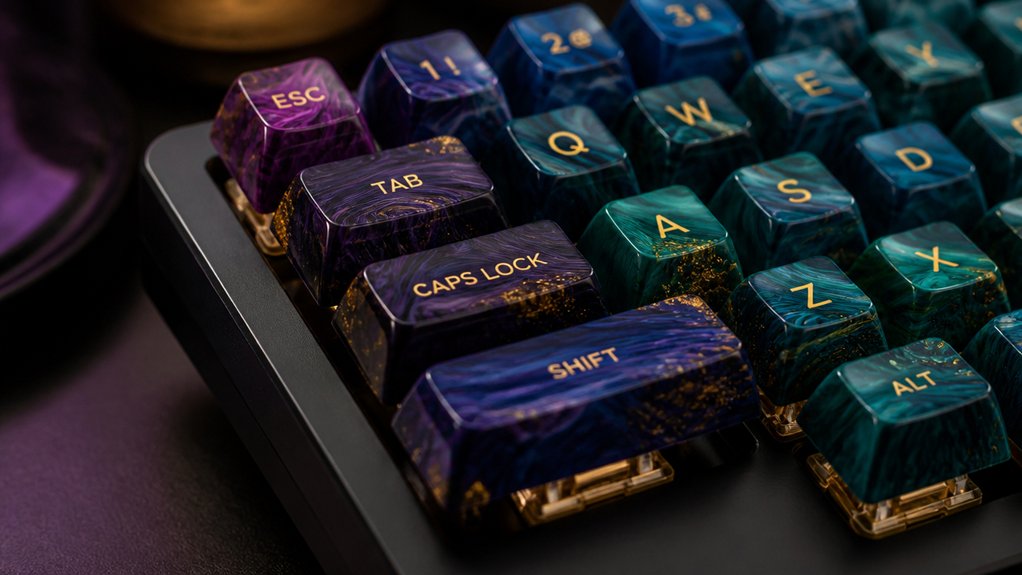
Proper installation plays a crucial role in keeping your keyboard both visually appealing and fully functional. Using a wire-loop keycap puller guarantees you don’t damage delicate artisan keycaps or the switch stems, preserving their intricate details and overall look.
Making sure your artisan keycaps are compatible with Cherry MX or TMX switches guarantees a snug fit, preventing key wobble and improving typing accuracy. For keys like Escape or function keys, installing artisan caps strategically balances aesthetics with everyday usability.
Additionally, choosing durable materials for your artisan keycaps and tools helps ensure their longevity and resistance to wear over time. Carefully aligning and pressing each keycap prevents scratches, cracks, or warping, which could diminish craftsmanship. Proper installation also reduces wear on the mounting area and switches, helping your keyboard remain beautiful and reliable over time.
Well-installed artisan keycaps keep your setup stylish and functioning at its best.
Step-by-Step: How to Install Artisan Keycaps Safely
To install artisan keycaps safely, start by removing the original keycap with a wire-loop keycap puller. This prevents damage to the switch stem or surrounding keys.
Next, confirm the artisan keycap’s stem compatibility—most use Cherry MX or TMX stems—and align it properly with the switch.
To make sure it’s secure, follow these steps:
- Gently press the artisan keycap onto the switch stem until it’s evenly seated.
- Avoid forcing it to prevent breakage or damage.
- Handle the keycap by its sides to protect its delicate, sculpted details.
Installing on less frequently used keys like Escape or function keys helps reduce wear and keeps your keyboard looking pristine. Ensuring the keycap is made from durable materials like double-shot PBT or polycarbonate can also help prolong its appearance and resistance to wear and fading.
Tools and Tips for Removing and Replacing Artisan Keycaps Without Damage
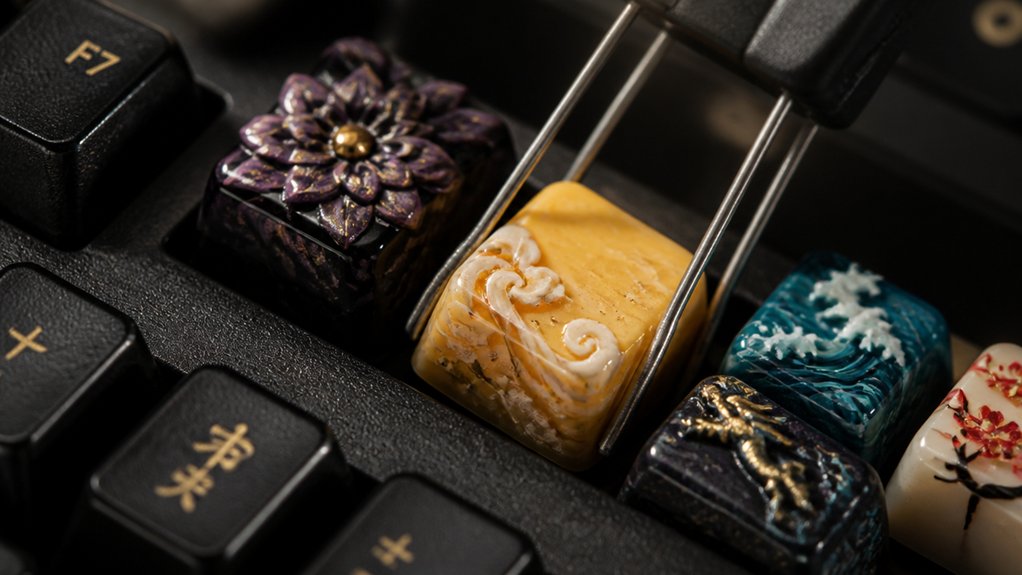
Wondering how to remove and replace artisan keycaps without causing damage? The key is using the right tools and techniques. A wire-loop keycap puller designed specifically for removing artisan keycaps allows you to apply even pressure, reducing the risk of damage to delicate details.
When removing, always grip the artisan keycap by its sturdy sides, avoiding fragile sculpted areas. Gently wiggle the keycap to loosen it, which helps lessen stress on the switch stem, especially with resin artisan keycaps. Additionally, considering the keycap profile and material quality can help ensure a more secure and damage-free removal process.
When replacing, carefully align the stem with the switch stem and press down firmly but gently to guarantee a secure fit. Avoid using excessive force or prying tools, as they can crack the cap or damage your keyboard’s switches.
Ensuring a Secure, Stable Fit for Your Artisan Keycaps
Achieving a secure and stable fit for your artisan keycaps is essential to guarantee they stay firmly in place during regular use. A proper fit prevents wobbling, detachment, and damage to both the keycap and switch.
A secure fit keeps artisan keycaps stable, preventing wobbling and damage during everyday use.
To confirm this, consider these steps:
- Use a keycap puller carefully during installation to avoid damaging delicate designs.
- Verify that the artisan keycap aligns correctly with the key’s size and profile, preventing interference with neighboring keys.
- Make sure the keycap sits evenly on the switch stem, ensuring a secure fit that minimizes wear and prolongs lifespan.
Troubleshooting Installations: What to Do If Something Goes Wrong
What should you do if your artisan keycap doesn’t fit properly? First, double-check its stem type compatibility—most artisan keycaps are designed for Cherry MX stems and may not fit Topre or other switches without a TMX stem. Use a wire-loop keycap puller to gently remove the artisan keycap, inspecting for mold flash or trim marks that could interfere with seating. If needed, carefully trim or sand these areas. Additionally, ensure the tool supports switch compatibility, preventing unnecessary damage during installation.
How to Care for Your Artisan Keycaps to Make Them Last Longer
To guarantee your artisan keycaps stay vibrant and detailed over time, proper care is essential. Here are three key tips:
- Use a wire-loop keycap puller to gently install and remove artisan keycaps, preventing damage to their delicate sculpted details and switch stems.
- Clean artisan keycaps regularly with a soft microfiber cloth, avoiding harsh chemicals or prolonged UV exposure to preserve their colors and surface finishes.
- Store unused artisan keycaps individually in padded organizers or wrapped to protect against scratches, fading, or warping from sunlight and dust.
Always handle artisan keycaps by their sides to avoid wear on intricate designs and minimize stress on the mounting area. For minor scratches, careful wet sanding and polishing can help, but internal resin damage is usually irreversible. Incorporating durable materials like PBT and high-quality printing techniques such as dye sublimation in manufacturing can further extend their lifespan and maintain detailed artwork.
Frequently Asked Questions
What Is the Point of Artisan Keycaps?
The point of artisan keycaps is to personalize your keyboard with unique, handcrafted designs that showcase your style, add visual interest, and make your setup stand out, all while often serving functional or aesthetic purposes in your daily use.
Do Artisan Keycaps Improve Typing?
Artisan keycaps don’t really improve typing; they’re mainly about aesthetics. They may feel different, and can affect stability or comfort, especially during long use. Proper installation keeps them secure and guarantees smoother, more consistent keypresses.
Why Are Artisan Keycaps so Expensive?
Artisan keycaps are expensive because they’re handcrafted with intricate designs, use high-quality materials, and take extensive hours to produce. Limited editions, unique artistry, and strict quality control also increase their rarity and market value, driving up the cost.
How Long Should I Soak My Keycaps For?
You should soak your artisan keycaps for about 10 to 15 minutes in warm, soapy water. Keep the soak no longer than 30 minutes to avoid damaging the delicate resin and details, then gently clean and dry them thoroughly.
In Summary
Properly installing your artisan keycaps guarantees they look stunning and stay durable. Take your time, use the right tools, and follow careful steps to avoid damage. When you install them correctly, your keyboard not only becomes a unique expression of style but also functions smoothly. Regular care and attention will keep your artisan keycaps in top condition for a long time, making every keystroke a satisfying experience. Proper installation truly makes all the difference.



