
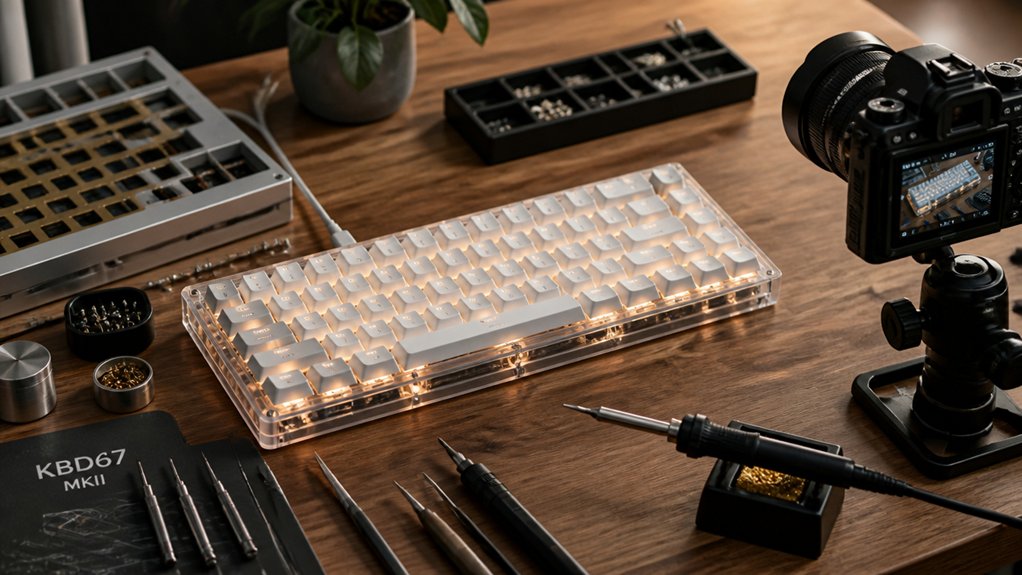
To build a lightweight wireless mechanical keyboard, start by choosing a compact layout like 40% or 60% that suits your needs while ensuring compatibility with your firmware, such as ZMK. Select lightweight switches, like Kailh low profile Choc reds, and incorporate stabilizers for stability. Use a high-quality wireless module and Li-ion batteries for reliable power. Design a slim, sound-dampening case with minimal walls, and customize the firmware for peak performance. Keep going to learn all the essential steps and tips.
How to Choose the Perfect Compact Layout for Your Wireless Keyboard
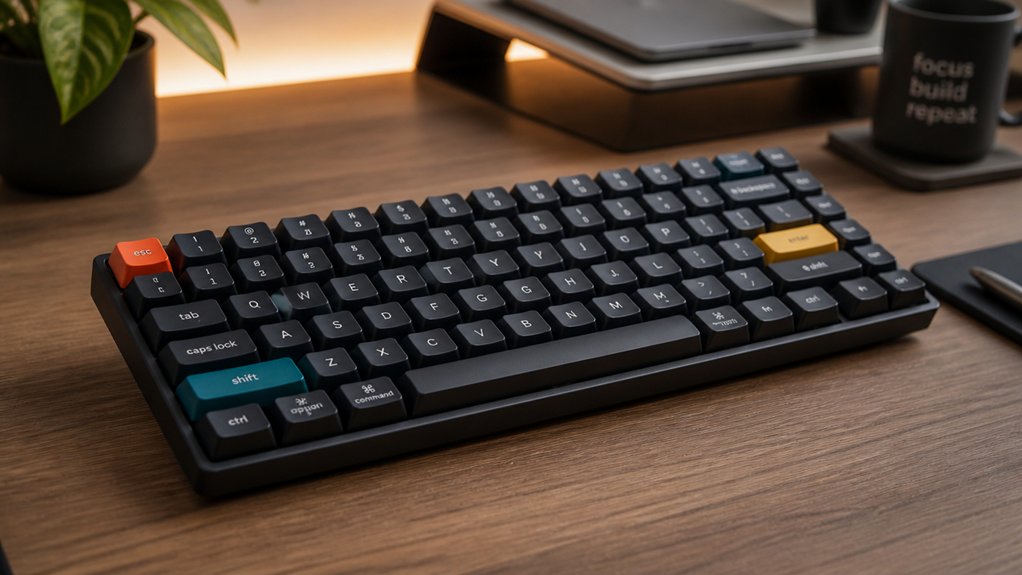
Wondering how to select the ideal compact layout for your wireless keyboard? The choice of a compact layout, like 40%, 60%, or 75%, greatly impacts your typing experience.
A split layout offers ergonomic benefits, reducing strain on wrists and shoulders—perfect for a wireless mechanical keyboard built for mobility.
When choosing a keyboard kit, consider how much you rely on function rows, arrow keys, or numpads, as smaller layouts often omit these. Compatibility with your preferred firmware, like ZMK, guarantees smooth customization.
Keep in mind that finding suitable keycaps and switches for custom keyboards with unique layouts can be challenging. Additionally, understanding the key count and layout variations can help you select the optimal design for your needs.
Also, a more compact design helps improve battery life, making your wireless keyboard more efficient without sacrificing portability or comfort.
Selecting Wireless Modules and Batteries for Reliable Performance
Choosing the right wireless modules and batteries directly influences your lightweight keyboard’s performance and reliability. Select a wireless module like the Nice!nano controller for seamless Bluetooth connectivity and compatibility with ZMK firmware.
Choosing the right wireless module and batteries ensures your lightweight keyboard is reliable and performs seamlessly.
Use Li-ion batteries, such as two 1,200 mAh cells, to balance power and weight, ideal for split wireless designs. Focus on proper power distribution by employing high-quality wiring like 22 AWG wires and secure battery connectors to prevent connection issues.
Guarantee the batteries are positioned with enough clearance inside a compact, 3D-printed case to protect components and maintain portability. Incorporate an accessible on/off switch for ease of use, and secure batteries with double-sided tape to prevent movement. Additionally, consider using power management features found in advanced wireless PCBs to improve safety and efficiency.
These choices keep your keyboard lightweight, reliable, and efficient for keyboard hobbyists.
Picking Lightweight Switches and Stabilizers for Smooth Typing
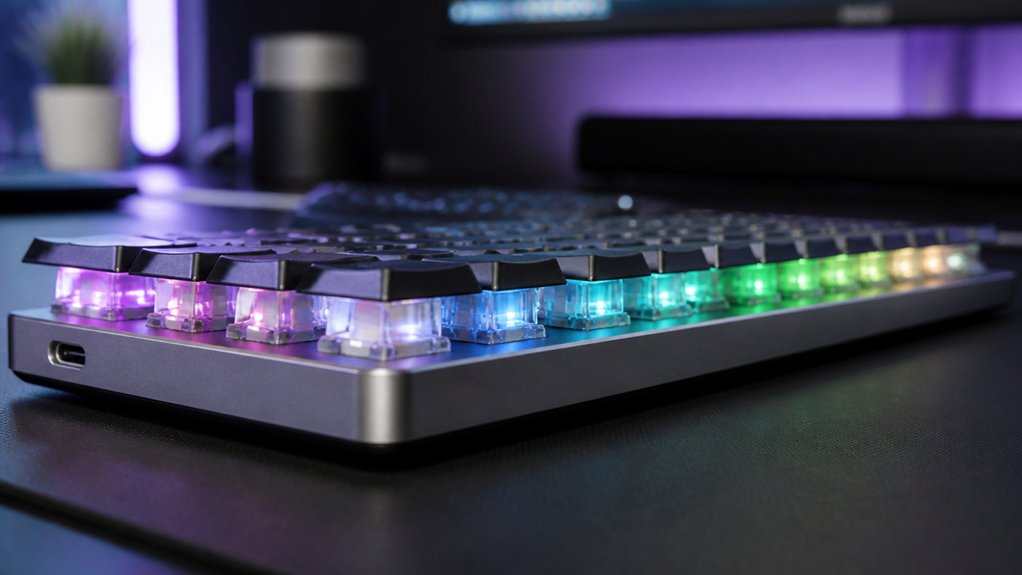
Selecting lightweight switches and stabilizers is essential for achieving a smooth and satisfying typing experience in your wireless mechanical keyboard. Mechanical switches like Kailh low profile Choc red are popular choices because they offer a light, linear feel perfect for a custom build.
Properly lubing switches and stabilizers inside the housings and on the wire reduces rattle and creates a quieter, smoother keystroke. Installing stabilizers with the wire facing large PCB holes and using washers helps stabilize larger keys, improving overall feel.
Before installation, use a switch opener to prep and lube switches, boosting the consistency of each keystroke. When choosing stabilizers, Cherry MX style stabilizers are compatible, ensuring your build remains lightweight without sacrificing stability or typing quality.
Designing a Minimalist, Sound-Dampening Case to Keep It Light
Designing a minimalist, sound-dampening case that stays lightweight requires careful material choices and precise engineering. Using PETG keeps your barebones keyboard strong and light, with PLA as a good backup. The design should feature integrated standoffs and brass inserts to secure the PCB and top plate, maintaining rigidity without excess weight. Incorporate enough clearance for internal components like batteries and switches, ensuring proper airflow and slim profile. Adding a thin acrylic top plate over OLED screens reduces weight compared to metal or glass while offering protection. To optimize the typing feel and sound dampening, keep your case walls minimal, only as thick as necessary. This streamlined build keeps your custom mechanical keyboard lightweight yet durable, perfect for a clean, functional design.
Customizing Firmware and Troubleshooting Wireless Performance
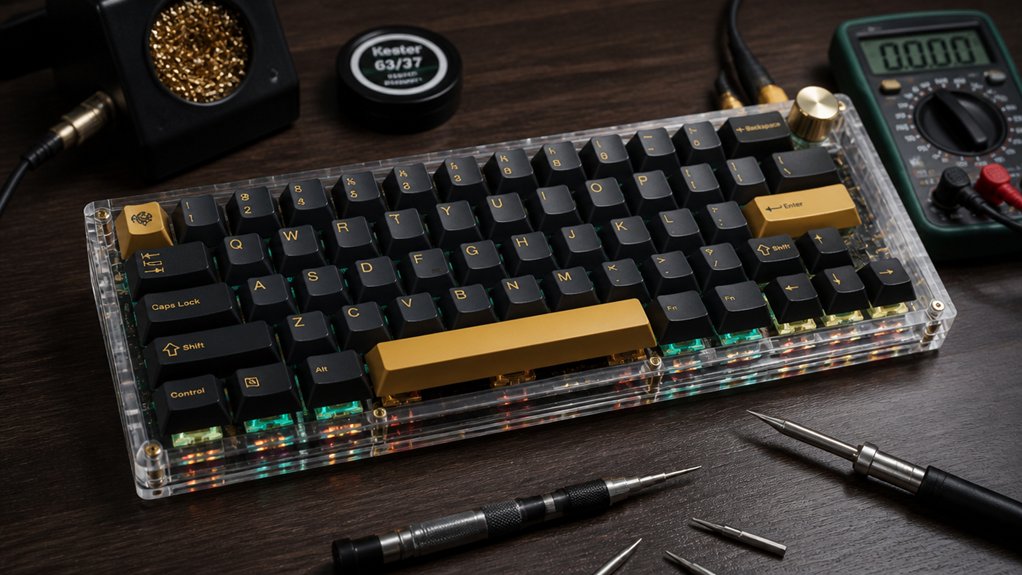
After assembling your lightweight wireless mechanical keyboard, configuring its firmware properly becomes key to ensuring reliable performance. Make sure you take apart your keyboard carefully if you need to replace or add switches, and use your soldering iron to verify solder joints on the PCB.
When customizing firmware, like ZMK, you’ll need to edit keymap files manually—familiarity with GIT helps. If wireless performance still feels unstable, troubleshoot by checking battery connections, ensuring your Bluetooth setup is correct within firmware settings, and optimizing firmware parameters.
Use quality components, such as 22 AWG wires, to improve signal stability. Additionally, selecting controllers with proper wireless support capabilities can significantly enhance your experience. Remember, community support via Discord channels can guide you through troubleshooting. Regular updates and proper internal wiring are essential to maintain consistent performance in your lightweight wireless mechanical keyboard.
Frequently Asked Questions
Is It Cheaper to Build Your Own Mechanical Keyboard?
Yes, building your own mechanical keyboard is generally cheaper because you can choose affordable kits like the KBD67 Lite R3, source components individually, and avoid high pre-built wireless keyboard prices. Plus, you customize and upgrade as needed.
How to Build a Custom Wireless Keyboard?
To build a custom wireless keyboard, choose a split design like Corne, assemble with compatible components, use a wireless controller like Nice!nano with ZMK firmware, pre-lube switches, and thoroughly test the assembled PCB for ideal wireless performance and typing feel.
What Is a 96% Keyboard Missing?
A 96% keyboard lacks a dedicated numpad and the full separation or distinct spacing between the main typing area and the numpad. It combines keys into a compact layout, maintaining most functionality but sacrificing some ergonomic space.
What Is the Thinnest Mechanical Keyboard?
The thinnest mechanical keyboards use low-profile switches like Kailh Choc Red, slim batteries, custom 3D-printed cases, and low-profile keycaps. You can achieve extreme thinness by integrating lightweight controllers and minimal wiring for a sleek, lightweight design.
In Summary
Building a lightweight wireless mechanical keyboard is all about carefully choosing a compact layout, reliable wireless modules, and lightweight switches. Pair these with a minimalist, sound-dampening case to keep the overall weight down while maintaining durability. Don’t forget to customize your firmware for peak performance. With these steps, you’ll enjoy a portable, high-quality typing experience that’s both lightweight and personalized. Happy building!



