
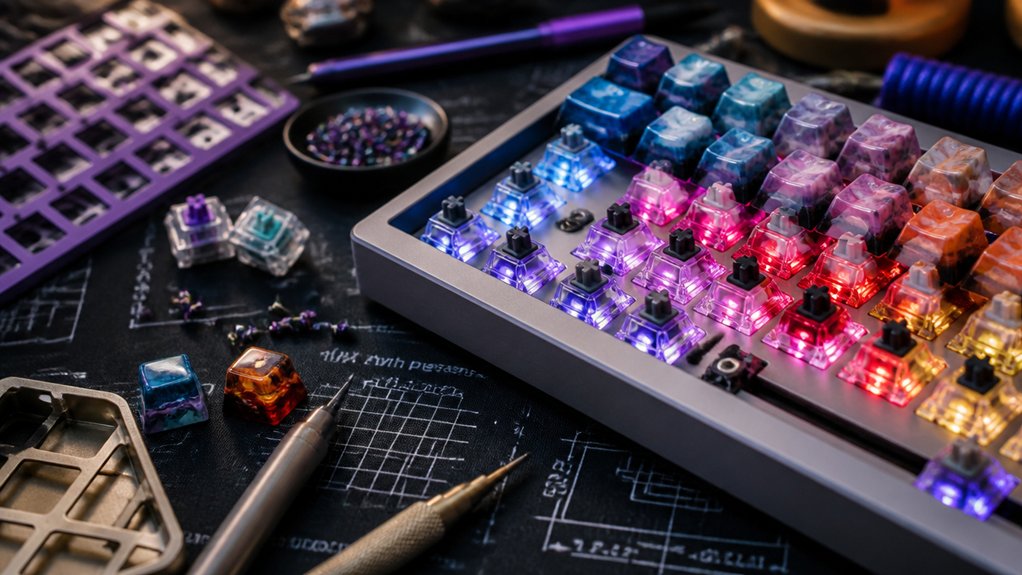
To build a custom wireless mechanical keyboard, start by choosing a kit that supports Bluetooth or wireless modules, and guarantee the case allows for antenna integration. Install compatible hot-swappable switches and stabilizers, then test your PCB with tools like VIA or VIAL to confirm proper connectivity. Assemble the switches, stabilizers, and case, and optimize sound and feel with foam or lubrication. For more tips on troubleshooting and customization, keep exploring the detailed steps ahead.
Why Build a Wireless Mechanical Keyboard? Benefits Explained
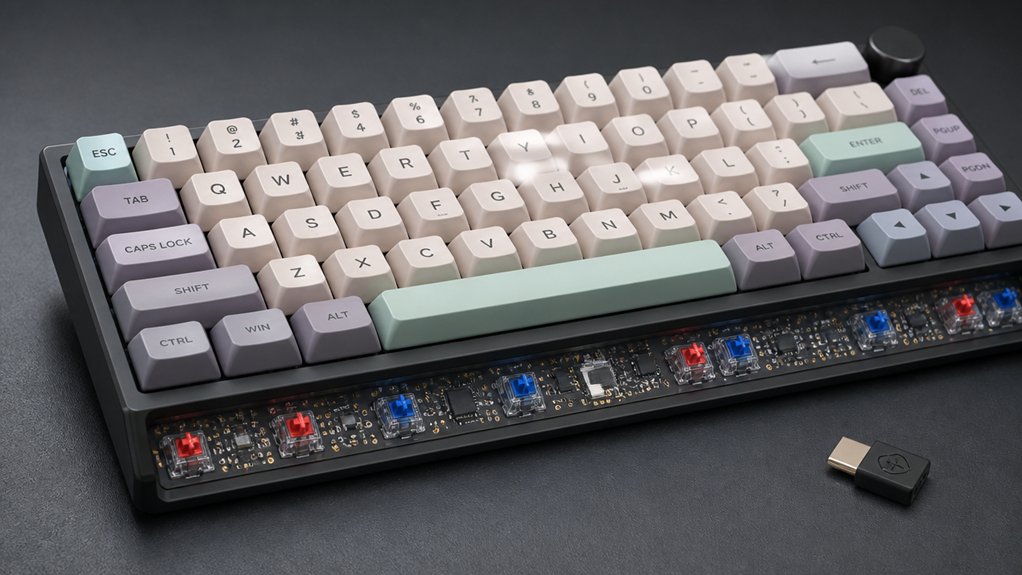
Have you ever thought about the advantages of building your own wireless mechanical keyboard? When you choose to create a custom keyboard, you can enjoy a clutter-free workspace since there are no cables to get in the way. Wireless options like the Luminkey Nova Mini Ultra or Keychron Q5 Ultra offer reliable Bluetooth or proprietary wireless connections, ensuring lag-free performance. Additionally, many kits support tri-mode connectivity, allowing seamless switching between wired and wireless use. Building your own keyboard lets you select switch types, keycaps, and layouts that suit your ergonomic preferences and typing feel. Many kits include hot-swap switch sockets, allowing you to modify switches easily without soldering. Plus, you can incorporate features like macro programming and wireless macro pads, boosting your productivity and personalization. It’s a flexible way to create a keyboard tailored precisely to your needs.
How to Choose a Wireless-Compatible Barebones Kit and Chassis
When selecting a wireless-compatible barebones kit, make sure it explicitly supports Bluetooth or can accommodate wireless daughterboards. You should also check that the chassis and PCB allow easy integration of wireless modules without sacrificing stability or space, especially in popular sizes like 65% or 75%. Additionally, guarantee the kit offers reliable firmware support like VIA or VIAL to manage wireless connections smoothly. Considering hot-swappable switches can also simplify customization and maintenance for wireless setups.
Compatibility With Wireless Modules
Selecting a wireless-compatible barebones kit involves ensuring that both the PCB and chassis support the necessary wireless standards, such as Bluetooth, for seamless connectivity. You want to choose a barebones keyboard that explicitly states its wireless capabilities, like the Luminkey Nova Mini or Keychron Q5 Ultra, to guarantee compatibility.
Verify that the included PCB supports Bluetooth or other standards and is compatible with VIA or VIAL software for easy programming. Also, confirm that the chassis design accommodates the antenna and space needed for a stable wireless signal, often found in aluminum or specific wireless-ready cases. Considering wireless PCB options like Bluetooth 4.2 or Qi external modules can enhance your setup’s flexibility and performance.
Finally, opt for kits with hot-swap sockets and built-in or optional wireless modules to simplify assembly and switch maintenance, ensuring your wireless keyboard stays functional and easy to upgrade.
Material and Build Sturdiness
Choosing a wireless-compatible barebones keyboard kit means prioritizing sturdy materials that guarantee stability and durability during wireless use. Aluminum chassis, like those from Luminkey or Createkeebs, offer the rigidity and weight needed to stay stable without a wired connection.
Make certain the kit explicitly supports wireless functionality, with integrated daughterboards or wireless PCB modules, for reliable Bluetooth or RF connections. Consider gasket-mounted or foam-included designs that dampen vibrations and improve sound quality—important in wireless setups sensitive to physical feedback.
Additionally, select kits with accessible charging ports and sturdy battery compartments for convenience and durability during transport and extended use. The right material quality and build design are essential to create a reliable, long-lasting wireless mechanical keyboard that performs well in everyday scenarios. Including aluminum build quality can further enhance the keyboard’s robustness and aesthetic appeal over time.
Size and Layout Options
The size and layout of your wireless-compatible barebones keyboard kit greatly influence your typing experience and workspace efficiency. Selecting the right size guarantees compatibility with your desk and portability, with options like 60%, 65%, 75%, 80%, and 96%.
Consider:
- A 65% or 75% layout for a compact design that maintains essential keys, ideal for wireless setups and minimal cable clutter.
- The Luminkey Nova Mini or Keychron Q5 Ultra, which cater specifically to wireless builds.
- Aluminum chassis for increased stability and weight, providing a sturdy foundation for custom keys.
- Confirming the kit supports wireless modules and hot-swap sockets for switch customization without soldering.
Choosing the right size and layout allows you to build a personalized, functional, and sleek wireless keyboard tailored to your needs.
How to Pick Compatible Switches and Stabilizers for Wireless Setups
When setting up a wireless mechanical keyboard, ensuring your switches and stabilizers are compatible with the PCB is essential for a smooth build. Choose hot-swappable mechanical switches that fit the PCB sockets, typically MX-style, to make swapping easy without soldering—especially for kits like KBD67 Lite R3 or Neo60 Cu. For stabilizers, pick ones that match your layout and mount style (plate-mounted or PCB-mounted). Make sure to lubricate them thoroughly to cut down rattle and guarantee quiet operation, which is critical in wireless setups. Verify stabilizer compatibility before purchasing, as models like Qwertykeys or Luminkey often have specific screw-in options. Low-power, silent tactile or linear switches are ideal choices to preserve battery life and maintain a quiet, comfortable typing experience. Not all switches are pre-lubricated, so opting for factory pre-lubed switches from the Best Pre-Lubed Switches list can save you time and effort during assembly.
How to Test and Prepare Your PCB for Building
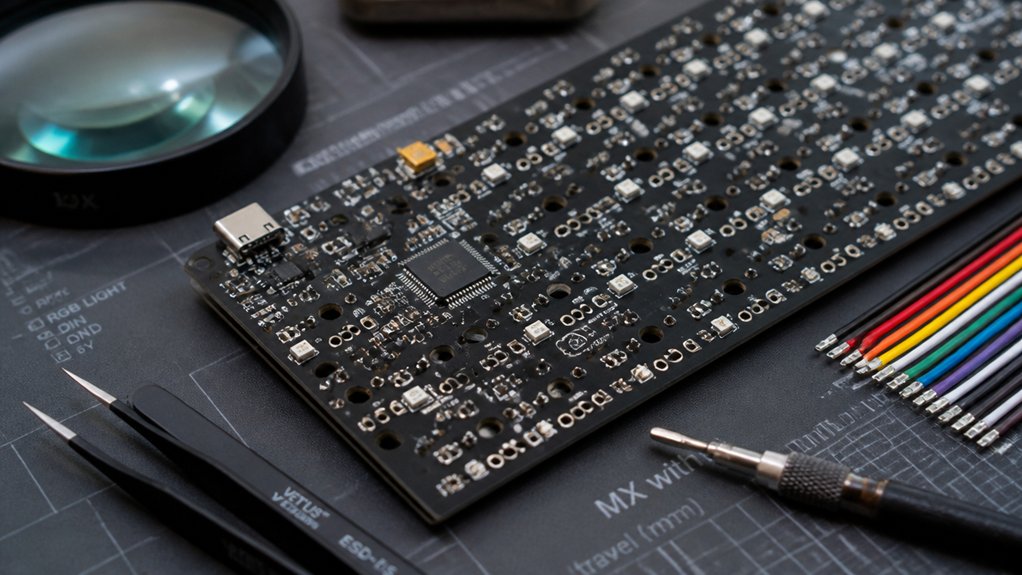
Before assembling your custom wireless mechanical keyboard, it’s crucial to thoroughly test your PCB to verify all components function correctly.
Ensure all components of your PCB are fully functional before proceeding with assembly to guarantee a successful build.
Start by connecting your Neo65 Core Plus to your computer with the proper cable and opening a testing app like VIA or VIAL. Next, make certain all switch contact pads register key presses reliably. Use tweezers to tap each switch pad, confirming proper electrical connection and lighting.
Key steps include:
- Testing all switches with the software to identify non-responsive keys.
- Checking for bent pins or missed solder joints on the PCB.
- Inspecting stabilizers, lubing, and mounting them securely with the wire toward large holes.
- Repeating tests after adjustments to prevent future disassembly.
- Ensuring the material quality of the PCB supports reliable soldering and longevity.
Thorough testing and stabilization setup set the foundation for a successful build.
Step-by-Step: Installing Switches, Stabilizers, and Assembling
With your PCB tested and verified, it’s time to proceed with installing the stabilizers and switches for your custom mechanical keyboard. Begin by lubricating the stabilizers with appropriate lube to eliminate rattle, then install them on the PCB with wires facing the large holes, using washers if needed. Test for smooth operation before moving on.
Next, place the keyboard plate onto the PCB and add any plate foam to improve sound and typing feel. Carefully press hot-swap switches into their sockets, ensuring pins are straight and fully seated.
Use a VIA or VIAL app with a cable and tweezers to test each switch contact pad and verify keys register correctly. Finally, assemble the case parts, aligning cables, installing foam, gaskets, and securing screws to optimize sound and feel.
Tips to Customize Sound, Feel, and Reduce Rattle
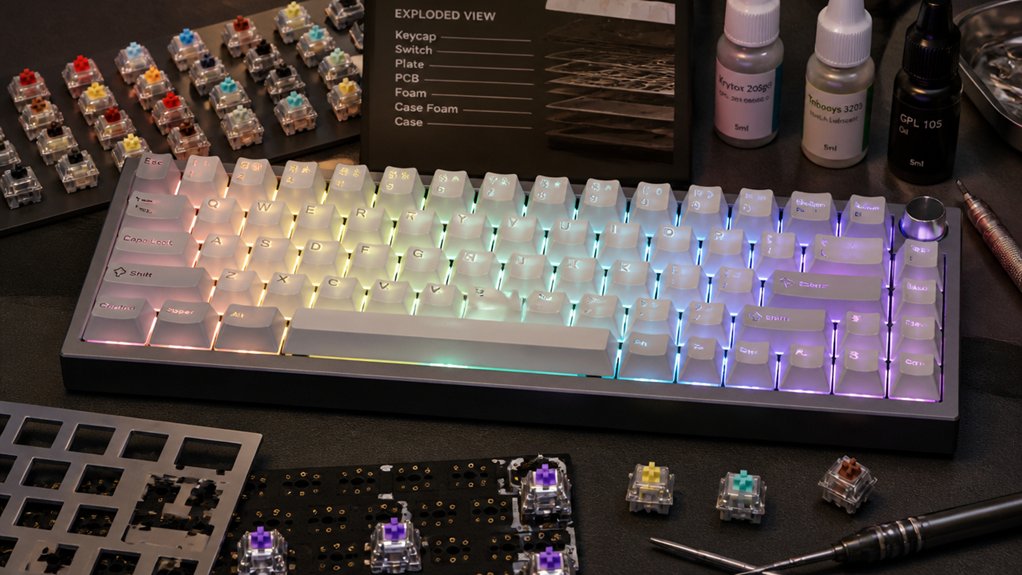
To improve your keyboard’s sound and feel, start by experimenting with damping materials like foam inside the case or adding Poly-Fil under the PCB to muffle hollow sounds. Make sure stabilizers are well-lubricated and fit snugly to eliminate rattle, and consider using plastic fillers or gasket adjustments to refine typing feel. Small tweaks like a tape mod can sharpen sound quality, but always test variations to find what works best for your setup. Additionally, choosing stabilizers with high-quality material durability can improve long-term performance and reduce noise.
Sound Damping Techniques
Sound damping is essential for customizing the acoustic profile of your wireless mechanical keyboard and minimizing rattles. To achieve this, use sound damping techniques like adding foam or Poly-Fil stuffing under the PCB to soften hollow sounds and create a warmer tone.
You can also apply a tape mod by placing masking tape on the PCB bottom, which increases volume and evens out sound, and can be easily reversed.
Thoroughly lubricate stabilizers with proper lube and install them correctly—wire toward large PCB holes—to reduce rattling and smooth out the sound.
Finally, address key rattle by inserting thin plastic pieces between loose keycap stems and stabilizers to fill gaps and quiet unwanted noise, enhancing overall sound quality.
Additionally, incorporating foam pads or EVA inserts within stabilizers can further dampen vibrations and contribute to a deeper, more refined sound profile.
Stabilizer Rattle Fixes
Fixing stabilizer rattle starts with thorough lubrication of all contact points between the stabilizer components. Use an appropriate lube on the wire and housing to eliminate noise and guarantee smooth movement.
When installing stabilizers on the PCB, position the wires toward the large holes and avoid overtightening screws; adding washers can prevent unnecessary movement and buzzing.
A common cause of persistent rattle is a loose keycap stem, which creates gaps—placing a thin plastic piece between the stem and stabilizer helps fill this gap and reduces noise.
Additionally, choosing stabilizers with minimal wobble and noise features, such as pre-clipped stems or elastic support bases, can significantly improve overall sound and feel.
After installation, test each stabilized key individually to verify minimal rattle and proper function.
For further sound customization, consider foam, Poly-Fil, or tape mods to dampen hollow or high-pitched noises associated with stabilizers and the case.
Troubleshooting Common Wireless Keyboard Building Issues
When troubleshooting common wireless keyboard building issues, it’s essential to systematically verify each connection and component. Start by testing your mechanical keyboard’s wireless connection with the VIA or VIAL app before full assembly to confirm proper pairing.
Next, double-check the battery installation and charge level; insufficient power often causes connectivity problems. Inspect antenna placement, making sure it’s well-routed and free of metal obstructions to maintain signal strength.
Finally, revisit solder joints or hot-swap socket contacts related to wireless modules—poor connections can cause key unresponsiveness. Additionally, update or flash your firmware to the latest version, which often resolves bugs affecting connectivity and key mapping.
Properly troubleshooting these areas guarantees your custom wireless mechanical keyboard performs reliably.
Frequently Asked Questions
Is It Cheaper to Build Your Own Mechanical Keyboard?
Building your own mechanical keyboard is generally cheaper, especially when you buy DIY kits and components in bulk or on sale. You control costs by choosing specific parts, but consider expenses like tools, switches, and keycaps for an accurate budget.
What Do You Need to Build a Custom Mechanical Keyboard?
You need a barebones kit with chassis and PCB, switches, keycaps, tools like a soldering kit or hot-swap sockets, and a compatible wireless PCB or Bluetooth support. Follow instructions to assemble, customize, and connect your keyboard.
Is 84 Keys 75%?
Yes, 84 keys typically fall into the 75% keyboard category. You’ll find this layout offers a compact design with essential keys like function, arrow, and navigation keys, making it popular for wireless mechanical keyboard kits.
What Is a 96% Keyboard Missing?
A 96% keyboard is missing a separate numeric keypad, which is common on larger, full-size keyboards. It combines most essential keys into a compact layout, saving desk space while still offering functionality for productivity and gaming.
In Summary
Building your own wireless mechanical keyboard lets you customize every detail to your liking, from switches to sound. With a little patience and the right tools, you can create a unique, seamless typing experience that fits your needs perfectly. Don’t be afraid to experiment and troubleshoot along the way. Enjoy the satisfaction of a personalized, wireless setup that elevates your productivity and gaming sessions alike. Happy building!



