
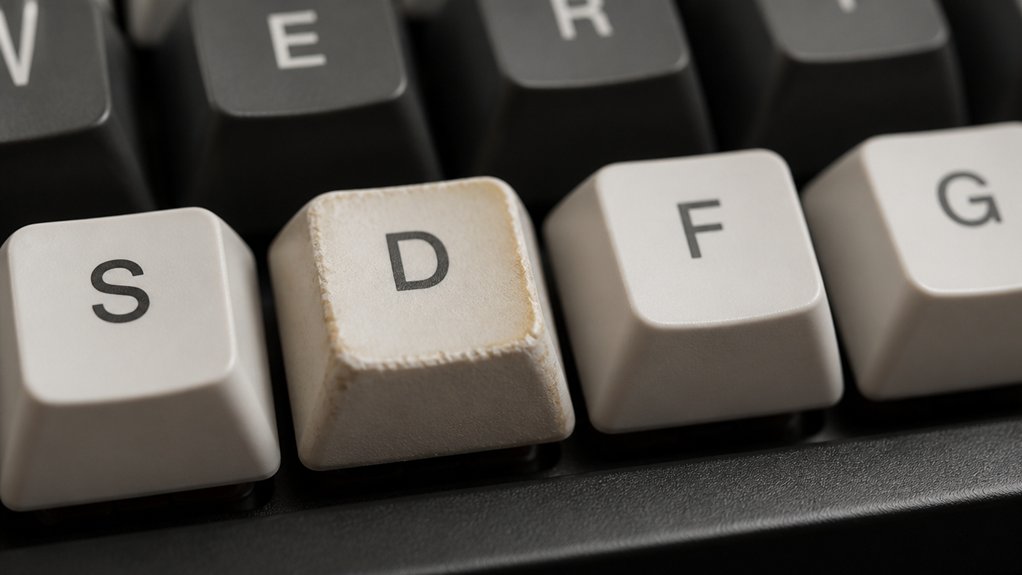
To spot faulty mechanical keyboard keycaps, look for visible damage like cracks, chips, or discoloration from wear or UV exposure. Check if they wobble, feel loose, or stick when pressed, indicating wear or poor fit. Remove the keycap to inspect the stem and stabilizers for damage or misalignment. Warped or discolored caps may need reshaping or replacement. Keep an eye on compatibility with your layout too—if issues persist, you’ll find helpful tips below.
How to Spot Damage and Wear on Your Keycaps
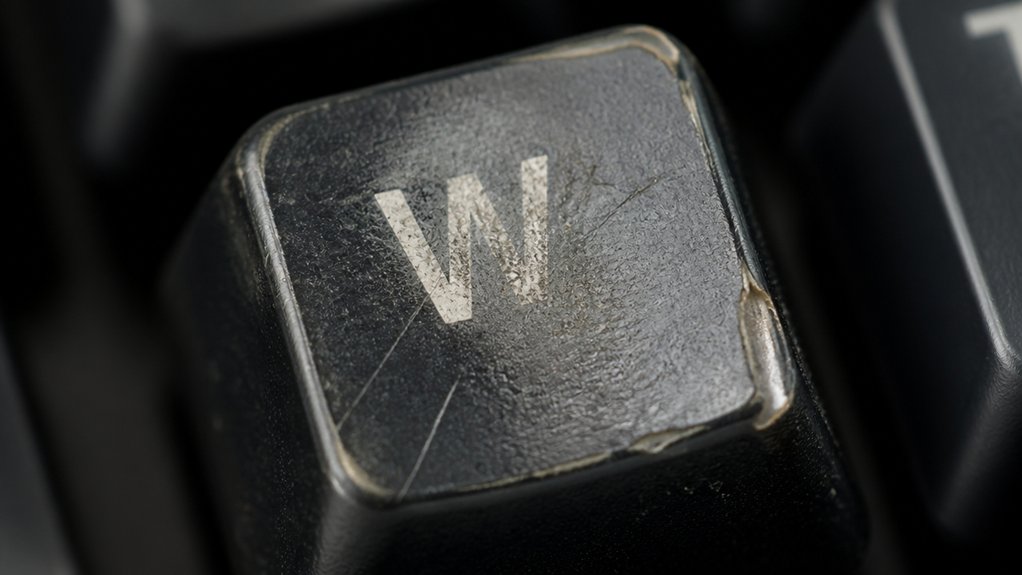
To effectively identify damage and wear on your keycaps, start by inspecting the surface for any signs of fading or discoloration, which indicate frequent use and oil buildup. Check for a shiny surface or uneven color, revealing gloss caused by friction with your fingers.
Remove the keycap carefully to see any cracks, chips, or broken corners, particularly on larger keys like Spacebar and Enter that endure more stress. Press the keycap gently to assess stability; wobbling or looseness suggests stem wear or deformation, leading to poor fit on the switch.
Place the keycap on a flat surface to check for warping or distortion. Also, examine the underside stem area for worn or stripped cross stems, as these can cause keycap slips or reduced retention on your mechanical keyboard’s switches.
Checking Keycap Fit and Movement for Loose or Stuck Keys
When checking if a keycap fits properly on your mechanical keyboard, start by gently pressing and rocking it on a flat surface. This helps you detect looseness or wobbling caused by worn or incompatible stems.
If the keycap feels unstable, remove it using a keycap puller and inspect the switch’s stem for debris, damage, or warping, which can cause sticky or stuck keys.
For larger keys, check if stabilizers are aligned and securely attached, as misaligned stabilizers often lead to uneven pressing. Confirm the keycap’s stem matches the switch’s layout, especially with MX cross stems, which require precise fit.
If the keycap doesn’t seat flush, you can reshape warped keycaps by soaking them in hot water, restoring smooth movement and consistent touch.
Additionally, ensuring that the compatibility between keycaps and switches is correct will help maintain a proper fit and prevent issues.
How to Identify and Fix Warped or Discolored Keycaps
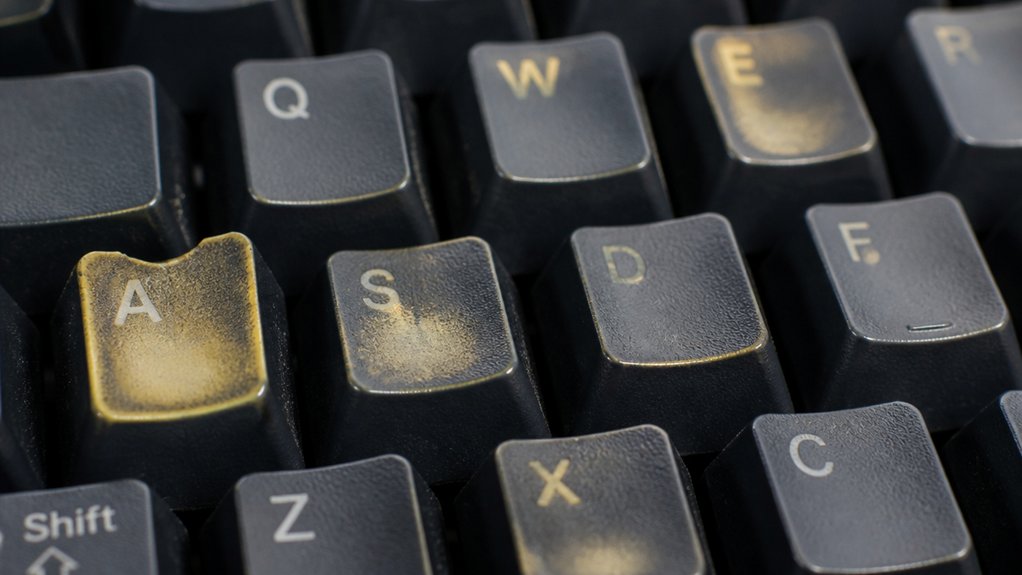
Ever noticed your keycaps rocking unevenly or the legends fading over time? Warped keycaps often cause rocking on a flat surface, especially longer ones like Spacebar and Enter.
Discoloration appears as yellowing or fading of the legends and plastic, mainly from UV exposure, finger oils, or prolonged use of ABS keycaps.
To fix warped keycaps, soak them briefly in warm water (140–160°F) for 30–60 seconds, then reshape and let them cool flat. Avoid boiling water or applying too much pressure, which can cause permanent damage.
For discolored keycaps, gently clean with mild soap or isopropyl alcohol. If discoloration is severe, buying a new keycap is your best bet for restoring your mechanical keyboards’ appearance. Material and build quality play a crucial role in preventing these issues over time.
Ensuring Keycap Compatibility With Your Keyboard Layout
Choosing the right keycaps for your keyboard starts with verifying your layout type. Check your keyboard’s layout, whether ANSI or ISO, as this affects the shape and size of keys like the Enter key and additional keys on the left.
Measure your keyboard size in units—such as 1u, 1.25u, or 2.25u—to match the specific key sizes, especially on the bottom row of gaming or compact keyboards.
Confirm keycap stem compatibility, whether Cherry MX cross, Topre circle, or Alps rectangle, to guarantee a secure fit. Also, verify that the keycap set supports your keyboard’s bottom row configuration.
When making a purchase, use tools like digital calipers to prevent buying incompatible sets that might cause issues like key chatter or misalignment. Additionally, consider the material and profile of the keycaps to ensure comfort and durability suitable for your typing style and environment.
Tools and Tips for Replacing Faulty Keycaps Effectively
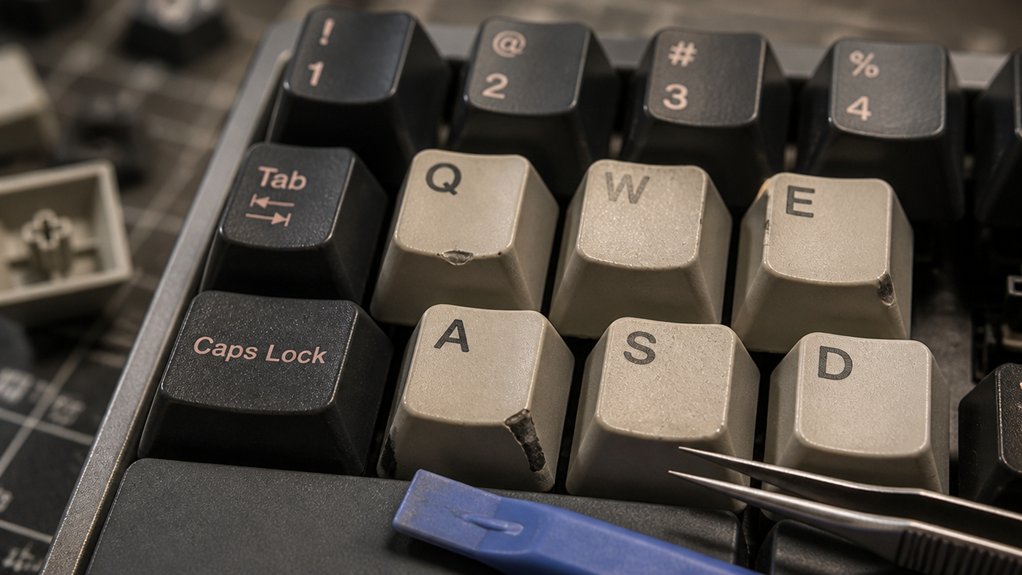
To replace faulty keycaps effectively, start by using a keycap puller designed specifically for mechanical keyboards. This tool guarantees safe removal without damaging the stems or switches.
Next, consider these tips:
- Measure keycaps in units like 1u, 1.25u, or 2.25u, and verify layout compatibility (ANSI vs ISO) before buying replacements.
- Check stem compatibility, such as Cherry MX cross, to guarantee the new keycaps fit securely and prevent looseness.
- Inspect stabilizers on larger keys for alignment and condition; proper stabilizer function prevents wobbling or uneven keypresses.
- Before installation, clean switch stems with isopropyl alcohol to remove debris, enhancing fit and feel of the new keycaps.
- Use tools with ergonomic handle designs and protective edges to ensure safer, more comfortable, and damage-free keycap replacements.
These tools and tips improve accuracy, fit, and performance during replacement.
Frequently Asked Questions
How to Know if a Keycap Is Broken?
You can tell a keycap is broken if you notice cracks, chips, or missing pieces, and it wobbles excessively or feels loose. Warped or uneven keycaps, or ones that fail to register properly, also indicate damage.
What Is a 96% Keyboard Missing?
A 96% keyboard is missing a dedicated navigation cluster, full-sized number pad, extra function or multimedia keys, and sometimes smaller or completely absent right-side arrow keys, focusing on compactness and portability while keeping most main keys intact.
What Is the Average Lifespan of a Mechanical Keyboard?
The average lifespan of a mechanical keyboard is around 5 to 10 years, depending on usage and maintenance. With proper care, you can maximize its durability, especially if you choose high-quality switches and keycaps made from durable materials.
Is 84 Keys 75%?
Yes, an 84-key layout typically falls under the 75% category. You can identify it by its compact design, including a function row, arrow keys, and navigation keys, all arranged closely to save space while retaining essential functions.
In Summary
Regularly inspecting your keycaps helps catch damage early and keeps your keyboard functioning smoothly. Check for loose, stuck, warped, or discolored keys, and make sure they fit your layout properly. Use the right tools for replacement to avoid further issues. By staying attentive and maintaining your keycaps, you can extend their lifespan and guarantee a comfortable typing experience. Keep an eye on wear and don’t hesitate to swap out faulty keycaps when needed.



