
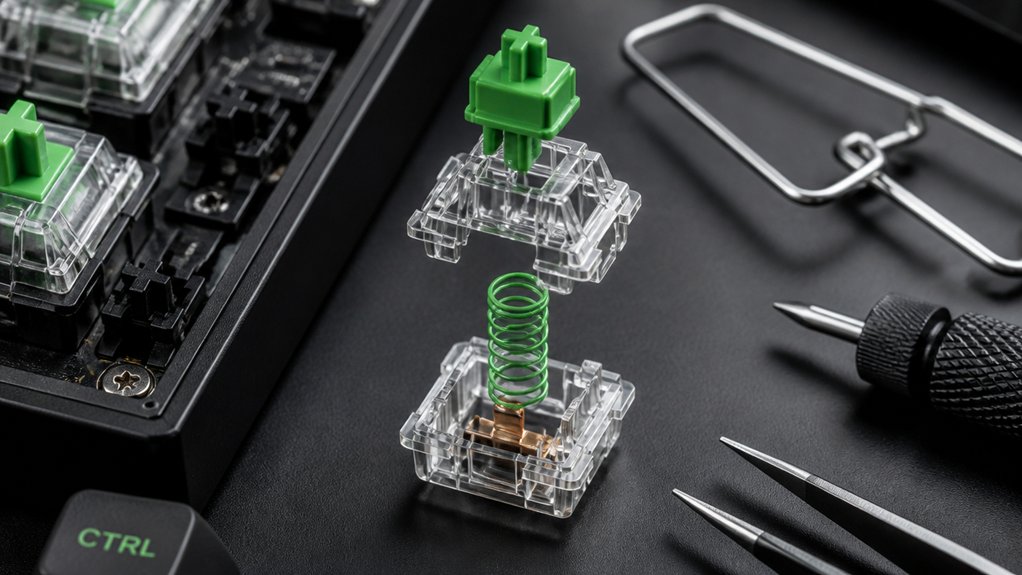
To swap your keyboard springs, start by unplugging your keyboard and removing the keycaps carefully with a keycap puller. Use a switch puller to extract the switches straight up and open the housing with a suitable tool. Remove the old springs and carefully install new ones, aligning the stem and ensuring proper fit and polarity. After reassembling and pressing the switch, calibrate it to maintain ideal response. If you keep exploring, you’ll discover detailed steps for a smooth, customized typing or gaming experience.
Why Swapping Keyboard Springs Can Improve Your Typing and Gaming
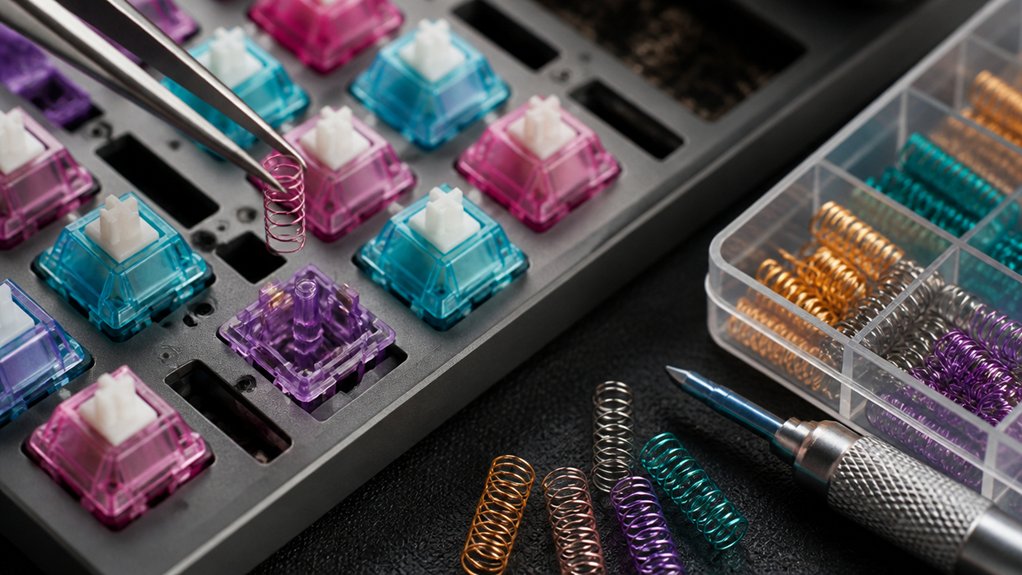
Swapping keyboard springs allows you to tailor your typing or gaming experience by adjusting key resistance and return speed. Different switches, like linear or tactile switches, rely on springs to control actuation force and feel.
Swapping switches or springs lets you customize how light or heavy each keystroke feels. Lighter springs (35g–45g) reduce the effort needed, making rapid gaming triggers more responsive with a reset distance around 0.1mm. Heavier springs (50g+) offer more tactile feedback for precise typing but might cause fatigue during fast keystrokes.
Using progressive springs in Hall Effect switches can cushion bottom-out impact while maintaining quick resets. Proper lube, like Krytox 105G0, during swapping keeps the mechanical keyboard switches smooth, reducing glitches and optimizing overall performance. Additionally, applying appropriate lubricants like precision lubricants helps prevent rattle and noise, ensuring a quieter and more stable typing experience.
Getting Your Tools and Workspace Ready for Safe Spring Swapping
Before you begin, make sure your workspace is clean, well-lit, and spacious enough to handle small keyboard parts safely. Gather your essential tools, including a switch opener, keycap puller, and tweezers, preferably non-magnetic to avoid interference with Hall Effect switch magnets. Using a high-quality keyboard switch puller tool can greatly enhance safety and efficiency during removal. Remove keycaps carefully to prevent damage, exposing the mechanical keyboard switch for spring swapping. Have a container or non-slip mat ready to organize removed parts, reducing the risk of loss or contamination. Confirm your workspace provides enough room to work comfortably and safely. Use tweezers for delicate tasks like handling springs or hot-swap sockets. A tidy, organized setup helps streamline your spring exchanging process and minimizes potential mishaps during disassembly and reassembly.
How to Remove and Disassemble Your Switches Step-by-Step
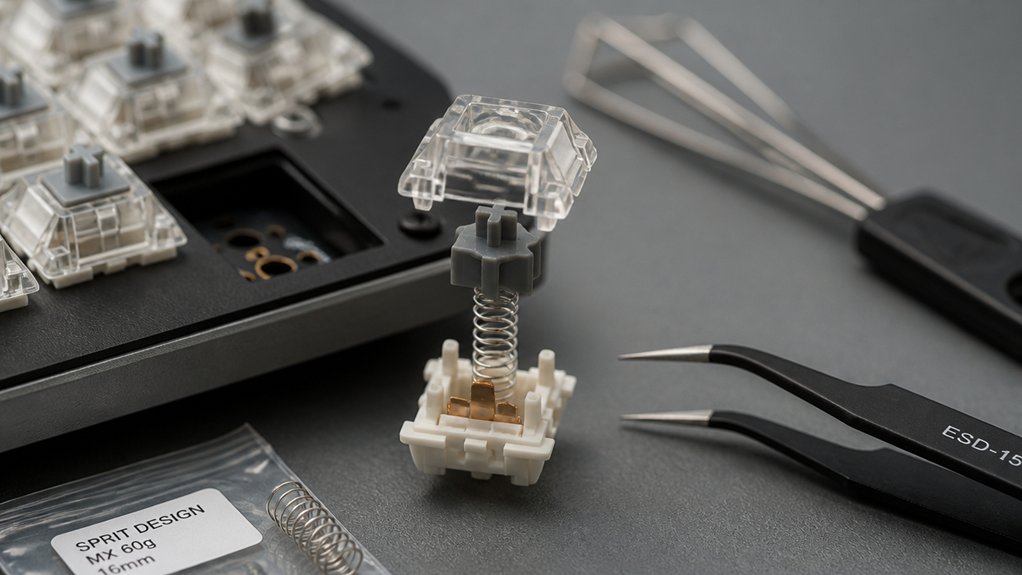
First, unplug your keyboard and gently remove the keycaps with a wire keycap puller, keeping them organized for reassembly.
Next, carefully extract the switches using a switch puller, making sure not to bend the pins or damage the PCB.
Finally, open each switch housing with a non-metallic opener or small flathead screwdriver, then inspect and clean the internal components.
Make sure to choose a high-quality switch opener to prevent damage and ensure precise disassembly during your modding process.
Unplug and Remove Keycaps
To safely remove your keycaps, always unplug your keyboard first to prevent accidental inputs or electrical damage.
Using a wire keycap puller or a plastic keycap puller, gently grip the keycap and pull straight upward, avoiding twisting to prevent damage to the stem or keycap.
For mechanical keyboard enthusiasts, removing keycaps carefully makes reinstallation easier later.
As you remove each keycap, store them in order on a soft surface to avoid loss or scratches, simplifying the spring swapping process.
Remember, always avoid twisting the keycap during removal to prevent damage to the stem.
Keep your removed keycaps organized, and you’ll be ready for the next step in your switch modification project, especially if you are working with multi-key pullers for faster removal.
Detach Switches Carefully
Having your keyboard powered off and unplugged is essential before starting to detach switches.
Use a switch puller, preferably made of stainless steel or plastic, to grip the hot-swap socket firmly from both sides. When pulling, pull the switch straight up to avoid damaging the two metal contact pins.
Be cautious of bent pins, which can occur if you pull unevenly or at an angle. Mechanical keyboards with hot-swap sockets make swapping easier and prevent the need for soldering.
Carefully pull the switch out, and if you encounter resistance, double-check for obstacles or bent pins. Once the old switches are removed, inspect the socket before inserting new switches.
This careful approach guarantees your switches are removed without damage, making way for smooth spring swaps. Additionally, understanding the hot-swap socket design can help prevent damage and ensure reliable reassembly.
Clean and Inspect Components
Unplug your keyboard and gently remove the keycaps with a wire keycap puller, taking care not to scratch or damage them. Next, use a switch puller to carefully extract the switches from the hot-swap PCB sockets, avoiding excessive force to prevent socket damage.
Open the switch housing with a polymer MX-style opener or small flathead screwdriver, being cautious with the plastic clips and internal components.
- Check the metal pins on each switch for bends or damage, gently straighten them with precision tweezers for proper contact.
- Use compressed air to clear dust and debris from the switch housing and PCB sockets.
- Inspect the internal components before inserting new switches, guaranteeing everything’s clean and intact to guarantee peak performance.
- Consider sturdy PCB holders with magnetic locking mechanisms to stabilize your work area and prevent slipping during disassembly or reassembly.
How to Choose the Best Spring for Your Keyboard Based on Feel and Use
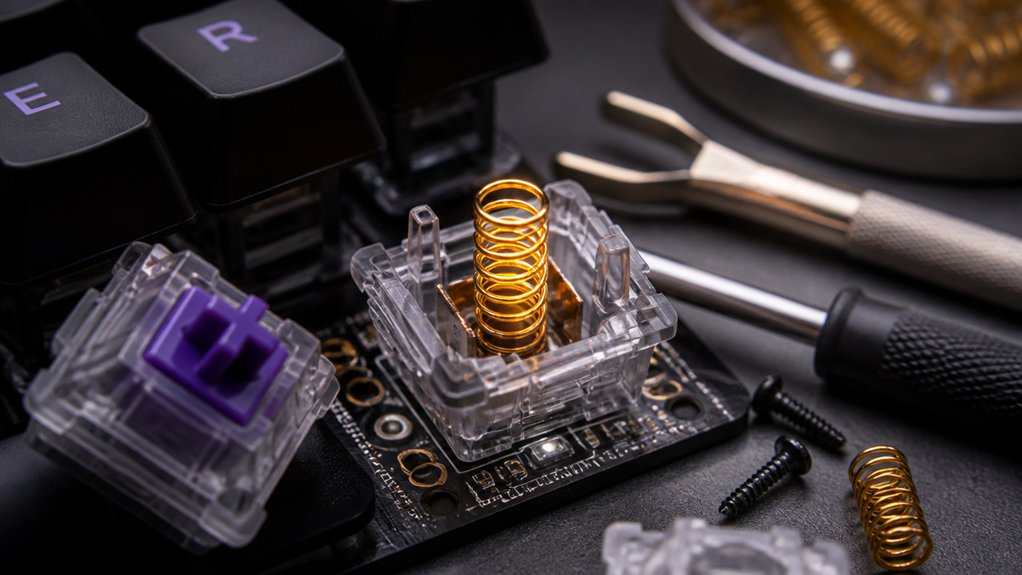
When selecting springs, consider the resistance level that matches your preferred feel and use case. Lighter springs offer quick response for gaming, while heavier ones provide the tactile feedback you need for typing. Balance the spring weight with your comfort to prevent fatigue and optimize performance. Additionally, choosing switches with the appropriate actuation force range ensures consistent performance throughout long typing or gaming sessions.
Resistance Levels and Resistance Balance
Choosing the right spring resistance for your keyboard is essential because it directly impacts how the keys feel and perform during use. Resistance levels influence the actuation point and typing experience, so selecting springs that match your needs is vital. Analyzing switch specifications like actuation force and travel distance can help guide your selection process. Linear springs provide smooth, consistent feedback for fast response, ideal for gaming. Springs with moderate resistance—35g to 45g—offer a good balance, preventing accidental presses while maintaining quick reset times. Heavier springs (≥50g) give firmer feedback but can cause fatigue, while very light springs (≤30g) risk unintended actuation. For a well-rounded feel, consider resistance balance, especially if you change switches or customize your keyboard. This resistance balance guarantees your mechanical switches perform at their best without sacrificing comfort or control.
Intended Usage and Spring Weight
Your keyboard’s spring weight greatly influences how it feels during use, especially when considering the intended application.
For mechanical keyboards used in gaming, springs between 35g and 45g offer a balanced switch feel, providing quick response and reducing fatigue during fast keystrokes. Springs under 30g may cause accidental presses, while heavier springs of 50g or more favor typists prioritizing fatigue reduction over rapid actuation.
Progressive springs are ideal for Hall Effect switches, offering increasing resistance mid-press and a cushioned bottom-out experience.
In intense gaming, ultra-light springs risk higher strain—measured around 33.7 on the Moore-Garg Strain Index—highlighting the importance of choosing the right spring weight for comfort and control.
The key is aligning spring weight with your switch’s intended use for best feel and fatigue reduction.
Installing New Springs and Aligning the Switch Stem Correctly
To guarantee your switch functions smoothly after spring replacement, start by positioning the new spring securely on the switch’s bottom post, making certain it’s centered for consistent resistance.
Next, carefully align the switch stem with the magnet, verifying correct polarity to prevent registration issues.
Insert the stem straight into the housing without tilting to avoid misalignment or binding that could affect actuation.
Once assembled, press the housing together firmly, confirming the stem moves smoothly without obstruction.
Before reassembling the entire keyboard, perform a dry run by pressing the switch to verify proper spring placement and stem alignment.
Additionally, ensure the material durability of your tools and components to prevent damage during assembly.
Reassemble Your Switches and Calibrate for Optimal Response
Reassembling your switches correctly guarantees consistent key travel and smooth operation.
After installing the new spring and aligning the stem with the magnet, firmly clip the switch housing shut to maintain unobstructed movement. Use the official Hall Effect switch calibration software to precisely set the dead zone around 0.1mm, preventing false actuation caused by spring variation. Calibration is essential after each spring swap, as it optimizes actuation distance and enhances trigger responsiveness.
Test each switch individually to confirm smooth operation and that no binding occurs before full keyboard assembly. Proper calibration reduces latency by minimizing reset distance and eliminating firmware debounce, which is especially important for high-speed gaming or typing accuracy. Additionally, choosing the right keyboard switch lubricant can further improve smoothness and sound profile after reassembly.
Maintaining a precise reassemble and calibration guarantees the best performance from your switch.
Troubleshooting Common Switch Issues and Maintaining Your Mods
Are common switch issues causing frustration or inconsistent key responses? If so, troubleshooting can save time and effort. Start by inspecting switches without soldering—gently press the switch to detect key chatter or unregistered presses.
Bent switch pins happen often and can be corrected with tweezers or fingernails during a dry run with one switch. Loose socket on the PCB may cause double typing or missed inputs; clean the socket with compressed air and reseat the switch firmly.
Faulty switches also result from misaligned stabilizers or excessive lubrication, leading to mushy keys. To guarantee smooth operation, always check the magnet polarity in Hall Effect switches before modding the entire keyboard.
Proper maintenance and careful troubleshooting will keep your mods running flawlessly.
Frequently Asked Questions
How to Swap Key Switches on Keyboard?
To swap key switches, power off and unplug your keyboard, remove keycaps with a wire puller, then use a switch puller to gently remove each switch, inspecting and seating new switches carefully before replacing keycaps and testing.
What Are the Different Types of Keyboard Switch Springs?
You can choose from linear springs for smooth, consistent resistance, slow springs for heavier initial force, or progressive springs that start light and increase resistance mid-press, each affecting your keypress feel and typing or gaming experience.
How to Reassemble a Keyboard Switch?
You reassemble a keyboard switch by aligning the stem with the spring and housing, snapping the top over securely, and ensuring the spring stays seated. Test for smooth movement and reset software calibration if needed for peak performance.
What Is a 96% Keyboard Missing?
A 96% keyboard is missing some navigation and editing keys, like dedicated arrow keys and certain function keys, due to its compact layout. You still get nearly all essential keys but with less space around them.
In Summary
Swapping your keyboard springs is a rewarding way to customize your typing and gaming experience. By carefully choosing the right springs, following each step, and troubleshooting as needed, you can achieve a smoother, more satisfying keystroke. Remember to work patiently, stay organized, and keep your workspace safe. With practice, you’ll enjoy a personalized keyboard that feels just right, enhancing your overall comfort and performance every time you sit down to type or play.



