
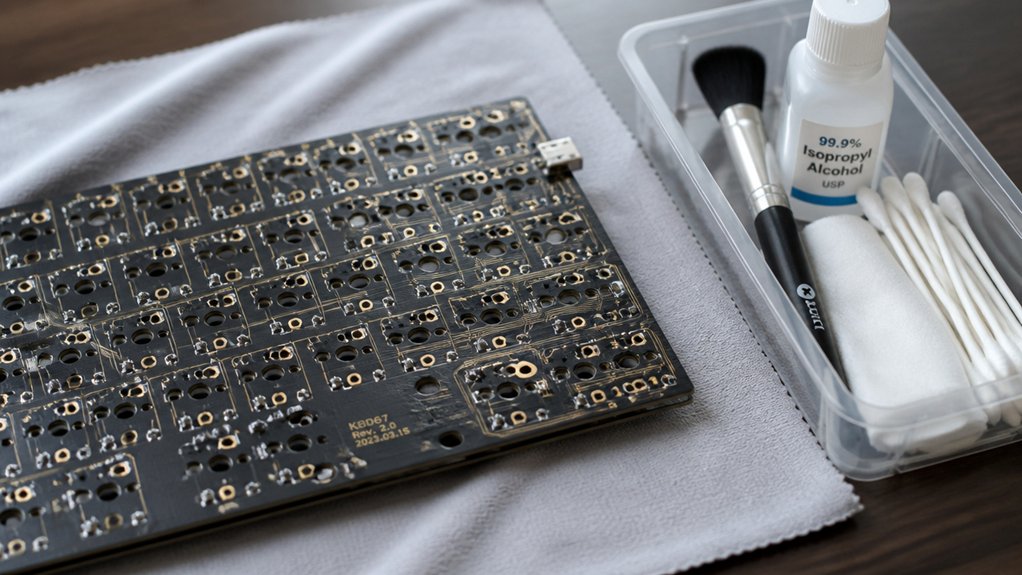
To clean your mechanical keyboard PCB safely, unplug your keyboard before disassembly. Gently remove keycaps with a keycap puller and clean them in warm, soapy water. Use compressed air and a soft anti-static brush to clear dust from the PCB and components. Carefully apply 90%+ isopropyl alcohol with a lint-free cloth or cotton swab to remove residues, ensuring everything dries completely before reassembling. For detailed steps and tips, keep going—you’re about to learn more.
Tools Needed to Safely Disassemble and Clean Your Keyboard

To safely disassemble and clean your mechanical keyboard, you’ll need a few essential tools. First, use a small Phillips-head screwdriver to carefully remove screws securing the keyboard case without damaging the chassis.
To avoid harming switch stems, employ a wire keycap puller to gently lift keycaps—never yank at an angle. Once keycaps are removed, prepare 90% or higher concentration isopropyl alcohol to clean the PCB effectively, making sure it’s free of residues.
Keep a soft-bristle brush and tweezers nearby to delicately remove dust, debris, and sticky residues from switches and components. Finally, use a compressed air canister held upright to blow dust off the keyboard parts. Proper cleaning practices and carefully drying the PCB are crucial to prevent any moisture damage before reassembling.
How to Disassemble Your Keyboard for PCB Cleaning
Wondering how to safely disassemble your keyboard for PCB cleaning? First, unplug your keyboard and disconnect any power sources to prevent damage.
Use a keycap puller to gently remove all keycaps, starting from one end, and set them aside.
Next, unscrew the keyboard case with a small Phillips-head screwdriver, keeping track of all screws.
Carefully lift the PCB out of the housing, gently detaching any ribbon cables or connectors without forcing them to prevent damage.
Handle the exposed PCB with care, avoiding contact with sensitive components.
Make sure to prepare it for cleaning with isopropyl alcohol afterward, and consider using an adjustable PCB holder to stabilize the board during cleaning.
Removing and Cleaning Keycaps Without Damage
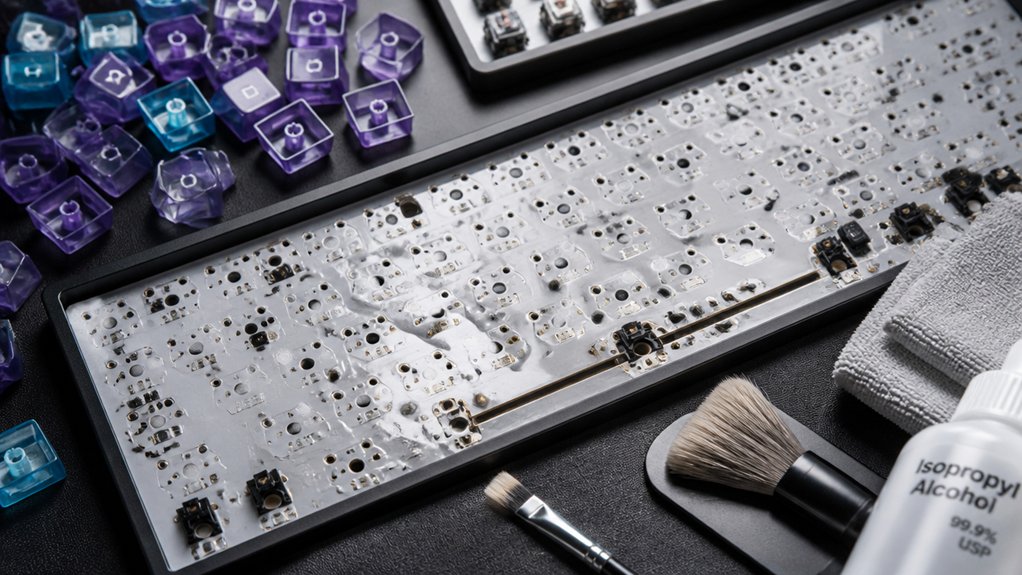
Careful removal of keycaps is essential to prevent damage to switches and stabilizers. Use a wire keycap puller and slide its wires fully under opposite corners of the keycap. Pull straight up with a gentle, firm, and wiggling motion.
Remove keys from one end to the other, being cautious with larger keys that have metal stabilizers—gently slide them out from one end first. Place the removed keycaps in a plastic strainer for rinsing. Soak them in warm water (35-40°C) mixed with a few drops of dish soap for 15-30 minutes to loosen dirt and grease.
Remember, applying a static-safe cleaning process helps prevent electrostatic damage during handling. After soaking, rinse thoroughly with cool water. Allow the keycaps to dry completely on a microfiber towel before reinstalling.
How to Clear Dust and Debris From the PCB Surface Safely
After removing and cleaning your keycaps, it’s time to address dust and debris on the PCB surface. Use a can of compressed air held upright to blow away loose dust and debris, making sure not to spray liquid.
Gently brush around the switches and solder joints with a soft, anti-static brush to dislodge particles without damaging the PCB. Avoid using excessive force or scraping tools, which can damage the delicate traces and solder points.
If you see debris between switches, carefully pick it out with tweezers, keeping the PCB stable and unplugged. Perform routine dust clearance every few months to keep your keyboard performing well and prevent buildup that could affect components.
This gentle approach guarantees you clean effectively without risking damage to the PCB. Also, choosing a moisture-free compressed air solution helps prevent corrosion and short circuits that could harm your keyboard’s electronics.
Applying Isopropyl Alcohol to Remove Residue and Corrosion
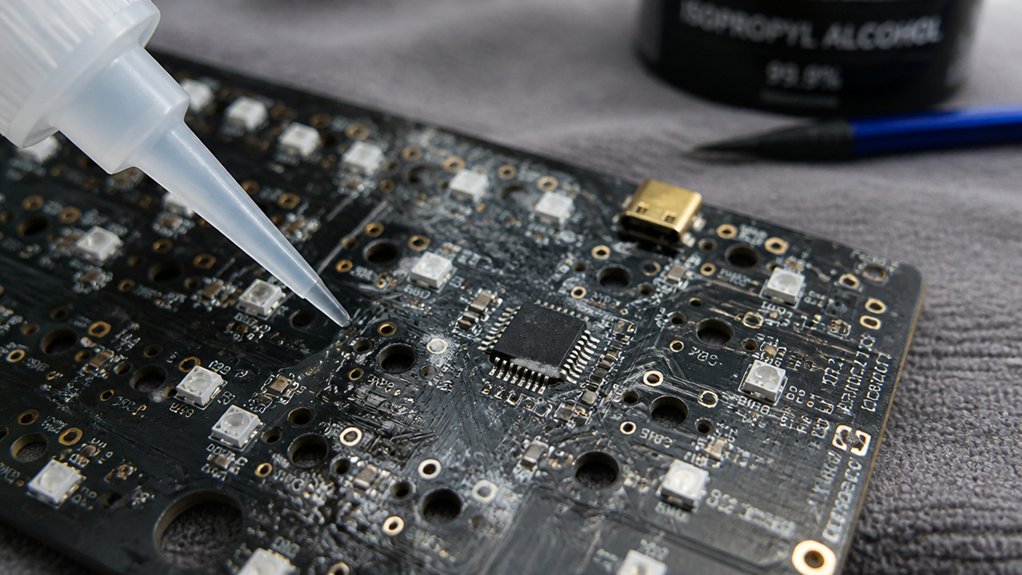
To effectively remove residue and corrosion from your keyboard’s circuit board, you should use isopropyl alcohol with a concentration of 90% or higher, as it dissolves sticky deposits without leaving conductive traces.
Apply the alcohol sparingly with a lint-free cloth or cotton swab to targeted areas, avoiding oversaturation that could seep into sensitive components.
Gently brush the PCB with a soft brush moistened in isopropyl alcohol to dislodge stubborn residues while protecting solder joints and switch contacts.
- Use a small amount of isopropyl alcohol for precise cleaning
- Gently brush to loosen residues without damaging components
- Avoid oversaturating the circuit board, preventing moisture ingress
- Allow thorough air drying for at least 24 hours before reassembling
Best Practices to Avoid Damaging Your PCB During Cleaning
Use the right tools, like lint-free cloths and soft brushes, to clean your PCB carefully. Handle the board gently, avoiding excessive force around solder joints and delicate components. Always work patiently to prevent accidental damage during the cleaning process. Additionally, consider using residue-free evaporating cleaners to ensure thorough cleaning without leaving damaging residues.
Proper Tool Usage
Using the right tools correctly is essential to prevent damaging your PCB during cleaning. Always choose proper tools designed for electronics, such as soft-bristle brushes or foam swabs, rather than harsh implements that could scratch delicate parts.
When cleaning, avoid pouring or spraying any liquid directly onto the PCB; instead, lightly dampen a lint-free or microfiber cloth with isopropyl alcohol at 90% or higher. Be cautious with liquid propellant—use sprays sparingly and apply it onto the cloth rather than directly onto the PCB. This prevents excess liquid from pooling in tight areas, reducing the risk of short circuits.
Additionally, make certain your tools are free of debris and statically neutral to avoid accidental damage during cleaning. Proper brush firmness variety helps maintain your PCB’s integrity and performance.
Gentle Cleaning Techniques
When cleaning your mechanical keyboard’s PCB, employing gentle techniques helps prevent accidental damage to delicate components. Use a soft, anti-static brush to carefully remove dirt and debris from around switches and solder joints, avoiding any pressure that could harm sensitive electronic parts.
For stubborn residues, lightly dampen a cotton swab with high-concentration isopropyl alcohol (90% or higher) and gently dab, never pour liquids directly onto the PCB. This dissolves sticky residues while minimizing moisture risks.
Always verify the PCB is completely dry in a warm, ventilated area for at least 24 hours before reassembling or powering on. Remember to unplug the keyboard and remove all power sources beforehand for safe cleaning. Gentle, controlled cleaning preserves your PCB’s integrity and longevity. Additionally, using an anti-static mat during cleaning can help dissipate static charges that might damage sensitive electronic components.
How to Reassemble Your Keyboard and Check Functionality
Before reassembling your keyboard, confirm the PCB has dried completely—ideally for at least 24 hours in a warm, ventilated room—to prevent moisture damage.
Ensure the PCB is fully dry for at least 24 hours before reassembly to prevent moisture damage.
Once dry, use gentle air to blow away any loose dust or debris from the PCB and surrounding areas.
Carefully reattach the PCB into the mechanical keyboard case, making sure all cables and connectors are properly aligned and securely connected without bending or forcing.
Use the original screws to firmly fasten the PCB and case, keeping track of each screw’s position.
When reinstalling keycaps, refer to a photo taken before disassembly for correct placement, pressing until each key clicks into place.
Finally, plug in the keyboard and test all keys to verify proper functionality, addressing any non-responsive keys as needed.
Additionally, ensure that the switch sockets and pins are correctly seated, especially when replacing with hot-swap PCBs, to maintain reliable electrical contact.
Troubleshooting Common Issues After Cleaning
After cleaning, you might notice some keys aren’t working properly.
Check for bent or folded hot-swap switch pins, as they can cause contact issues, and inspect socket connections for damage.
Also, look for residual moisture or stubborn residue that could be interfering with electrical contact or movement.
Additionally, ensure the solder joints are free of alloy impurities, which can compromise joint strength and electrical conductivity.
Bent Switch Pins
Ever notice that some keys stop working after cleaning your mechanical keyboard? Bent switch pins are often the culprit.
Deep cleaning around the switches or attempting to remove them can cause pins to bend or misalign. If you experience issues, carefully inspect each switch pin with a magnifier. Look for any signs of crushed, folded, or misaligned pins.
To fix this:
- Gently straighten bent pins with fine tweezers or needle-nose pliers
- Avoid forcing switches back into sockets if pins aren’t straight
- Make certain pins are away loose enough to fit without resistance
- Never twist or apply excessive force during reinstallation
Using proper switch removal tools, such as high-quality pullers, can help prevent accidental bending of pins during removal and reinstallation. Bent pins prevent proper electrical contact, leading to non-working keys. Straightening them carefully restores connectivity and prevents further damage to the PCB.
Damaged Sockets
Damaged sockets are a common issue that can arise if you apply excessive force or insert switches at an angle during cleaning or maintenance. This can bend or break the delicate metal contacts, making keys stop working. Regular cleaning with water or cleaning solutions increases the risk if internal components aren’t fully dried, causing corrosion and electrical failures. To prevent damage, always inspect socket integrity after cleaning and avoid lubricating switches while installed.
| Issue | Solution |
|---|---|
| Bent or broken contacts | Carefully straighten with tweezers or replace sockets |
| Corrosion from moisture | Thoroughly dry before reassembling |
| Solder pad tears | Handle with care during removal and reinsertion |
Tips to Keep Your Keyboard Clean and Prevent Spills
Keeping your mechanical keyboard clean and spill-free starts with simple proactive steps. First, use a dust cover when not in use to prevent dust and debris from settling on the PCB and switches. Always unplug your keyboard before handling for safe cleaning. To avoid spills, don’t eat or drink near your keyboard, especially sticky or sugary drinks that can leave residue.
Regularly remove keycaps to clean both the keys and the surface, preventing grime buildup that affects switch performance. When deep cleaning, use warm water and mild soap to gently wipe or rinse removable parts.
Store your keyboard in a dry, cool place away from humidity and sunlight to prevent corrosion. Staying vigilant with these tips helps preserve your keyboard’s lifespan and functionality.
Frequently Asked Questions
Will Isopropyl Alcohol Damage a PCB?
No, isopropyl alcohol won’t damage your PCB if you use a high concentration like 99%, apply it sparingly with soft tools, and let the board fully air dry. Proper usage guarantees safe, effective cleaning without harm.
Is WD-40 Good for Cleaning Keyboards?
WD-40 isn’t good for cleaning keyboards because it can damage plastics, attract dust, and interfere with electrical contacts. Stick to high-concentration isopropyl alcohol and dedicated electronics cleaners for safe, effective keyboard maintenance.
What Can I Clean a PCB With?
You can clean a PCB with 90% or higher isopropyl alcohol, a lint-free cloth or cotton swabs lightly dampened, and a soft anti-static brush. Avoid water or household cleaners to prevent damage or corrosion.
Is It Safe to Clean a Mechanical Keyboard?
Yes, it’s safe to clean a mechanical keyboard if you unplug and turn it off first. Use high-concentration isopropyl alcohol, gentle tools, avoid excess moisture, and let it dry fully before plugging it back in for safe, effective cleaning.
In Summary
Keeping your mechanical keyboard clean extends its lifespan and guarantees peak performance. By carefully disassembling, cleaning, and reassembling your keyboard with the right tools and techniques, you can safely maintain your device without causing damage. Regular upkeep prevents dust buildup and corrosion while catching potential issues early. So, take your time, follow these best practices, and enjoy a spotless, reliable keyboard that lasts for years to come.



