
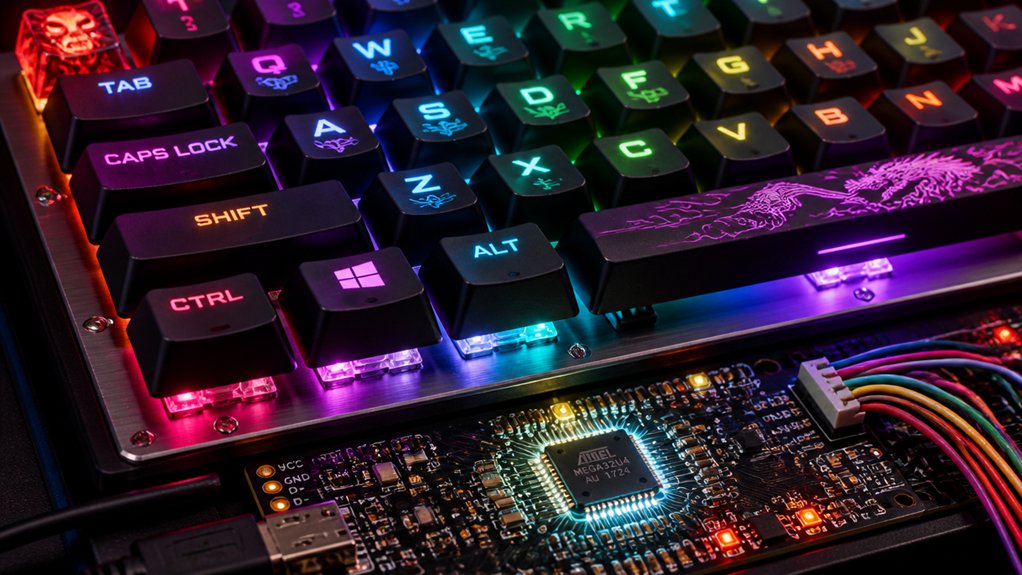
Flashing custom firmware releases your keyboard’s full potential by letting you reconfigure keys, create macros, and customize lighting, making typing more efficient and tailored to your workflow. It also supports advanced features like media controls and multiple layers that aren’t available with stock software. Plus, you can improve responsiveness and fix bugs. If you want to explore how to safely update and customize your keyboard, keep going to discover essential tips and tools.
Why Flashing Custom Firmware Transforms Your Keyboard
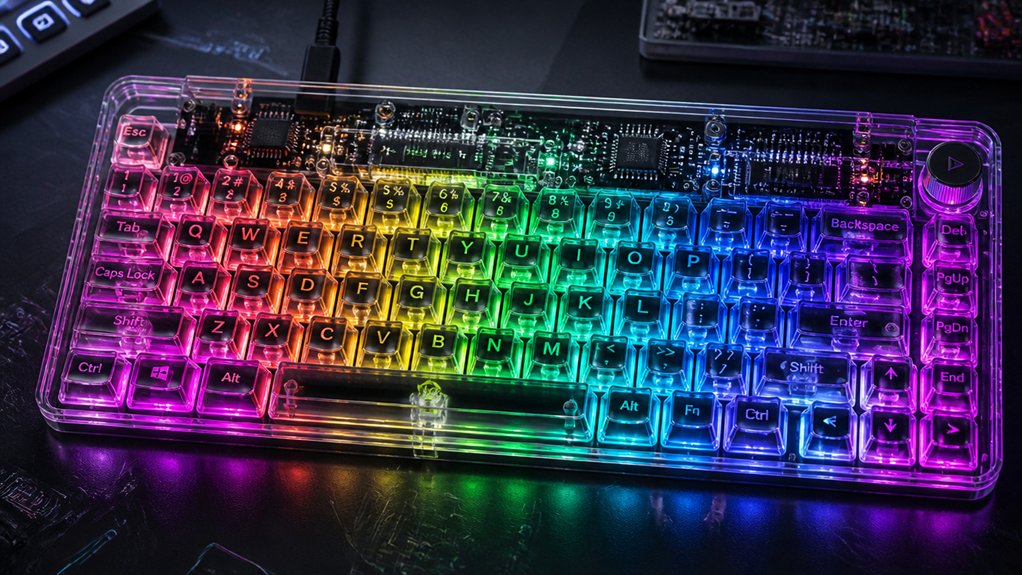
Have you ever wondered how customizing your keyboard can completely change your typing experience? Flashing custom firmware like QMK or VIA reveals powerful features and personalization options.
During the flashing process, you can remap keys, create multiple layers, and enable macros for complex shortcuts. Custom firmware expands your keyboard’s capabilities beyond factory defaults, allowing for RGB lighting control and mouse key integration.
It often improves responsiveness and fixes bugs found in stock firmware. Plus, flashing gives you real-time configuration tools, so you can adjust key assignments and lighting without reflashing.
This process transforms a standard keyboard into a tailored device that meets your specific needs, making your typing faster, more efficient, and more enjoyable. Exploring firmware support ensures compatibility with your keyboard model and features.
The Most Popular Firmware Options for Keyboard Modding
When it comes to keyboard modding, choosing the right firmware can greatly impact your customization options and performance. QMK is the most popular and versatile firmware, supporting a wide range of MCUs like AVR, ARM, Raspberry Pi, Arduino, and ESP32. Other options include ZMK, built for wireless, power-efficient keyboards on 32- and 64-bit microcontrollers. TMK, originally created for HHKB, works best for Amtel AVR USB boards with features like layers and LED support. KMK is a CircuitPython-based firmware optimized for wireless keyboards but less suited for gaming latency. Here’s a quick comparison:
| Firmware | Focus & Compatibility |
|---|---|
| QMK | Versatile, supports many MCUs |
| ZMK | Wireless, power-efficient, modern |
| TMK | AVR boards, layers, LEDs |
| KMK | Wireless, modular, Python-based |
Additionally, many firmware options facilitate support for hot-swappable switches, allowing for easier customization without soldering.
Risks and Precautions You Should Know Before Flashing
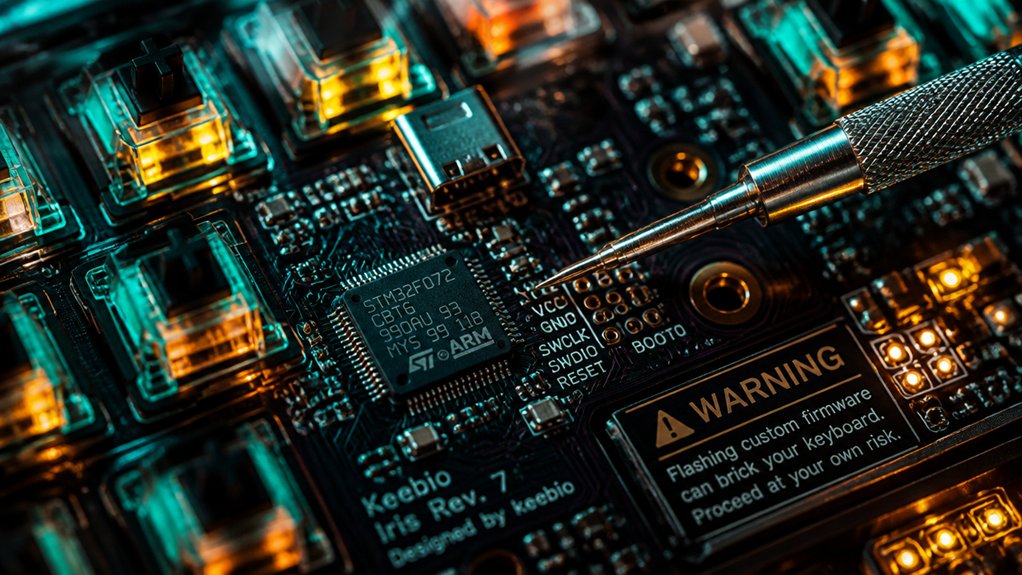
Before you begin flashing your keyboard firmware, it’s essential to understand the risks involved and take necessary precautions. Interrupting the flashing process or unplugging the keyboard during the operation can brick the device, making it non-functional and difficult to recover. Using unofficial or unverified firmware can introduce security vulnerabilities or cause instability, risking malfunctions or exposure to threats. Ensuring you enter the correct bootloader device mode is vital; failure to do so can prevent successful flashing or corrupt the firmware. Maintain a stable power supply and a secure USB connection throughout the process to avoid power failures or communication issues that might damage the controller. Always back up existing firmware if possible, follow official instructions, and use recommended tools to minimize risks. Additionally, choosing reliable Pro Micro controllers with proper protection features can help safeguard against potential electrical issues during flashing.
How to Enter DFU or Bootloader Mode Safely
Entering DFU or bootloader mode correctly is key to a successful firmware flash. To enter bootloader mode, use the specific key combination or physical reset button for your keyboard model, such as holding Escape or Fn + Space + B during connection.
Confirm successful DFU mode entry by checking your system’s Device Manager or utilities like lsusb. You should see a DFU device connected: Atmel, or a message indicating your keyboard is in bootloader mode in QMK Toolbox.
Avoid unplugging or interrupting the process once in DFU mode, as it can damage your keyboard’s firmware or hardware permanently.
If unsure how to enter bootloader mode, consult official guides or support channels with photos for assistance. Some keyboards may require shorting pins or double-tapping the reset button for safe entry. Additionally, understanding hardware interfaces and their configurations can help ensure the correct procedure for your specific device.
Best Tools and Software for Flashing Your Keyboard
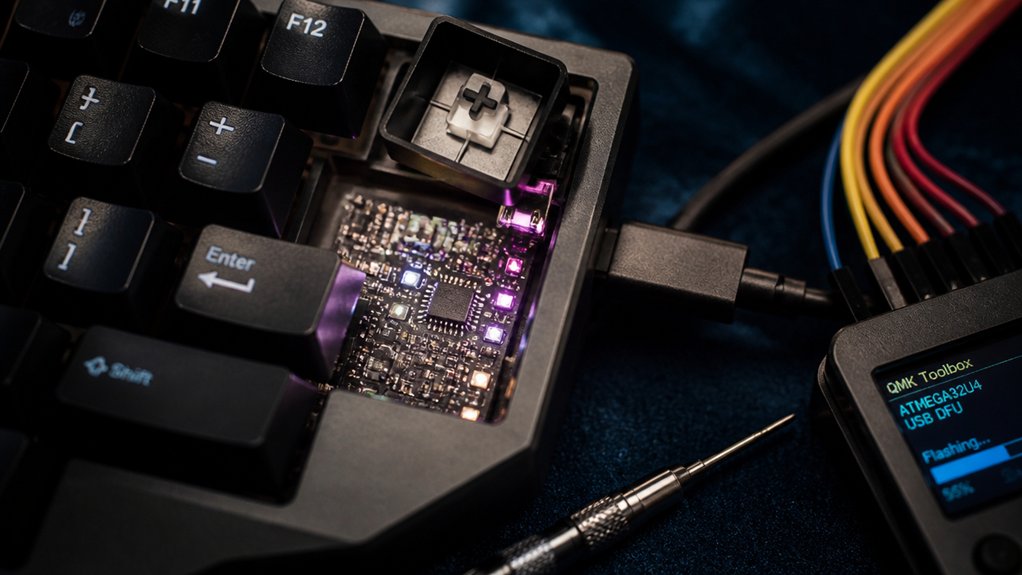
Are you wondering which tools make flashing your custom keyboard firmware straightforward and reliable? For most users, *QMK Toolbox* is the top choice. It’s simple to use on Windows and macOS, supporting .hex and .bin firmware files with a user-friendly interface.
A wide range of switch types can be tested with various kits, helping you confirm compatibility during the flashing process. You’ll need it to *flash firmware* onto your keyboard and to confirm successful bootloader entry.
For RP2040-based keyboards, flashing is often done through native bootloader tools or command line instead. Advanced users and Linux fans prefer using the terminal with the `qmk flash` command, which offers greater control by automatically detecting bootloader types.
A Beginner’s Guide: How to Flash Your Keyboard Step-by-Step
To successfully update your keyboard’s firmware, you’ll need to follow a clear, step-by-step process. First, put your keyboard into its bootloader or DFU mode, which can be done using hardware reset buttons, specific key combos like holding Escape or Fn+Space+B, or shorting reset pins. This disables keyboard input during flashing. A good understanding of your keyboard’s components and firmware tools can help streamline this process. Next, download the compatible custom flashing file—usually a .hex or .bin—and load it into software like QMK Toolbox, or use command-line tools such as `qmk flash`. Connect your keyboard via USB and verify detection in your system’s tools. Begin the flash by clicking the Flash button or running the command, and don’t unplug during the process. After completion, test all keys and layers thoroughly to confirm everything works smoothly.
Common Firmware Flashing Problems and How to Fix Them
Problems like failing to enter DFU mode often trip up users, but using the right key combinations or pressing the reset button can fix this.
Driver installation issues might prevent your keyboard from being recognized, so double-check that drivers are correctly installed and try tools like Zadig if needed.
Incompatible firmware files can also cause problems, so make certain your firmware matches your keyboard’s model and format before flashing.
Ensuring compatibility with hot-swap PCB sockets and switch types is crucial to prevent flashing errors and maintain proper functionality.
Entering DFU Mode Properly
Entering DFU mode is an essential step in flashing custom firmware, but it can be tricky if you’re not familiar with the correct procedures. To successfully enter DFU mode, you might need to hold particular key combinations, press the reset button, or short reset pins as directed in your keyboard’s documentation.
A successful entry is confirmed when your keyboard appears as a bootloader device in system tools like Device Manager or lsusb, with QMK Toolbox showing a yellow message confirming detection.
Common problems include using the wrong key combos, faulty USB cables, or not holding the reset sequence properly. Using buttons labeled “RESET” or “BOOT” on the PCB simplifies the process.
If issues persist, community support or running diagnostic commands like `qmk doctor` can help troubleshoot hardware or detection failures. Understanding multimeter safety ratings and proper handling procedures can also prevent accidental damage when working with hardware.
Driver Installation Issues
Have you ever tried flashing your keyboard firmware only to find it isn’t detected properly? Driver installation issues are common, especially on Windows. If your keyboard shows up as “(NO DRIVER)” in QMK Toolbox or Device Manager, the problem is likely faulty or missing drivers.
Using the Zadig tool can help install or replace the necessary USB drivers, ensuring your device is recognized. On macOS and Linux, check device recognition with system utilities like lsusb or System Report to confirm proper connection. Also, try switching USB cables or ports to resolve physical connection problems.
Disabling fast boot in BIOS/UEFI and closing background applications that might conflict with driver loading can prevent detection failures during flashing. Proper driver installation is essential for a smooth firmware flashing process. Additionally, selecting the correct USB-C connection type can improve detection and stability during the process.
Firmware Compatibility Errors
Firmware compatibility errors happen when you try to flash a firmware file that doesn’t match your keyboard’s specific model or revision. These errors can cause unresponsive keys or malfunctioning hardware.
One common issue is mismatched bootloader detection between the firmware and your microcontroller, leading to flashing failures or error messages in tools like QMK Toolbox. Using an incorrect firmware file—such as one with the wrong naming format or extension—can also prevent successful flashing or leave your keyboard in a non-functional state.
To fix this, double-check that the firmware file matches your keyboard’s model and revision, and verify your keyboard is correctly in DFU or bootloader mode. Updating your flashing tools and consulting resources can also help resolve firmware compatibility errors. Additionally, ensuring that your firmware flash process accounts for reset and power options can prevent common issues during the flashing process.
How to Test and Verify Your Keyboard After Flashing
Once you’ve flashed your keyboard, make certain it’s recognized as a standard device without lingering bootloader prompts.
Test all keys and functions using tools like VIA Key Tester to confirm proper mapping and responsiveness.
Finally, verify that the firmware version matches what you installed to guarantee everything installed correctly.
Functionality Check
After flashing your keyboard, the first step is to confirm it properly exits bootloader mode and reconnects as a regular input device.
Perform a quick functionality check by testing all keys and layers using tools like QMK Configurator test mode or VIA Key Tester. For bare PCBs, you can also use a conductive tool to bridge switches physically.
Verify custom keycodes, macros, and special functions trigger correctly in real scenarios. If you’ve incorporated mouse keys, media controls, or RGB indicators, verify they respond as intended on their respective layers.
If any keys fail to register or seem stuck, recheck your firmware match, solder joints, and USB connection. Reflash the firmware if necessary, guaranteeing everything functions smoothly before moving on.
Key Mapping Accuracy
Before relying on your custom keyboard, it’s essential to thoroughly test and verify that all keys map correctly to their intended functions. After you flash your firmware, use tools like QMK Configurator’s test mode, VIA Key Tester, or Test Matrix to check key mapping accuracy.
For bare PCBs or split keyboards, manually bridge switch pads with a conductive tool to test each half separately, ensuring they respond correctly to firmware layers. Confirm that specialized keys, such as function layers, macros, and media controls, behave as configured by testing all layers extensively.
Watch for issues like incorrect or duplicated outputs, non-responsive keys, or unintended toggling. Ensuring your key mapping is accurate guarantees your keyboard functions precisely as intended.
Firmware Version Confirmation
How can you be certain that your custom firmware successfully installed and is working correctly?
First, verify the firmware version by checking your keyboard’s response using software tools like QMK Toolbox or VIA. These tools confirm the firmware installed and help identify the device’s status.
Next, enter test mode with QMK Configurator or VIA Key Tester to systematically test all keys, layers, and functions, ensuring they produce the expected output. Confirm the keyboard exits DFU (bootloader) mode and appears correctly as a USB input device in your system’s device manager or system information panel.
Additionally, review the output console in QMK Toolbox for success messages and absence of errors. Finally, perform real-world tests for macros, RGB lighting, and layer switching to validate full functionality.
Keeping Your Firmware Up-to-Date for Long-Term Performance
Keeping your keyboard firmware up-to-date is essential for maintaining peak performance and compatibility over time. Regularly flashing your custom firmware guarantees your keyboard works seamlessly with new operating systems, hardware updates, and security patches.
Firmware updates also fix bugs like key debounce issues, enhance power efficiency, and improve stability for reliable long-term use. Additionally, new releases can activate features like better lighting, macros, or custom keymaps, extending your keyboard’s life and capabilities.
Staying current allows you to benefit from community-driven improvements that reduce input lag and boost responsiveness. To keep everything running smoothly, regularly check for firmware updates and file new versions as they become available, ensuring your keyboard stays optimized and secure.
- Compatibility with latest OS and hardware
- Bug fixes for key debounce and stability
- New features like lighting and macros
- Security patches against vulnerabilities
- Community-driven enhancements
How Custom Firmware Boosts Your Keyboard’s Features and Productivity
Custom firmware lets you reprogram your keyboard with expanded key options and multi-layer layouts, so your shortcuts fit your workflow perfectly.
You can add macros and key combos that automate repetitive tasks, saving you time and effort. Plus, it supports features like dynamic lighting and mouse control, making your input more intuitive and efficient.
Expanded Key Customization Options
By leveraging custom firmware like QMK, you can access an extensive range of key customization options that greatly enhance your keyboard’s functionality. This expanded key customization allows you to create multiple layers, custom keymaps, and programmable keys tailored to your workflow.
You can assign macros to automate complex commands, saving time on repetitive tasks. Dynamic key remapping with tools like VIA or VIAL means you can instantly change layouts without reflashing. Built-in support for mouse keys, media controls, and RGB indicators offers seamless multitasking and visual feedback.
With custom firmware, you unleash personalized shortcuts and automation that boost productivity and make your keyboard truly unique.
- Create multiple layers for different workflows
- Program macros for automation
- Use programmable keys for shortcuts
- Remap keys instantly with VIA or VIAL
- Add media controls and RGB features
Enhanced Typing Efficiency
Enhanced typing efficiency emerges directly from the flexibility custom firmware offers, allowing you to tailor your keyboard to your specific workflow. With custom macros and key remapping, you can execute complex commands with a single keypress, reducing repetitive movements and saving time.
This customization grants faster access to shortcuts, boosting productivity during demanding tasks. Real-time firmware adjustment tools like VIA and VIAL let you reconfigure your layout on the fly, adapting to changing needs without reflashing.
Additionally, features like mouse keys and scrolling toggles streamline multitasking, minimizing the need to switch input devices. Enhanced feedback options, such as customizable RGB indicators and debounce settings, further improve responsiveness and comfort.
All these modifications work together to make your typing more efficient and tailored precisely to your usage style.
Additional Functionality Integration
Integrating additional functionalities into your keyboard via custom firmware greatly boosts its versatility and productivity.
With custom firmware like QMK, you can add macros for multi-step commands, simplifying complex tasks with one keypress. You can also enable RGB lighting changes linked to specific states, such as Caps Lock or active layers, providing instant visual cues.
Firmware modifications can support mouse keys, allowing rapid spamming (~90 clicks per second) or custom trackball sensitivity, enhancing ergonomic control.
Real-time key remapping tools like VIA and VIAL let you quickly adjust layouts without reflashing, perfect for switching between workflows.
Additionally, features like Select + Trackball scrolling blend comfort with efficiency, making your keyboard a powerful, adaptable tool.
Next Steps: Troubleshooting, Community Resources, and Advanced Tips
Have you successfully flashed your custom firmware but are now encountering issues or uncertainties? First, use tools like QMK Toolbox to verify your keyboard’s status and check if it’s properly entering the bootloader.
If your keyboard isn’t detected or malfunctions, try rebooting, rechecking your USB connections, and ensuring you followed the correct bootloader entry method. Running commands like `qmk doctor` can help diagnose bootloader detection problems.
For detailed guidance, visit the keyboard’s GitHub repository or official flashing guides, especially for complex setups like split or wireless boards. When troubleshooting, engage with community forums or Discord channels where experienced modders share insights.
Remember to back up your original firmware and familiarize yourself with recovery procedures to avoid bricking your device during experimentation.
Final Tips for Safe and Successful Firmware Modding
Before you finalize your firmware modding, keep safety and accuracy in mind to prevent potential issues.
When flashing your firmware, verify your keyboard is in DFU or bootloader mode to avoid failed writes or bricking your device. Use verified and compatible firmware files that match your keyboard’s model and revision to prevent compatibility problems.
Keep the keyboard connected throughout the process, and don’t interrupt the flashing—unplugging can cause permanent damage.
Backup your current firmware if possible, and make sure you have the right drivers and tools like QMK Toolbox or maple_upload ready in your build environment.
After flashing, test all keys and layers carefully. Troubleshoot early if you notice any issues or unexpected behavior.
- Confirm DFU mode before flashing
- Use compatible firmware files
- Keep your device connected during flashing
- Backup firmware beforehand
- Test keys and layers post-flash
Frequently Asked Questions
What Does Flashing a Keyboard Do?
Flashing a keyboard updates or replaces its firmware, allowing you to customize key functions, improve performance, add features, or fix bugs. During flashing, the keyboard temporarily stops working until the process completes, ensuring your modifications take effect.
What Are the Risks of Flashing Firmware?
Flashing firmware can brick your keyboard, cause bugs, or introduce security vulnerabilities if done improperly. Unstable power or incorrect firmware might damage hardware, and failure to enter bootloader mode could make recovery difficult or impossible.
Is It Important to Update Keyboard Firmware?
Yes, updating your keyboard firmware is important because it fixes bugs, improves performance, adds new features, enhances security, and supports hardware or customization tools. Staying current guarantees your keyboard functions smoothly and remains secure from vulnerabilities.
What Is a 96% Keyboard Missing?
A 96% keyboard is missing a dedicated navigation cluster, a separate number pad, and sometimes macro or function keys. It combines keys into a compact layout, reducing gaps and spacing while retaining most essential functions.
In Summary
Flashing custom firmware lets you unleash your keyboard’s full potential, enhancing features, comfort, and productivity. Just remember to follow safety precautions, choose the right tools, and stay informed with community resources. Take your time with the process, and don’t rush. With a little patience and attention, you’ll enjoy a personalized, high-performance keyboard that’s tailored just for you. Happy modding, and enjoy your upgraded typing experience!



