

To build a hot-swappable DIY keyboard kit, start by gathering a compatible case, PCB, stabilizers, and switches designed for hot-swap sockets. Test your PCB using USB-C and a tester app, then install and lube stabilizers carefully. Insert switches without soldering by aligning pins properly, and finish by attaching keycaps that fit your layout. Test all keys and lighting to guarantee smooth operation. Keep following instructions, and you’ll soon master every step for a perfect build.
Our Recommended Products on Amazon


As an Amazon Associate we earn from qualifying purchases.
Gather Your Keyboard Kit and Tools

Before you begin assembling your hot-swappable keyboard, gather your kit and tools to streamline the process.
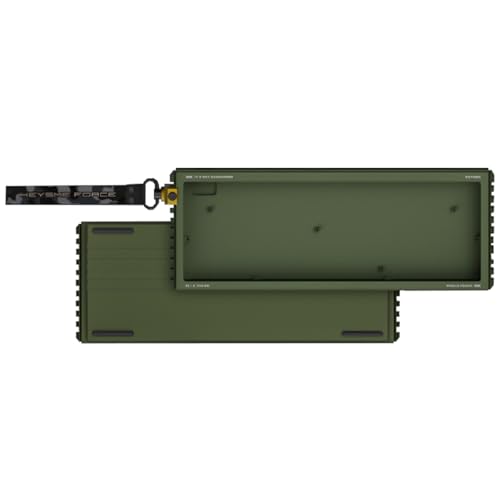
Start with a reliable keyboard kit that usually includes the case, PCB, stabilizers, and sometimes a USB-C cable but excludes switches and keycaps.
Select your preferred switches compatible with the Hot Swap sockets, ensuring they fit the 2-pin board mount to skip soldering.
You’ll need essential tools like a screwdriver, switch puller, and tweezers, plus optional items such as lube and a switch opener to ease switch handling.
Prepare a clean, organized workspace to inspect all parts and prevent losing tiny hardware.
Finally, check your keyboard kit’s manual for compatibility with your desired switches and keycaps, typically Cherry stem types, ensuring your custom keyboard build goes smoothly.
Test Your Keyboard PCB and Install Stabilizers
Connect your keyboard’s PCB to your computer via USB-C and use a keyboard tester app like VIA or VIAL to verify every switch contact pad registers input correctly by tapping them with tweezers. Once confirmed, prepare to install stabilizers on your custom keyboard. Lubricate stabilizers with a brush-applied lube to reduce rattling and guarantee smooth keystrokes. Align wire toward larger PCB holes during installation, using washers if screw-in stabilizers are included. Avoid overtightening screws to prevent damage. Finally, test stabilized keys for smooth, rattle-free operation and functionality.
| Step | Tip |
|---|---|
| Connect & Test PCB | Use tweezers for precision |
| Lubricate Stabilizers | Brush-applied lube works best |
| Install Stabilizers | Align wire toward big holes |
| Test Stabilized Keys | Check for smooth keystrokes |
Swap Spacebar Layout and Lube Your Switches (Optional)

Customize your keyboard’s feel and layout by swapping the spacebar stabilizer and lubing your switches.
Enhance your keyboard’s performance by swapping stabilizers and carefully lubing switches for a personalized typing experience.
To swap spacebar layout on your hot-swappable keyboard kit, first remove the screws securing the current stabilizer, keeping them safe for reassembly. Your kit may include alternate spacebar configurations, so choose one that fits your typing style.
When lubing switches, focus on non-clicky mechanical keyboard switches to reduce scratchiness and improve smoothness. Use a fine brush to apply lubricant carefully to the slider and spring, avoiding over-lubing that can create a mushy feel. Skip lubing clicky switches to preserve their tactile feedback.
Finally, insert your lubricated switches gently into the PCB sockets, making sure pins are aligned to maintain your hot-swap feature and avoid damage.
Insert Hot-Swappable Switches Without Soldering
When you’re ready to insert your hot-swappable switches, make sure to align their pins carefully with the PCB’s hot-swap socket contacts to avoid bending them. Insert each switch straight down into the PCB plate in your custom keyboard case until it snaps securely without soldering.
Support the PCB sockets gently with your fingers while pushing switches in to protect the hot-swappable mechanism. If a switch doesn’t fit or its pins bend, remove it and straighten the pins with tweezers before reinserting. This method makes building mechanical keyboards faster and more flexible, letting you easily swap switches later.
Once all hot-swappable switches are installed, you’re set to test your keyboard’s functionality using software like VIA or VIAL to confirm proper connections.
Attach Keycaps and Perform Final Function Tests
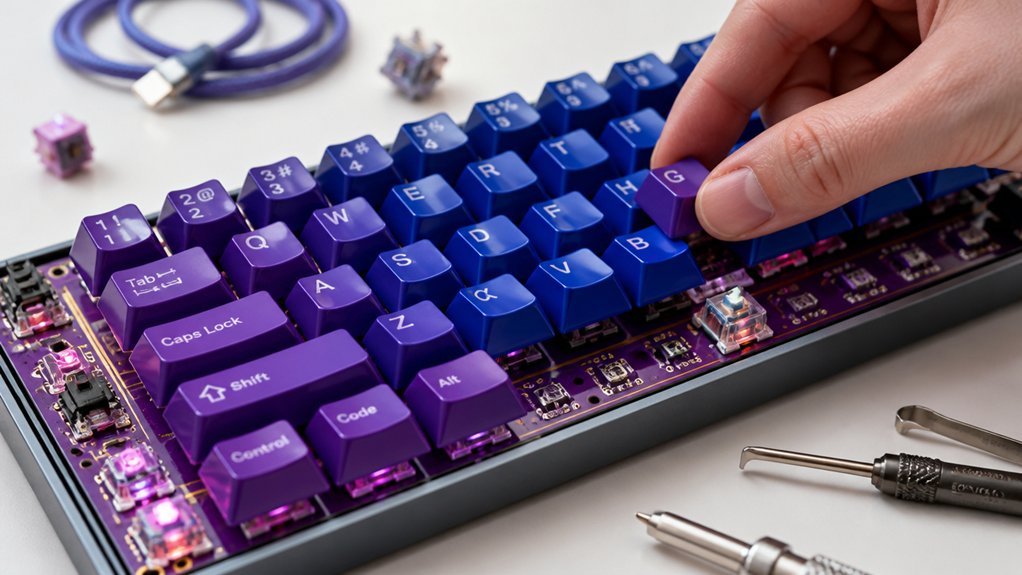
After securing all your hot-swappable switches, you can move on to attaching the keycaps. This step is vital to guarantee your mechanical keyboard feels right and everything works flawlessly.
Here’s how to proceed:
- Attach keycaps carefully, matching the switch stem type and confirming correct layout sizing, especially for split spacebar keys.
- Press each keycap firmly straight down to prevent wobbling or loose fittings.
- Use a keyboard testing app like VIA or VIAL to perform a final function test, ensuring all keys, including function and media keys, register correctly.
- Verify RGB lighting and check for any rattles or misalignment, adjusting keycaps as needed for a smooth typing experience.
Following these steps guarantees your DIY mechanical keyboard is ready to use!
Frequently Asked Questions
Is It Cheaper to Build or Buy a Keyboard?
It’s usually cheaper to build your keyboard if you pick budget-friendly switches and keycaps. You’ll spend upfront on tools, but customizing and upgrading later costs less than buying new pre-built boards every time.
Is 84 Keys 75%?
Yes, 84 keys is considered a 75% layout since it packs function keys, arrows, and nav clusters into a compact design. You’ll enjoy a near-full keyboard experience without the bulk of a numeric keypad.
What Does a 96% Keyboard Not Have?
A 96% keyboard doesn’t have a separate number pad, extra function or macro keys, a distinct navigation cluster, or specialized multimedia keys. It also lacks the spacious key spacing seen on larger full-sized keyboards.
Why Do Gamers Like 60% Keyboards?
You like 60% keyboards because they save desk space, boost mouse movement, and keep your setup minimal. Their portability and customizable features, like RGB lighting and mechanical switches, improve your gaming precision and overall experience.
In Summary
Now that you’ve built your hot-swappable DIY keyboard kit, you’re all set to enjoy a fully customizable typing experience. Remember, the beauty of hot-swappable switches is the ease of upgrading or experimenting without soldering. Keep your tools handy for future tweaks, and don’t hesitate to swap out switches or keycaps to match your preferences. With a bit of care, your keyboard will stay responsive and unique to your style for years to come. Happy typing!



