

To build your DIY ergonomic keyboard kit smoothly, first gather precise tools like a Pinecil soldering iron and matching screwdrivers. Test all components, from PCBs to switches, for functionality before assembly. Align your switches carefully, ensuring prongs fit perfectly through the PCB. Use proper soldering techniques, heating prongs around 250°C and applying flux sparingly for clean joints. Finally, install stabilizers securely and assemble layers with even screw tightening for a stable, polished build. Keep going to reveal detailed tips.
Gather Your Tools and DIY Keyboard Parts
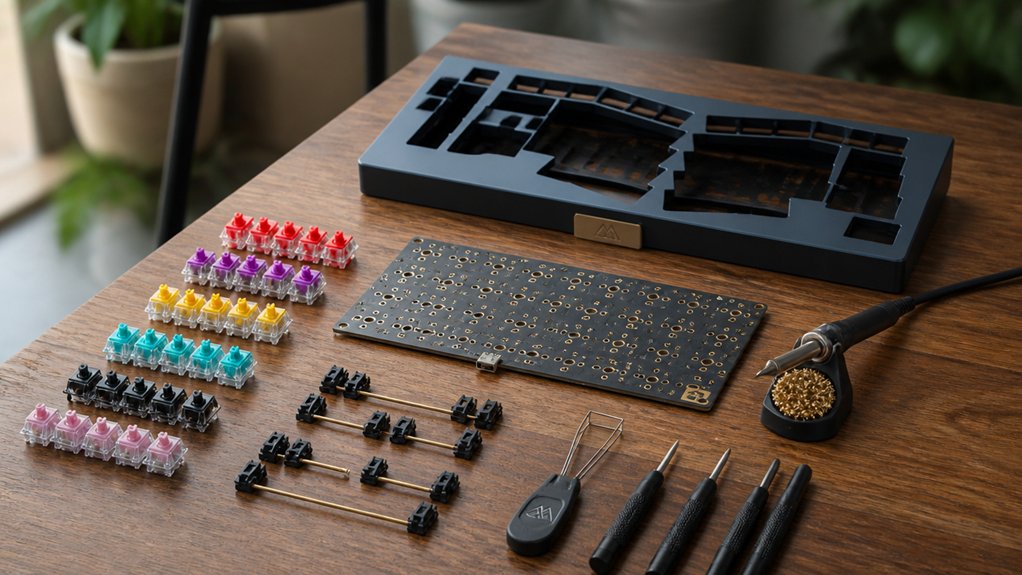
Start your DIY ergonomic keyboard project by gathering essential tools and parts. To make sure your build goes smoothly, pick a reliable soldering iron like the Pinecil, known for precision and quick heating. Don’t forget screwdrivers that match your keyboard kit screws and a multimeter for troubleshooting.
Next, acquire key components such as PCBs from trusted sources like JLCPCB or Osh Park, low-profile silent switches, keycaps, stabilizers, and compatible cases or plates—acrylic or steel. If you want wireless functionality, consider MCUs like the nice!nano v2 or SuperMini NRF52840 clone. To simplify switch installation, use soldering aids like spring or hotswap sockets.
Always gather your parts from reputable vendors such as kbd.news or AliExpress to avoid missing vital items, ensuring your DIY keyboard kit build stays on track.
Test Your DIY Keyboard Components Before Starting
Although it might be tempting to jump straight into assembly, you should test each DIY keyboard component beforehand to avoid complications later. If you’ve never soldered before, testing your components will help you spot issues early. Connect the keyboard PCB to power; check LCD screens and electronics. Plug the PCB into your computer to test each switch’s responsiveness. Use a multimeter to verify continuity and inspect stabilizers for damage. Verify USB connections are compatible and functional to save setup time.
| Component | Test Method | Purpose |
|---|---|---|
| PCB | Power connection | Check electronics, LCD |
| Key switches | Plug into computer | Detect non-responsive keys |
| PCB pads | Multimeter | Verify solder continuity |
| Stabilizers | Visual inspection, tweezers | Fix bent prongs, damage |
| USB connectors | Connection test | Confirm compatibility |
Align Switches Precisely and Get Ready to Solder
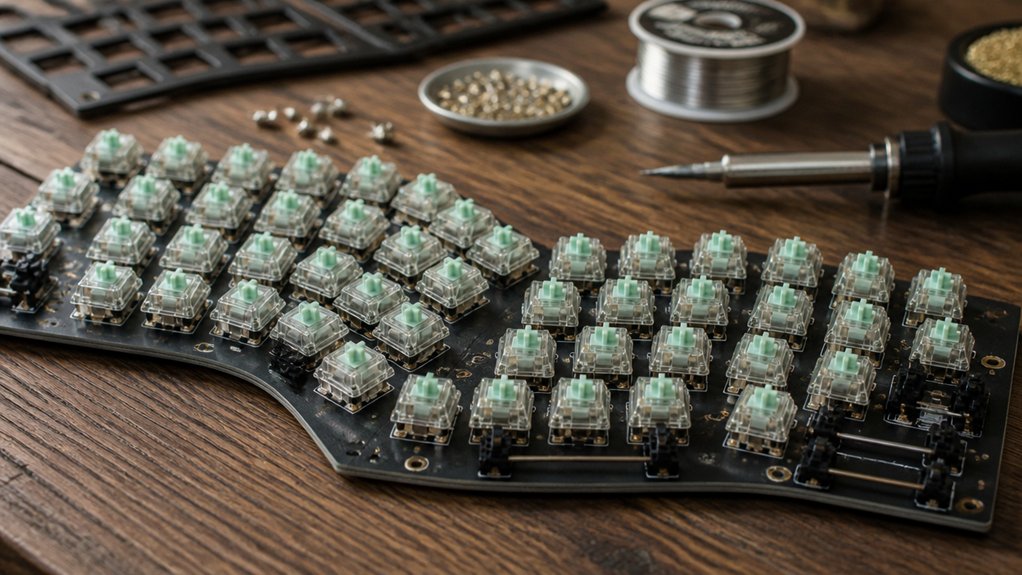
When you place each switch onto the PCB, make sure the prongs face outward and align correctly with the row orientation. This alignment is essential, especially for your split keyboard build.
Before fitting the PCB, confirm all three prongs pass cleanly through their designated holes. If you’re using different switches, check for bent prongs and straighten them gently with tweezers to avoid insertion issues. Follow your build guide closely to match each switch’s position correctly. Proper alignment prevents mis-soldering and electrical problems later.
This step sets the foundation for a smooth soldering process. Taking your time here guarantees all switches sit flush and secure, making the next step—soldering—much easier and more reliable.
Solder Switches Safely Using Proper Technique and Temperature
How can you guarantee solid, reliable solder joints without damaging your keyboard’s PCB?
When working with open source DIY ergonomic keyboard kits, mastering proper soldering technique and temperature makes the task much easier. It’s time to put precision first to avoid mistakes that can render your build unusable.
Master proper soldering technique and temperature to ensure precision and avoid costly mistakes in your keyboard build.
Follow these key tips:
- Preheat each switch prong to around 250°C before applying solder for smooth flow.
- Use flux sparingly on prongs to improve adhesion and avoid cold joints.
- Avoid touching adjacent PCB components with your soldering iron tip to prevent heat damage.
- Completely fill holes around switch pins without excess solder buildup for secure connections.
- Double-check each joint’s cleanliness and straighten any bent prongs prior to soldering.
Applying these techniques guarantees durable, professional results in your DIY build.
Install Stabilizers and Assemble Keyboard Layers Firmly
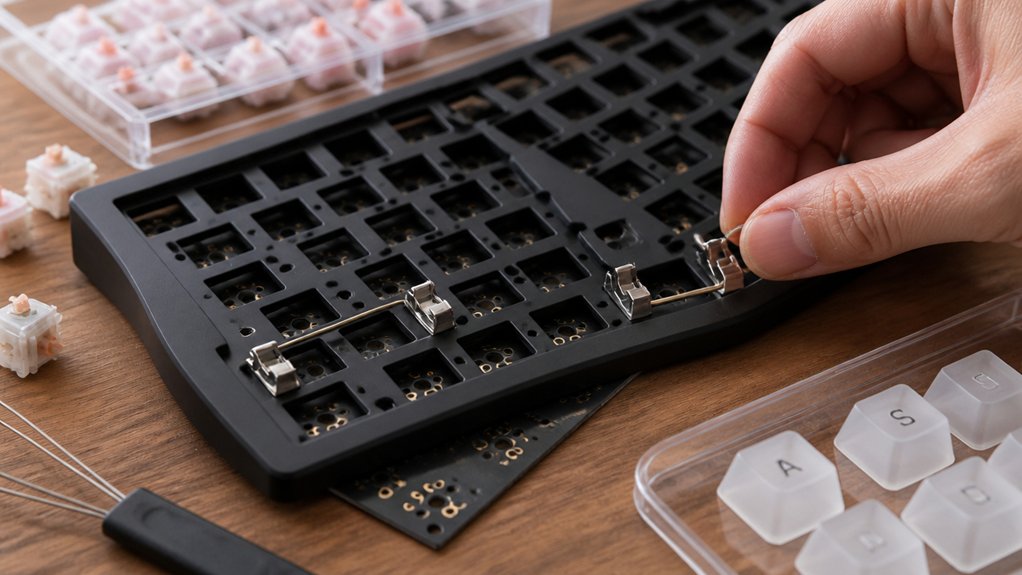
After creating solid solder joints on your switches, you’ll need to install the stabilizers and assemble your keyboard layers firmly.
If this is your first time, take extra care with thumb-row stabilizers by compressing and clicking the wire into designated slots; this guarantees stable keypresses and helps reduce noise caused by rattling.
Next, remove any protective tape from acrylic layers to avoid residue and stack your layers carefully, aligning them properly. Use the provided hex key to tighten screws evenly, fastening support posts without overtightening to prevent cracking.
Make sure all parts sit tight and aligned before moving on. This solid assembly forms a stable base, preventing movement during use and setting you up for a clean, professional finish in your keyboard build.
Frequently Asked Questions
How Do I Choose the Best Keycaps for My Ergonomic Keyboard?
You should choose keycaps that fit your switches, feel comfortable under your fingers, and suit your typing style. Also, consider material, profile, and durability to guarantee they enhance your ergonomic keyboard’s comfort and aesthetics.
What Are the Benefits of Custom Firmware for Ergonomic Keyboards?
Custom firmware lets you tailor your ergonomic keyboard’s layout, macros, and lighting to fit your workflow perfectly. You’ll boost productivity, reduce strain, and easily update features without being locked into default settings.
Can I Use Wireless Modules With My DIY Ergonomic Keyboard Kit?
Yes, you can use wireless modules with your DIY ergonomic keyboard kit. Just make sure the module is compatible with your controller, configure the firmware properly, and consider battery life and signal range for a smooth wireless experience.
How Do I Troubleshoot Unresponsive Keys After Assembly?
First, check your solder joints for cold or missed connections. Then, verify the firmware matches your key layout. Use a keyboard tester to identify unresponsive keys, and reflash the firmware if necessary to fix issues.
What Maintenance Is Required to Keep My DIY Keyboard Functioning Well?
You’ll want to regularly clean your keyboard, check for loose connections, update firmware when available, lubricate switches if needed, and store it in a dust-free area. These steps keep your DIY keyboard functioning smoothly over time.
In Summary
By following these essential tips, you’ll build your DIY ergonomic keyboard with confidence and ease. Gathering the right tools and testing parts beforehand saves you from headaches later. Align your switches carefully and solder them using proper techniques to guarantee durability. Don’t forget to install stabilizers and assemble each layer firmly for a solid, comfortable typing experience. With patience and attention to detail, your custom keyboard will be both functional and ergonomic—perfectly tailored to you.



