

To clean your mechanical keyboard case exterior, start by powering down and unplugging it. Use compressed air to remove dust from vents and edges. Next, gently wipe the surface with a microfiber cloth dampened with water or isopropyl alcohol. For tight spots, cotton swabs work well. Apply a safe protective sealant for extra durability. Establishing a regular cleaning routine guarantees your keyboard stays pristine and functional. Keep going to discover more tips for best results.
Why Regular Exterior Cleaning Keeps Your Keyboard Looking New
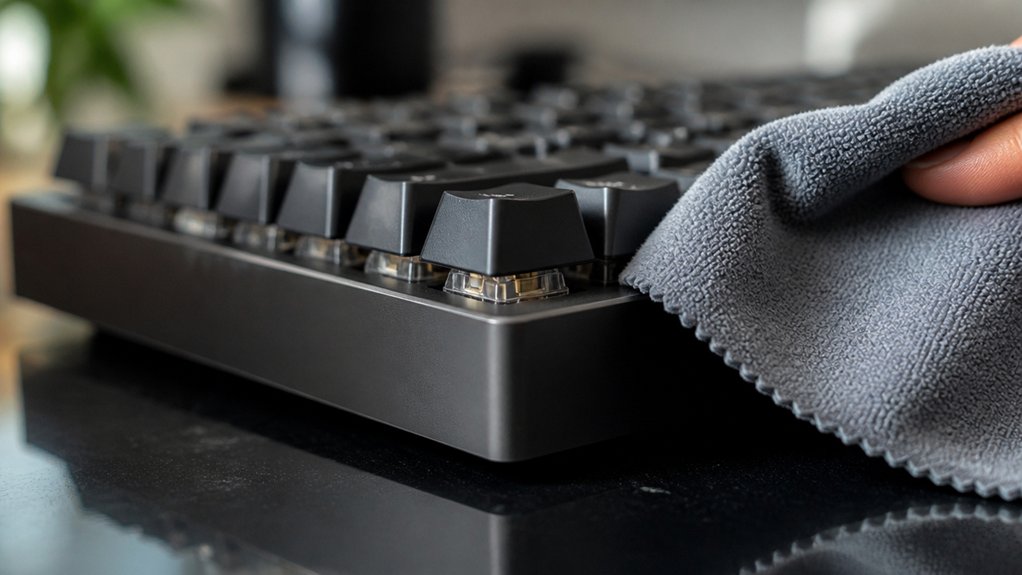
Regular exterior cleaning is essential for keeping your mechanical keyboard looking new because it removes oils, dust, and grime that accumulate from everyday use. When you clean your keyboard with a microfiber cloth, you prevent particles from scratching the surface or causing damage.
Using a slightly damp microfiber cloth helps you clean the case without risking scratches or residue, keeping your keyboard’s surface smooth. Regularly wiping down your dirty keyboard also prevents bacteria and viruses from building up, creating a more hygienic workspace.
Plus, maintaining the exterior preserves your keyboard’s resale value and prolongs its lifespan by avoiding discoloration and material wear. Proper cleaning of the case exterior guarantees your keyboard stays looking fresh, functions better, and remains a professional part of your setup, especially when using lint-free microfibers that are designed to safely clean delicate surfaces.
Gather Your Tools for Safe Keyboard Maintenance
Before you start cleaning, gather your essential tools, including a soft microfiber cloth and cotton swabs, to avoid scratching or damaging your keyboard. Make sure you have disinfectants like water or 70%+ isopropyl alcohol ready for safe surface cleaning, and keep safety equipment nearby, like unplugging the keyboard to prevent electrical issues. Proper product selection ensures the cleaning process is both safe and effective. Having the right supplies on hand guarantees your maintenance is both effective and safe.
Essential Cleaning Supplies
To properly clean your mechanical keyboard case, you need the right tools that guarantee safe and effective maintenance. Start with a microfiber cloth, like the Kirkland Signature Ultra Plush Microfiber Towel, to wipe the exterior without scratching or leaving lint.
Keep a slightly damp cloth, with water or a mild solution like 70%+ isopropyl alcohol, for spot cleaning stubborn oils or grime. Use compressed air or canned air to blow out dust from crevices before wiping, ensuring dirt doesn’t spread.
For detailed cleaning around ports, seams, or tight spots, dip cotton swabs lightly in isopropyl alcohol and gently clean tricky areas. Avoid paper towels and harsh chemicals such as bleach to prevent damage or discoloration. Additionally, anti-static brushes are ideal for removing dust from electronic surfaces without static buildup, providing safe cleaning for sensitive components.
These essentials prepare you for safe, efficient cleaning.
Proper Tool Selection
Wondering which tools are essential for cleaning your mechanical keyboard case? Start with a microfiber cloth; it’s gentle, effective, and prevents scratches while wiping down the exterior.
A bristle brush or a can of compressed air is perfect for dusting out crevices and hard-to-reach spots, with compressed air providing short, upright bursts to dislodge debris without pushing dust inside your keyboards. Avoid harsh chemicals and abrasive pads that can damage the finish or printed legends on the case.
When disinfecting, opt for a damp microfiber cloth or cotton swab moistened with isopropyl alcohol (70% or higher). These tools help keep your keyboards clean and safe without risking damage. Selecting the right tools guarantees you maintain your mechanical keyboard case effectively and safely.
Additionally, choosing sprays with residue-free formulas ensures your surfaces remain clear and free of sticky residues that can attract dust or hinder proper cleaning.
Safety Equipment Necessities
Ensuring safety during keyboard maintenance is essential to prevent damage and personal injury. First, always unplug your keyboard to eliminate the risk of electrical shocks or accidental key presses. Use a microfiber cloth and anti-static brush to gently remove dust and debris without scratching the case or generating static electricity.
Have compressed air ready to blow out dust from tight spaces before wiping, preventing dirt from being pushed deeper inside. When using isopropyl alcohol or cleaning solvents, wear nitrile or latex gloves to protect your skin from irritation.
Don’t spray liquids directly onto the surface; instead, dampen the cloth or cotton swabs to control moisture and avoid seepage into internal components. Additionally, choose a compressed air duster that is ozone-safe and residue-free to ensure safe and effective cleaning. These safety essentials keep your cleaning process safe and effective.
Power Down and Unplug Your Keyboard Before Cleaning
Always turn off and unplug your mechanical keyboard before cleaning it to avoid electrical hazards. Removing the power source prevents accidental key presses and protects internal components from static or moisture damage. Additionally, ensuring the keyboard is grounded with anti-static precautions minimizes the risk of static discharge during cleaning.
Ensure Power Is off
Before you start cleaning your mechanical keyboard case, make sure to power it down and unplug it from your computer. This step guarantees safety and helps prevent damage during cleaning.
To confirm you’ve guaranteed power off, follow these steps:
- Turn off your computer and the mechanical keyboards.
- Disconnect the USB cable from your computer or docking station.
- Remove any connected hubs or adapters.
- Check that there’s no residual power by lightly pressing a key—no lights or sounds should occur.
Remove Power Source
To begin safely cleaning your mechanical keyboard, you need to remove its power source. Start by unplugging the mechanical keyboard from your computer or power outlet to prevent any electrical issues. This step is essential for safe keyboard maintenance, as it stops power flow and avoids accidental key presses during cleaning. Using a cordless USB-C rechargeable soldering iron, which operates without a direct power connection, can serve as an example of portable tools that emphasize safety and energy efficiency. Once the power source is removed, you can confidently proceed with removing the keycaps and cleaning the exterior surface.
Prevent Electrical Hazards
Turning off your keyboard and unplugging it before cleaning is vital for safety. This step helps prevent electrical hazards and protects your device’s internal components.
For wired keyboards, always power down and unplug before wiping or applying any liquids. If you have a wireless mechanical keyboard, remove the batteries or turn it off completely. Unplugging eliminates the risk of accidental key presses during cleaning, making the process safer and more effective.
When using damp cloths or isopropyl alcohol, unplugging prevents moisture from causing short circuits. For wireless models, removing batteries is imperative.
Taking these safety precautions guarantees you won’t get shocked or damage your keyboard, preserving both your safety and your device’s longevity.
Use Compressed Air to Remove Dust From Edges and Vents
Using compressed air is one of the most effective ways to clear dust from hard-to-reach edges and vents in your mechanical keyboard case. It quickly dislodges dust and debris from keyboard vents, corners, and crevices without physical contact, preventing potential damage.
Compressed air efficiently removes dust from hard-to-reach keyboard vents and crevices without risking damage.
Hold the can upright and use short, controlled bursts to avoid moisture buildup inside the keyboard case. Aim the air nozzle in a zigzag pattern along vents and crevices to guarantee thorough cleaning.
Keep the keyboard unplugged and tilt it at an angle to let dislodged particles fall out easily. Avoid prolonged spraying in one spot to prevent condensation from cold air, which could harm sensitive components inside the case.
For optimal safety and effectiveness, ensure the cleaner is free from flammable substances, which can pose risks during the cleaning process.
This method keeps your keyboard case clean and functioning smoothly.
Gently Wipe the Surface With a Microfiber Cloth
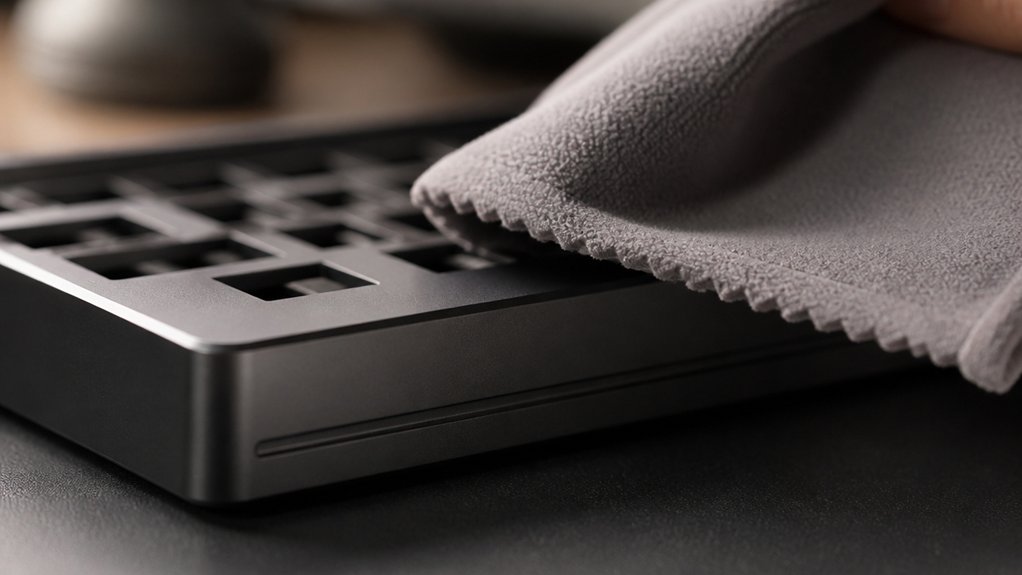
Gently wiping the surface with a microfiber cloth is a simple yet effective way to keep your mechanical keyboard looking clean. Always use a clean, dry microfiber cloth to remove dust and fingerprints without scratching the surface.
If you encounter stubborn smudges, slightly dampen the cloth with water or isopropyl alcohol (70%+), but make certain no excess moisture seeps into gaps or key switches.
- Start by unplugging your keyboard for safety.
- Wipe in a gentle, circular motion with the dry microfiber cloth.
- Use the slightly damp cloth for persistent smudges, avoiding over-wetting.
- Regular wiping prevents buildup of oils, grime, and dust, helping your keyboard stay fresh.
Adding a protective exterior coating can help keep your keyboard case resistant to future smudges and fingerprints, maintaining its sleek appearance longer.
This simple step keeps your keyboard looking new while minimizing potential damage during cleaning.
Tackle Stubborn Dirt With a Damp Cloth and Mild Soap
To tackle stubborn dirt on your mechanical keyboard case, dampen a microfiber cloth with water mixed with a few drops of mild dish soap like Dawn. Gently wipe the case surface in circular motions to effectively lift oils, grime, and dirt buildup, especially around edges and high-touch areas.
Be careful not to saturate the cloth or let liquid seep into gaps between the case and keycaps, as moisture could damage internal components. After cleaning with the dish soap solution, follow up with a clean, damp microfiber cloth to remove any soap residue.
Finally, dry the keyboard case thoroughly with a dry microfiber towel. Avoid harsh chemicals, bleach, or abrasive materials that could damage or discolor the plastic or metal surfaces of your mechanical keyboard. Proper sealing of acrylic cases can help maintain clarity and protect contents over time.
Clean Crevices and Vents With Cotton Swabs

Careful cleaning of the crevices and vents with cotton swabs is essential to remove dust and grime that can accumulate in hard-to-reach areas. Use a cotton swab dipped in isopropyl alcohol or water to gently clean a mechanical keyboard’s tight spaces, vents, and edges. This helps loosen buildup without risking internal moisture intrusion.
To effectively clean a mechanical keyboard, follow these steps:
- Gently work the cotton swab along the keyboard cover and vents to reach narrow gaps.
- Replace the swab as dirt collects to prevent spreading debris.
- Focus on the top of the keyboard case exterior, ensuring grime doesn’t settle.
- Avoid oversaturating the swab to prevent moisture from seeping into internal components.
This technique keeps your keyboard in top shape, ensuring long-lasting cleanliness.
Protect Your Keyboard With a Gentle Sealant
Applying a gentle sealant can shield your keyboard case from dirt, scratches, and moisture.
Use a sealant suitable for electronics, and follow proper application steps for ideal protection. Regular reapplication keeps the surface maintained and looking new.
Sealant Types and Benefits
Have you considered using a gentle sealant to protect your mechanical keyboard case? Sealants like silicone-based or polymer coatings create a protective barrier that shields against dust, oils, and moisture without changing the appearance.
These sealants are typically non-conductive, ensuring safety when applied on electronic surfaces.
- They help prevent grime buildup, making cleaning easier.
- Designed for electronics, they maintain the case’s original look with a clear matte finish.
- The matte finish preserves tactile feel and reduces fingerprints.
- Regular reapplication every few months maintains peak protection, especially in high-use or dusty environments.
Using the right sealant enhances your keyboard’s durability while keeping its aesthetic intact. Properly applied, it’s a simple yet effective way to extend your keyboard’s lifespan.
Application Techniques for Durability
To maximize the protective benefits of a sealant, proper application techniques are key. Start by guaranteeing your keyboard looks spotless through a thorough cleaning, especially after deep cleaning, and let it dry completely. Use a microfiber cloth or soft applicator to apply a thin, even layer of the gentle sealant designed for electronics. Apply in small sections to prevent excess buildup, which can trap dust or affect the keyboard’s appearance. Avoid using abrasive tools that could damage the finish. Allow each coat to cure fully—usually several hours—in a dust-free environment before using or reassembling the keyboard. Reapply periodically to maintain durability against oils and dirt. Proper techniques guarantee your keyboard stays protected while preserving its aesthetic appeal.
| Step | Details |
|---|---|
| Cleaning and Drying | Thorough deep cleaning, dry completely |
| Application Method | Use microfiber, apply thin, even layers |
| Curing Time | Allow several hours to cure fully |
| Reapplication Frequency | Reapply after deep cleaning for continued protection |
Maintenance and Reapplication Schedule
Wondering how to keep your mechanical keyboard case looking pristine over time? Regular maintenance involves a simple reapplication schedule for your sealant. Here’s what you should do:
- Clean the case thoroughly and make certain it’s completely dry before reapplying the protective sealant.
- Use a gentle, non-abrasive sealant like a silicone-based protectant to preserve the finish and resist fingerprints.
- Reapply the sealant every 3 to 6 months, depending on your usage frequency.
- Avoid harsh chemical cleaners that can weaken the sealant and degrade the material, reducing longevity.
Following this schedule with consistent cleaning and reapplication of the protective sealant keeps scratches, discoloration, and damage at bay, maintaining a sleek, professional look and feel.
Develop a Regular Cleaning Routine to Maintain Your Keyboard
Establishing a regular cleaning routine for your mechanical keyboard case guarantees it stays in top condition and maintains a professional appearance. To do a quick clean, periodically turn the keyboard upside down and use compressed air to blow out dust and debris from crevices. Wipe with a microfiber cloth dampened slightly with water to remove oils and dirt without scratches. Avoid spraying liquids directly on the case—apply cleaning solutions on the cloth first. For detailed spots, use cotton swabs dipped in isopropyl alcohol, keeping the cloth only damp. Aim for at least weekly quick cleans to prevent grime buildup and keep your keyboard looking sharp.
| Routine Step | Method |
|---|---|
| Dust removal | Compressed air to blow debris |
| Surface cleaning | Wipe with microfiber cloth |
| Detail cleaning | Use cotton swabs with alcohol |
| Frequency | Weekly or as needed |
| Precautions | Avoid direct liquid sprays |
Troubleshoot Common Exterior Cleaning Issues
When tackling exterior cleaning issues on your mechanical keyboard case, identifying common problems can make the process smoother and more effective.
- If you notice streaks, use a slightly damp microfiber cloth to wipe the surface gently, avoiding excess moisture that could seep inside.
- To prevent scratches, avoid using paper towels or harsh chemicals; stick to gentle cleaning methods.
- For stubborn spots or sticky residue, use a Q-tip dipped in isopropyl alcohol (70% or higher), but make certain it doesn’t drip onto keycaps or seals.
- When cleaning tight corners or textured surfaces, a soft brush or toothbrush helps dislodge dirt without damaging the finish.
Always unplug your keyboard before cleaning to guarantee safety and prevent accidental damage.
Frequently Asked Questions
Can I Use WD40 to Clean a Mechanical Keyboard?
You shouldn’t use WD40 to clean your mechanical keyboard because it can damage plastics, fade legends, and attract dust. Stick to a damp microfiber cloth with mild soap or isopropyl alcohol for safe, effective cleaning.
Can I Use 70% Alcohol to Clean My Keyboard?
Yes, you can use 70% isopropyl alcohol to clean your keyboard’s exterior. Lightly dampen a microfiber cloth with it, avoiding key legends, and gently wipe the case to remove dirt, oils, and fingerprints effectively without causing damage.
Is Dawn Dish Soap Safe for Keycaps?
Yes, Dawn dish soap is safe for cleaning keycaps. It effectively removes oils and grime without damaging the plastic or fading printed legends, as long as you dilute it, avoid prolonged soaking, and rinse thoroughly afterward.
How to Clean a Really Dirty Mechanical Keyboard?
You should unplug your keyboard, then carefully wipe the case exterior with a slightly damp microfiber cloth using water or isopropyl alcohol. For stubborn dirt, gently scrub with a soft cloth soaked in warm soapy water, then dry thoroughly.
In Summary
Keeping your mechanical keyboard’s exterior clean not only keeps it looking new but also prolongs its lifespan. Regular maintenance, gentle cleaning methods, and using the right tools make a big difference. Develop a routine that suits your usage, and don’t forget to troubleshoot any issues calmly. With these tips, you’ll maintain a sleek, dirt-free keyboard that remains functional and attractive for years to come. Just stay consistent and care for your gear!



