
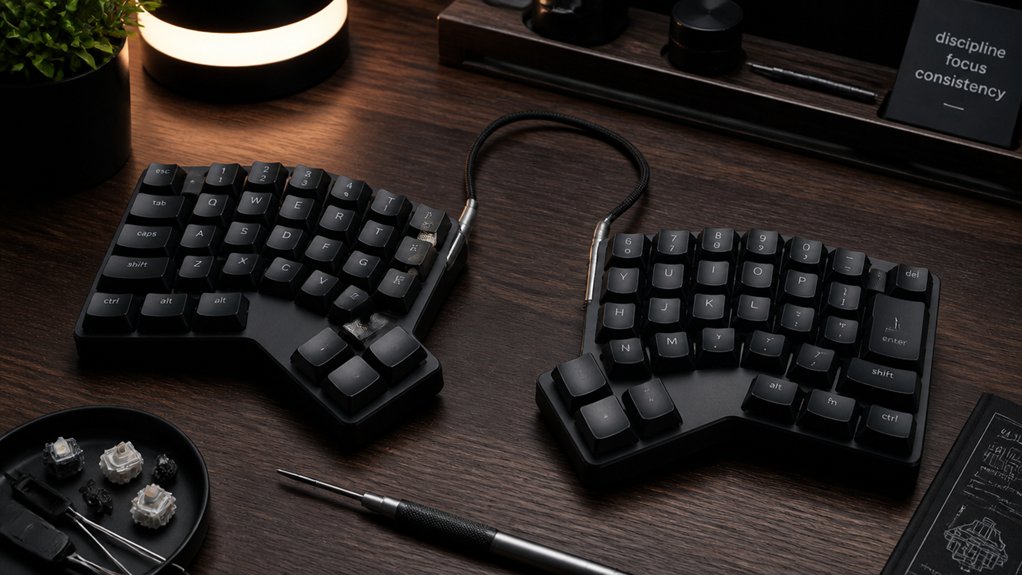
To build a split ergonomic mechanical keyboard, start by choosing a layout that fits your hands and workflow, using tools like Keyboard Layout Editor for customization. Select switches, keycaps, and microcontrollers like Arduino or Elite-C, and design your PCB with ergonomics and functionality in mind. Solder components carefully, assemble the case with 3D-printed parts or trusted materials, and flash your firmware. For advanced features or troubleshooting tips, continue exploring the detailed steps ahead.
Why Choose a Split Ergonomic Keyboard for Comfort and Health
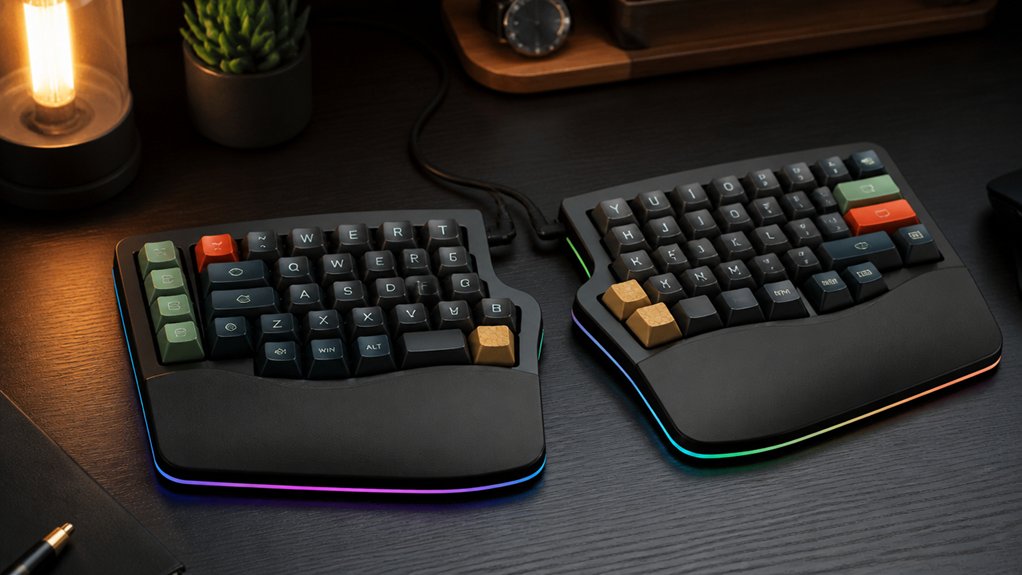
Have you ever wondered why so many people switch to split ergonomic keyboards? The answer lies in the comfort and health benefits they offer. A split design divides the keyboard into two halves, allowing you to keep your hands, wrists, and shoulders in a natural, relaxed position.
Unlike standard keyboards that force your hands close together and cause hunching, a split setup encourages better posture, reducing upper back and chest strain. It also minimizes wrist tilting and shoulder tension, which can lead to repetitive strain injuries over time. Plus, the ability to tent and angle each half further aligns your wrists comfortably during typing.
Many users report improvements in posture and decreases in wrist pain after making the switch to a split ergonomic keyboard. Proper ergonomic layout design can optimize your typing comfort and reduce long-term strain.
Planning Your Layout to Fit Your Hands and Workflow
Planning your layout is an essential step in customizing a split ergonomic keyboard to fit your unique hands and workflow. Use online tools like Keyboard Layout Editor or SplitKB’s web app to visualize and adjust your layout at 100% scale. This helps guarantee key positions match your hand size and reach comfortably.
Decide on key count, spacing, and stagger (ortholinear vs. staggered) based on ergonomic principles and your typing habits to reduce finger travel and wrist strain. Incorporate thumb clusters and extra modifiers on either half to improve workflow efficiency and decrease hand movement during common shortcuts.
Consider layering and programmability with software like QMK or ZMK to create multiple keymaps for different tasks. Start with the halves close together, then gradually increase separation for better posture without sacrificing typing accuracy. An understanding of ortholinear layouts can significantly influence the ergonomic benefits and overall comfort of your build.
Selecting Switches, Keycaps, and Microcontrollers for Your Build
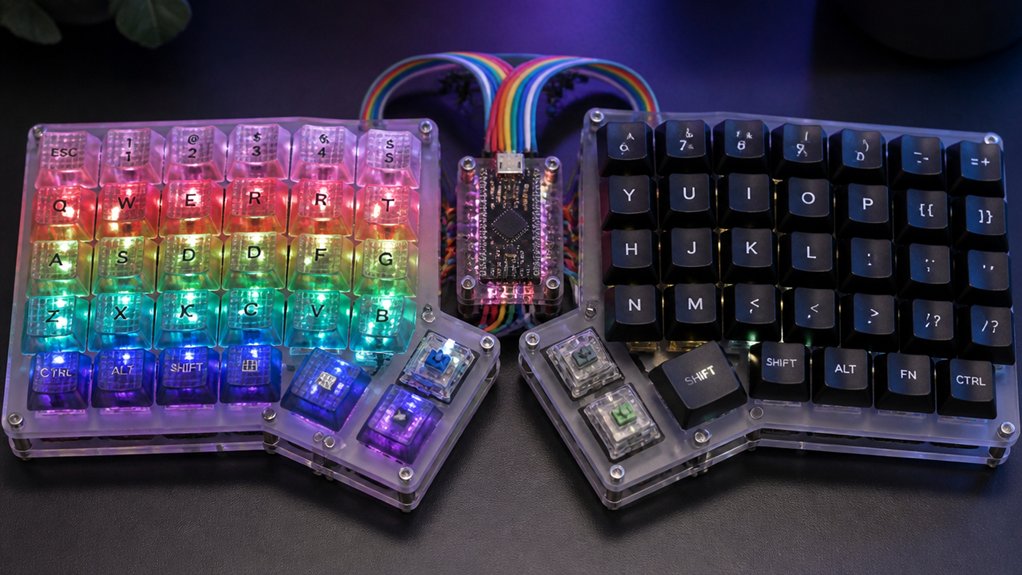
Selecting the right switches, keycaps, and microcontrollers is essential for building a split ergonomic keyboard that feels comfortable and performs reliably. For switches, choose between clicky (noisy), tactile (feedback), or linear (quiet) types, considering switch profile (high like Cherry MX or low like Kailh Chocolate) for your preferred typing feel. Matching keycaps to your switch profile and type guarantees comfort and style, with options like DROP + MATT3O MT3 SUSUWATARI for ergonomic designs. For microcontrollers, popular options include Arduino Pro Micro, Elite-C, and Nice!nano, typically requiring two units for each half. Use the following table to compare:
| Microcontroller | Cost | Features |
|---|---|---|
| Arduino Pro Micro | Budget-friendly | Widely compatible |
| Elite-C | High-end | Enhanced I/O options |
| Nice!nano | Affordable | Compact size |
Additionally, consider the compatibility of microcontroller firmware with your preferred customization software to ensure smooth programming and updates.
Designing an Ergonomic PCB for Your Split Keyboard
When designing an ergonomic PCB, you need to carefully plan circuit layout, component placement, and wiring to guarantee comfort and functionality. Focus on proper spacing for switches, microcontroller placement, and features like TRRS jacks, hot-swap sockets, and tenting support. Incorporate hot-swappable switches for easier customization and maintenance. Mastering soldering and testing techniques helps verify your design before manufacturing, ensuring a reliable and efficient split keyboard.
Circuit Design Considerations
Designing an ergonomic PCB for a split keyboard requires careful consideration of the communication and layout needs to guarantee seamless performance and user comfort. You’ll need to make certain the PCB supports data transfer between halves via TRRS connectors with 4 channels, which synchronize keypress data effectively.
When preparing your design, generate precise Gerber files to guide manufacturing. Your PCB should include flexible options for hot-swappable switch sockets or solder pads, depending on user preference, and place SMD diodes near switch sockets for proper matrix scanning.
Key components like the microcontroller should be accessible and socketed for easy firmware updates and replacements. Additionally, layer planning—drills, copper traces, solder mask, and silkscreen—is essential for durability and usability.
Incorporating wireless PCBA products can further enhance your ergonomic design by reducing cable clutter and increasing mobility for users.
Consider ergonomic features such as optimized spacing, stagger, and layout routing for user comfort.
Component Placement Strategies
To create an ergonomic PCB for your split keyboard, you need to strategically position switch sockets and key locations to promote natural finger movement and reduce wrist strain. Use tools like Keyboard Layout Editor and splitkbcompare to optimize spatial arrangements, guaranteeing keys align with your hand’s natural position.
Incorporate hot-swap sockets for switch flexibility, allowing easy customization and swaps without soldering. Place sockets near the PCB’s edges for easy access and minimize wire clutter.
Arrange the switch matrix with clear diode placement close to each switch to prevent ghosting, soldering diodes at the recommended (~150°C) temperature to avoid damage.
Secure microcontroller pads are near Master half controls, with routing for TRRS jacks to support split role switching and efficient communication.
Soldering and Testing Techniques
Creating an ergonomic PCB for your split keyboard requires meticulous soldering and thorough testing to guarantee reliable performance. Use a soldering iron set to moderate temperatures (~150°C) for SMD components to prevent heat damage. Carefully verify the orientation of diodes, switches, and microcontroller sockets, testing continuity with a multimeter. Conduct tests for diode polarity, switch matrix connections, and microcontroller pin connections before proceeding. Proper placement of SMD diodes next to switch sockets prevents phantom key presses and guarantees accurate key scanning. Incorporate microcontroller sockets like Millmax or spring types for easy upgrades. When connecting the halves via TRRS jacks, confirm the four channels are correctly aligned for data transfer. Ensuring proper multimeter safety during testing is essential to avoid circuit damage or personal injury.
| Key Component | Essential Technique | Testing Focus |
|---|---|---|
| Diodes | Proper soldering at moderate temp | Polarity verification |
| Switches | Precise placement | Continuity testing |
| Microcontrollers | Socket installation | Connectivity check |
| TRRS Jacks | Correct wiring | Channel accuracy |
Sourcing Quality Parts From Trusted Suppliers
When sourcing parts for your split ergonomic mechanical keyboard, choosing reputable suppliers is essential to guarantee quality and compatibility.
You need to rely on trusted sources such as PCBWay, JLCPCB, and Keeb.io for custom PCBs, as they allow you to order with your Gerber files and pick specialized components. Mechanical switches and keycaps, like Holy Panda tactile switches or MT3 SUSUWATARI keycaps, are best sourced from vendors such as Mechboards UK, Drop, SplitKB, and CandyKeys, ensuring durability and aesthetic appeal.
For microcontrollers like Arduino Pro Micro or Elite-C, purchase from keyboard-specific suppliers or electronics stores, with socketing for easy replacement. Additionally, for cases or 3D-printed parts, explore services like i.materialise or local makerspaces to optimize cost and delivery.
Including pre-tinned plated holes in your PCB selection can significantly improve soldering reliability during assembly.
Assembling Your Split Keyboard: From Soldering to Final Build
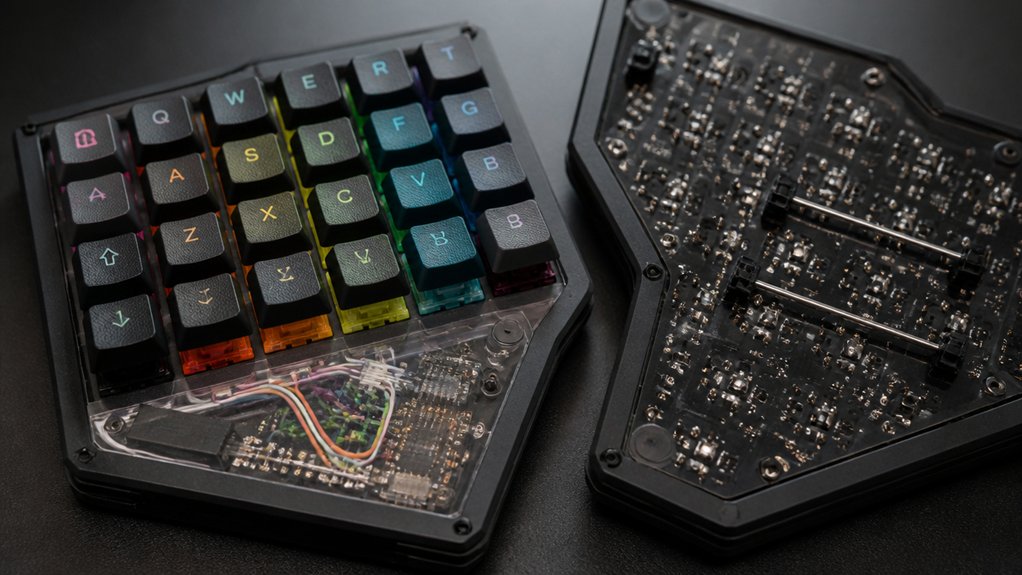
You start by soldering the SMD diodes carefully near each switch socket, making sure not to overheat with a low-temperature iron.
Next, you’ll assemble the PCB and plate by installing switches into their sockets and connecting the OLED display with fine copper wires.
Finally, you’ll install keycaps, secure the backplate, and tighten all screws to complete your sturdy, functional split keyboard.
Be sure to choose the appropriate size and form factor for your LEDs to ensure compatibility and optimal brightness in your build.
Soldering Switches Properly
Begin by setting your soldering iron to approximately 150°C to prevent damaging sensitive components.
The first step is to guarantee proper alignment and seating of switches into the PCB plate stack before soldering, creating a stable feel.
Next, focus on:
- Soldering the SMD diodes first to protect switches and guarantee correct electrical flow.
- Using Millmax sockets for the Pro Micro, which allows easy removal without desoldering, improving maintenance.
- Carefully soldering each switch socket, making sure they sit flush and are well-aligned to maintain consistency.
Maintain a steady hand and work efficiently within the temperature range to avoid overheating.
Properly soldering switches guarantees durability and a satisfying typing experience for your custom split keyboard, especially when utilizing selective heat control to prevent thermal damage during soldering.
Assembling PCB and Plate
Assembling your split keyboard’s PCB and plate involves precise placement and secure fitting of components to guarantee peak performance.
First, solder SMD diodes carefully next to each switch socket on the PCB, maintaining a soldering iron temperature around 150°C to prevent damage. Use Millmax sockets to attach the Arduino Pro Micro microcontrollers, allowing easy removal for future maintenance. Attach OLED display panels by soldering copper wires to the designated PCB headers.
Solder TRRS jack sockets and reset buttons to confirm full functionality. Insert mechanical switches into the sockets, then sandwich the PCB with the plate. Secure the backplate and tighten the screws to hold everything firmly in place. Ensuring all connections are stable and insulated is crucial for heat-resistant operation and overall durability. Proper assembly lays the foundation for a reliable, high-quality split ergonomic keyboard.
Final Keycap Installation
Carefully placing the keycaps completes the mechanical build and brings your split ergonomic keyboard to life. Make sure each keycap is correctly oriented and matches the layout.
Use compatible sets like DROP + MATT3O MT3 SUSUWATARI, designed for ortholinear split layouts, to guarantee ergonomic feel and consistency.
When installing, follow these steps:
- Press each keycap firmly but gently onto the switch stems to avoid damage, making sure they snap securely in place.
- Double-check the keycap positions and spacing for comfortable typing and proper alignment.
- Confirm that all keycaps are correctly placed, matching your custom keymap setup and firmware.
Connecting and Configuring Your Microcontroller With Firmware
To get your split ergonomic keyboard up and running, you’ll need to connect your microcontroller—such as the Arduino Pro Micro or Elite-C—to your computer and flash the firmware. These microcontrollers act as the control units for each half, with one designated as the master to handle input signals and communication via TRRS cables.
You’ll use QMK Firmware, a popular open-source option, to customize your keyboard’s behavior, including multiple keymaps, layers, and layout adjustments. Firmware flashing involves compiling the QMK source code in a virtualized environment and uploading it through tools like QMK Toolbox or command-line utilities compatible with Arduino-based boards.
Proper configuration involves defining the wiring matrix, master/slave roles, and activating features like OLED displays or RGB lighting through editing keymap files and config.h.
Creating Custom Keymaps and Programming Your Keyboard
You can customize your keyboard’s layout using QMK firmware, which supports multiple layers and advanced features like macros and OLED controls.
Programming involves editing keymap files or using the configurator, then flashing the firmware onto your microcontroller. Focus on optimizing your keymaps for efficiency and personalization while ensuring smooth firmware updates.
Custom Keymap Design
Have you ever wondered how to make your split ergonomic mechanical keyboard truly your own? Custom keymaps let you do just that. Using QMK firmware, you can create flexible layouts with up to four layers, accessible via function keys like LOWER and RAISE.
To design your custom keymap, you should:
- Define key functions in configuration files within the QMK environment.
- Remap any key, add macros, or configure advanced features like layer switching and RGB controls.
- Use tools like the QMK Configurator or keyboard layout editors to visualize your design before flashing it to your keyboard.
This process allows full control over your layout, including which half acts as master or slave and how key events sync through TRRS communication.
Your custom keymaps make your keyboard uniquely yours.
Firmware Programming Tips
Curious about how to efficiently program your custom keymaps into a split ergonomic mechanical keyboard? Using open-source QMK firmware makes this straightforward. You can define multiple layers—up to four—accessible via dedicated keys like LOWER and RAISE, allowing complex layer switching and advanced behavior. Building and flashing QMK firmware within a virtualized environment helps manage dependencies and guarantees compatibility. To customize, edit keymap files directly or use web-based editors to create macros, special functions, and tailored layouts. Remember to properly configure the master and slave halves so key events synchronize perfectly across both sides. Consider this simple hierarchy:
| Layer | Functionality | Keys |
|---|---|---|
| Base | Standard typing | Alphanumeric keys |
| LOWER | Symbols and modifiers | Shift, Function keys |
| RAISE | Navigation controls | Arrow, Page keys |
| FN | Special functions | Media, macros |
| ADJUST | System controls | Reset, firmware update |
Designing and 3D Printing Your Ergonomic Keyboard Case
Designing an ergonomic keyboard case with 3D modeling software allows you to create a custom shape that enhances wrist comfort and supports ideal typing angles. Start by designing a sturdy top plate, which supports key layout and contributes to overall stability.
When modeling, focus on:
- Incorporating mounting points for microcontroller sockets, OLED displays, and TRRS jacks to streamline assembly and upgrades.
- Ensuring the case shape promotes wrist alignment and proper tenting angles for comfort.
- Optimizing print orientation and layer height to maximize strength and surface finish, reducing post-processing.
Choose materials like PLA or ABS for durability and ease of printing. Thicker walls provide better structural stability, ensuring your ergonomic case is both functional and long-lasting.
Final Assembly: Attaching Components and Testing
Once you’ve completed designing and 3D printing your case, the next step is attaching the components to guarantee your open-source split ergonomic keyboard functions correctly. Connect and solder your key switches into the PCB sockets or plate, making sure diodes and components are oriented correctly to avoid circuit issues. Attach OLED displays by soldering copper wires to the PCB headers, then connect TRRS cables between halves for communication. Use hot-swap or Millmax sockets for the Arduino Pro Micro microcontrollers, making future replacements easier. Finally, sandwich the PCB and plate, install keycaps, secure the backplate, and tighten all screws for stability.
| Step | Purpose |
|---|---|
| Soldering switches | Guarantees correct electrical connectivity |
| Connecting displays | Adds visual feedback, essential for open source projects |
| Assembling the case | Maintains structural integrity and usability |
Troubleshooting Common Hardware and Software Issues
Troubleshooting your split ergonomic mechanical keyboard begins with verifying that all hardware connections are correct and secure.
Check the soldering of SMD diodes and switch sockets on the PCB, ensuring minimal heat (~150°C) to avoid damage. Use a multimeter to:
- Test continuity on key matrix rows and columns to catch wiring issues or shorts.
- Confirm that all switches are properly soldered and connected.
- Inspect TRRS jack connections and cables, ensuring secure contacts and correct pin mapping to prevent synchronization problems.
Additionally, verify that your microcontroller firmware is correctly flashed via QMK and the right keymaps are loaded.
If your OLED or peripherals malfunction, double-check that headers are soldered correctly and firmware supports these features.
Adding Extra Features Like RGB Lighting, OLED Displays, and Wireless Connectivity
Adding advanced features like RGB lighting, OLED displays, and wireless connectivity can greatly enhance your split ergonomic mechanical keyboard’s functionality and aesthetics. To incorporate RGB LEDs, you’ll need addressable LED strips or individually wired LEDs connected to your microcontroller pins. Firmware support, like QMK, enables you to customize RGB lighting effects and colors easily.
OLED displays can be added by soldering small Arduino-compatible modules onto PCB headers, showcasing custom keymaps, layer info, or real-time status updates right on each half.
For wireless connectivity, integrate Bluetooth-capable microcontrollers such as Nice!nano v2 or NRF52840, often using sockets for upgrades. Remember to include battery management, suitable connectors, and firmware tailored for split wireless communication, ensuring seamless operation and user control.
Maintaining and Upgrading Your Split Ergonomic Keyboard Over Time
Maintaining and upgrading your split ergonomic keyboard over time guarantees it continues to perform reliably and meets your evolving needs. You need to know how to keep it in top shape and adapt it as your preferences change.
First, regularly inspect and clean switch contacts and PCB surfaces to prevent electrical issues. Second, upgrade microcontrollers—such as replacing Arduino Pro Micros with Elite-C or Nice!nano—for better performance and wireless capabilities. Third, swap out mechanical switches easily using hot-swappable sockets; this allows you to customize feel or replace worn switches without soldering.
Additionally, updating firmware like QMK enables new keymaps and features, while replacing keycaps or lubricating switches can enhance comfort and aesthetics as your needs evolve.
Frequently Asked Questions
How Do I Choose the Right Microcontroller for My Split Keyboard?
You should pick a microcontroller compatible with your layout and features, prioritize ease of programming, consider community support, and guarantee it has enough I/O pins for your switches and peripherals. Popular options include the ATmega32u4 and RP2040.
What Tools Are Necessary for Soldering and Assembling the Keyboard?
You’ll need a soldering iron, solder, wire cutters, tweezers, and a multi-tool for assembly. Having a stable workspace, good lighting, and safety equipment like goggles guarantees precise soldering and safe handling throughout your keyboard-building process.
How Do I Customize Key Layout and Firmware Effectively?
You customize your key layout by using open-source firmware like QMK or VIA, which lets you remap keys and create macros. Upload your configuration via your keyboard’s flashing tool, testing and adjusting for comfort and efficiency.
What Are Common Issues During Assembly and How to Troubleshoot?
You might face soldering problems, alignment issues, or missing parts. Troubleshoot by double-checking connections, ensuring precise component placement, and referring to guides or forums. Patience and careful observation help resolve most assembly challenges effectively.
Can I Upgrade My Keyboard’s Features Later Easily?
Yes, you can upgrade your keyboard’s features later easily by replacing or adding components like switches, keycaps, or software. Confirm your keyboard supports modular parts and firmware updates, making future customizations straightforward and accessible to enhance your typing experience.
In Summary
Building a split ergonomic mechanical keyboard lets you customize comfort and functionality to suit your needs. With careful planning and quality parts, you’ll create a device that not only enhances your typing experience but also promotes better health. Stay patient through assembly and troubleshooting, and don’t hesitate to explore extra features for added enjoyment. Over time, regular upgrades guarantee your keyboard continues to serve you well, making your personalized workspace more enjoyable and efficient.



