
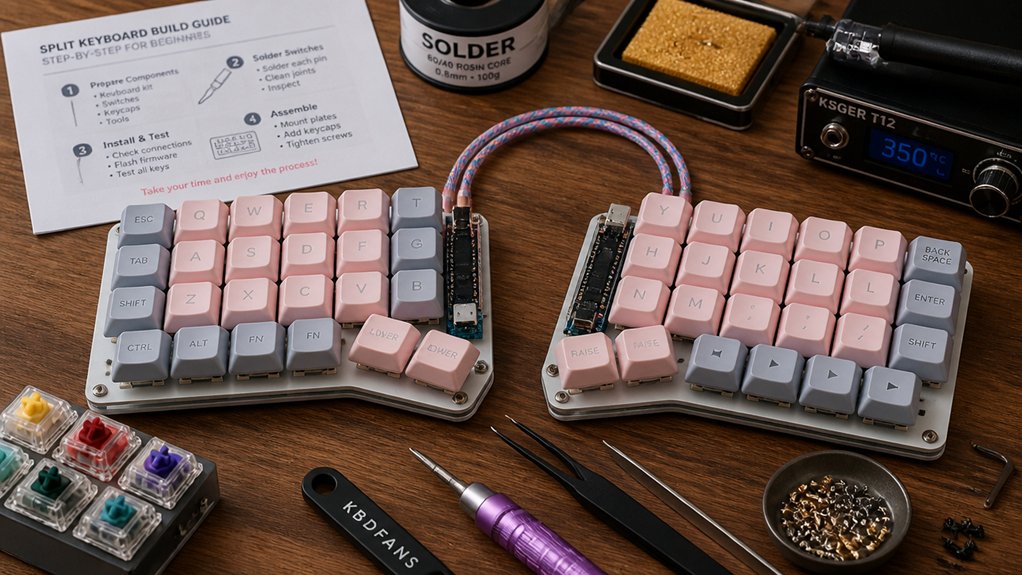
Start by angling and positioning your split keyboard close to your body to reduce wrist strain and guarantee natural forearm alignment. Opt for customizable features like thumb clusters and tenting to enhance comfort during long use. Decide whether to build your own with DIY kits or choose a ready-made model based on your technical skills and needs. By applying these tips, you’ll set a strong foundation for a comfortable, ergonomic setup that makes typing easier—there’s more to discover ahead.
How to Properly Position Your Split Keyboard for Comfort
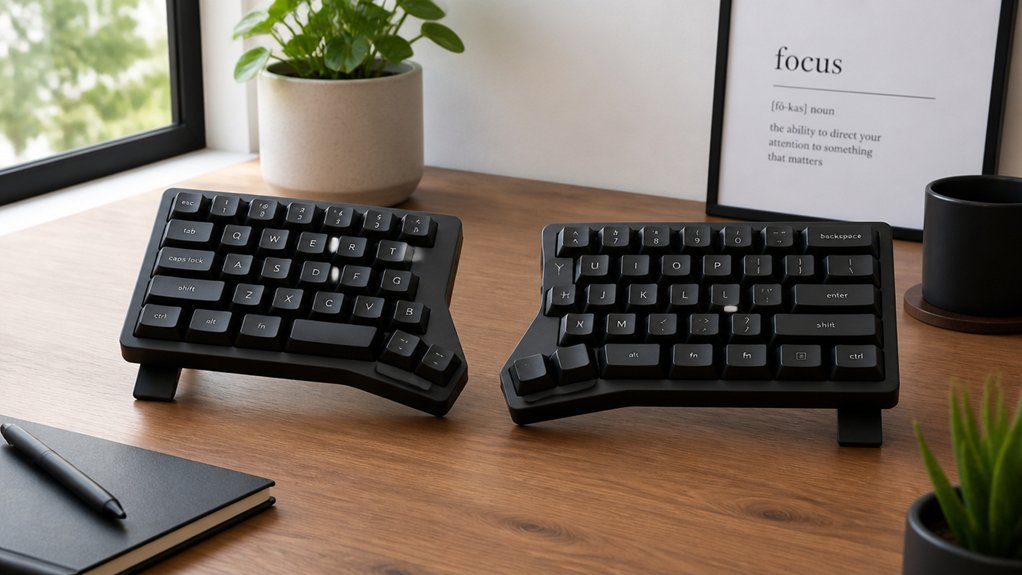
To guarantee maximum comfort when setting up your split keyboard, start by positioning the two halves close together with a slight inward angle, known as an “angled split.” This position helps reduce wrist bending outward and encourages a natural forearm alignment, offering a more relaxed and ergonomic posture. For small desks, this arrangement is especially beneficial, freeing up space while maintaining comfort.
As you get accustomed, gradually increase the distance between the halves to a small split, which opens your chest and rotates your shoulders backward, supporting better posture.
For even more comfort, widen the split to shoulder width or beyond—called a shoulder split—while ensuring your hands rest directly in front of your shoulders. Adding tenting can further reduce strain, promoting a natural position for prolonged typing.
Features to Consider When Customizing Your First Split Keyboard
When customizing your first split keyboard, it’s important to take into account features that impact comfort, functionality, and workspace fit. Choose a split keyboard layout, whether column-staggered or ortholinear, that aligns with your ergonomic preferences; column-staggered layouts tend to reduce finger strain. Prioritize customizable thumb clusters with multiple keys to handle high-frequency actions, but make certain they don’t cause thumb strain over time. Tenting options are essential for raising the keyboard’s center, promoting a neutral wrist position and personalized comfort. Check firmware compatibility like QMK, allowing you to program layers, macros, and combos easily. Additionally, consider the PCB layout to ensure your keyboard supports your preferred key switches and ergonomic configuration. Finally, select a keyboard size that fits your workspace and key needs, balancing simplicity with essential functions. This thoughtful customization helps you learn to use your keyboard efficiently and build beneficial muscle memory.
Should You DIY or Buy a Ready-Made Split Keyboard?
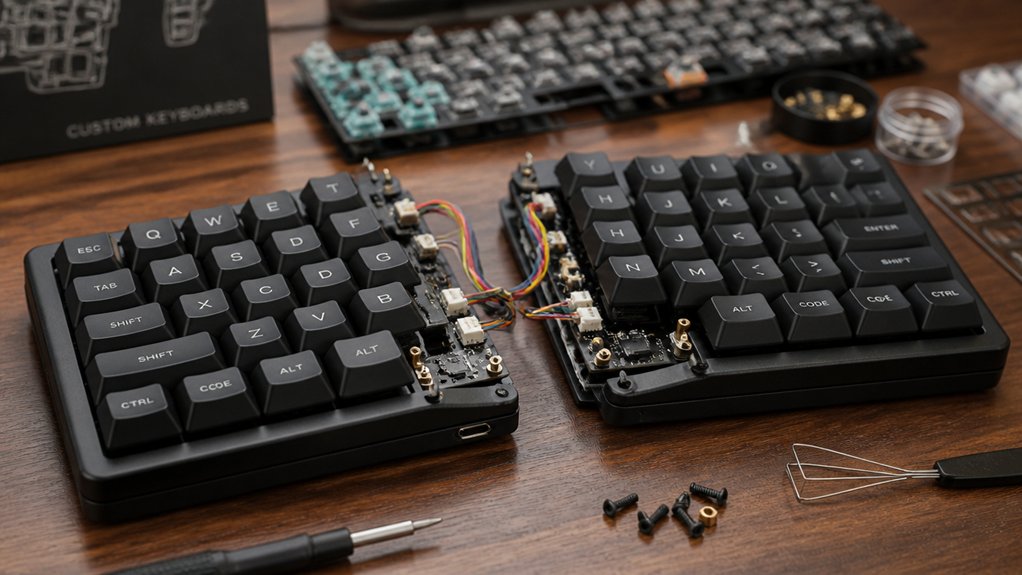
Deciding whether to DIY or buy a ready-made split keyboard depends on your skills, budget, and customization goals. Ready-made keyboards, like the ZSA Moonlander or Kinesis Advantage360, come with polished designs, firmware support such as QMK or Vial, and community backing, making setup easier. They usually cost between $200 and $400.
In contrast, DIY keyboard kits are more affordable, starting around $50, and offer extensive customization options. However, they require soldering skills, experience with firmware flashing, and handling PCBs from manufacturers like PCBWay. Choosing DIY lets you learn through hands-on assembly but demands tools and support. Understanding switch compatibility and how firmware like VIAL or QMK work is essential for a successful build.
If you prefer convenience and support, ready-made solutions are better. If you want to deeply customize and save costs, DIY might be the way to go.
Frequently Asked Questions
How to Properly Use Split Keyboard?
You properly use a split keyboard by positioning the halves with a slight inward angle, gradually increasing the distance as you adapt, maintaining a handshake grip, practicing touch typing, and adjusting angles for comfort to promote ergonomic benefits.
How Hard Is It to Learn Split Keyboard?
Learning a split keyboard feels challenging initially, especially as you retrain your muscle memory, but with consistent practice over a few weeks, you’ll adapt, improve speed, and find comfort in your new typing style.
Are Split Keyboards Really Worth It?
Split keyboards are worth it if you prioritize comfort and ergonomics, especially during long typing sessions. They can reduce strain, improve posture, and prevent injuries, though you must be willing to adapt through a learning curve.
What Are the Four Basic Rules of Keyboard?
The four basic rules are: keep your hands relaxed and natural, maintain proper posture with neutral wrists, practice touch typing for consistency, and position your keyboard correctly at a comfortable angle to avoid strain and enhance performance.
In Summary
By following these tips, you’ll find the ideal setup for your split keyboard, ensuring comfort and efficiency. Proper positioning reduces strain, while customizing features lets you tailor your experience. Whether you choose to DIY or buy a ready-made kit, understanding your needs helps you make the best choice. Embrace your keyboard journey, and enjoy a more comfortable, personalized typing experience that suits your style and goals. Happy typing!



