

Cleaning your mechanical keyboard foam inserts is essential for maintaining sound quality, responsiveness, and hygiene. Dust, debris, oils, and grime can accumulate inside the foam, causing duller sound, uneven key presses, and potential microbial growth. Regular cleaning prevents deterioration, odor, and damage, keeping your keyboard performing at its best and prolonging the foam’s lifespan. Keep in mind, proper care can make a big difference—stay with us to explore effective cleaning methods and tips.
Why Regular Cleaning Is Important for Your Keyboard Foam
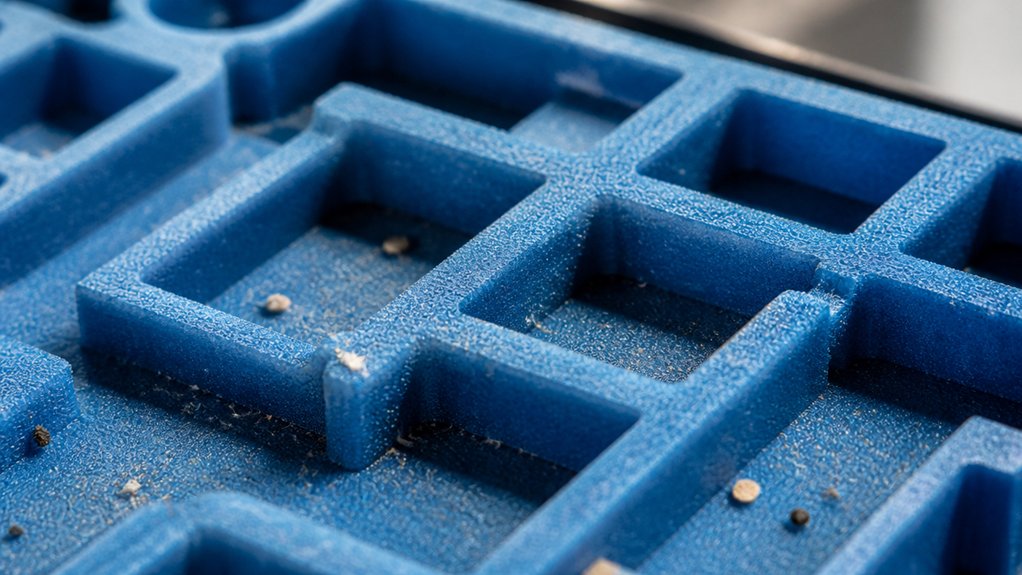
Regular cleaning of your keyboard foam inserts is essential because dust, dirt, and debris can quickly accumulate and compromise their effectiveness. Over time, these particles clog the foam, reducing its ability to dampen sound and vibration in your mechanical keyboards. Proper maintenance helps prevent foam degradation, ensuring the material retains its damping properties longer. Dirty foam can also harbor bacteria and allergens, creating a less hygienic typing environment. Additionally, oils and moisture from your skin can cause foam deterioration or unpleasant odors if not cleaned regularly. Maintaining clean foam guarantees it continues to perform at peak performance, preserving your keyboard’s sound profile and typing feel. By staying consistent with cleaning, you prolong the lifespan of your foam inserts and keep your mechanical keyboard functioning smoothly and hygienically.
Regularly clean keyboard foam inserts to prevent dust buildup and maintain optimal sound dampening performance.
Proper maintenance ultimately enhances your entire typing experience.
How Dust and Debris Gather Inside Keyboard Foam
As you use your keyboard, dust particles and debris find their way into the foam, settling into its porous structure. A thorough understanding of bristle firmness helps in selecting the right cleaning tools to effectively remove dirt from these hard-to-reach areas. These particles can cause the foam to lose its soundproofing and even produce odors over time. Hard-to-reach areas make cleaning tricky, so understanding how dirt accumulates is key to keeping your keyboard in top shape.
Dust Settling Inside Foam
Dust and debris tend to settle inside keyboard foam inserts because tiny particles are carried in by airflow and your fingertips during typing. As you use your keyboard, small particles such as lint, skin flakes, and dust are drawn into the cavity, where the foam fits tightly against components.
The foam’s porous structure traps these microscopic particles, gradually building up over time. Regular key presses generate air currents that pull more debris into the foam, making it a magnet for dust.
If the foam doesn’t fit properly, gaps can allow even more dust to settle inside. This accumulation can diminish sound dampening and promote moisture retention, which could affect your keyboard’s hygiene and performance. Additionally, the closed-cell foam structure helps prevent water and moisture from infiltrating and causing corrosion or microbial growth inside the foam.
Keeping your foam clean helps maintain ideal functionality and a cleaner typing environment.
Debris Accumulation Effects
When dust and debris settle inside foam inserts, their presence gradually impacts the keyboard’s performance and hygiene. PE foam’s porous nature makes it a magnet for dirt, trapping dust, skin flakes, and other debris that fall between and under keys.
Over weeks or months, this buildup can lead to increased moisture and oil retention, fostering microbial growth and unpleasant odors. The trapped dust and debris can also reduce the foam’s sound-dampening abilities, causing less effective vibration absorption.
Additionally, heavy debris accumulation causes uneven pressure on the keys, which may affect their feel and responsiveness during typing. Without regular cleaning, these issues compound, compromising both the cleanliness and overall functionality of your keyboard. Proper maintenance and choosing foam with the right density and structure can help mitigate these problems.
Hard-to-Reach Areas
Because foam inserts are typically tucked away in recessed areas like between the PCB and the case, dust and debris naturally gather in these hard-to-reach spots over time. This buildup can seep into the keyboard’s internal components, including beneath the mechanical keyboard switches, where cleaning is difficult.
Small dust particles and lint settle into the foam’s porous structure, which regular cleaning methods often miss. Over time, accumulated debris can compromise sound dampening and affect the overall feel of your keyboard.
Additionally, trapped debris can harbor bacteria and allergens, impacting your health. Since these areas are hard to access, routine cleaning may overlook them, leading to stubborn dust buildup that influences both the acoustics and hygiene of your keyboard’s internal spaces. Properly selected material density and composition can help reduce the extent of debris accumulation and facilitate easier cleaning.
Signs Your Keyboard Foam Needs Cleaning or Replacement
Noticing changes in your keyboard’s sound or feel is a clear sign that the foam is a simple, inside the keyboard, and might need cleaning or replacing. A deterioration in sound dampening capabilities can also be caused by silicone density reducing over time due to compression or environmental factors.
Changes in keyboard sound or feel indicate foam inside may need cleaning or replacement.
Here are some common signs:
- You hear metallic ping or hollow sounds, indicating foam compression or contamination.
- There’s visible discoloration, mold, or sticky residue on the foam inserts, suggesting it’s time for a clean or swap.
- You notice a return of noise reduction issues despite previous foam use.
- The foam feels damp, swollen, or shows signs of deterioration after spills or extended use.
If any of these apply, inspecting and maintaining your foam inserts regularly helps restore your keyboard’s performance and hygiene, preventing further damage.
Tools and Steps for Safely Cleaning Your Keyboard Foam
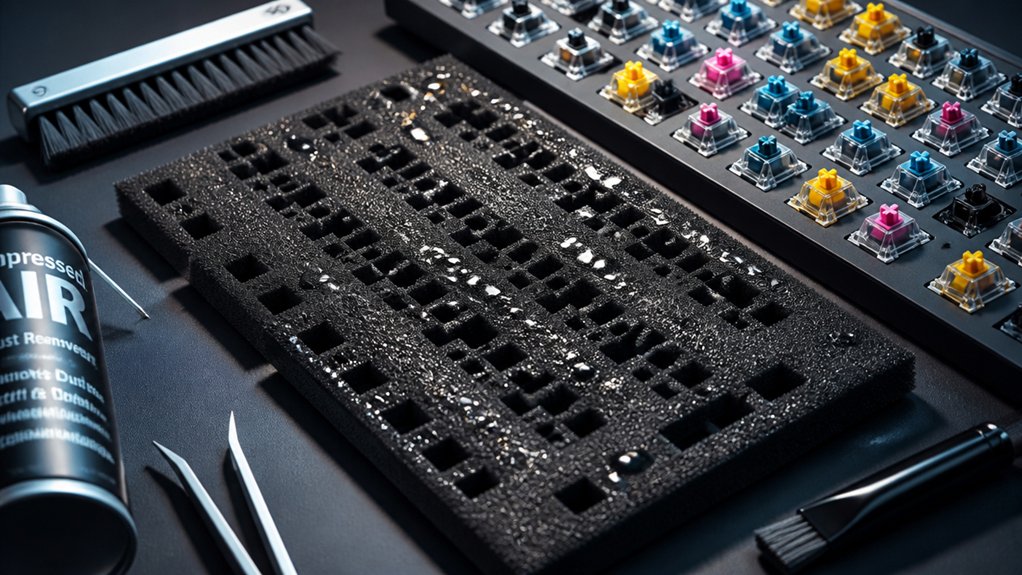
To clean your keyboard foam safely, start by gathering gentle tools like a soft brush and compressed air. These necessary tools help remove dust without harming the foam’s structure. Carefully use the brush or compressed air to dislodge debris from the foam’s surface inside the keyboard case. For deeper cleaning, gently remove the foam inserts, then wash them with mild soap and lukewarm water, avoiding harsh chemicals. Be sure to air dry the inserts completely before reinserting to avoid moisture damage. Use tweezers or precision tools for stubborn debris in foam holes and crevices. Maintaining proper environmental safety by keeping the workspace well-ventilated and avoiding inhalation of dust or chemicals is crucial during cleaning.
| Tool | Purpose | Caution |
|---|---|---|
| Soft brush | Remove surface dust | Avoid scrubbing too hard |
| Compressed air | Dislodge debris in tight spots | Keep at safe distance |
| Tweezers | Extract trapped debris | Handle gently |
| Mild soap | Clean foam during deep cleaning | Use sparingly |
| Towels/dry cloth | Air dry inserts properly | Guarantee full dryness |
Tips to Keep Your Keyboard Foam Clean and Effective Long-Term
Maintaining your keyboard foam inserts over time guarantees they stay effective in dampening noise and vibrations.
To preserve their sound signature, follow these tips:
- Regularly vacuum or use compressed air to remove dust and debris, preventing buildup that can degrade sound quality.
- Lightly dab foam inserts with a damp cloth and mild soap if needed, avoiding harsh chemicals that may damage the foam.
- Remove and inspect foam inserts carefully during cleaning, replacing them every 6 to 12 months or sooner if they show signs of compression or degradation.
- Store foam inserts away from moisture and direct sunlight to keep their density and elasticity intact, ensuring consistent sound dampening.
- Use appropriate cleaning solutions that are non-corrosive and safe for foam materials, ensuring long-term durability and performance.
How Often Should You Clean or Replace Your Keyboard Foam?
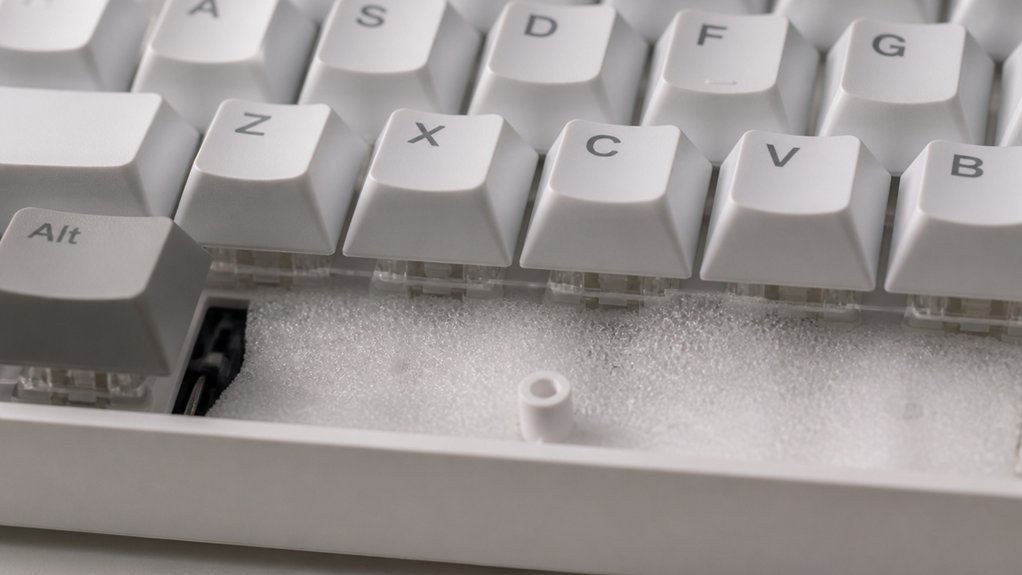
You should clean or replace your keyboard foam every 3 to 6 months to keep dust and grime from building up. A clean foam insert helps maintain the residue-free formulation necessary for optimal cushioning and quiet operation. Keep an eye out for signs like increased noise or reduced cushioning, which indicate it’s time for a change. Regular inspections help guarantee your keyboard stays quiet and comfortable to use.
Frequency of Maintenance
How often should you clean or replace your keyboard foam inserts? Typically, every 3 to 6 months is recommended, but it varies based on usage and environment. If you’re a heavy typist or work in a dusty case, frequent maintenance is essential.
Consider these guidelines:
- Every 3 months for high-use or dusty environments.
- Every 6 months for regular use in cleaner settings.
- Inspect foam during cleaning sessions to check for degradation or odor.
- Replace foam if it’s compressed, degraded, or no longer dampens sound effectively.
Regular maintenance keeps your mechanical keyboard operating quietly and hygienically. Prompt attention to foam condition guarantees peak acoustic performance and prevents buildup that could affect key response or introduce allergens. Material durability plays a crucial role in maintaining foam effectiveness over time.
Signs for Replacement
Over time, signs emerge that indicate your keyboard foam may need replacing, especially if cleaning alone isn’t restoring its performance. Look for visible discoloration or a persistent unpleasant odor, which signal the foam is degrading.
If your typing experience feels noisier, with louder, hollow, or metallic sounds, it suggests the foam has lost its elasticity. Additionally, compressed or misshapen foam reduces vibration dampening, making keystrokes sound more harsh.
Excessive dirt, dust, or grime trapped in the foam can also harbor bacteria or allergens, affecting hygiene. The key sign for replacement is when the foam loses its ability to dampen sound effectively, giving your keyboard a less satisfying tactile feel.
Regularly check your foam, and replace it every 3 to 6 months for peak performance.
Frequently Asked Questions
What Is the Point of Keyboard Foam?
The point of keyboard foam is to absorb vibrations and sound waves, reducing noise and echo, improving the typing sound and feel, stabilizing components, and making your keyboard quieter and more pleasant without affecting its functionality.
What Is a 96% Keyboard Missing?
A 96% keyboard misses dedicated function keys, a separate navigation cluster, and often the numeric keypad, compacting these keys into a smaller, more integrated layout. You gain space but lose some traditional key separation and shortcuts.
Can I Use 70% Isopropyl Alcohol to Clean My Keyboard?
Yes, you can use 70% isopropyl alcohol, but apply it sparingly with a microfiber cloth or cotton swab. Avoid soaking, and always let your keyboard air dry completely to prevent damage and guarantee safety.
Do Gamers Prefer Membrane or Mechanical?
You prefer mechanical keyboards because they offer superior tactile feedback, faster response times, and durability, making them ideal for gaming. Membrane keyboards are less favored due to their softer keys and shorter lifespan, which can hinder gaming performance.
In Summary
Keeping your keyboard foam clean is essential for maintaining peak performance and hygiene. Regular cleaning prevents dust, debris, and mold buildup that can impair your keyboard’s function. By following proper cleaning steps and staying consistent, you guarantee your foam stays effective and long-lasting. Don’t wait for visible signs of wear—make cleaning a routine. Your keyboard will thank you with smoother, quieter operation, and you’ll enjoy a cleaner, healthier workspace every day.



