
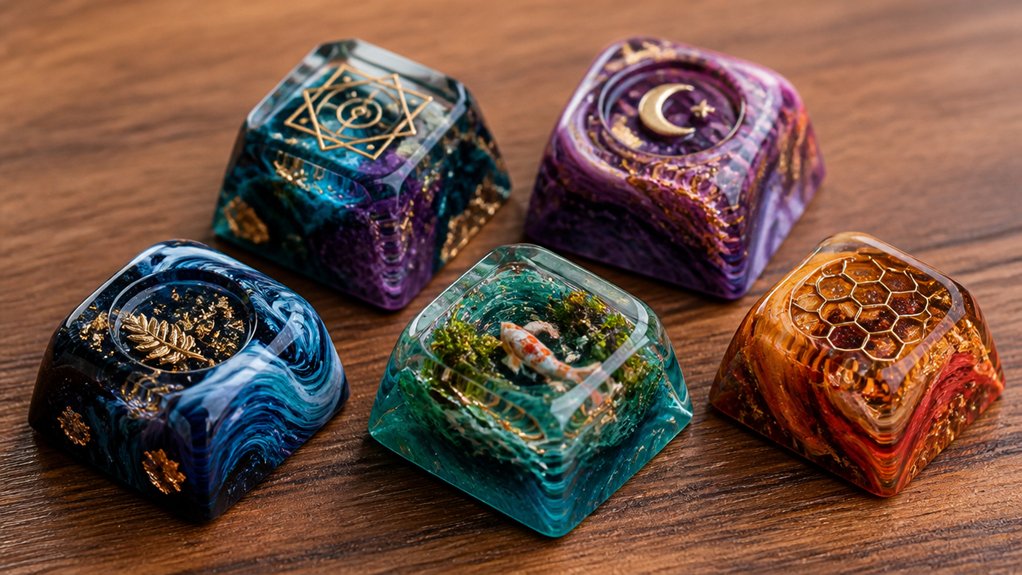
To create the best DIY artisan keycaps at home, start by exploring projects like hand-sculpted resin caps with layered colors, or casting with silicone molds for detailed designs. Incorporate unique materials like metallic powders or embedded elements for customization. Use safety precautions throughout, such as gloves and proper ventilation. Focus on craftsmanship with detailed sculpting and polishing techniques. If you keep going, you’ll discover step-by-step instructions and tips to craft professional-looking keycaps that stand out.
Prioritize Safety: Essential Tips Before You Start Crafting
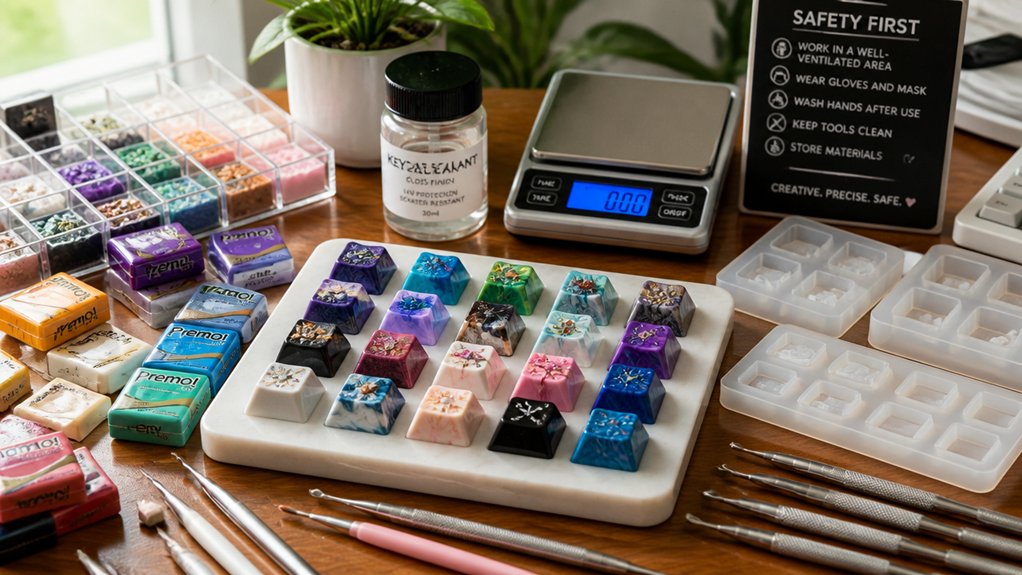
Before you begin making artisan keycaps, it’s essential to prioritize safety to prevent accidents and health hazards. Start by wearing disposable nitrile gloves, sealed safety glasses or goggles, and a respirator mask with organic vapor/acid gas filters. These precautions protect you from resin hazards during mixing, pouring, and curing. Using the correct UV light wavelength and ensuring proper curing can also reduce the risk of incomplete or unsafe bonds. Make certain your workspace is well ventilated, ideally with open garage doors or a ventilation hood, to avoid inhaling toxic fumes. Always take care with your resin materials, following the bottle warnings carefully—secure caps tightly and use safe dispensing methods to prevent spills. Keep your materials and equipment out of reach of children and pets, and clean any skin contact or spills promptly with soap, water, and isopropyl alcohol. Prior experience helps, but safety awareness is key.
Explore Popular DIY Artisan Keycap Projects for Inspiration
Are you searching for creative ideas to kickstart your DIY artisan keycap projects? Exploring popular techniques can spark your imagination and improve your skills.
Hand-sculpted resin artisan keycaps are a favorite, where you make artisan keycaps by shaping a clay master, then create silicone molds to cast resin with pigments or mica powders. Multi-shot casting lets you add layered colors, translucent effects, or embedded metallic powders, making each keycap uniquely stunning.
Beginners often start with simple designs using preset molds and colorants from kits like TheBlackVioletCo’s Deluxe Kit. As you progress, try handpainting and polishing for a professional touch.
Utilizing multi-layer casting techniques can add impressive depth and complexity to your custom pieces.
Resources like community forums and tutorial series offer inspiration, guidance, and feedback, helping you craft eye-catching custom keycaps for mechanical keyboards with Cherry MX-style switches.
Choose the Right Materials and Tools for Resin and Clay Keycaps
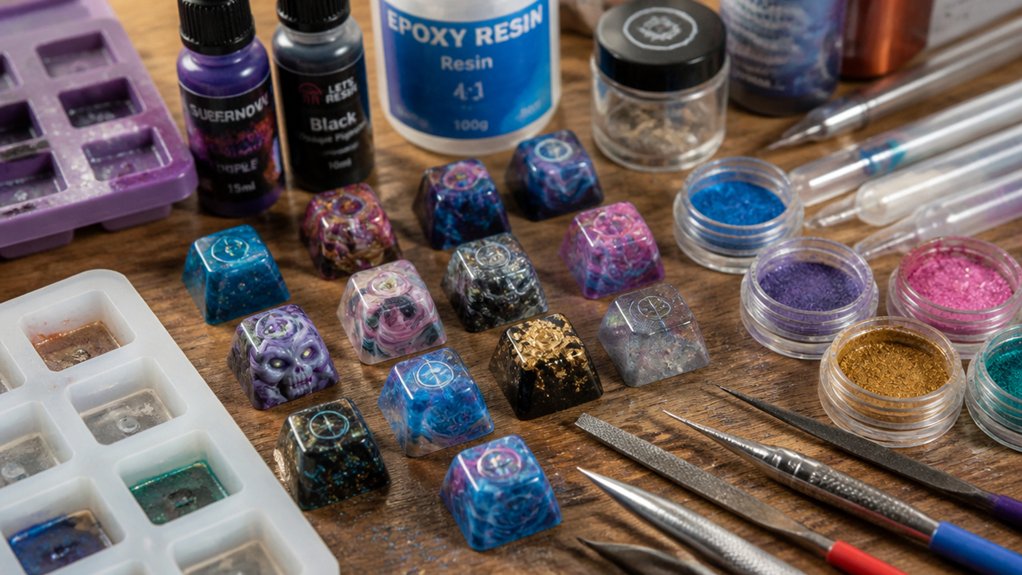
Choosing the right materials and tools sets the foundation for successful resin and clay keycap projects. To learn how to make your first artisan keycap, you need quality supplies tailored for each medium.
Selecting proper materials and tools is crucial for creating high-quality resin and clay artisan keycaps.
For clay, use polymer clay like Super Sculpey Firm for permanent projects, or sulfur-free Monster Clay for reshaping without curing. For resin caps, select urethane liquid plastic resin such as Smooth-On 325, 326, or 327, which suit different curing needs.
- Have essential sculpting tools like silicone molds, dental picks for detail, and X-acto knives for trimming.
- Use compatible resin colorants, such as mica powders and tinting pigments, avoiding water-based paints.
- Invest in safety equipment like gloves, respirators, and guarantee a well-ventilated workspace.
- Consider the ABS keycap construction principles, which emphasize durable double-shot molding and crisp legends, to ensure your custom caps are both vibrant and resilient.
Follow a Step-by-Step Guide to Making Resin and Clay Keycaps
Start your resin and clay keycap project by carefully sculpting a detailed master model using polymer clay like Super Sculpey Firm or Monster Clay. Focus on creating a unique design, such as a Mihi Mini or other OEM profile keycaps for mechanical keyboard enthusiasts.
Once satisfied, make a two-part silicone mold with MoldStar 30, ensuring the stem cavity and registration marks align accurately. Mix urethane resin like Smooth-Cast 326 with colorants, then pour into the mold slowly to minimize air bubbles.
Use a pressure pot or UV curing to enhance clarity and reduce imperfections. After demolding, trim sprues with flush cutters, wet sand edges with 300-800 grit, and wash thoroughly.
Handpainting or varnishing can add artistic touches, making your keycaps worth showcasing. Additionally, considering the compatibility considerations for fitting the stem and size ensures your custom keycaps will work seamlessly with your keyboard.
Finish and Customize Your Artisan Keycaps for a Professional Look
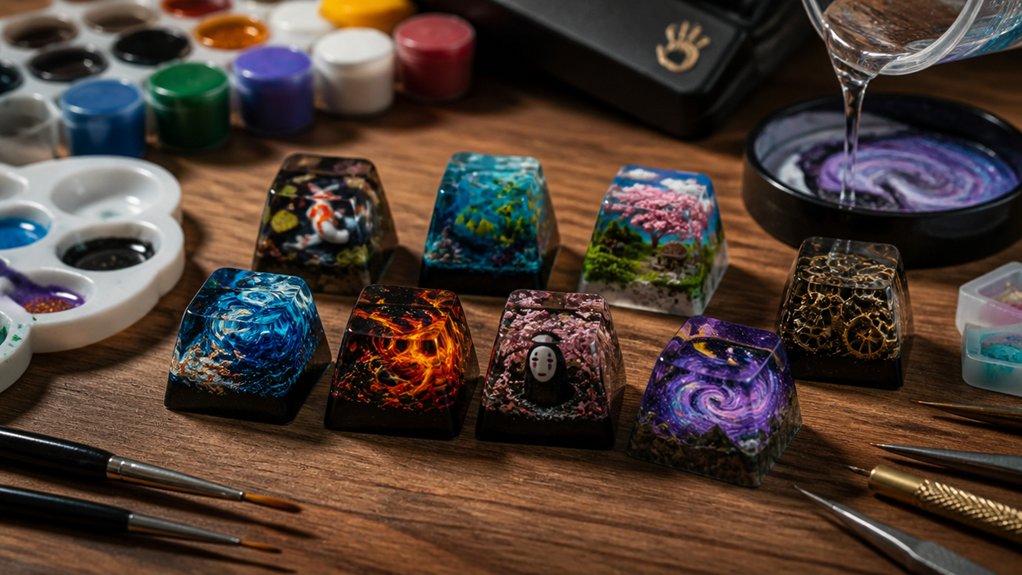
To achieve a professional look for your artisan keycaps, careful finishing and customization are essential. Make sure you have everything you need, including fine sandpapers, cleaning supplies, and finishing tools.
This step is truly unique because it enhances the keycaps’ appearance while ensuring durability. Using anti-static brushes during cleaning can prevent electrostatic damage to delicate surfaces and switches. Anti-static brushes help extend the performance and lifespan of your customized keycaps.
- Use wet/dry sandpapers from grit 300 to 800 or finer to smooth minor surface imperfections. Feel free to focus on the edges and surfaces for a polished feel.
- Clean thoroughly with soap and water, removing dust with an old toothbrush, to keep keycaps designed pristine for a perfect finish.
- Paint with multiple thin coats of primer or varnish, then polish with finer grits and compounds to give your keycaps that glossy, professional shine.
Frequently Asked Questions
How Long Does It Typically Take to Complete a DIY Artisan Keycap?
It usually takes you anywhere from a few hours to several days to complete a DIY artisan keycap, depending on its complexity and your experience. Patience and attention to detail help guarantee a quality finished piece.
What Are Common Mistakes to Avoid When Molding Keycaps at Home?
You should avoid rushing the molding process, make certain your mold is clean and well-prepared, use the right materials, and watch for air bubbles. Take your time, double-check details, and follow instructions carefully for the best results.
Can I Incorporate LEDS or Lighting Effects Into Handmade Keycaps?
Yes, you can incorporate LEDs or lighting effects into handmade keycaps by embedding small LEDs during the casting process or drilling holes for fiber optics. Just make certain your materials are heat-resistant and safe for electrical modifications.
What Cleaning and Maintenance Are Required for Resin or Clay Keycaps?
You should regularly clean your resin or clay keycaps with a soft cloth or brush, avoid harsh chemicals, and occasionally apply a light coating of clear sealant. Handle them carefully to prevent cracks or damage during cleaning and use.
Are There Any Beginner-Friendly Tutorials or Resources Available?
Yes, you can find beginner-friendly tutorials on platforms like YouTube and Reddit. These resources guide you through basic techniques, materials, and safety tips, making it easy to start your DIY artisan keycap projects confidently at home.
In Summary
Now that you’ve got the basics down, it’s time to bring your creative visions to life. With the right safety precautions, materials, and step-by-step guidance, you can craft stunning artisan keycaps right at home. Don’t be afraid to experiment and add your personal touch to each piece. Keep practicing, and you’ll gradually improve your skills. Before long, you’ll have a collection of unique, custom keycaps that truly reflect your style and dedication. Happy crafting!



