
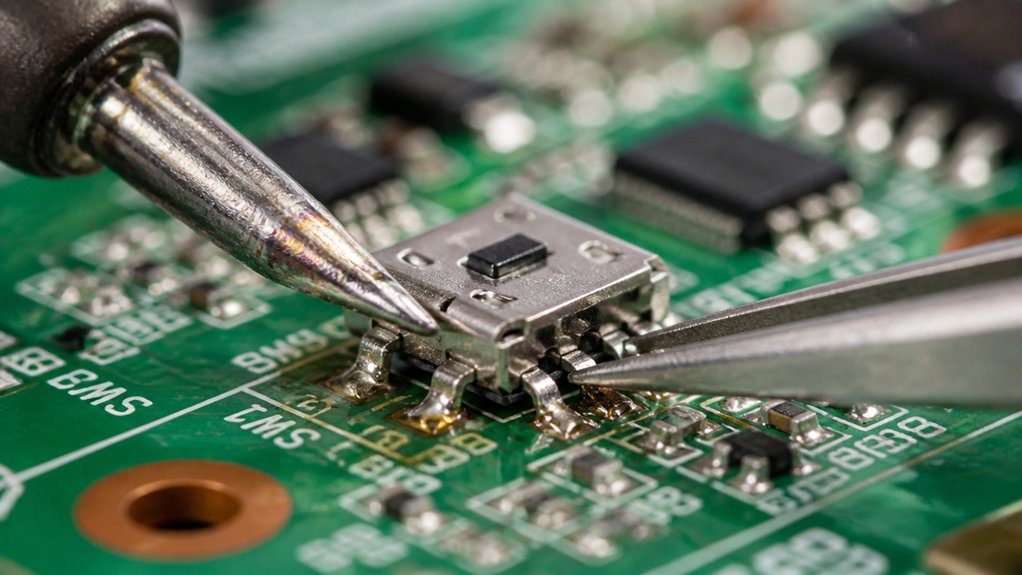
The best way to desolder switches is to use a temperature-controlled soldering iron set between 350°C and 480°C, ensuring you heat the solder joint evenly and carefully. Apply flux to help the solder flow and use a desoldering pump or solder wick to remove molten solder without damaging the PCB. Gently wiggle or lift the switch while re-heating the joints, and protect sensitive areas with tape. For more detailed tips, you’ll discover how to avoid damage and perfect your technique.
When Do You Need to Desolder Keyboard Switches?
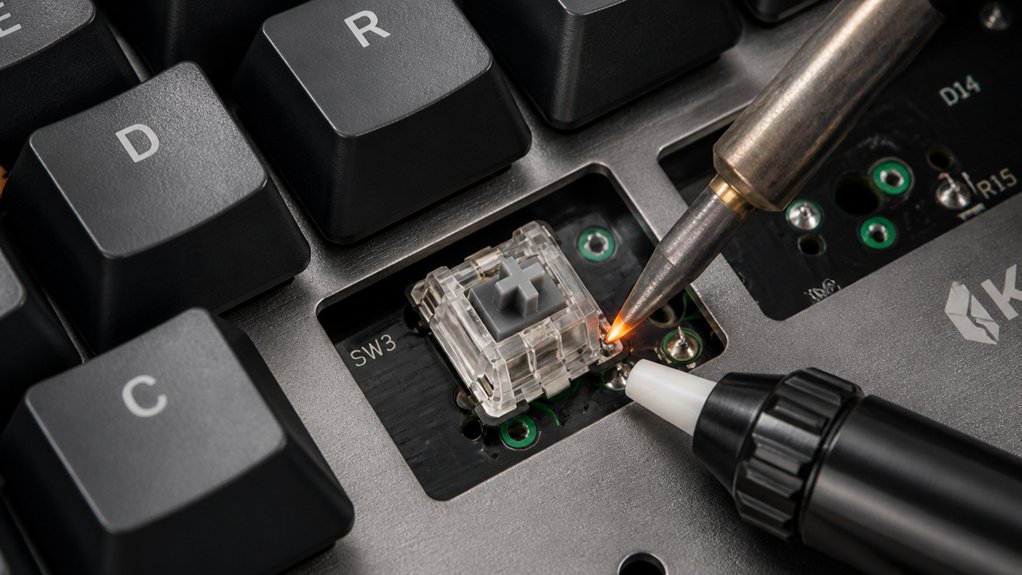
So, when do you actually need to desolder keyboard switches? If you have a soldered mechanical keyboard, desoldering becomes necessary when replacing or upgrading switches that aren’t hot-swappable.
You’ll need to desolder if a switch is malfunctioning or stuck, to clean or repair it properly. When you’re modifying switches—like swapping springs or internal components—desoldering makes access easier.
If poor solder joints cause damage or lift the pad from the PCB, removing the switch to re-solder correctly is essential. Additionally, if you’re converting between hot-swap and soldered builds, desoldering the switches is part of the process.
In short, anytime you need to change, fix, or access the soldered connections, desoldering is your go-to step. Proper desoldering tools, such as desoldering pumps, can make this process easier and safer.
Tools and Safety Tips for Desoldering Switches
To guarantee safe and effective desoldering, you need the right tools and proper safety precautions. A temperature-controlled soldering iron set between 350°C and 480°C guarantees you melt solder efficiently without harming your PCB or components.
Prepare your solder sucker by fully compressing its plunger before use and cleaning its tip regularly for strong suction, making solder removal easier. Keep some solder wick nearby to soak up residual solder, especially in tight spots.
Always work in a well-ventilated area and wear safety glasses and heat-resistant gloves if possible. Use an anti-static mat to protect sensitive components. Having a soldering iron stand nearby prevents accidental burns and safer handling of the hot iron.
These tools and safety tips keep your work efficient and safe.
How to Set Up Your Workspace for Safe Desoldering
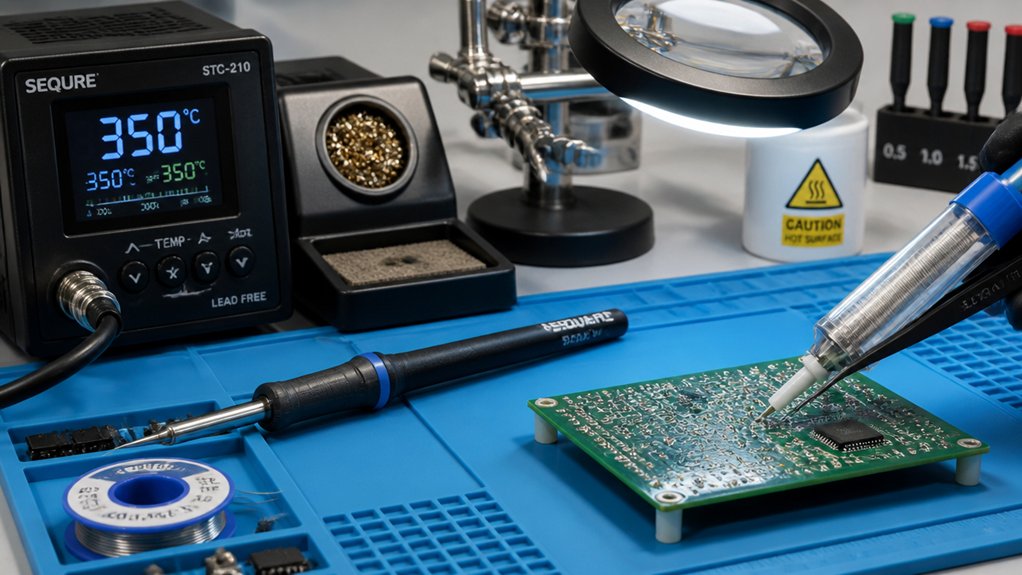
Creating your workspace for safe desoldering starts with organization and proper preparation. Set up an organized workspace with good lighting and an anti-static mat to prevent component loss and static damage. Keep all essential tools—like a soldering iron with adjustable temperature, a desoldering pump, solder wick, and screwdriver—within easy reach.
Use the soldering iron safely: choose a stand and confirm it’s unplugged when not in use. Before starting, unplug the device and remove keycaps or external parts to access soldered switches safely. Work on a heat-resistant surface to avoid burns or damage. Employing precise temperature control helps ensure safe and effective desoldering.
Guarantee proper ventilation or use a fume extractor to avoid inhaling harmful solder fumes. With these steps, your workspace becomes efficient and safe for desoldering switches effectively.
Step-by-Step: Heating and Loosening Solder Joints
Begin by heating the solder joint with your soldering iron, making sure the soldering iron tip contacts both the switch leg and the PCB pad. Focus more on the switch leg to prevent damage to the PCB.
Wait until the solder melts completely; shiny, liquid solder indicates it’s ready for removal or loosening. For smoother solder flow, add a small amount of fresh rosin-core leaded solder before reheating.
Once the solder melts, use a spring-loaded desoldering pump immediately to suck up the molten solder before it cools and solidifies again. Gently wiggle or push the switch leg while reheating it individually, avoiding excessive force that could lift the PCB pad.
Ensuring that your solder wire has appropriate melting point range can help you achieve a more controlled and efficient desoldering process. Patience and controlled movements will make the process safer and more effective.
Desoldering Pump or Solder Wick: Which Should You Use?
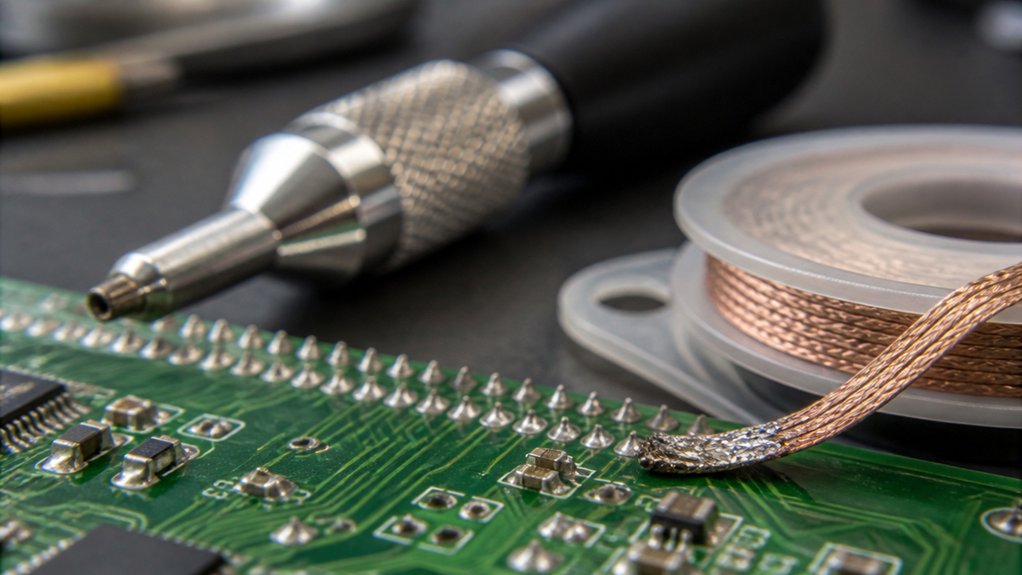
Deciding between a desoldering pump and solder wick often hinges on the specific situation and your familiarity with each tool.
A desoldering pump is effective for quickly removing bulk molten solder from solder joints, especially right after heating the joint. It’s great for clearing large amounts of solder fast.
Solder wick, however, is better for cleaning residual solder via capillary action, allowing precise removal without applying excessive heat.
Combining both tools produces the best results: use the pump first to tackle most solder, then follow with solder wick to clean up leftovers.
Your choice depends on the solder amount and stubbornness—pumps excel with large blobs, while wick is better for fine, residual solder.
Mastering both techniques guarantees clean, undamaged switch removal.
How to Remove Solder Without Damaging the PCB Pads
To remove solder without damaging PCB pads, you need to use proper techniques like applying fresh solder to improve heat transfer and using a solder sucker promptly at the right temperature. A new step is to ensure you have precise temperature control to prevent overheating and warping of the PCB, which is vital during delicate repairs. Always angle your soldering iron on the switch legs rather than the pads to prevent excessive heat buildup, and protect sensitive areas with Kapton tape. Handling the process carefully helps preserve the integrity of both the pads and traces.
Proper Solder Removal Techniques
Proper solder removal is essential to prevent damage to PCB pads and maintain the integrity of your circuit.
When you’re removing switches, start by flooding the solder joint with fresh leaded rosin-core solder; this helps improve flow and makes the excess solder easier to remove. Use a heated soldering iron tip to warm the switch leg and PCB pad simultaneously, angling more toward the leg to avoid lifting or burning the pad. Proper flux application ensures reliable wetting and facilitates cleaner removal. Quicky employ a spring-loaded desoldering pump as soon as the solder melts, removing the molten solder and minimizing heat exposure. For residual solder, use solder wick with flux to gently clean the area.
Avoid excessive heat and force, as these can cause pad lifting, cracks, or damage to traces.
Preventing PCB Damage
Protecting your PCB pads during desoldering starts with controlling the heat and ensuring the solder flows smoothly. Using a temperature-controlled soldering iron set around 350°C helps prevent damaging the PCB.
Keep the iron tip angled more on the switch leg than the pad to reduce heat transfer there. Flooding the joint with fresh solder beforehand improves flow, making removal easier and reducing the time the solder and iron stay in contact.
Employing a spring-loaded desoldering pump immediately after the solder melts helps clear solder quickly, minimizing thermal stress. Additionally, applying Kapton tape around exposed tracks guards nearby traces. Proper handling of through-hole components during desoldering also helps maintain the integrity of the PCB pads.
Removing Bent or Stuck Switch Pins Carefully
When removing bent or stuck switch pins, you should work slowly and apply gentle heat to each solder joint first. Using tools like tweezers or a small flat screwdriver can help straighten or pry the pins without damaging the PCB. Keep steady pressure and avoid overheating to prevent lifting the solder pads or damaging the board. Additionally, utilizing a keyboard switch opener can assist in safely removing switches and reducing the risk of damage during the process.
Gentle Pin Straightening Techniques
If you encounter bent or stuck switch pins, it’s essential to handle them gently to avoid damaging the components. Use fine-tipped needle-nose pliers or tweezers to gently pulling and straighten switch pins, avoiding bending them further. A durable construction of the tools can help prevent accidental damage during this delicate process. Before adjusting, lightly heat the soldered pins to reduce brittleness and decrease the risk of snapping the switch pin. Apply slow, controlled pressure when bending pins back into alignment—forceful movements can cause damage. If pins are severely stuck, consider disassembling the switch housing to access and adjust individual pins with less strain. Always inspect pin alignment under magnification after reinsertion to confirm proper spacing and orientation. Taking these gentle pin straightening techniques helps preserve your switch’s integrity and functionality.
Preventing Pin Damage During Removal
To prevent damaging switch pins during removal, start by fully and evenly heating each solder joint with your soldering tip. This guarantees the solder melts thoroughly, reducing resistance and making pin removal smoother. Utilizing a high-quality soldering iron with adjustable temperature will ensure precise control and consistent heat distribution. Use soldering equipment like a solder wick and a spring-loaded desoldering sucker to clear leftover solder completely before pulling the pins out, which minimizes stress on the pins and PCB. Gently wiggle or rock stuck pins side to side while reheating the solder—this loosens the joint gradually without exerting excessive force. When possible, disassemble switch housings to free individual pins for targeted desoldering, lessening strain on the board. If pins are bent, straighten them carefully with tweezers before cleaning off solder, preventing further damage during reinstallation or reuse.
Troubleshooting Common Desoldering Problems
Troubleshooting common desoldering problems requires understanding the factors that can hinder a smooth removal process. When working on soldered keyboards, residual solder or insufficient heat can cause switches to stick or resist removal.
To avoid damage, make certain you flood the joint with a small amount of solder before desoldering, enhancing heat transfer and solder flow. Using a magnetic PCB holder can also improve stability and precision during the process.
Consider these tips:
- Use a soldering iron at around 350-480°C, angling it on the switch leg rather than the PCB pad.
- Apply heat evenly to prevent pad lifting or trace damage.
- Gently pull or disassemble stubborn switches to avoid stressing the PCB.
- Clear excess solder with solder wick after heating to guarantee smooth removal and reinstallation.
This approach minimizes issues and protects your keyboard’s integrity.
Replacing and Reinstalling Switches Properly
Properly replacing and reinstalling switches guarantees your keyboard functions reliably and prevents damage.
Ensuring correct switch replacement guarantees reliable keyboard performance and prevents potential damage.
When handling soldered switches, make certain all pins are straightened and free of excess solder so they fit into PCB holes or hot-swap sockets smoothly. Use a switch puller to remove switches carefully without damaging contacts.
For soldered switches, reheat with a soldering iron set at about 350°C and apply small amounts of solder for neat, shiny joints, avoiding bridges or cold joints.
If your keyboard has hot-swap sockets, push switches straight down until they click securely, avoiding excessive force that could harm contacts.
Before final assembly, test every switch for proper electrical connection and smooth mechanical operation, guaranteeing no issues go unnoticed. Proper technique prevents costly damage and ensures reliable performance.
When to Seek Professional Repair Help
If you notice signs of PCB damage, burnt traces, or exposed trackways after desoldering, it’s time to get professional help to prevent further harm.
When switch legs are stubborn or you can’t remove solder despite high heat and advanced tools, experts have the equipment to do it safely. For complex switches or hot-swap boards that don’t clear properly, a technician can avoid risking additional damage and guarantee everything works correctly.
Signs of PCB Damage
Recognizing the signs of damage on your PCB is essential to prevent further issues or permanent failure. Look for lifted or peeled pads, which occur when copper layers separate, preventing proper solder joints.
Visible cracks or breaks in PCB traces indicate compromised circuit paths, often causing keys or switches to malfunction.
Excessive or hot soldering can discolor or burn the PCB, weakening the substrate and pads. Bent or torn hot-swap socket contacts that fail to hold switch pins may signal socket or PCB pad damage.
Repeated desoldering attempts that prevent solder from melting properly or loosen switches are clear signs that professional repair is needed. Stay alert for these damage signs to avoid worsening the problem and guarantee your board stays functional long-term.
Complex Desoldering Challenges
When attempts to desolder switches become increasingly difficult, it often signals underlying challenges that may be beyond DIY repair. If you encounter a faulty switch that refuses to release, despite applying heat with your iron, it’s a sign to evaluate professional help.
Persistent existing solder, stubborn pad lift, or damaged traces indicate that your DIY efforts might cause more harm. Expert repair technicians utilize specialized equipment like temperature-controlled soldering irons, hot air rework stations, and flux to remove solder efficiently while minimizing damage.
When a switch remains firmly stuck despite correct heat application, it’s best to seek professional disassembly, leg-by-leg heat removal, and precise solder removal. Prolonged high-temperature attempts risk lifting pads or damaging traces, making professional intervention the safest choice.
Risk of Further Harm
Continued attempts to desolder switches can greatly increase the risk of causing irreparable damage to your PCB, especially if high heat levels or excessive force are applied.
Prolonged exposure to high heat during soldering or desoldering (>480ºC) can damage traces, which experts can often repair more effectively. Persistent difficulty in removing switches, despite proper techniques, signals that professional repair may be necessary to prevent further harm.
If desoldering causes cracked or torn PCB traces, holes, or physical damage, it’s best to seek help from experienced technicians. Handling soldering irons or desoldering pumps improperly can lead to costly repairs or permanent damage.
When in doubt, don’t risk further harm—consult a professional to maintain your device’s integrity and functionality.
- Multiple desoldering attempts causing pad damage
- Signs of PCB trace cracks or tears
- Excessive heat exposure during soldering
- Physical damage from improper handling
Frequently Asked Questions
What Is the Best Desoldering Tool?
You should use a hot air rework station for desoldering switches, as it evenly heats all pins, reducing damage risk. Combine it with solder wick and a fine-tipped soldering iron for precise, efficient removal and clean-up.
What Is the Easiest Way to Desolder?
You make desoldering easier by flooding the joint with fresh solder, heating it with your iron, and quickly sucking out the molten solder with a solder sucker. Gently wiggle the switch while applying heat and suction for smooth removal.
Can I Desolder Without Flux?
Yes, you can desolder without flux, but it’s much harder and riskier. You need to apply intense heat, use a desoldering pump or braid diligently, and accept that removing solder cleanly and safely becomes more difficult.
Should You Use Flux to Desolder?
Yes, you should use flux to desolder. It helps solder flow better, reduces oxidation, and makes removing the switch easier and cleaner, especially with stubborn or lead-free solder, resulting in less damage to your PCB.
In Summary
Once you’ve mastered the proper techniques and gathered the right tools, desoldering switches becomes much easier and safer. Take your time, stay patient, and follow each step carefully to avoid damaging your keyboard. Remember, if you encounter persistent issues or feel uncertain, don’t hesitate to seek professional help. With practice, you’ll confidently replace switches and customize your keyboard to suit your unique style and preferences. Happy modding!



