
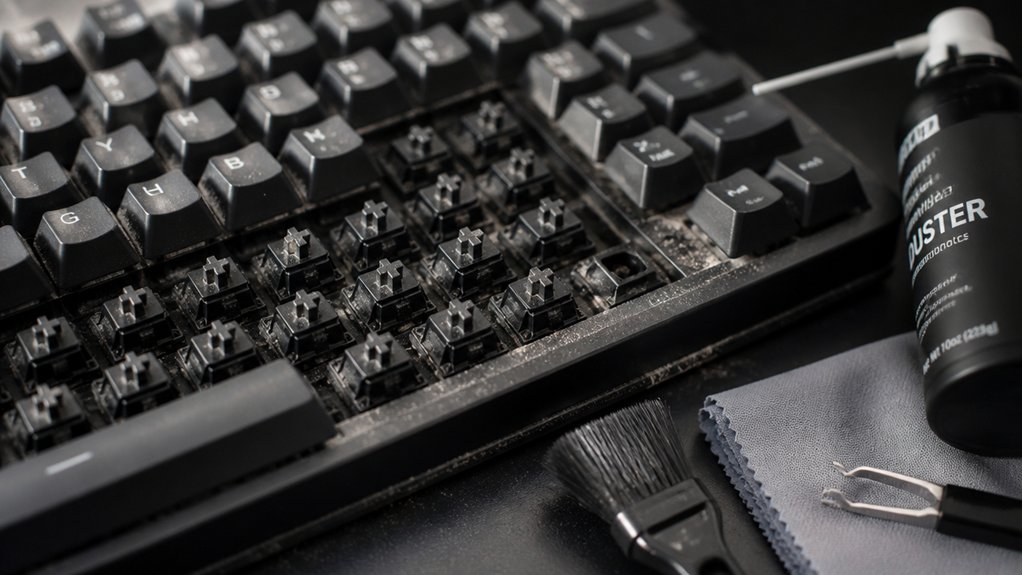
To remove dust from your mechanical keyboard effectively, start by turning it upside down and gently shaking to dislodge loose debris. Use compressed air to blow dust from between keys, and brush away stubborn dirt with anti-static or soft brushes. Wipe surfaces with a microfiber cloth dampened slightly with isopropyl alcohol for grime. For detailed cleaning, carefully remove keycaps and soak them. Prevent buildup with regular cleaning and dust covers. Keep exploring to learn even more tips for a spotless keyboard.
Quick Tips: How to Remove Dust From Your Mechanical Keyboard in Minutes
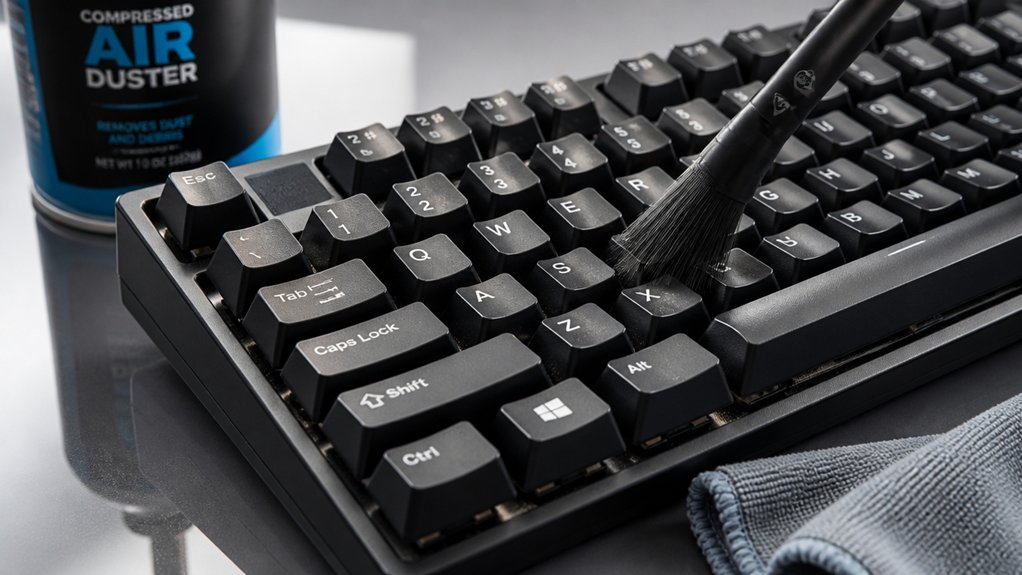
Need a fast way to get dust off your mechanical keyboard? Start by unplugging it to prevent accidental key presses.
Turn the keyboard upside down and gently shake it over a towel or bin to dislodge loose dust and crumbs. Use short, controlled bursts of compressed air held upright to blow dust from between the keys without causing condensation.
For effective cleaning, sweep the surface and gaps with a dry, anti-static brush or toothbrush. Afterward, wipe the keycap tops with a dry or slightly damp microfiber cloth to remove any residual dust particles. Incorporating a specialized keyboard cleaning brush can further enhance deep cleaning in between keys.
This quick routine keeps your mechanical keyboard clean and smelling fresh in minutes, ensuring peak performance while minimizing dust buildup.
The Tools You Need for Safe, Effective Keyboard Dusting
To guarantee safe and effective dusting of your mechanical keyboard, having the right tools on hand is essential.
A keycap puller allows you to remove keys safely, preventing damage to switches and stabilizers during deep cleaning. Use compressed air with a straw nozzle for quick, targeted dust blasts between keys, keeping the can upright to avoid condensation.
Using a keycap puller prevents damage when safely removing keys for cleaning.
An ESD-safe vacuum cleaner with conductive bristles safely lifts dust without static discharge that could harm keyboard components. Anti-static cleaning brushes or a firm-bristle toothbrush help dislodge stubborn dust deep inside switches without pushing debris further in.
For surface cleaning, a microfiber cloth slightly dampened with isopropyl alcohol (90%+) effectively wipes away dust, oils, and grime from keycaps and the keyboard case.
Ensuring your work surface is protected during cleaning by using an anti-static mat can help prevent static buildup, safeguarding sensitive electronic parts from electrostatic discharge during your maintenance routine.
Easy Ways to Dislodge Dust Between Keys Without Compressed Air
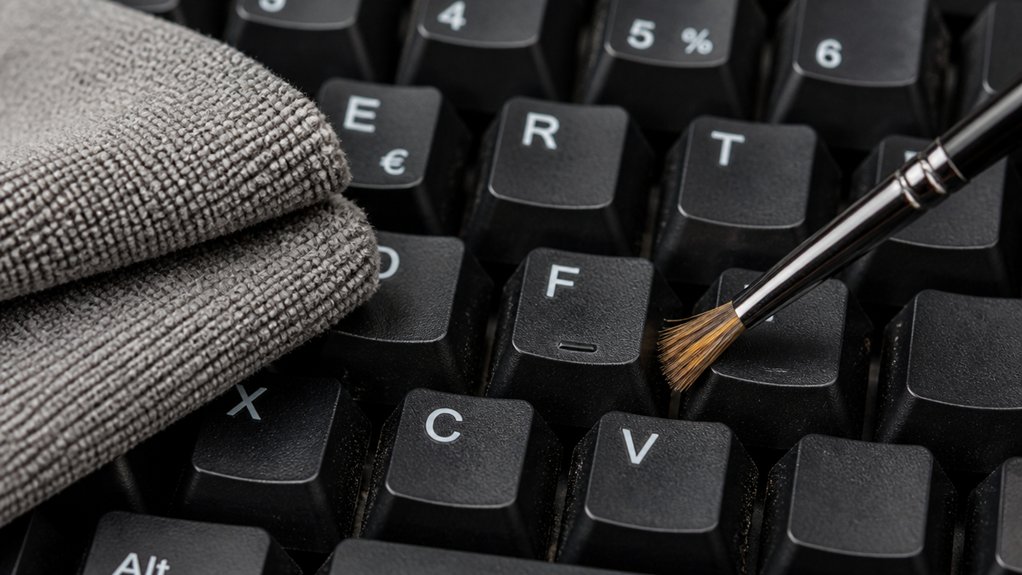
Looking for effective ways to clear dust from between your keyboard keys without relying on compressed air? You can carefully dislodge dust and crumbs by using a soft or bristle brush, like a small makeup or anti-static cleaning brush, to gently sweep between the keys.
For stubborn dust, lightly dampening a toothbrush with a few water droplets helps remove grime without risking liquid damage. Flip and shake your mechanical keyboard upside down over paper towels or cloths to encourage loose debris to fall out. Use a Q-Tip or cotton swab to reach tight spaces.
During routine cleaning, a slightly damp cloth can also assist in removing dust from the exterior surfaces, keeping your keys clean and functioning smoothly. Ensuring your cleaning tools are antistatic prevents electrostatic damage to sensitive electronic components.
Cleaning Surface Dust With Microfiber Cloths and Gentle Wipes
Using a microfiber cloth is a gentle and effective way to clean surface dust from your mechanical keyboard.
To start, use a slightly damp microfiber cloth, avoiding paper towels that can shed particles or scratch surfaces. Gently wipe the keys and keyboard surface in circular motions to lift and capture dust without pushing it into crevices or switches.
For grime or sweat stains, dampen the cloth with a small amount of water or 90%+ isopropyl alcohol, but make certain no liquid drips into the keyboard.
Regular weekly keyboard cleaning with a microfiber cloth keeps dust buildup at bay, maintaining both hygiene and appearance. Always apply dampness to the cloth first, never directly to the keyboard, to prevent moisture from affecting internal components. Tightly woven fibers ensure safe cleaning on delicate surfaces without scratching or leaving lint behind.
Deep Cleaning Your Keyboard: Removing Keycaps and Internal Dust
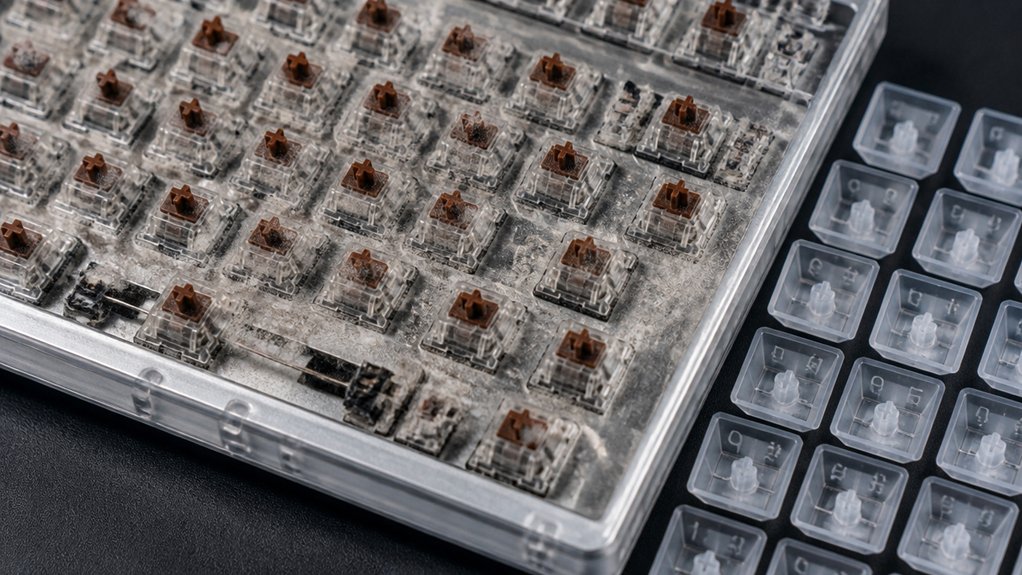
Unplug your keyboard before starting any deep cleaning, and it’s helpful to take a quick photo of the layout to remember where each key belongs.
Use a keycap puller to carefully remove the keycaps, especially larger stabilized keys by sliding them out one end first. Soak the keycaps in warm water with mild dish soap or denture tablets for 15-60 minutes to loosen oils and grime; then rinse and air dry completely.
To remove internal dust, blow out loose debris with compressed air or gently brush around the keyboard’s base and plate—avoid contact with switch stems. Using a compressed air duster, especially one with a precision nozzle, can help target hard-to-reach areas and ensure thorough cleaning.
Once everything is dry, reattach the keycaps using your photo reference. Test your keyboard to confirm all keys function properly after the deep clean.
How to Prevent Dust Buildup and Keep Your Keyboard Clean Longer
To keep your keyboard cleaner for longer, establish a regular dusting routine using compressed air or anti-static brushes.
Use protective covers when you’re not using the keyboard, especially overnight, to block dust from settling.
Additionally, avoid eating or drinking nearby to prevent crumbs and oils from attracting more dirt.
Regular Dusting Schedule
Adopting a regular dusting schedule is key to preventing buildup and keeping your mechanical keyboard clean longer. Each week or every 2–3 days if you’re a heavy user, unplug your keyboard, flip it upside down, and gently shake out loose debris.
Use short bursts of canned air or an air duster while holding the can upright to dislodge dust from keys and gaps. Keep a clean, microfiber cloth handy to wipe down the keycaps, removing grime without scratching surfaces.
For spot cleaning, use Q-tips or a soft, slightly damp cloth to target hard-to-reach areas and fine dust. Regular maintenance like this helps prevent dust from settling, reducing the need for intensive cleaning while keeping your keyboard looking and functioning like new. Additionally, choosing the right isopropyl alcohol product with high purity and residue-free formulations can make cleaning more effective and safe for your keyboard’s plastics.
Use Protective Covers
Using protective covers provides an effective barrier against dust and debris, helping to keep your mechanical keyboard cleaner for longer periods.
Keyboard covers, whether made of plastic or cloth, greatly reduce dust accumulation by physically blocking debris from settling on or between keys when not in use.
Applying dust covers during extended periods of inactivity, like overnight, minimizes the need for frequent deep cleaning.
It’s important to regularly clean your dust covers with gentle washing or wiping to prevent transferring dirt back onto the keyboard.
Make certain your keyboard cover fits snugly and is compatible with mechanical switches, so it offers protection without affecting key performance or feedback.
Incorporating these covers into your keyboard maintenance routine extends your keyboard’s lifespan by reducing grime buildup and dust-induced wear.
Utilizing anti-static sprays periodically can further help in neutralizing static buildup, which reduces dust attraction on the keyboard surfaces.
Minimize Eating Near Keyboard
Eating near your mechanical keyboard invites crumbs, oily residue, and sticky spills that attract dust and make cleaning more difficult. To keep your keyboard in top shape, avoid snacking at your desk. This helps prevent particles from settling between the air and keycap surfaces, reducing dust buildup. Additionally, using appropriate cleaning solutions can ensure thorough removal of residues without harming your keyboard’s components. Regularly using a dust guard or cover when you’re not typing also shields the keyboard from food debris. By minimizing food and drink, you lower the risk of sticky spills that trap dust and can cause damage to the keyboard’s components. Scheduling quick cleanings every couple of months, like shaking out crumbs or brushing off particles, becomes easier when you limit residue. Remember, preventing debris from settling helps you clean your keyboard more effectively and extends its lifespan, avoiding damage caused by accumulated dust.
Troubleshooting Sticky Keys and Maintaining Keyboard Longevity
Dealing with sticky keys on your mechanical keyboard can be frustrating, but quick troubleshooting and regular maintenance keep your device functioning smoothly. To fix sticky keys, carefully remove the affected keycap with a puller, then apply 1–2 drops of 90%+ isopropyl alcohol into the switch housing. Actuate the switch 20–30 times to loosen residue, ensuring your keys are stabilized. Avoid using water directly; isopropyl alcohol evaporates rapidly and prevents damage. Regularly clean a mechanical keyboard using a brush attachment or Q-tips to remove dust and debris, which can cause sticky or unresponsive keys. Maintain your mechanical by scheduling weekly dust-offs and monthly deep cleans, greatly extending lifespan and preventing sticky key issues. Additionally, utilizing cleaning solutions designed specifically for electronics can further enhance maintenance efficiency.
Frequently Asked Questions
Can I Use 70% Alcohol to Clean My Keyboard?
You can use 70% alcohol to clean your keyboard, but it’s not ideal. It might leave residues or cause damage. Prefer 90% or higher alcohol for quick evaporation and safer cleaning without risking moisture or corrosion.
Can I Use WD40 to Clean My Mechanical Keyboard?
No, you shouldn’t use WD40 to clean your mechanical keyboard. It’s a lubricant and solvent that can leave residue, attract dust, and damage switches. Stick to isopropyl alcohol, compressed air, and gentle brushes instead.
Can Dust Damage a Mechanical Keyboard?
Yes, dust can damage your mechanical keyboard by causing corrosion, obstructing switches, and leading to electrical shorts. Regularly cleaning your keyboard prevents dust buildup, preserves performance, and extends its lifespan, maintaining smooth, responsive key presses for years.
How Do You Deep Clean a Mechanical Keyboard?
To deep clean your mechanical keyboard, remove keycaps with a puller, soak them in soapy water, clean the base with compressed air and isopropyl alcohol, then reassemble carefully, ensuring everything is dry and correctly placed for peak performance.
In Summary
Keeping your mechanical keyboard dust-free is easier than you think. Regularly cleaning with the right tools and techniques can extend its lifespan and guarantee it stays responsive and comfortable to use. Don’t ignore the dust—make cleaning part of your routine. With a little effort, you’ll enjoy a cleaner, more reliable keyboard that’s always ready when you need it. Stay proactive, and your keyboard will thank you for it!



