
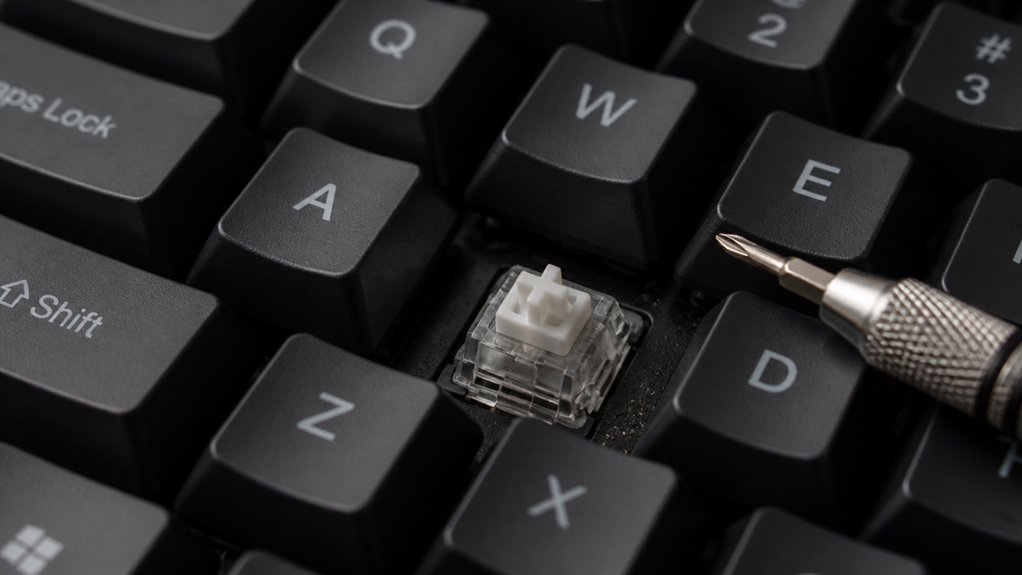
If your mechanical keyboard keys are sticky, start by unplugging and removing the keycaps carefully with a keycap puller. Soak the keycaps in warm, soapy water, and clean the switches with isopropyl alcohol using cotton swabs and brushes. Check for debris or damage inside the switches—if that doesn’t work, consider lubricating or replacing faulty switches. Regular cleaning and maintenance can restore smooth performance; continue exploring for detailed steps to keep your keyboard in top shape.
Why Do Keys Get Sticky on Mechanical Keyboards?
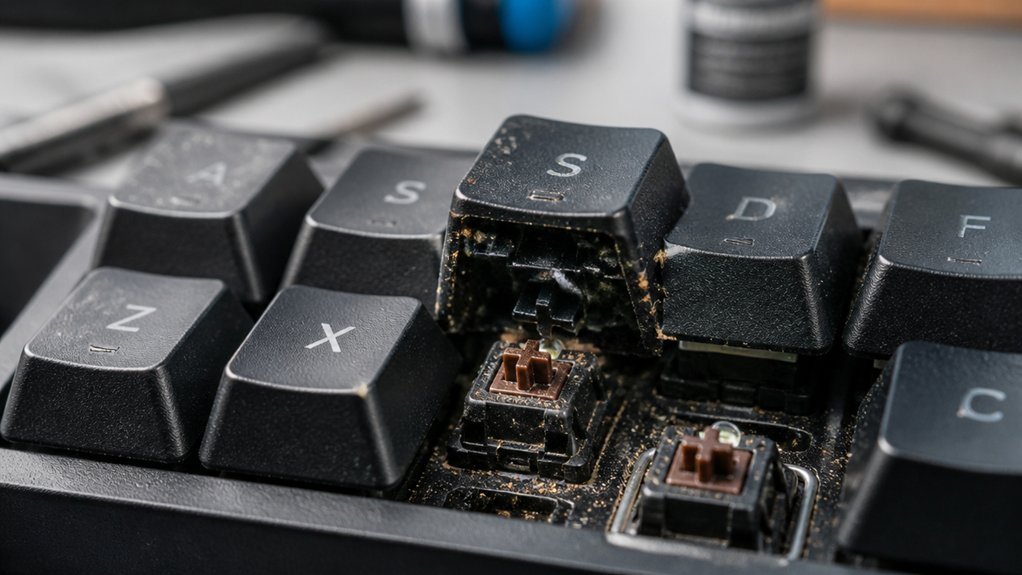
Have you ever wondered why keys on your mechanical keyboard become sticky over time? Sticky keys usually result from spilled liquids like soda or food, which leave sugary or oily deposits inside the switch mechanism. Dust, dirt, and debris can also gather under keycaps, making keys feel gummy or slow to return. Using proper cleaning procedures can prevent the buildup of residues that cause sticking. Poor or dried-out lubrication inside switches increases friction, causing sluggish keystrokes. Factory residues from manufacturing, if not cleaned properly, may cause initial stickiness or inconsistent movement. When you try cleaning, residual moisture or harsh cleaning agents can leave deposits behind, making keys stick even more. To prevent sticky keys, make sure your keyboard is completely dry after cleaning, and avoid using excessive liquid which could leave unwanted deposits inside the switches.
How to Check if Your Sticky Keys Are Caused by Residue or Hardware Damage?
Wondering whether your sticky keys are caused by residue or hardware damage? First, examine the key switches closely. Residue, like spill substances, often feels gummy or slow to return, and cleaning with isopropyl alcohol temporarily helps. Hardware damage, however, usually results in keys that don’t register or produce inconsistent presses, despite feeling normal physically. Use a keycap puller and light to inspect for debris or dirt inside switches. If stickiness persists even after cleaning and lubrication, it likely indicates internal switch damage needing repair or replacement. Additionally, tuning and lubrication with proper stabilizers can improve overall key performance and reduce stickiness caused by mechanical issues.
Preparing Your Keyboard for Deep Cleaning
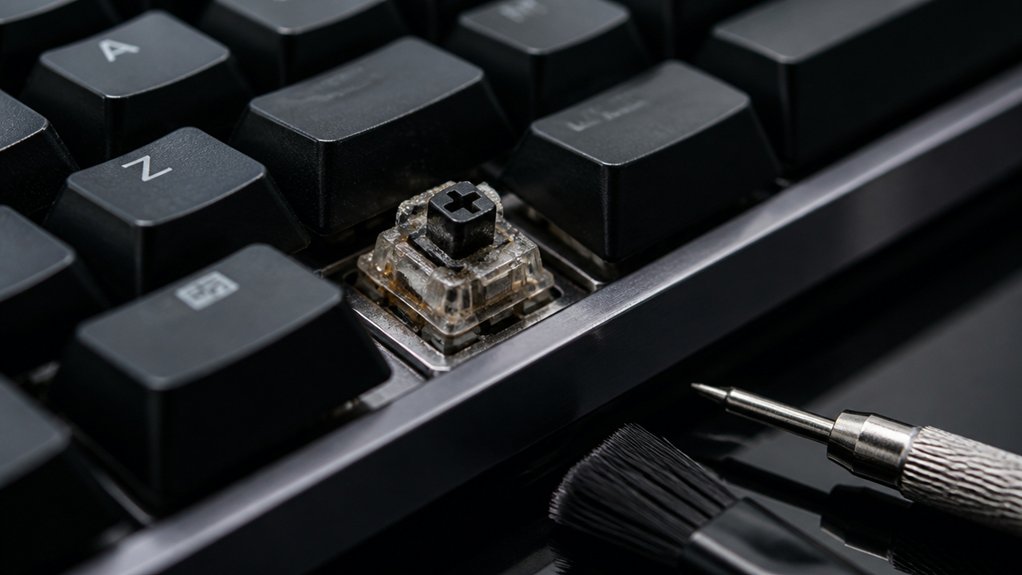
Before you start removing the keycaps, make certain your keyboard is unplugged and turned off to prevent electrical damage or accidental input. Take a clear top-down photo of your keyboard layout; it’ll help you reassemble everything correctly later. Using adjustable clamps or secure gripping tools can help hold the keyboard steady during cleaning. Prepare a clean, well-lit workspace with essential tools like isopropyl alcohol, cotton swabs, a keycap puller, and a microfiber cloth. These items will make cleaning more efficient and thorough. Remove all the keycaps carefully, paying close attention to keys with stabilizers, such as the space bar. Once you’ve disassembled the keycaps, set everything aside in an organized manner. Allow your keyboard to dry completely after cleaning, ensuring no moisture remains before reconnecting, to avoid potential damage or malfunctions.
How to Remove Keycaps Safely Without Damage
To remove keycaps safely without causing damage, start by using a keycap puller tool if you have one; if not, gently grasp the keycap with your fingers and pull straight upward. This prevents bending or breaking the stems.
A durable material construction in your tools can help ensure they withstand repeated use without damage. Before removal, photograph or memorize the keyboard layout to guarantee correct reassembly. Remove one keycap at a time, especially if you’re unsure of their positions, to avoid mixing keys or losing small stabilizer parts. Exercise extra caution with larger keys like the space bar, shift, or enter, as they often have wire stabilizers underneath. Always unplug the keyboard or remove batteries before removing keycaps to prevent accidental inputs or damage. Handling each key carefully helps maintain your keyboard’s longevity and performance.
Cleaning and Disinfecting Keycaps for Better Performance
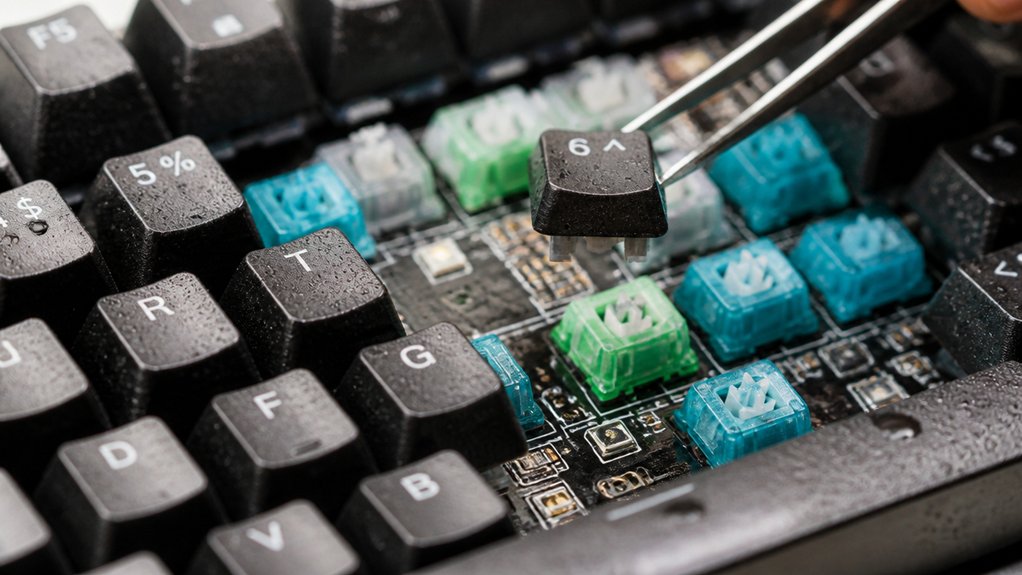
Cleaning and disinfecting your keycaps is essential for maintaining peak keyboard performance and hygiene. Soak them in warm, soapy water to loosen dirt, then rinse thoroughly to prevent stickiness. Finish by drying completely and using disinfectant wipes to eliminate germs without damaging the plastic. Regularly keycap cleaning kits help restore shine and keep your keyboard looking like new.
Effective Cleaning Methods
A thorough cleaning of your keycaps can greatly improve your keyboard’s performance and hygiene. Start by gently removing each keycap with a key puller tool, noting their positions for accurate reinstallation.
Soak the keycaps in warm water mixed with a few drops of mild dish soap for at least 30 minutes to loosen dirt and sticky residues. After soaking, rinse them thoroughly with clean water to remove all soap traces, preventing grime buildup.
Place the keycaps on microfiber towels and let them air dry completely before reassembling, as moisture can damage switches. Once dry, you can enhance hygiene further by disinfecting the keycaps with isopropyl alcohol wipes or spray, which helps eliminate bacteria and maintains a cleaner keyboard. Additionally, using appropriate brushes with anti-static properties can help clean between the keys without risking static damage.
Disinfecting for Hygiene
Disinfecting your mechanical keyboard is essential for maintaining both hygiene and peak performance. Proper disinfection prevents bacteria buildup and sticky residues that can affect key responsiveness.
To do this effectively:
- Gently remove the keycaps with a key puller tool, then soak them in warm water mixed with mild dish soap for about 30 minutes. This loosens dirt and grime.
- Rinse the keycaps thoroughly with clean water to remove soap residue and let them air dry on microfiber towels.
- Use a 70% or higher concentration isopropyl alcohol on a cotton swab or microfiber cloth to disinfect the keyboard base and individual keycaps quickly.
- Confirm all components are completely dry before reconnecting to avoid damage and maintain peak switch function.
How to Inspect and Clean Switches for Sticky Residue
Start by removing the keycaps to see the switches clearly, then look for any visible sticky residue, dirt, or debris. Use a cotton swab dipped lightly in isopropyl alcohol to carefully clean around the switch stem and other components, avoiding over-saturation. If you spot any stubborn residue, gently scrub or pick it out with tweezers or a small brush before pressing the switch to help dislodge remaining gunk. Be sure to utilize anti-static tools such as ESD-safe tweezers and precision applicators to prevent static discharge damage during cleaning.
Identifying Residue Buildup
To identify residue buildup causing sticky keys, carefully remove the affected keycaps using a key puller, and inspect the switches for any visible sticky or gummy substances around the stem and slider. Look closely for residues like sugar, soda, or other sticky materials that can cause sticking. To help you better visualize the process, consider these steps: 1. Examine the switch stem and slider for any discoloration or residue. 2. Check the surrounding area for leftover spill materials or sticky deposits. 3. Use a flashlight if needed to spot hidden residue inside the switch housing. 4. Gently see if the key feels stuck or resistant during movement, indicating buildup. Additionally, using appropriate cleaning tools like fine brushes or desoldering pumps can aid in removing stubborn debris from hard-to-reach spots and ensure a thorough clean. Identifying these issues is the first step toward effective cleaning.
Cleaning Switch Components
When inspecting and cleaning switch components, it’s essential to be gentle to prevent damage. Carefully remove each keycap using a key puller or soft prying tool, revealing the switch. Use a lightly moistened cotton swab with isopropyl alcohol (90% or higher) to clean around the switch stem and housing, avoiding excess liquid. Check for sticky residue or debris that may have seeped inside, and gently remove it with tweezers or a soft brush. If needed, disassemble the switch carefully, soak the parts in alcohol, and let them dry completely. Once reassembled, test the key for responsiveness to confirm the issue’s resolved. Repeat cleaning or consider replacement if residue persists. Properly maintained tools and switches ensure optimal build quality and longevity of your keyboard.
Deep Cleaning Inside Your Keyboard: Tools and Step-by-Step Techniques
Have you ever wondered what’s really happening inside your keyboard when keys stick or stop responding properly? Deep cleaning involves disassembling your keyboard to access hidden debris and residues.
Here’s a quick overview:
- Unplug the keyboard and carefully remove keycaps with a key puller, noting their original positions.
- Use isopropyl alcohol on cotton swabs or small brushes to gently clean around and inside switches, avoiding over-saturation.
- Disassemble the keyboard by removing screws and the front plate to access switch housings and stabilizers, removing built-up debris.
- Use tweezers to pick out fine debris like hair or dried liquid residues around switch posts and stabilizer wires, then let all parts air dry completely before reassembling.
This process guarantees your keyboard is thoroughly cleaned and ready for peak performance.
When to Replace Switches or Lubricate for Sticky Keys
Determining whether to replace or lubricate your switches depends on the severity of the stickiness and the results of your cleaning efforts.
If repeated cleaning doesn’t resolve the issue—persistent sluggishness, gumminess, or residue inside the switch—you should consider replacing the switch. Heavy damage, like spill residue or corrosion, also warrants switch replacement, as cleaning won’t restore functionality.
Lubrication is effective when sticky keys are caused by poor factory lubrication or minor dirt buildup; it helps reduce friction and improves key response temporarily or as an enhancement. However, if switches remain sluggish despite lubrication, or are heavily damaged, swapping them out provides a more reliable solution.
Always assess internal damage before deciding between lubrication or replacement for peak keyboard performance.
Reassembling Your Keyboard and Testing for Responsiveness
Before reassembling your keyboard, verify all keycaps are thoroughly dry to prevent moisture buildup that could cause stickiness or damage.
Once dry, using a photo of your keyboard layout, carefully position each keycap in its original spot, especially for non-standard keys. Press each keycap straight down firmly but gently, avoiding sideways force, to guarantee proper seating without damaging the stem or switch.
To ensure minimal force and prevent scratching, consider using a suitable keycap puller, especially designed for safe removal and reinstallation.
After reassembly, test each key individually to confirm smooth and responsive operation; feel for any sticky or unresponsive keys.
For a polished finish, perform a final cleaning of the keyboard’s exterior with a microfiber towel and isopropyl alcohol to remove residual dirt that could affect key responsiveness. This process ensures a fully functional, clean, and responsive mechanical keyboard.
Tips to Keep Your Mechanical Keys Smooth and Prevent Stickiness
Regular maintenance is key to keeping your mechanical keys smooth and free from stickiness. Regularly clean switches with isopropyl alcohol using a cotton swab to remove dirt and residues without over-saturating. Remove and clean keycaps individually with warm soapy water, making certain they’re fully dry before reassembling. Use a key puller tool to safely remove keys, avoiding damage to stabilizers—especially on larger keys like the space bar. Avoid eating or drinking near your keyboard to prevent spills that cause stickiness. Lubricate switches and stabilizers periodically with appropriate grease to maintain smooth key travel and minimize grime buildup.
| Action | Benefit |
|---|---|
| Clean with isopropyl alcohol | Removes dirt and residues |
| Remove and wash keycaps | Prevents moisture-related stickiness |
| Use a key puller | Avoids damage during removal |
| Limit eating/drinking near keyboard | Reduces spills and sticky buildup |
| Lubricate periodically | Maintains smooth key movement |
Troubleshooting Persistent Sticky Keys and When to Seek Professional Help
When cleaning your keyboard doesn’t resolve persistent sticky keys, it’s a sign that deeper issues may be at play. You might encounter continued stickiness despite using cleaning techniques like the straw method or key removal.
At this point, consider:
- Internal residue buildup inside switches, which cleaning can’t fully remove
- Mechanical failure or switch degradation from persistent residue or wear
- Liquid spills that void manufacturer warranties, making DIY repairs unreliable
- Signs of damage that require professional servicing or switch replacement
If deep cleaning—removing screws, disassembling the keyboard, and brushing—fails, seeking expert help is wise. Continuing to attempt DIY fixes could cause further damage.
Recognizing these signs helps you decide when professional repair or replacement is your best option.
Frequently Asked Questions
How Do I Get Rid of Sticky Keys on My Keyboard?
You fix sticky keys by carefully removing keycaps, then applying isopropyl alcohol with a cotton swab to clean inside and around switches. Dry everything thoroughly before reassembling to prevent further issues and guarantee smooth key operation.
Can Best Buy Fix Sticky Keys?
No, Best Buy generally doesn’t fix sticky keys on mechanical keyboards, especially if spills caused the issue. They might suggest replacing the keyboard or recommend specialized repair services, but deep cleaning or switch repairs are usually outside their scope.
Can You Use WD40 on a Sticky Keyboard?
You shouldn’t use WD40 on a sticky keyboard because it’s a lubricant that can leave residues, attract dirt, and damage plastic parts. Instead, use isopropyl alcohol or contact cleaners to safely clean and resolve sticky keys.
Can Rubbing Alcohol Clean Sticky Keyboard Keys?
Yes, you can use rubbing alcohol to clean sticky keyboard keys. Dampen a cotton swab with it, carefully clean around the keys, and guarantee everything dries completely before reconnecting to prevent damage or short circuits.
In Summary
Regular cleaning and proper maintenance can keep your mechanical keyboard functioning smoothly. By identifying the cause of sticky keys, cleaning effectively, and replacing worn components when needed, you’ll extend your keyboard’s lifespan and enjoy a better typing experience. Don’t ignore ongoing issues—timely troubleshooting or professional help can save you more hassle later. Keep your keyboard in top shape, and it’ll serve you well for many gaming and typing sessions to come.



