
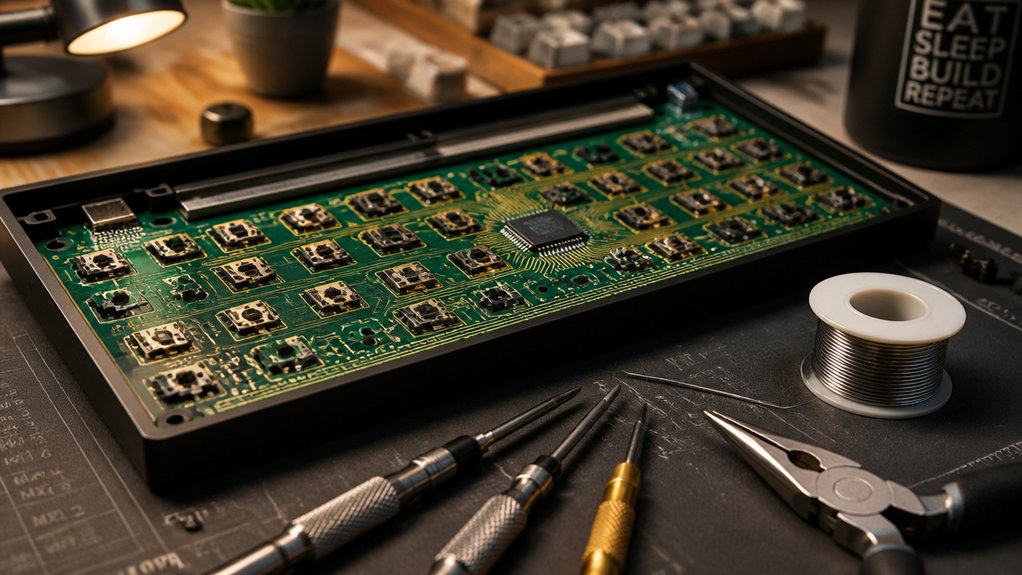
To keep your mechanical keyboard working smoothly, start by cleaning affected keys with compressed air and isopropyl alcohol to remove dust and residue. Next, inspect switches for wear or stickiness, and lubricate or replace them if needed. Regular maintenance helps prevent issues and extends switch life. Whether you choose soldering or hot-swap options, understanding these techniques will help you troubleshoot effectively and keep your keyboard in top shape—if you stay tuned, you’ll learn more tips to master your repair skills.
Troubleshooting Common Mechanical Keyboard Issues
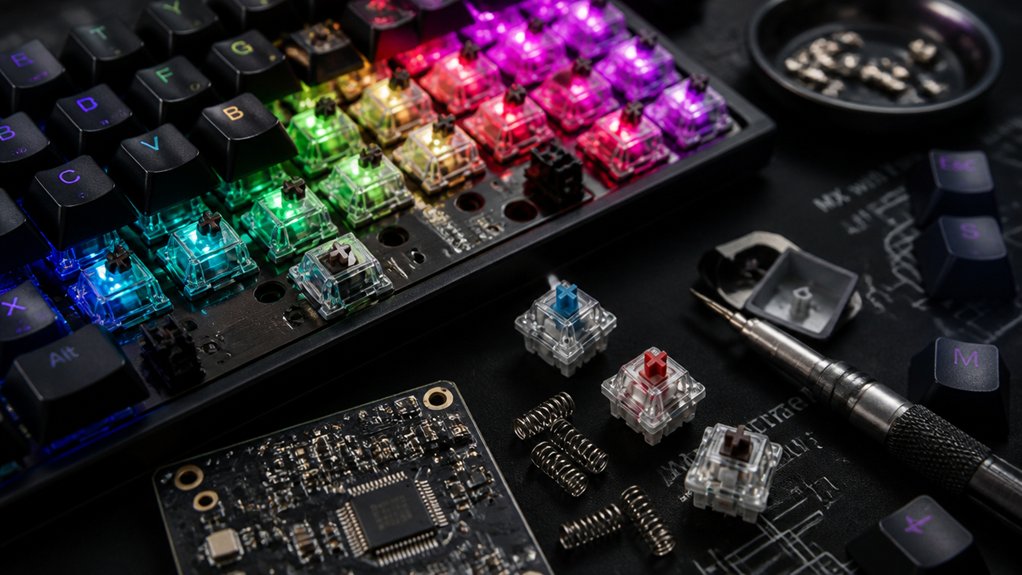
Have you ever experienced a sticky, unresponsive, or double-typing key on your mechanical keyboard? To fix Sticky Keys, start by Remove the affected keycap using a keycap puller. Use compressed air to blow out dust buildup around the switch, then gently clean the switch with 90%+ isopropyl alcohol.
If the key remains sticky, apply a small amount of lubricant to the switch parts to help stabilize the action.
For unresponsive keys, cleaning the switch and key area often resolves the issue, but swapping out faulty switches can also help.
Double typing might be caused by switch wear or firmware debounce issues, so consider firmware adjustments or switch replacement if cleaning fails.
Proper maintenance guarantees better responsiveness and longer-lasting keys. Additionally, inspecting the switches for proper heat resistance and cleaning them with appropriate tools can prevent issues caused by thermal stress or residue buildup over time.
Repair Methods: Soldering vs. Hot-Swap PCBs
Once you’ve addressed common keyboard issues like sticky or unresponsive keys, choosing the right repair method becomes your next step.
Soldering PCBs require heating and melting solder with a temperature-controlled soldering iron, creating sturdy, permanent connections ideal for switch customization and durable builds. However, desoldering techniques must be careful to prevent PCB damage and guarantee electrical reliability.
On the other hand, hot-swap PCBs let you replace switches instantly by clipping them into mechanical sockets, making troubleshooting and maintenance simpler without specialized tools. This flexibility suits users who prefer frequent switch upgrades or experimentation.
While soldering offers stability and long-term reliability, hot-swap PCBs trade some permanence for convenience. Your choice depends on your durability needs, skill level, and how often you plan to modify or upgrade your keyboard.
Additionally, hot-swap PCBs are designed with various socket configurations supporting different switch types, which enhances customization options and ease of installation.
Step-by-Step Guide to Soldering Your Mechanical Keyboard
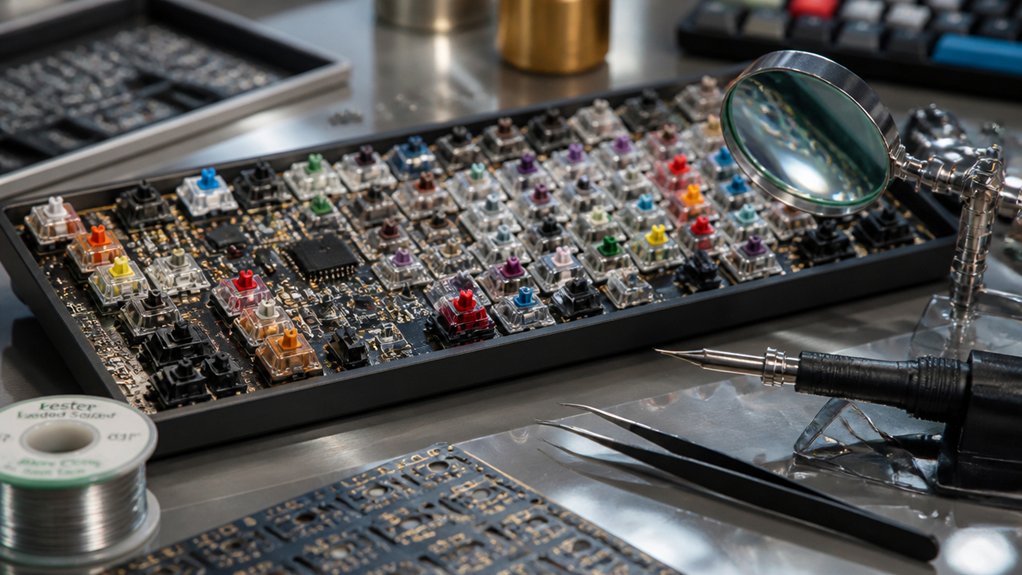
Soldering your mechanical keyboard requires careful preparation and attention to detail to guarantee reliable connections. First, set up your workspace with proper lighting, safety goggles, and a fume extractor. Use an adjustable soldering iron (~350°C/662°F), solder wire (60/40 rosin-core), and tools like a solder sucker or wick for corrections.
Before soldering, clean the PCB pads and switch pins to confirm good electrical continuity and avoid cold solder joints. Heat each switch pin for 1-2 seconds, then feed solder until it flows smoothly, forming a shiny, concave fillet. Selecting the appropriate solder alloy composition ensures robust, long-lasting joints and minimizes thermal stress during the process.
Afterward, inspect each joint with a magnifier for solder bridges or missed connections. Finally, test switch functionality with a multimeter before reassembling, making certain all connections are secure.
Frequently Asked Questions
What Is a 96% Keyboard Missing?
A 96% keyboard is missing a dedicated number pad row, extra multimedia or macro keys, and additional spacing or larger layouts found on full-sized or extended keyboards. It integrates essential keys into a compact, space-saving design.
Is 84 Keys 75%?
Yes, an 84-key keyboard is typically considered a 75% layout, as it maintains most functions and a compact design, with minor differences beyond the standard 80-84 keys, enhancing usability without taking up much desk space.
Are Mechanical Keyboards Easier to Repair?
Yes, mechanical keyboards are easier to repair because you can replace individual switches without changing the whole keyboard. With basic tools, you can troubleshoot, clean, and swap parts, which makes maintenance straightforward and cost-effective over time.
Can I Spray WD40 on Keyboard?
You shouldn’t spray WD40 on your keyboard because it can damage plastic and electronics. Instead, use specialized lubricants sparingly or clean keys with isopropyl alcohol for sticky or unresponsive keys, ensuring safe maintenance.
In Summary
By understanding troubleshooting techniques, choosing the right repair method, and mastering soldering, you can keep your mechanical keyboard running smoothly. Whether you opt for hot-swap PCBs or learn to solder, taking these repair tips into your own hands saves you time and money. With a bit of patience and practice, you’ll become confident in fixing common issues and customizing your keyboard to your liking. Keep these tips in mind, and your keyboard will be good as new!



