
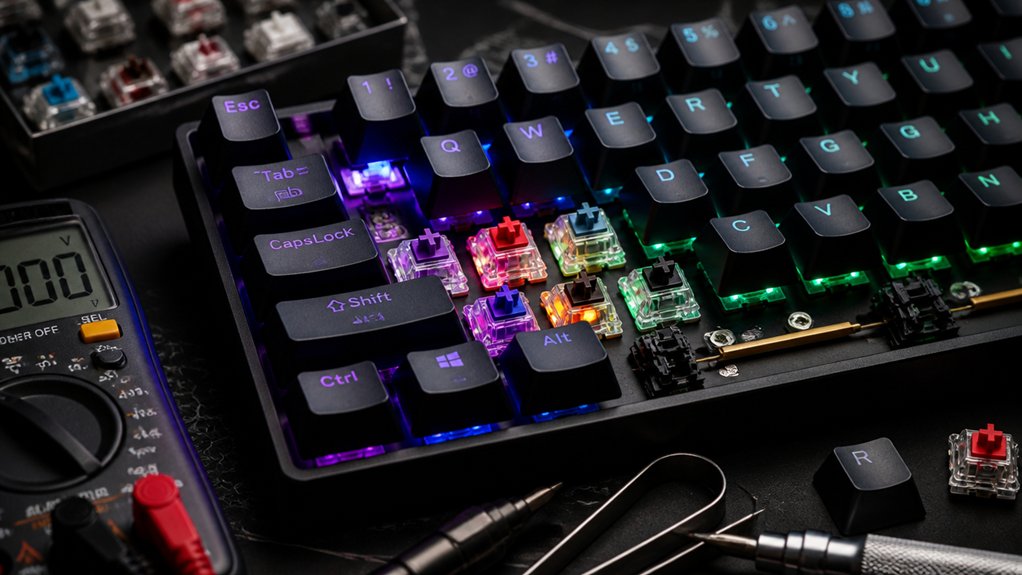
To troubleshoot your mechanical keyboard, start by testing it on different devices and ports to identify hardware issues. Use a multimeter to check connections and guarantee power stability, and carefully clean debris beneath keys. If problems persist, reset firmware or test switches and diodes for faults. For damaged components or PCB issues, learn how to identify and replace faulty parts. If you’re curious about more detailed tips, keep exploring how to fix and maintain your keyboard effectively.
How Do I Know If My Keyboard Has Hardware or Software Problems?
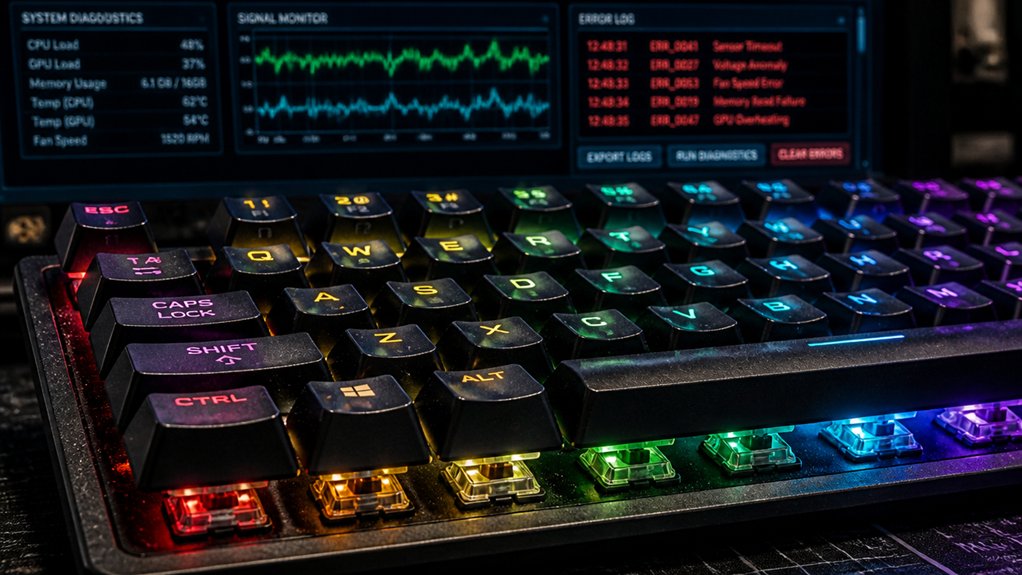
How can you tell if your mechanical keyboard has hardware or software issues? If you notice unresponsive keys or sporadic input, start by testing different USB ports and computers.
Identify hardware issues by testing your keyboard on multiple devices and ports for consistent unresponsiveness.
Persistent problems across devices suggest a hardware fault, possibly due to dust under keycaps or bent switch pins. Try cleaning the keyboard carefully to remove debris.
If the keys still don’t respond, consider a firmware reset using vendor tools like QMK Toolbox or VIA to resolve glitches.
Additionally, check USB connections for damage, and use a multimeter to test electrical continuity on USB pins and key matrix rows and columns. Multimeter testing can help identify electrical faults in keyboard circuits.
If these steps don’t fix the issue, hardware repair or component replacement might be necessary, as software conflicts usually show signs like driver conflicts or configuration errors rather than physical symptoms.
What Tools Do I Need to Troubleshoot Mechanical Keyboard Issues?
Troubleshooting mechanical keyboard issues requires having the right set of tools at hand to diagnose and repair problems effectively. For mechanical keyboards, a digital multimeter is essential to test voltage, resistance, and continuity in the PCB and key matrix, especially if cleaning doesn’t help. Using the proper desoldering tools, such as a solder sucker or solder wick, can make switch or diode removal much easier and less damaging. To keep the keyboard clean, use isopropyl alcohol, lint-free wipes, soft brushes, and compressed air to remove debris and restore key responsiveness. Safe handling is vital, so anti-static mats and wrist straps are recommended for sensitive PCB components during troubleshooting. Additionally, understanding the desoldering pump features and proper techniques can significantly improve repair efficiency.
How to Test and Diagnose Common Mechanical Keyboard Problems
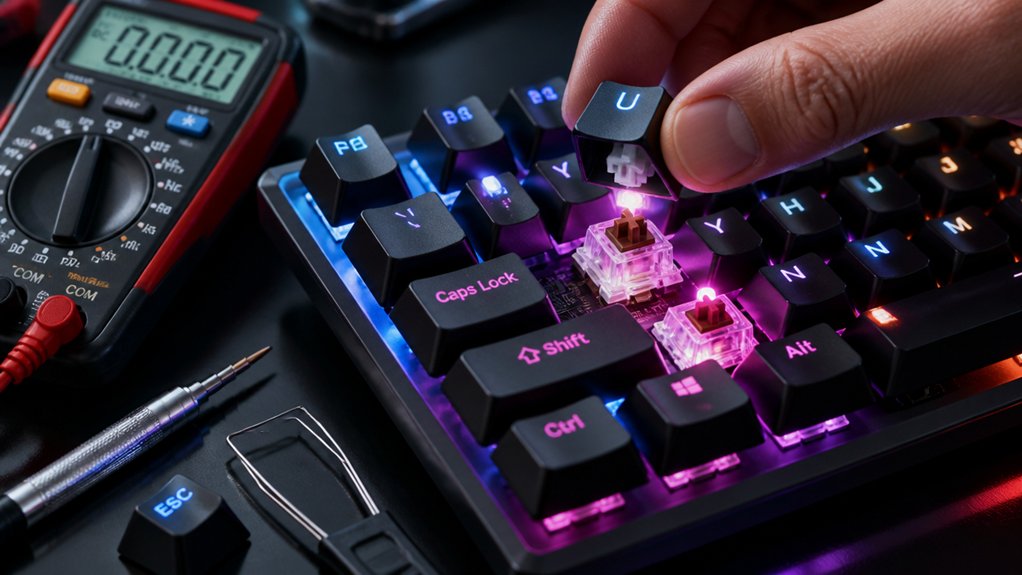
When your mechanical keyboard exhibits unresponsive keys or inconsistent behavior, testing and diagnosing the issues promptly can save you time and prevent further damage. Make sure to verify connections and components systematically:
- Use a digital multimeter in continuity mode to check key matrix traces, switch pins, and diodes for proper connectivity.
- Confirm USB power stability by measuring the USB port’s voltage; it should be between 4.8V and 5.2V.
- Inspect cables and connectors visually, reseating or replacing faulty daughterboards if your keyboard isn’t detected.
- Enter bootloader mode to reset or reflash firmware, which can resolve issues caused by firmware corruption.
- Check debounce settings and make sure switch wiring isn’t causing multiple signals or ghosting.
- Consider using soldering tools to repair or replace damaged connections or components if necessary.
How to Repair PCB Damage and Replace Faulty Components
Damaged or broken PCB traces are common issues that can disrupt your mechanical keyboard’s functionality, but they’re often fixable with careful inspection and targeted repairs. Use a magnifying glass or USB microscope to identify cold solder joints, solder bridges, burn marks, corrosion, or lifted pads. Test traces with a digital multimeter in continuity mode to find open circuits or shorts, and verify diode orientation—replace misaligned 1N4148 diodes if needed. For minor cracks, apply conductive paint; for severe breaks, solder jumper wires, following the schematic. Guarantee correct polarity and component placement. After repairs, reset or reflash your keyboard’s firmware to rule out software issues caused by outdated software or dust build-up. Use compressed air to clean switches if needed. Incorporating sturdy PCB holders can aid in stabilizing the board during repairs for better precision.
When Should You Seek Professional Repair or Replace Your Keyboard?
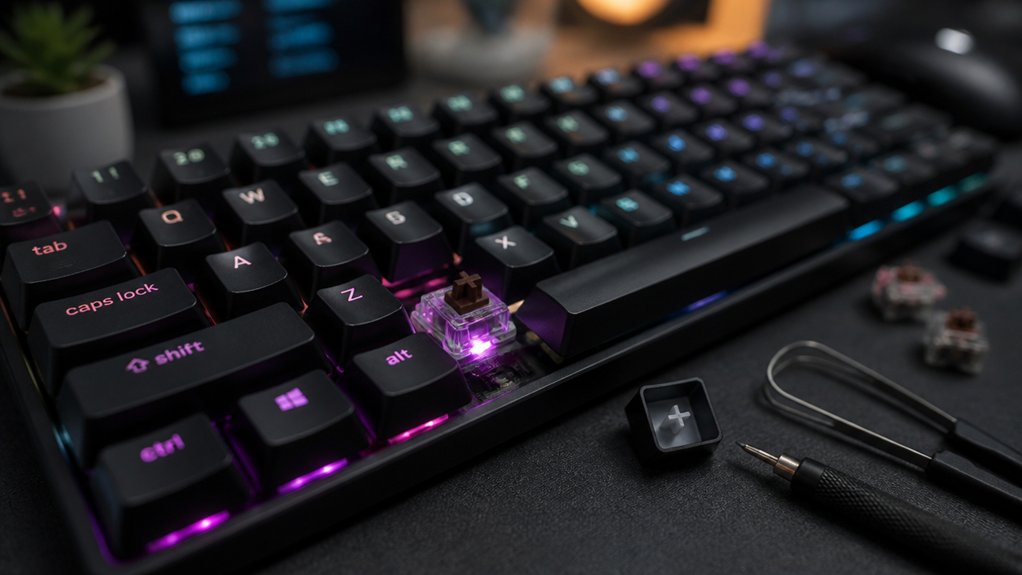
Determining whether to seek professional repair or opt for a replacement depends on the extent of the damage and your comfort with advanced soldering and diagnostics.
If issues over time involve damaged PCB traces, faulty diodes, or cold solder joints, professional help is essential. When internal cables like JST connectors or daughterboards are damaged or unfixable through resoldering, replacement might be the best choice.
Repairing broken plastic anchors or lifted PCB pads may be cost-effective only if the keyboard holds sentimental or practical value. Consider replacing your keyboard if multiple switches, stabilizers, or the USB connection—like another USB port—fail and repairs don’t restore performance.
Everything you need to decide involves evaluating repair costs versus replacement value and the complexity of issues over time. Also, understanding the basic principles of PCB assembly can help you assess whether repairs are feasible or if a new device might be more reliable.
Frequently Asked Questions
How to Troubleshoot a Mechanical Keyboard?
To troubleshoot your mechanical keyboard, start with a visual inspection for damaged components, test key matrix continuity and power rails, clean switches and keycaps, reflash firmware if needed, and verify all cables and connections are securely seated.
What Is a 96% Keyboard Missing?
A 96% keyboard is missing a dedicated function row (F1-F12), some extra macro or multimedia keys, and has tighter navigation and editing key clusters, but it keeps the full numeric keypad and retains standard key sizes for efficient typing.
Is 84 Keys 75%?
Yes, an 84-key keyboard is usually considered a 75% layout. You’re getting a compact design that retains essential functions like the function row and arrow keys, balancing space efficiency with full functionality.
What Is the Lifespan of a Mechanical Keyboard?
A mechanical keyboard typically lasts between 20 to over 100 million keystrokes, depending on switch quality and maintenance. Regular cleaning, proper handling, and quality components can extend its lifespan, keeping it responsive and durable over time.
In Summary
Troubleshooting your mechanical keyboard might seem tricky, but with the right approach, you can identify and fix most issues. Start by checking hardware and software, use basic tools to test, and know when to repair or replace components. If problems persist beyond your skill level, don’t hesitate to seek professional help. Taking these steps helps keep your keyboard in top shape, ensuring you enjoy smooth, reliable typing for years to come.



