

When starting with keyboard firmware, make sure your firmware is compatible with your PCB and hardware to avoid flashing issues. Use simple tools like VS Code and install the QMK CLI for easy customization. Always prepare your environment with `qmk doctor`, and test your firmware in DFU mode with QMK Toolbox before flashing. Pay attention to layers, macros, and keycodes to reveal full features. For common problems, reflash in bootloader mode, and you’ll find even more useful tips ahead.
Why Compatibility Matters When Choosing Keyboard Firmware
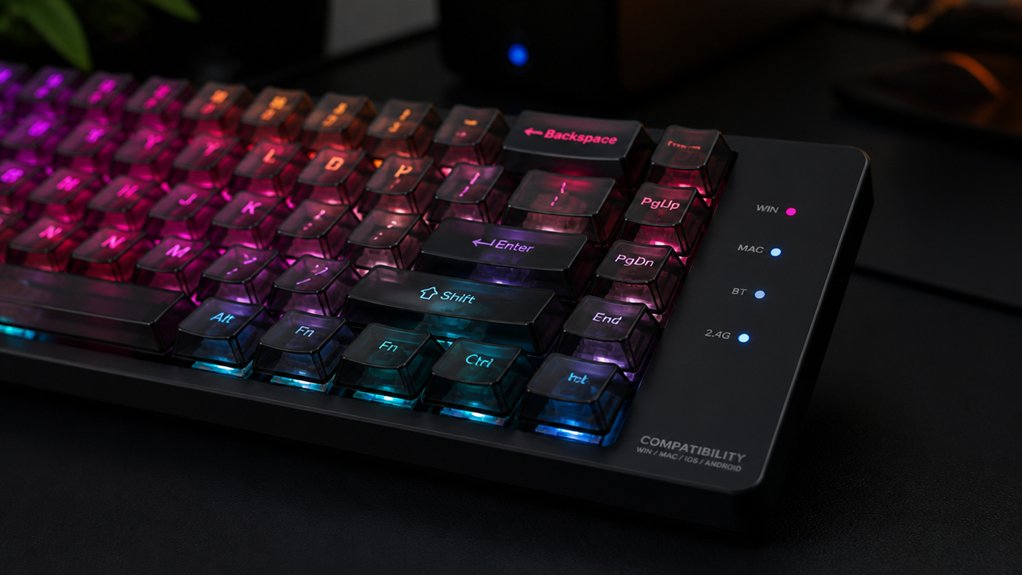
Compatibility is essential when choosing keyboard firmware because it guarantees your keyboard’s microcontroller can support the firmware you’re using. If you’re working with a mechanical keyboard, not all firmware options will work—some are specifically designed for certain PCB models or hardware versions.
Selecting the correct firmware, like QMK-compatible options such as Freebird60, prevents flashing failures and hardware issues. Compatibility guarantees your keyboard’s key matrix matches the firmware’s expectations, avoiding unresponsive or incorrect key presses. It also reveals advanced features like layers, macros, and lighting customization tailored to your hardware.
Ensuring firmware support for your specific keyboard model and features can save you time and effort during customization, preventing potential issues. Confirming compatibility before flashing saves you time and frustration, making sure the process is smooth and your keyboard stays functional, ultimately protecting your device from bricking.
Essential Tools and Setup for Firmware Customization
Getting started with customizing your keyboard firmware requires setting up some essential tools on your computer. You’ll need a plain text editor like VS Code or Notepad++ to write and modify your firmware source code efficiently. For Windows users, installing MSYS2 from https://www.msys2.org/ provides a robust build environment with all necessary compilation tools. To handle firmware compilation and flashing, install the QMK CLI via the bootstrap script (`curl -fsSL https://install.qmk.fm | sh`). Cloning the QMK firmware repository from GitHub Desktop allows safe, branch-based edits and version control. For flashing and real-time customization, tools like QMK Toolbox or VIA software streamline the process. Additionally, understanding hot-swap socket compatibility is crucial when customizing your keyboard, as it ensures you select the correct sockets for your switches and long-term durability.
How to Prepare Your Environment for Building Firmware
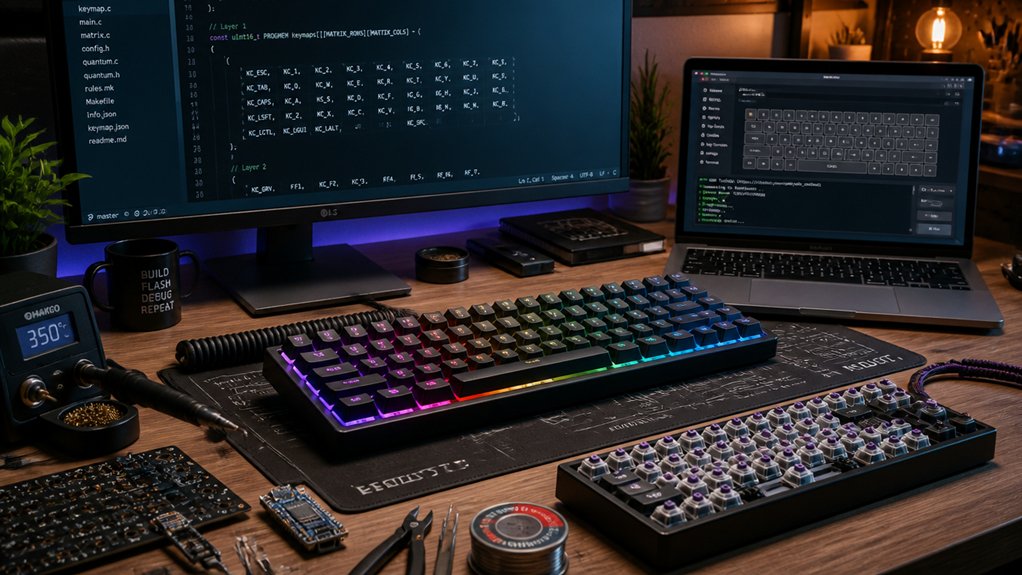
Setting up your environment is a crucial first step before building your keyboard firmware. To start, install a plain text editor like VS Code, Sublime Text, or Notepad++ to write and edit your mechanical keyboard’s source code. If you’re using Windows, download and install MSYS2 from https://www.msys2.org/ to create a pre-configured build environment. Open the MSYS2 terminal, navigate to the QMK firmware folder, and run `bash qmk_install.sh` to install necessary dependencies. Once complete, restart your computer to guarantee everything is properly initialized. Additionally, you can set up QMK CLI by running the bootstrap script `curl -fsSL https://install.qmk.fm | sh` and executing `qmk setup` to clone the firmware repository. This prepares your environment for Download Firmware and firmware customization. When working with different Pro Micro controllers, ensure you select the right bootloader and firmware support options to streamline your build process.
Build and Flash Your First Custom Keyboard Firmware
To build and flash your first custom keyboard firmware, you’ll start by ensuring your development environment is properly set up. Download and install the necessary tools, like MSYS2 on Windows or native tools on macOS/Linux, then run `qmk doctor` to confirm everything’s working.
Next, open the QMK Configurator or a keyboard layout editor like kbfirmware.com to start customizing your layout. Once satisfied, download your layout files and integrate them into your keyboard folder.
Compile your firmware with commands like `make {keyboard_name}:default` in the terminal, checking for errors. To flash, put your keyboard into DFU mode, then load the firmware using QMK Toolbox and follow its instructions. After flashing, test your keyboard to verify the custom layout and features work correctly. Ensure your PCB supports hot-swappable switches to easily modify switches later.
Safe Tips for Flashing Firmware With QMK Toolbox
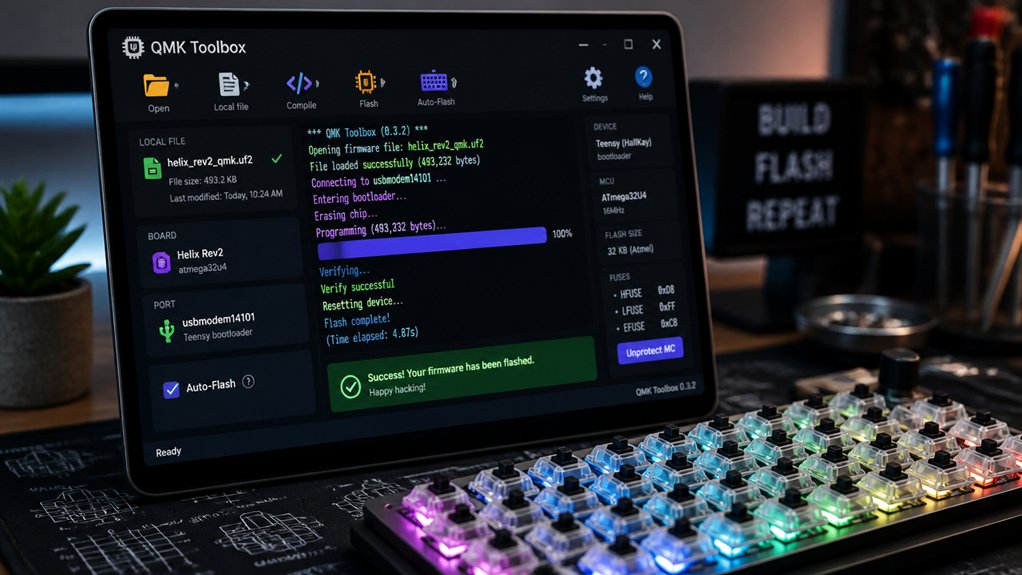
Flashing firmware with QMK Toolbox requires careful attention to guarantee your keyboard remains functional. Make sure you enter DFU mode using key combinations or the reset button before flashing to confirm proper device detection.
Always verify that QMK Toolbox displays the connected DFU device message before clicking Flash—this prevents flashing errors or bricking your keyboard. Make sure to download and install the latest version of QMK Toolbox for compatibility.
During the process, don’t unplug your keyboard, as this could cause incomplete firmware installation or device malfunction. A successful flash is confirmed by a “Success” message and an automatic keyboard reset.
If you accidentally flash the wrong firmware, you’ll need to enter bootloader mode and re-flash the correct one using QMK Toolbox. Additionally, understanding the hardware specifications ensures you choose compatible firmware and avoid potential issues during flashing.
Understanding Layers, Macros, and Keycodes in QMK
Understanding how layers, macros, and keycodes work in QMK reveals powerful customization options for your keyboard. QMK layers act as virtual keymap overlays, letting you create up to 32 programmable layers without changing your hardware.
You can remap keys using keycodes like `KC_*`, while functions like `MO(layer)` hold a layer temporarily, and `TG(layer)` toggles it on or off. The `KC_TRNS` keycode keeps keys transparent on a layer, inheriting functions from lower layers for efficiency. Additionally, choosing the right hot-swap socket can simplify hardware modifications and upgrades, enabling more flexible customization options.
Macros are a game-changer, allowing you to execute multiple keystrokes with a single press via `SEND_STRING()` or other functions. Defined within `SAFE_RANGE`, macros help you streamline complex commands without conflicts, making your keyboard truly personalized.
Troubleshooting Common Firmware Issues and Recovery Steps
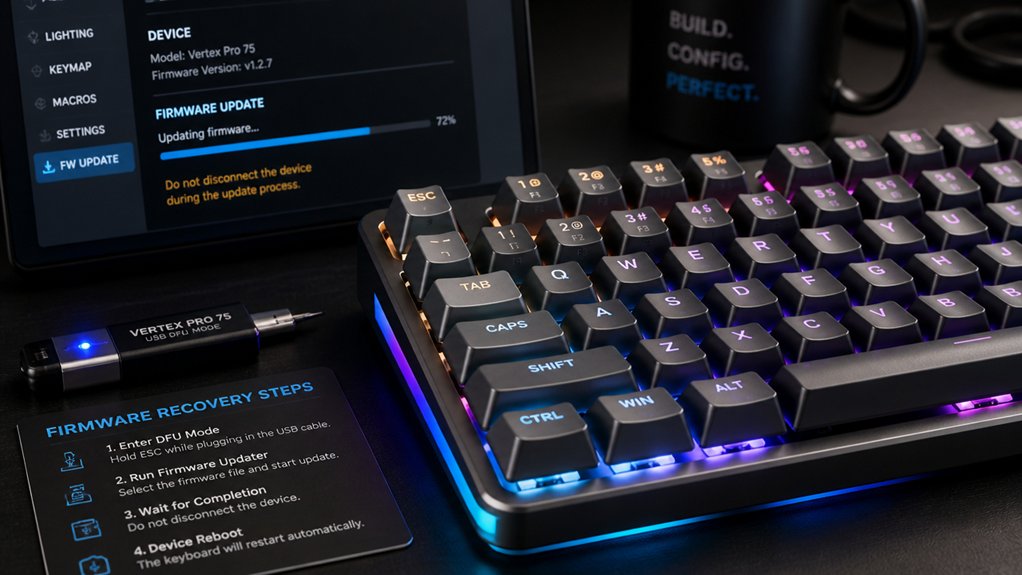
When your keyboard becomes unresponsive after flashing new firmware, it’s essential to quickly regain control by entering bootloader or DFU mode. Use key combinations or the reset button to re-flash correct firmware.
Enter bootloader or DFU mode to recover your unresponsive keyboard and re-flash the correct firmware quickly.
Firmware flashing errors often happen due to incompatible firmware or selecting the wrong keyboard model, so double-check your keyboard’s compatibility before flashing.
If you face issues with your keyboard’s layout or custom keymap not functioning properly, restoring from backups can save your configurations.
To fix VIA detection failures or update problems, make sure your drivers are current, and perform a factory reset if needed. Running `qmk doctor` can help diagnose setup issues. Additionally, understanding switch compatibility can prevent mismatched components that lead to firmware issues.
These steps guarantee you recover swiftly from firmware issues and keep your custom layouts intact.
Frequently Asked Questions
What Are the Four Basic Rules of Keyboard?
The four basic rules of a keyboard are understanding key functions, assigning correct key actions, ensuring compatibility, and testing your setup. You should select the right hardware, use layers wisely, save configurations, and verify everything before regular use.
What Are the Basics of Firmware?
Firmware is the embedded software that controls your keyboard’s functions, detecting key presses and communicating with your computer. It can be customized via tools like QMK, allowing you to remap keys, set layers, and create macros.
Is 84 Keys 75%?
Yes, an 84-key keyboard typically falls into the 75% category. You’ll find it compact yet functional, with most essential keys including function rows and arrow keys, making it a popular choice for space-saving setups.
Is QMK Difficult to Learn?
No, QMK isn’t difficult to learn, especially for beginners. You can easily start with the online configurator, follow tutorials, and gradually explore advanced features, building your skills step-by-step without feeling overwhelmed or needing prior programming knowledge.



