

You can easily flash your keyboard firmware without soldering by using methods like pressing dedicated reset buttons, key combos such as Space + B or fn + J + Z, or shorting reset pins. Connect each half separately if split, use QMK Toolbox for smooth flashing, and guarantee your firmware matches your PCB and microcontroller. Keeping your device in bootloader mode and avoiding interruptions helps prevent issues. If you stay tuned, you’ll discover detailed steps to master solderless firmware flashing.
Why Solderless Firmware Flashing Benefits Your Mechanical Keyboard
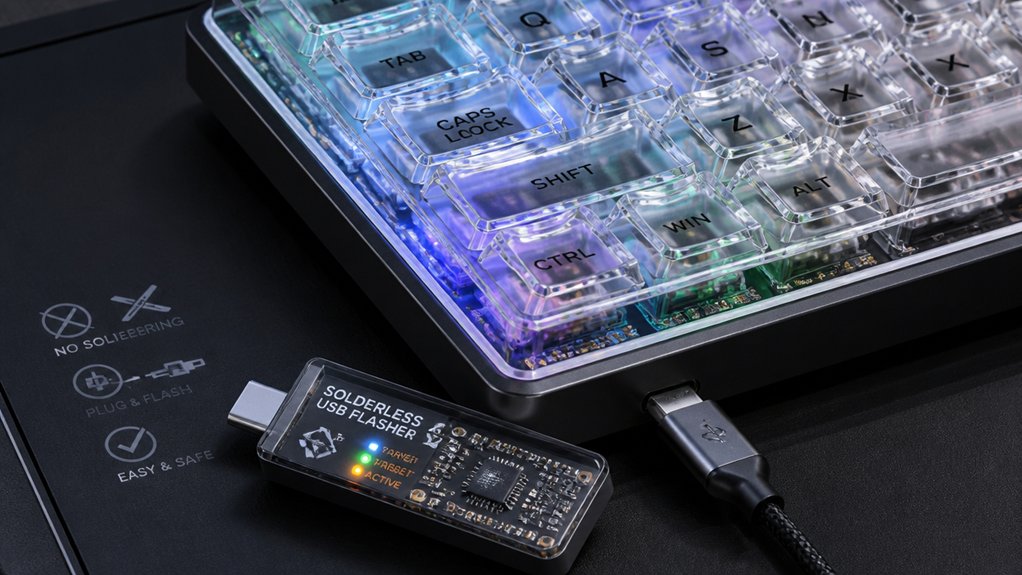
Solderless firmware flashing offers significant advantages for your mechanical keyboard by making updates safer and more straightforward. With a solderless approach, you avoid risking damage to delicate PCB pads or components.
Many modern keyboards support USB-based bootloader modes like DFU, Caterina, STM32, or UF2, which you can access without hardware modifications. Using built-in reset buttons or key combos—such as Space + B—lets you enter the bootloader easily, simplifying the process.
This method requires less skill and time, making firmware updates accessible even to beginners. Plus, solderless techniques maintain your device’s warranty and keep the keyboard intact, avoiding permanent damage. Understanding bootloaders and key combos helps ensure a smooth flashing process.
How to Enter Your Keyboard Into Solderless Bootloader or DFU Mode
Entering your keyboard into bootloader or DFU mode without soldering is usually straightforward thanks to built-in features and simple key combos. Many keyboards have a dedicated reset button on the PCB or underneath keycaps. You can also trigger bootloader mode by pressing specific key combinations like Space + B or fn + J + Z. For some boards, double-tapping the reset button or pins briefly while connected via USB enters bootloader mode, especially on Pro Micro or ATmega32u4-based keyboards. RP2040 keyboards often require holding the reset button for a few seconds until the device mounts as “RPI-RP2,” enabling firmware flashing. If unsure, look for detection messages in QMK Toolbox or ask community members on Discord with photos of your board. Additionally, many MicroPython-compatible boards support firmware flashing via straightforward reset procedures.
Using QMK Toolbox to Flash Your Keyboard Without Hardware Modifications

Using QMK Toolbox makes firmware flashing straightforward, even if you want to avoid hardware modifications. You simply load your firmware file (.hex or .bin) into QMK Toolbox, then put your keyboard into bootloader mode using reset buttons or key combinations—no soldering needed.
Most ATmega32u4 and STM32 keyboards have dedicated reset buttons or commands to enter bootloader mode easily. Once in bootloader mode, QMK Toolbox automatically detects the device type and drivers, streamlining the process.
All you need is a reliable USB connection and the correct firmware file. For split keyboards, just connect each half individually and flash them one at a time.
Thanks to firmware flashing, the process is accessible to even beginners.
Because many split keyboards support hot-swappable switches and programmable firmware, updating or customizing them can be quick and solderless.
How to Flash Split Keyboards Without Soldering (Step-by-Step)
Wondering how to flash your split keyboard without soldering? Here’s a simple step-by-step guide.
First, connect each half of your keyboard separately to your computer via USB. Each half needs to be in its bootloader/DFU mode—press the reset button or use the key combination to enter DFU before flashing.
Second, open QMK Toolbox 0.0.21+ on Windows or macOS and load the correct firmware file.
Third, confirm that the half is detected in DFU mode within the tool.
Fourth, click “Flash” and wait for the process to finish. Make sure not to unplug or interrupt the flashing process.
Once complete, the device will disconnect from the bootloader mode, confirming successful flashing. Repeat if firmware is older than two months for compatibility.
Additionally, ensure your keyboard’s hot-swap PCB is compatible with the switch types you plan to use, as many kits support MX, low-profile, or Choc switches without soldering.
Flashing ATmega32u4 and STM32 Microcontrollers Without Soldering : Best Practices
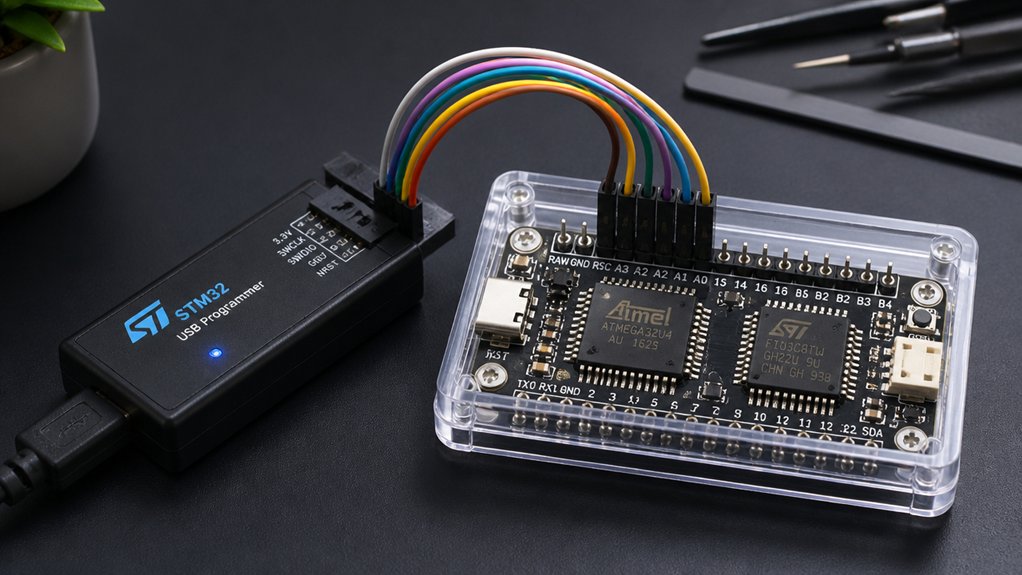
Flashing ATmega32u4 and STM32 microcontrollers without soldering is straightforward when following best practices. Use QMK Toolbox to facilitate flashing via USB, eliminating the need for hardware modifications.
For ATmega32u4 devices, enter DFU mode by pressing the built-in reset button or using a dedicated reset key combination, enabling recovery without soldering. Ensure proper component handling during the process to prevent damage and guarantee successful flashing.
For STM32 microcontrollers, load the firmware’s .bin file in QMK Toolbox and manually reset the board with the built-in reset button or by shorting specific pins.
Always connect a reliable, short USB cable directly to a USB 2.0 port to prevent connection issues.
Once flashing starts, don’t interrupt the process, as corrupt firmware can be recovered through the bootloader mode and QMK Toolbox commands.
How to Flash ESP12 Modules and Wi-Fi Devices Without Desoldering
You can flash ESP12 modules and similar Wi-Fi devices without desoldering by carefully attaching small wires or using pogo pin adapters to access key pins on the PCB. This method lets you use your device’s USB port for flashing without risking damage.
Easily flash ESP12 modules without desoldering by attaching wires or pogo pins to key PCB test points.
To do this effectively:
- Identify the power, ground, reset, and programming pins on the PCB.
- Attach small wires or clamp pogo pins onto these accessible pads.
- Connect your device to your computer via USB for a stable flashing connection.
- Use your preferred flashing tool, following standard procedures to upload firmware.
- Considering the hardware specifications and connectivity options of your device can help ensure a reliable and efficient flashing process.
This approach makes flashing straightforward, saves time, and reduces the need for soldering or disassembly.
With practice, you can efficiently flash your device’s firmware in just a couple of minutes, avoiding the risks of soldering.
Avoiding Compatibility Issues and Common Firmware Flashing Errors
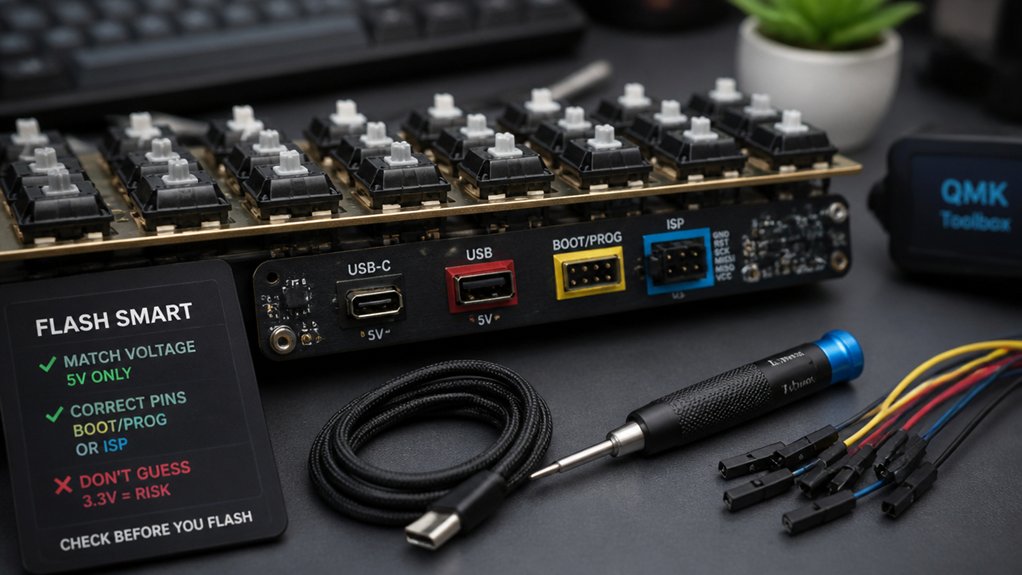
To prevent compatibility issues and common flashing errors, it’s essential to verify that your QMK file exactly matches your keyboard’s MCU type and PCB revision. Using an incorrect file risks bricking your device or causing bootloader device loops.
Always double-check the firmware version, especially for split keyboards—flash both halves if the firmware is older than two months or if unsure, to avoid communication errors. Use QMK Toolbox version 0.0.21 or higher for better device detection and to automate flashing, reducing mistakes.
Before flashing, confirm your keyboard is properly in bootloader (DFU) mode; a yellow message in QMK Toolbox and recognition in your device manager indicate readiness. Never unplug or interrupt the process—an incomplete flash can corrupt EEPROM and result in erratic behavior. Additionally, understanding the compatibility between firmware and hardware components helps ensure a smooth flashing process.
Troubleshooting Your Keyboard If It Becomes Unresponsive or Bricked
When your keyboard becomes unresponsive or bricked, the first step is to verify that the firmware file matches your keyboard’s MCU and PCB revision.
Next, try entering bootloader mode with the reset button, key combinations, or by shorting reset pins, then use tools like QMK Toolbox to reset EEPROM or clear persistent settings.
If issues persist, check your USB connection and reinstall bootloader drivers, seeking help from community resources if necessary.
Identifying Firmware Corruption Issues
Have you ever experienced a keyboard that suddenly becomes unresponsive or enters a bricked state? To identify firmware corruption issues, focus on a few key signs.
- Check if the keyboard is in flashing mode and the DFU device connected indicator appears.
- If you see the keyboard’s behavior change—stuck keys or no response after flashing—you might’ve interrupted the flashing process.
- Make certain you’re using the correct firmware version matching your MCU or PCB revision; mismatches can cause bootloader loops.
- If the keyboard remains unresponsive, try re-flashing the firmware, making sure you don’t interrupt the flashing process.
Confirm these steps to diagnose firmware corruption and determine whether re-flashing or further troubleshooting is needed.
Resetting Keyboard Hardware Settings
If your keyboard becomes unresponsive or appears bricked, resetting its hardware settings can often resolve the issue. To do this, you need to use bootloader mode, which allows you to reset or reflash the device.
Use the reset button, specific key combinations, or short reset pins, depending on your microcontroller, to enter bootloader mode. Once in this mode, you can reset the keyboard or interrupt the flashing process if needed.
For example, some keyboards with RP2040 chips require holding a top-left key while reconnecting USB to enter reset mode. Be sure to flash the correct firmware matching your keyboard’s MCU and PCB revision. Material quality of the PCB can influence the success of flashing and reprogramming, so ensure you are using reliable boards. Avoid interrupting the flashing process to prevent further hardware issues.
Restoring Firmware or EEPROM
Getting your keyboard back up and running after it becomes unresponsive or bricked requires restoring its firmware or EEPROM. First, enter the bootloader (DFU) mode by using reset buttons, key combos, or pin shorting.
Once in DFU mode, you can flash the firmware with tools like QMK Toolbox or manufacturer-specific software, making sure to use the correct firmware for your model and microcontroller.
If issues persist, perform an EEPROM erase—especially for ATmega32U4 controllers—using QMK Toolbox’s EEPROM erase function.
For RP2040-based keyboards, hold the top-left key during connection and copy the appropriate .uf2 file to the “RPI-RP2” drive. Always avoid interrupting the flashing process to prevent corruption and consider restoring official firmware if necessary. Understanding firmware protocols can help troubleshoot connectivity issues effectively.
Reflashing and Restoring Firmware on Solderless Keyboards : Tips and Tricks
Reflashing and restoring firmware on solderless keyboards might seem challenging, but many models let you do so without soldering. Using QMK Toolbox simplifies the process—just put your keyboard into bootloader mode with reset buttons, key combos, or by shorting reset pins.
Reflashing solderless keyboards is easy with reset buttons, key combos, or shorting reset pins—no soldering needed.
For split keyboards, each half needs to be connected via USB separately, so you can flash them individually. Confirm your firmware files match your keyboard’s MCU and revision exactly.
With bootloader drivers installed, flashing becomes straightforward, whether using QMK Toolbox or command-line tools. Pro Micro controllers, like the Caterina Pro Micro, often support double-tap resets for easy bootloader entry.
Restoring factory defaults or clearing EEPROM can also be done through keyboard shortcuts or QMK Toolbox utilities, removing the need for any physical soldering. Understanding the firmware is crucial for ensuring compatibility and troubleshooting any flashing issues.
Essential Tools and Accessories for Faster, Safer Solderless Flashes

Using the right tools can greatly speed up and safeguard your solderless flashing process. Pogo pin adapters and quality jumper wires guarantee stable connections without damage, while portable flashing kits streamline the entire workflow.
Choosing the appropriate accessories makes firmware updates faster, safer, and more reliable.
Pogo Pin Adapters
Pogo pin adapters are essential tools for anyone looking to flash keyboard firmware without soldering. They provide a solderless, temporary connection to keyboard PCBs or microcontrollers, making firmware updates safer and faster.
These adapters use spring-loaded pins that press securely onto test points or pads, ensuring stable signal transmission during flashing. Here are four key benefits:
- Enables quick, repeatable programming cycles for batch flashing.
- Minimizes risk of damage to delicate board pads or traces.
- Supports popular keyboard PCBs and microcontrollers like ATmega32u4 and STM32.
- Works seamlessly with various flashing tools, reducing setup time and complexity.
Incorporating pogo pin adapters into your toolkit simplifies the process, improves safety, and makes solderless flashing more efficient for your keyboard projects.
Jumper Wires Selection
Selecting the right jumper wires can considerably streamline your solderless flashing process, making it faster and more reliable. Make sure you choose high-quality, flexible jumper wires with compatible connectors like Dupont or JST to guarantee secure, dependable connections.
Use jumper wires with the appropriate gauge, typically 26-28 AWG, to balance durability and ease of handling during quick setups. Pre-made jumper wire kits with various lengths and pin configurations will speed up your process by providing ready-to-use cables for accessing microcontroller pins.
Employ colored jumper wires to visually distinguish signal lines, such as GND, VCC, and data, reducing errors. Additionally, use jumper wires with locking or friction-fit connectors for stable, temporary connections that won’t accidentally disconnect during firmware uploads.
Portable Flashing Kits
Portable flashing kits streamline the solderless firmware update process by combining essential tools and accessories into a compact, mobile package. They typically include items like a 1) compact QMK-compatible microcontroller programmer, 2) USB cables, and 3) a reset tool, making flashing straightforward and efficient.
Additional accessories such as 4) hot-swappable breakout boards or pogo pin adapters guarantee stable contact with the keyboard PCB or test points, preventing interruptions during flashing. With a portable setup, you can use a local file box to organize firmware files and avoid keyboard or otherwise interrupt signals.
Reliable USB cables and battery-powered hubs maintain stable connections, especially in mobile environments. Lightweight, durable cases protect all components, minimizing handling errors and cable damage during transport, assuring faster, safer solderless flashes.
Frequently Asked Questions
How to Flash Keyboard Firmware?
To flash your keyboard firmware, you first put it into DFU or bootloader mode using the reset button or a key combo. Then, connect it directly to your PC, load the firmware with QMK Toolbox, and click “Flash.”
How to Make Your Keyboard Flash?
To make your keyboard flash, you need to put it into DFU mode, connect it directly to your computer, open QMK Toolbox, load the firmware file, and click flash while the device is recognized and stable.
How Do I Flash My Firmware?
You flash your firmware by opening QMK Toolbox, selecting your firmware file, entering your keyboard’s bootloader mode, and clicking “Flash.” For RP2040 boards, drag the firmware onto the UF2 drive, then unplug. Flash split keyboards separately.
How to Flash uf2 File Qmk?
To flash a .uf2 file with QMK, you put your keyboard into bootloader mode, then drag and drop the firmware onto the “RPI-RP2” drive. The keyboard reboots automatically, confirming the successful flash without additional software needed.



