
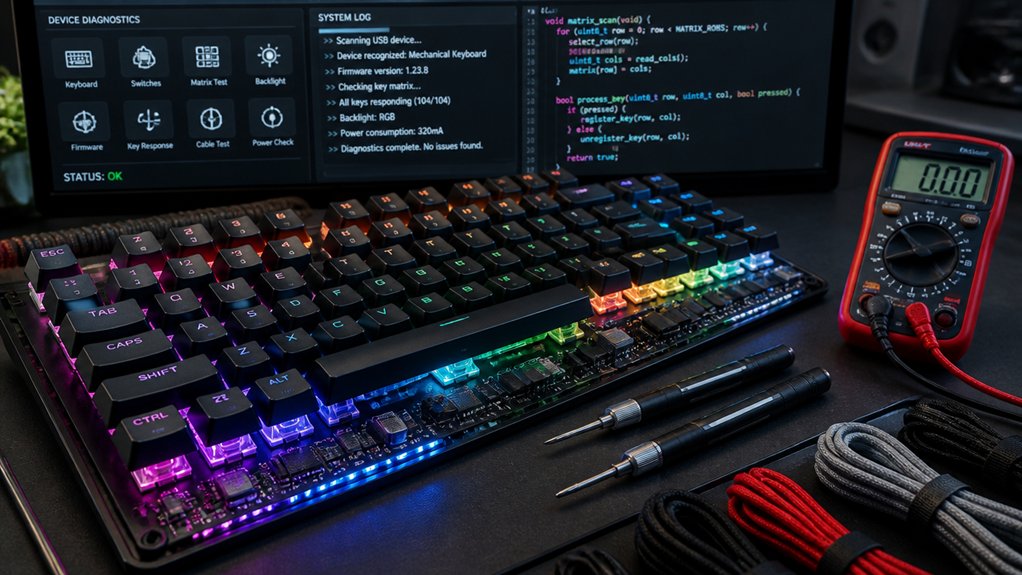
To troubleshoot keyboard firmware issues, start by checking for signs like unresponsive keys, glitches, or blinking LEDs. Make sure you use a reliable USB port and cable, and avoid unplugging during flashing. Confirm you’re using the correct firmware for your model and verify compatibility with tools like QMK Toolbox. Reset the EEPROM if needed, and follow proper steps to enter bootloader mode. For more detailed tips, explore the full guide to help you fix and prevent future problems.
How Can You Tell When Your Keyboard Firmware Is Faulty?
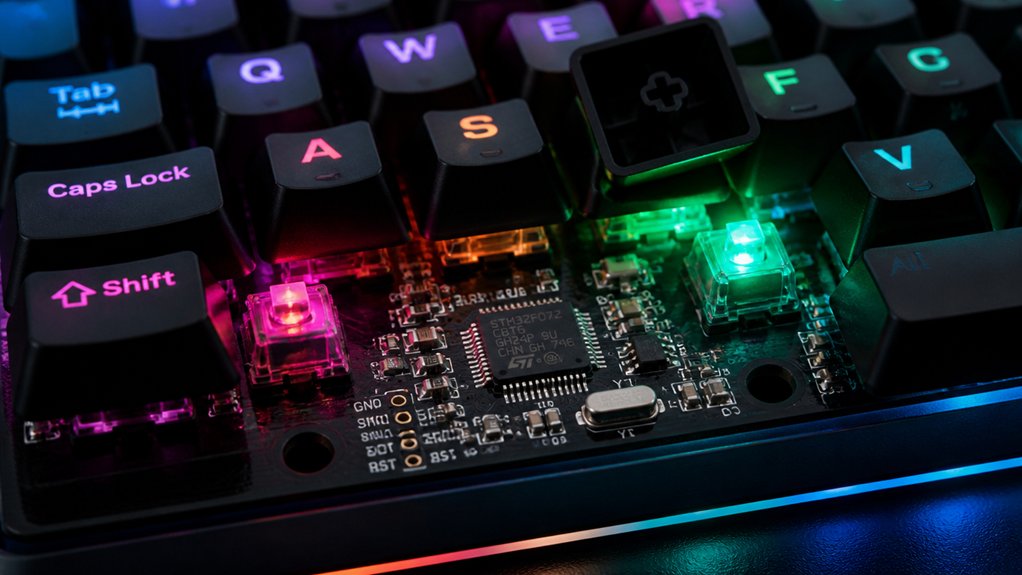
How can you tell when your keyboard firmware is faulty? Faulty firmware often makes keys unresponsive or causes strange input issues. If your keyboard is stuck in bootloader or flash mode, that’s a clear sign. Frequent disconnections or the system not recognizing the device also point to firmware problems.
Errors during firmware flashing — like interrupted power or wrong firmware— can corrupt the EEPROM, leading to erratic behavior. You might notice lighting glitches or special keys and macros not working properly.
Diagnostic tools like QMK Toolbox help identify firmware version mismatches or bootloader errors, indicating issues with the firmware’s compatibility or integrity. These symptoms suggest it’s time to weigh re-flashing or updating your keyboard firmware to restore normal function. Firmware support and compatibility details are crucial in troubleshooting these issues effectively.
Common Signs of Firmware Corruption or Mismatch
Have you noticed your keyboard behaving oddly or stopping work unexpectedly? These are common signs of firmware corruption or mismatch.
Noticing unusual keyboard behavior? Firmware issues could be the cause—look out for signs like unresponsive keys or unexpected glitches.
- Keys that are stuck, unresponsive, or inputting wrong characters intermittently indicate possible firmware issues.
- The keyboard may be stuck in bootloader or flash mode, with blinking or looping LEDs, showing a device firmware mismatch.
- Errors like verification failures during flashing or the device not being detected by flashing tools point to firmware corruption.
- Persistent glitches, such as registering multiple keystrokes or random disconnections, suggest EEPROM corruption within the device firmware.
- Understanding the importance of firmware compatibility can help prevent such issues and ensure smooth operation.
If you see these signs, your keyboard’s device firmware may be compromised or mismatched, requiring further troubleshooting or reprogramming.
Hardware and Connection Issues That May Cause Firmware Problems
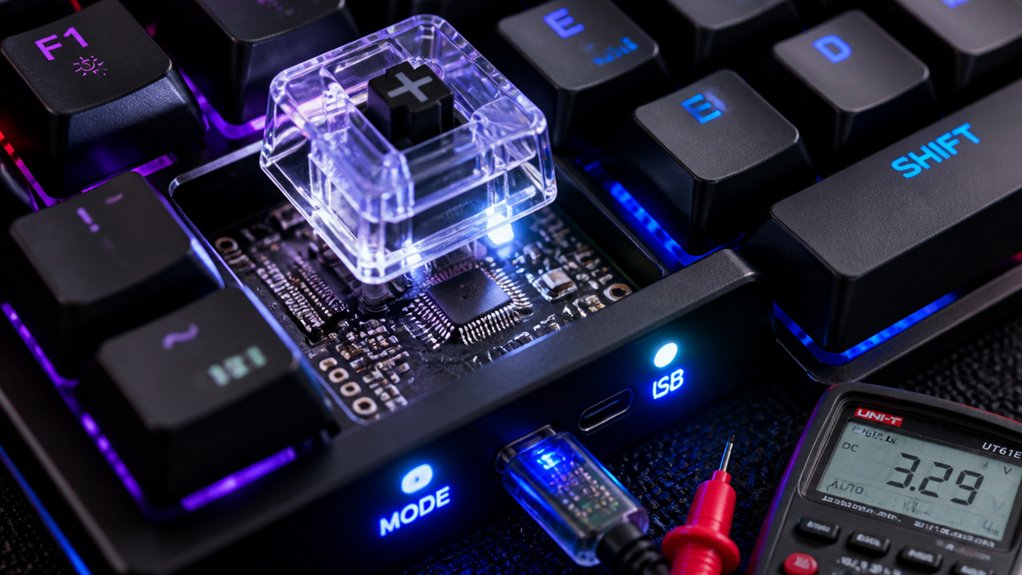
Hardware and connection issues are common culprits behind firmware problems, especially when using subpar cables or unreliable ports. Poor quality, long, or coiled USB cables, along with USB hubs, can cause power fluctuations or data interruptions, hampering firmware flashing. Damaged USB ports may disrupt the communication between your keyboard and flashing tool, resulting in incomplete updates or corruption. To prevent this, connect your keyboard directly to a reliable USB 2.0 port on your motherboard. Avoid loose connections and unstable power sources. Check the following table for potential issues:
| Issue | Symptoms | Solution |
|---|---|---|
| Damaged USB port | Unresponsive keyboard or no detection | Use a different, undamaged port |
| Low-quality USB cable | Intermittent connection or flashing failure | Switch to a high-quality cable |
| USB hub connected | Power or data issues | Connect directly to motherboard port |
Avoiding interference by using high-quality, shielded cables can further ensure stable data transmission during firmware updates.
How to Safely Enter Your Keyboard’s Bootloader Mode
To safely enter your keyboard’s bootloader mode, start by checking your manufacturer’s instructions to confirm the exact key combination or reset method. Make sure to use the reset button correctly if your model has one. A reliable reset switch can help ensure a proper reset process and prevent potential issues. Always connect your keyboard with a reliable USB cable to prevent connection issues. Following these steps precisely will guarantee you can access the bootloader without risking damage or making mistakes.
Identify Manufacturer Instructions
Wondering how to safely enter your keyboard’s bootloader mode? Always use the manufacturers’ official documentation or support website to find the exact steps. Device models differ, so relying on generic instructions can cause issues. Additionally, consult Pro Micro Controller features to ensure you are following procedures appropriate for your specific hardware. To identify manufacturer instructions:
- Check your keyboard’s user manual or packaging for specific key combinations.
- Visit the manufacturer’s website or support page for detailed guides suited to your device.
- Confirm your keyboard’s MCU type and model to guarantee the correct bootloader method.
- Look for device detection indicators like LED flashes or software prompts in flashing tools like QMK Toolbox.
Using these steps helps guarantee you’re following the correct process, preventing potential bricking or firmware issues. Always double-check your device’s specifications and use the manufacturer’s instructions for safe, effective entry into bootloader mode.
Use Reset Button Correctly
Many keyboards include a dedicated reset button that, when pressed correctly, safely puts the device into bootloader mode. This reset function can be found under the spacebar or on the PCB—check your model’s instructions carefully.
Pressing this button guarantees your keyboard drivers are momentarily disconnected, preventing system conflicts during firmware updates. To activate, follow manufacturer-specific steps, which may involve holding certain key combinations like Esc or Fn+J+Z while connecting the keyboard.
It’s vital not to unplug or interrupt power during this process, as doing so can corrupt firmware or brick your device. Before proceeding, use firmware tools like QMK Toolbox to confirm the keyboard is recognized in bootloader mode.
Properly using the reset button helps avoid issues caused by incorrect resets or incomplete firmware flashes. Additionally, understanding the hot-swap socket compatibility and switch type requirements can enhance successful firmware updates and hardware reliability.
Connect With Reliable Cable
Using a reliable USB cable is essential for safely entering your keyboard’s bootloader mode and preventing communication issues during firmware updates. A high-quality, USB 2.0 data cable guarantees a stable connection directly with your motherboard, reducing the risk of interruption.
Avoid using USB hubs or USB 3.0 ports, as they can cause power fluctuations or communication failures that hinder keyboard detection. To safely access bootloader mode:
- Use a reputable USB 2.0 data cable designed for data transfer.
- Connect it directly to a stable USB port on your motherboard.
- Follow the keyboard-specific instructions for entering bootloader mode, such as a reset key combination.
- Confirm recognition in tools like QMK Toolbox before proceeding.
- Ensuring your connection uses soldered or high-quality connectors helps maintain signal integrity during the process.
This approach guarantees a consistent connection, facilitating smooth firmware updates.
Choosing the Correct Firmware Version for Your Keyboard Model
How do you make certain you’re installing the right firmware for your keyboard? First, verify your keyboard model and PCB revision exactly—using mismatched firmware can permanently brick your device.
Confirm the microcontroller unit (MCU) type, like ATmega32U4 or STM32F072, because firmware must align with the MCU to work correctly and avoid bootloader problems.
Look for firmware files explicitly labeled for your specific revision, since different versions, such as Rev5 or Rev6, may require different firmware.
Always download firmware from official manufacturer or trusted community sources to prevent corruption and faulty operation.
Finally, avoid variants marked _bootloader.hex or _production.hex unless explicitly instructed, as these can overwrite important bootloader code and cause issues.
Ensuring firmware compatibility with your hardware specifications is crucial for successful flashing and device functionality.
Step-by-Step Guide to Flash Firmware on Your Keyboard
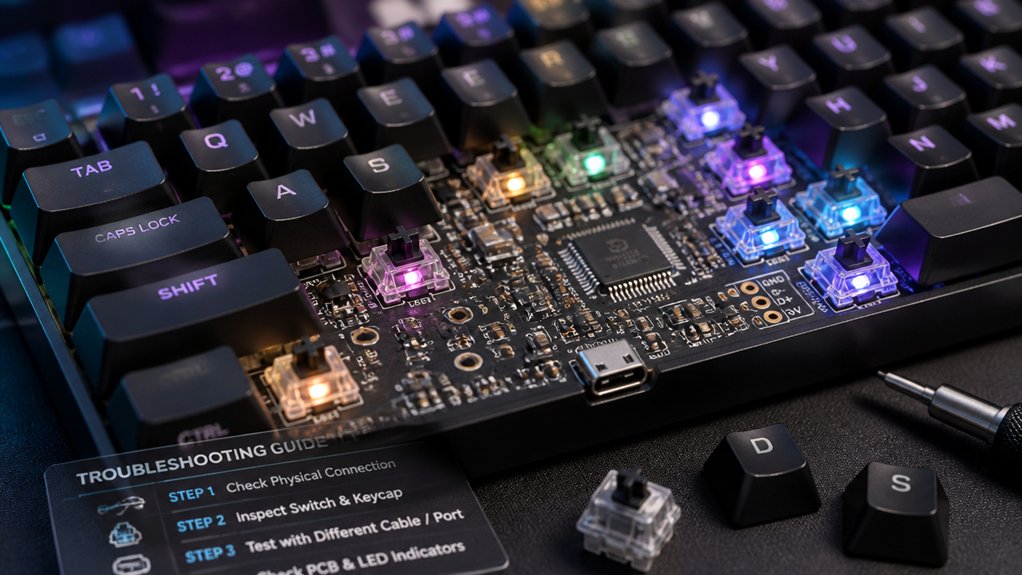
To successfully flash firmware onto your keyboard, start by entering its bootloader mode, which is necessary for the device to accept new code. First, identify the reset method—using a reset button, key combo, or pin shorting—and trigger it.
Next, guarantee your computer is connected via a stable USB 2.0 port with a reliable data cable to prevent disconnections. Then, open your trusted flashing tool like QMK Toolbox, drag the correct firmware (.hex or .bin) file into it, and confirm your keyboard appears in bootloader mode.
Finally, avoid unplugging during flashing and watch for indicators like lighting flashes or bootloader exit, which confirm a successful firmware flash. Proper hardware compatibility and following these steps ensures safe, effective firmware updates.
How to Confirm Firmware Compatibility Before Flashing
Before flashing firmware, make sure you verify the PCB model name and hardware revision to match the firmware you’re using. Check the microcontroller unit (MCU) type to guarantee compatibility with your firmware build. Confirm that the firmware file explicitly references your keyboard’s model and MCU to avoid any mishaps. Additionally, review the hot-swap socket compatibility to ensure switches can be safely and effectively exchanged without soldering.
Verify PCB Model Details
Are you certain that your keyboard’s PCB model matches the firmware you plan to flash? Ensuring compatibility prevents damage or bricking.
First, check the printed PCB name and revision number on the circuit board to confirm it matches the firmware file’s specifications.
Second, use QMK Toolbox in DFU mode to detect the MCU type, and verify it aligns with the firmware’s target hardware.
Third, examine the firmware filename for correct model identifiers and revision codes to avoid mismatches.
Fourth, consult manufacturer documentation and community resources to cross-reference PCB and MCU details for your specific keyboard version.
Avoid flashing firmware labeled for a different PCB revision or MCU architecture to prevent permanent damage. Always verify these details before proceeding.
Match Firmware to MCU
How can you confidently confirm that the firmware you’re about to flash matches your keyboard’s MCU? First, check the PCB labels or use tools like QMK Toolbox in DFU mode to identify your specific MCU model.
Confirm the firmware file name explicitly states both the MCU type and your keyboard’s PCB revision. Cross-reference this info with official documentation or manufacturer support pages to verify compatibility, preventing potential bricking.
Avoid using firmware designed for different hardware revisions, such as applying Rev5 firmware on a Rev6 PCB, because mismatched firmware can cause overlaps in flash memory and bootloader issues.
Use flashing utilities like QMK Toolbox, which display status messages—including MCU detection—to double-check you’re flashing the correct firmware before proceeding.
How to Reset EEPROM and Fix Firmware Conflicts
When your keyboard behaves erratically or gets stuck keys, resetting the EEPROM can often resolve these issues. This step clears corrupted persistent settings that cause firmware issues and stuck keys.
To reset EEPROM, follow these steps:
- Enter bootloader or DFU mode for your controller (e.g., hold the top-left key on RP2040, or use QMK Toolbox for ATmega32U4).
- Use the tool’s “clear EEPROM” function before re-flashing firmware.
- Re-flash with the correct firmware version matching your keyboard’s MCU and layout.
- Confirm the firmware is properly uploaded to avoid conflicts from interrupted flashing.
Resetting EEPROM is vital for fixing firmware conflicts from corrupted or interrupted updates, restoring normal keyboard function and communication.
Troubleshooting Bootloader and Driver Detection Errors
Bootloader and driver detection errors can prevent your flashing tools from recognizing your keyboard, especially when Windows assigns incorrect or outdated drivers in bootloader (DFU) mode.
To fix this, first confirm your keyboard properly enters bootloader mode, using reset buttons, specific key combos, or pin shorting—failure here hampers detection. Next, open Device Manager and look for your device; if it shows errors or wrong drivers, right-click and update or reinstall the drivers.
Using stable USB 2.0 ports and high-quality cables connected directly to your motherboard reduces power and connectivity issues that can cause detection failures. Keyboard PCBs with toggle switches can also lock the device into DFU mode; changing the switch state or rebooting can resolve driver conflicts.
Prevent Future Firmware Issues With These Tips
To prevent future firmware issues, make sure to regularly back up your current settings and keymaps.
Always use official firmware files that match your keyboard’s exact model to avoid compatibility problems.
Following these practices helps keep your keyboard running smoothly and simplifies recovery if issues arise.
Regular Firmware Backups
Regularly backing up your keyboard’s firmware is essential to prevent ongoing issues and facilitate recovery if something goes wrong. Before any firmware update or flashing, you should back your keyboard’s firmware using tools like QMK Toolbox or manufacturer-specific software. This way, you can quickly restore a stable version if you encounter driver issues or other malfunctions.
Additionally, save your custom keymaps and configurations separately through configurators like QMK Configurator to easily restore your personalized layouts after updates. Keep detailed records of your PCB version, microcontroller type, and firmware filenames to avoid flashing incompatible firmware.
Finally, store multiple backups in different locations, such as external drives or cloud storage, so you always have a safe recovery point—even if a device failure occurs.
Use Official Firmware Files
Using official firmware files is a key step in avoiding future firmware issues. Always download your firmware files from the official manufacturer’s support page to guarantee compatibility and prevent corruption or malware. Before flashing, verify the firmware matches your keyboard’s exact PCB revision and microcontroller unit (MCU). This prevents flashing incompatible or damaging versions. During updates, use stable USB 2.0 ports and high-quality data cables to reduce power interruptions and data corruption risks. Always back up your current keymaps and settings so you can restore them if needed. Never unplug your keyboard or turn off power during flashing, as this can cause EEPROM corruption and firmware damage. Keep these tips in mind to streamline your troubleshooting process and maintain a healthy keyboard.
| Download Source | Compatibility Check | During Flashing |
|---|---|---|
| Official manufacturer’s support page | Match PCB and MCU specifications | Use stable USB connections and avoid interruptions |
Frequently Asked Questions
How Do I Troubleshoot Keyboard Issues?
You troubleshoot keyboard issues by testing it on different USB ports and cables, entering bootloader mode, flashing firmware with trusted tools, clearing EEPROM, and ensuring connections remain stable throughout, verifying firmware compatibility to prevent damage.
Does Firmware Affect Keyboard?
Yes, firmware affects your keyboard’s performance. It controls key functions, lighting, and macros. Corrupted or incompatible firmware can cause unresponsiveness or erratic input, so updating or reinstalling the firmware guarantees smooth, stable operation.
How to Fix Keyboard Typing Issues?
You should first test your keyboard with a different cable and port, then reflash or update the firmware carefully, making sure it matches your model. Clearing EEPROM and restoring factory settings can also resolve erratic typing problems.
Why Is My Keyboard Suddenly Acting Weird?
Your keyboard is acting weird because its firmware might be corrupted, mismatched, or damaged. Check for faulty cables or unstable connections, then use specialized tools like QMK Toolbox or a reprogrammer to reset or update the firmware.
In Summary
By regularly checking for software updates and verifying firmware compatibility, you can prevent many issues. Guarantee your keyboard’s connections are secure and follow safe flashing procedures. Resetting EEPROM and troubleshooting bootloader errors help resolve persistent problems. Staying proactive with these tips will keep your keyboard running smoothly, minimizing downtime and frustration. Remember, patience and careful troubleshooting are your best tools for tackling firmware issues quickly and effectively.



