
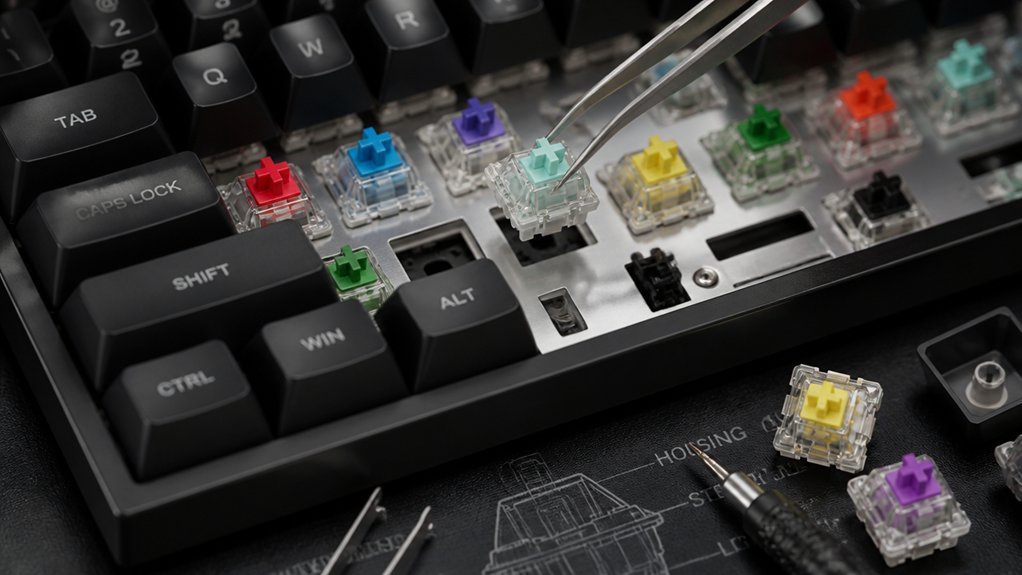
If you’re new to switch installation, decide whether you want a soldered or hot-swap keyboard. Hot-swap boards are easier because you can change switches without soldering, making them perfect for beginners. Soldered builds are more durable but require skills, tools, and patience. To get started, organize your workspace, verify all components are correct, and carefully follow proper techniques for soldering or switch replacement. Continue exploring to learn step-by-step tips and tricks to guarantee a smooth installation process.
Should You Solder or Use Hot-Swap for Your Mechanical Keyboard?
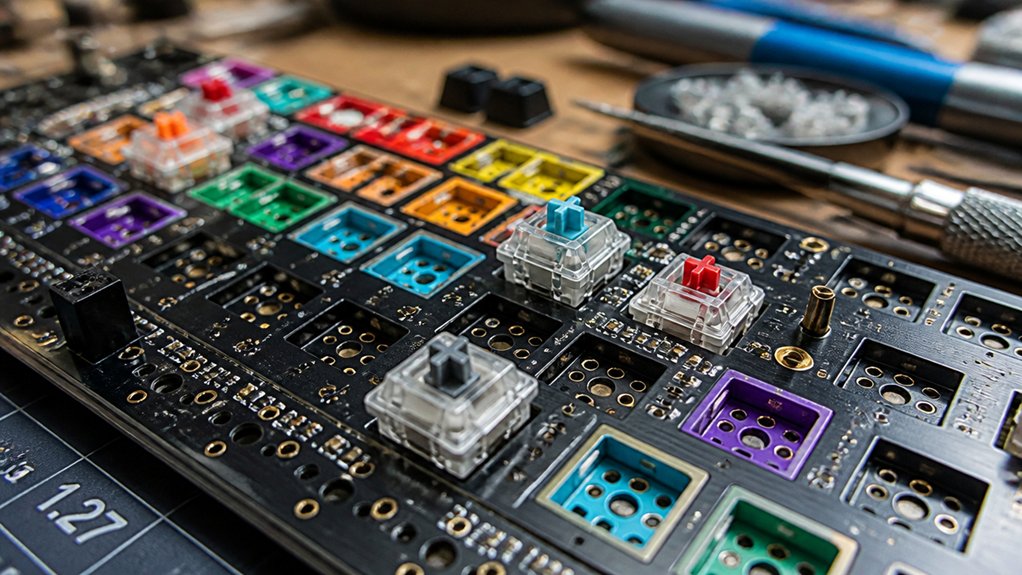
Deciding whether to solder or use hot-swap switches depends on your priorities and experience level.
If you’re new or want to easily try different switches, hot-swap mechanical keyboards are ideal. They let you remove and replace switches without soldering, saving time and effort. Most hot-swap keyboards support both 3-pin and 5-pin MX-style switches, but some may need pin clipping for 5-pin switches.
These keyboards make switch experimentation straightforward, perfect for beginners or anyone who frequently upgrades.
On the other hand, soldered keyboards provide a more secure connection and may be better for long-term durability, but they require soldering skills and tools. Additionally, hot-swap sockets like Kailh and DUROCK enable easy switch replacement without soldering, making them a versatile choice for enthusiasts and newcomers alike.
Ultimately, hot-swap mechanical keyboards offer convenience and flexibility, making them a smart choice if you plan to switch switches often.
What’s Better: Soldered or Hot-Swap Mechanical Keyboards?
When choosing between soldered and hot-swap mechanical keyboards, your decision largely depends on your priorities for flexibility, durability, and technical skill.
Hot-swap mechanical keyboards are perfect if you want to easily replace or customize switches without soldering, making them ideal for beginners and experimenters. They support both 3-pin and 5-pin switches, but always check compatibility first.
Although soldered keyboards provide a more secure and potentially better electrical contact, modern hot-swap sockets generally deliver reliable performance for everyday use.
If you value convenience and want to avoid technical soldering skills, hot-swap mechanical keyboards offer a straightforward, flexible solution. However, if you seek a more permanent, tightly-tied build, soldering might better suit your needs, especially considering hot-swap socket durability and the supported switch lifecycle.
Pros and Cons of Soldering Versus Hot-Swap Keyboards
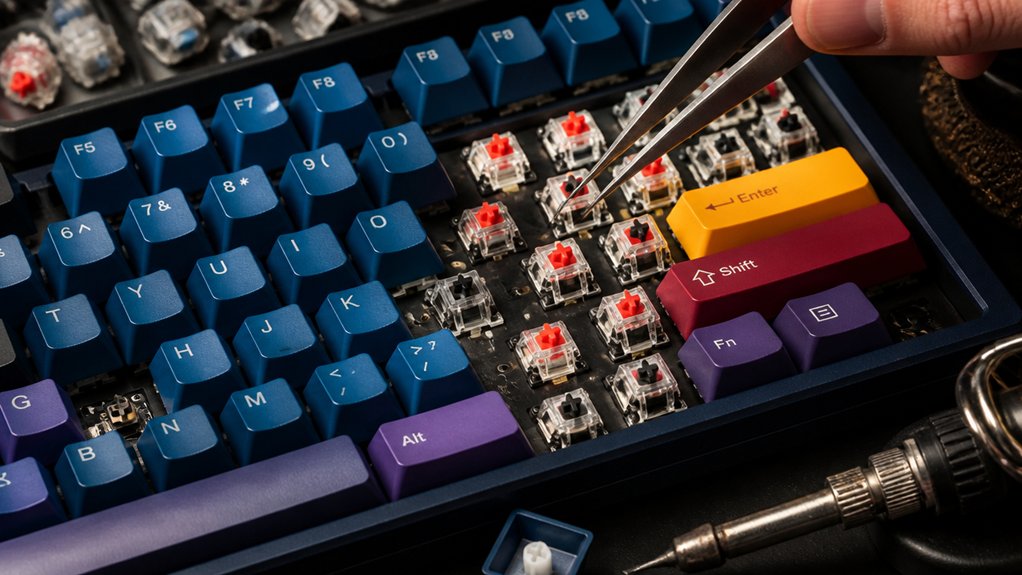
Choosing between soldered and hot-swap keyboards involves weighing their respective advantages and disadvantages. Hot-swap keyboards let you change switches easily without soldering, making it simple to experiment and maintain. They support both 3-pin and 5-pin switches, but some boards may need modifications for compatibility with certain switches.
On the other hand, soldered keyboards provide a more secure and stable connection, ideal for long-term durability and professional builds. Soldering requires additional tools, skills, and time but offers complete customization and a solid assembly.
Hot-swap keyboards tend to have higher upfront costs and less structural rigidity, which might affect overall build stability. Your choice depends on your need for flexibility, ease of maintenance, and long-term durability considerations. Additionally, the switch compatibility of a keyboard can influence your decision, especially if you plan to customize extensively.
Are Hot-Swap Keyboards Durable and Long-Lasting?
Hot-swap keyboards are designed to withstand regular switch changes, making them a popular choice for those who like to customize their setup. Their durability depends on the build quality of the sockets, with higher-end models rated for thousands of switch swaps. The switch compatibility also plays a role in ensuring the longevity of hot-swappable designs. Proper handling and correct insertion guarantee that frequent switch swapping doesn’t degrade the keyboard’s electrical contacts. Hot-swap keyboards support both 3-pin and 5-pin switches, but cheaper models with non-standard sockets might affect longevity and fit. Regular maintenance, like cleaning switch sockets and avoiding excessive force during installation, helps prolong the keyboard’s lifespan. Overall, hot-swap keyboards are long-lasting and suitable for customization, provided you choose quality models and handle switches carefully.
How to Solder Your Mechanical Keyboard: A Step-by-Step Guide
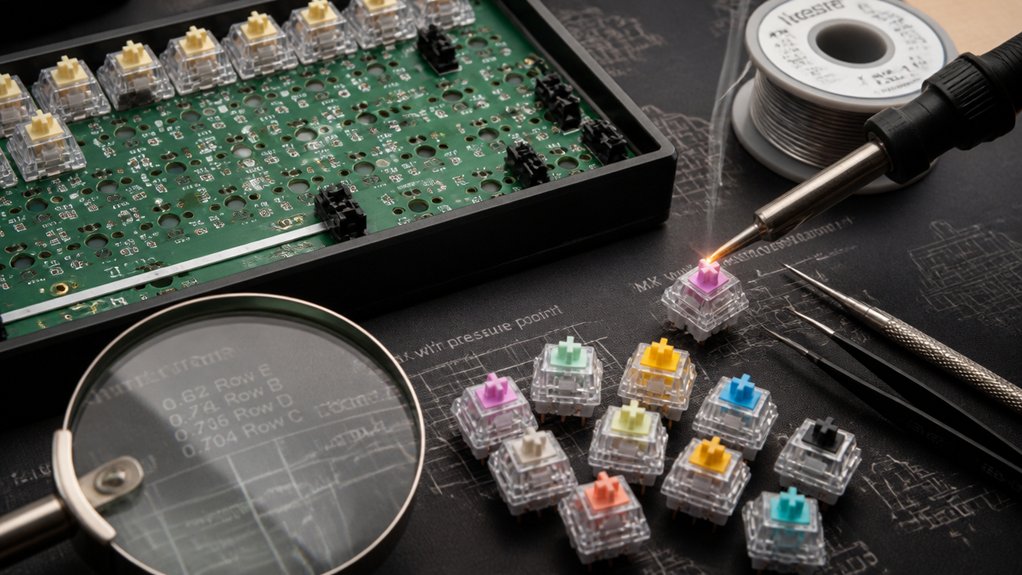
Before you start soldering, make sure your workspace is clean and well-ventilated, with all necessary tools ready. Focus on proper soldering techniques, like heating the pin and pad quickly and applying just enough solder for a solid connection. Once done, thoroughly test each switch to verify everything functions smoothly before finishing your keyboard assembly. Additionally, using a soldering iron with a rapid heat-up feature can help achieve more precise and consistent results.
Preparing Your Workspace Properly
To guarantee a smooth soldering process, start by organizing your workspace with care. Clear your area of clutter and make certain you have good lighting to stay focused. Keep your keyboard switches, solder, flux, solder wick, and desoldering pump within easy reach for efficient work.
Use an anti-static mat or wrist strap to prevent electrostatic discharge that can damage your keyboard’s electronics. Prepare your soldering iron by setting it to around 350°C (662°F) for standard leaded solder, making sure you have enough heat for clean, quick solder joints. Ensuring your components are component quality & handling will improve the overall soldering experience.
Arrange the PCB securely and verify the correct orientation and pin alignment of your switches before soldering. Proper preparation minimizes mistakes and keeps your workspace safe, helping you install switches smoothly and accurately.
Soldering Techniques and Tips
Once your workspace is ready and your tools are organized, it’s time to begin soldering your switches to the PCB. For mechanical keyboards, use a fine-tipped soldering iron heated to about 350°C (662°F) to guarantee precise control.
Lightly tin both the switch pins and PCB pads beforehand to improve heat transfer and create cleaner, stronger connections. As you solder, apply solder quickly at each joint where the switch pin meets the PCB pad, avoiding excess that could cause bridging. If solder bridges form, use a desoldering pump or wick to fix them.
After soldering each switch, inspect the joints for cold solder—dull or cracked—and verify switch functionality before moving on. Proper technique guarantees stable, reliable connections in your mechanical keyboard. Paying attention to alloy composition and flux quality ensures the durability and strength of your solder joints for long-lasting performance.
Testing and Finalizing Connection
After completing the soldering process, it’s essential to thoroughly test your connections to verify everything functions correctly.
First, power your keyboard or use a PCB testing tool to check each switch without issues. If a switch doesn’t register, or if you notice flickering or inconsistent responses, inspect the solder joints for cold joints or insufficient solder coverage. Reflow any problematic connections with a soldering iron, ensuring the joint is clean and shiny.
Remember, avoid applying excess solder, as it can cause bridging between adjacent pins, which might result in shorts or switch malfunction. Once you’re satisfied that all switches without defects register properly, your connection is finalized. Proper testing guarantees your keyboard will work reliably, minimizing the need for future repairs or adjustments. Additionally, using a desoldering pump can help correct any mistakes during the process, ensuring a clean and secure connection.
Common Soldering Mistakes and How to Avoid Them
Soldering a keyboard switch might seem straightforward, but common mistakes can lead to problems down the line. One major issue is creating soldering bridges—excess solder that connects switch pins, causing shorts and faulty keypresses. To avoid this, keep your iron at around 350°C (662°F) for proper flow and prevent damage. Always keep your tips clean and tinned to guarantee good heat transfer. Fully insert switches into the PCB before soldering, aligning pins evenly to prevent misalignment and mechanical issues. Be cautious not to overheat pins or pads, as prolonged heat can lift traces or damage switches. Using the appropriate flux paste can significantly improve solder flow and joint reliability during your project.
| Mistake | Prevention |
|---|---|
| Soldering bridges | Use minimal solder, avoid excess, check for bridges |
| Overheating components | Limit heat application, monitor temperature |
| Cold solder joints | Keep the tip tinned, use proper heat transfer |
| Misaligned switches | Insert fully before soldering, verify placement |
Are Hot-Swap Keyboards Easier for Beginners?
Are hot-swap keyboards truly easier for beginners to use? Absolutely. These keyboards let you install, remove, and change switches without soldering, making customization simple and safe.
With most hot-swap keyboards supporting 3-pin or 5-pin MX-compatible switches, you can explore different switch types—linear, tactile, or clicky—without technical barriers. Just check the product description to confirm it’s hot-swappable before buying.
The switch sockets also minimize the risk of damage during installation, offering a more beginner-friendly experience than traditional soldered keyboards. This ease of use encourages learning and experimentation, helping you discover the feel you prefer.
Build Quality and Upgradability: Soldered Versus Hot-Swap
Have you ever considered how the build quality and upgradability differ between soldered and hot-swap keyboards?
Hot-swap keyboards feature sockets that let you easily remove and replace switches without soldering, making upgrades and customization straightforward. You’re able to experiment with different switch types and sounds without technical hassle.
In contrast, soldered keyboards require desoldering to swap switches, which takes more time and skills—less beginner-friendly.
Hot-swap support varies by model and is usually listed in product descriptions, often accepting both 3-pin and 5-pin switches.
While soldered builds might offer more secure switch mounting, hot-swap boards provide greater flexibility, convenience, and adaptability for upgrading or personalizing your keyboard over time.
Troubleshooting Soldered and Hot-Swap Mechanical Keyboards
If your keyboard isn’t working properly, start by identifying whether it’s soldered or hot-swap.
Then, check for common issues like loose switches, damaged pins, or cold solder joints.
Fixing these problems usually involves verifying installation and making simple adjustments.
Identifying Soldered Versus Hot-Swap
To determine whether your mechanical keyboard is hot-swap or soldered, start by examining the visible features on the PCB. Hot-swap keyboards have sockets that support easy switch removal and replacement without soldering, often visible beneath each switch.
Look for clear switch sockets, or check product details for “hot-swappable” support. Soldered keyboards have switches that are permanently soldered to the PCB, meaning you won’t see sockets. To test, gently pull a switch after removing keycaps; hot-swap switches come out easily, while soldered ones resist.
Troubleshooting Connection Issues
Connection issues in mechanical keyboards can be frustrating, but many common problems can be diagnosed with a few simple checks.
For soldered switches, confirm the solder joints are solid, clean, and free from cold soldering, as poor connections cause intermittent key failures.
If using a hot-swap keyboard, verify that each switch pin is fully inserted and aligns with the socket’s metal contacts for reliable signals.
Inspect mechanical switches for damage or bending pins, which prevent proper seating.
If a key remains unresponsive, test with a known good switch or socket to pinpoint the fault—switch, socket, or solder connection.
Additionally, use a multimeter to check circuit continuity, especially in soldered builds, to identify broken traces or faulty contacts.
Which Option Is Right for You? Making an Informed Choice
Choosing the right switch depends on your typing preferences, keyboard compatibility, and desired sound and feedback. To make an informed choice, consider using switch testers—these let you try different switches before installing. Confirm your keyboard’s hot-swappable feature to avoid soldering. Check if your keyboard supports MX, optical, or Hall-effect switches, and its pin count (3 or 5 pins). Select switches that match your preferred feel—clicky, tactile, or linear—for the right sound and feedback. Also, review your keyboard’s PCB and LED slot design to guarantee compatibility with LED types and orientations for proper installation and lighting.
| Switch Type | Feel | Sound |
|---|---|---|
| Clicky | Tactile + audible | Loud |
| Tactile | Noticeable bump | Moderate |
| Linear | Smooth, no bump | Quiet |
| Optical | Fast response | Varies |
| Hall-effect | Strong actuation | Quieter, unique |
Frequently Asked Questions
Can I Install Switches Without Any Tools?
You probably can’t install switches without any tools, as you need a switch puller, screwdriver, or other instruments to remove and replace switches safely and efficiently. Having the right tools makes the process easier and prevents damage.
How Do I Know if My Keyboard Is Hot-Swappable?
You can check if your keyboard is hot-swappable by inspecting the switches; if they easily remove without soldering, your keyboard is hot-swappable. Refer to your keyboard’s manual or model online for confirmation to be certain.
What Are the Signs My Switches Need Replacing?
You should replace your switches if they feel sticky, produce unusual sounds, register double keystrokes, or if pressing feels inconsistent. These signs indicate wear or damage, affecting your typing experience and possibly requiring switch replacement.
Is It Necessary to Desolder All Switches Before Replacing?
No, you don’t need to desolder all switches before replacing them. If your keyboard has hot-swappable sockets, you can easily remove and replace switches without desoldering, making the process simpler and safer for beginners.
How Long Does Hot-Swapping Typically Take?
Hot-swapping typically takes just a few minutes per switch, allowing you to replace or upgrade them quickly without soldering. With practice, you can swap multiple switches in about 15-30 minutes, making it a convenient customization method.
In Summary
Ultimately, choosing between soldering and hot-swap depends on your experience and future plans. If you want a straightforward upgrade process and easier maintenance, hot-swap keyboards are perfect for beginners. On the other hand, if you’re comfortable with DIY and want a more durable build, soldering might be better. Consider your skills and goals, then pick the option that helps you get the most enjoyment and performance from your keyboard.



