
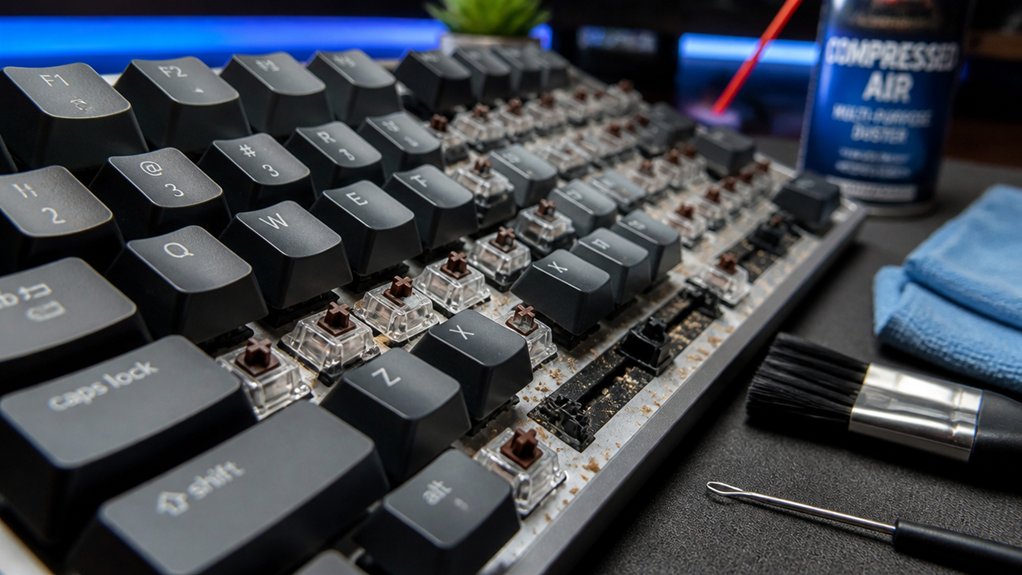
To deep clean your mechanical keyboard, start by unplugging it and gathering tools like a keycap puller, microfiber cloth, cotton swabs, compressed air, and isopropyl alcohol. Remove the keycaps carefully and soak them in soapy water, then clean the switches with alcohol-dampened swabs. Clean the keyboard base with a soft brush or vacuum, and reassemble once everything is dry. For best results and longer device life, follow these steps consistently; more tips await you.
Why Deep Cleaning Your Mechanical Keyboard Matters
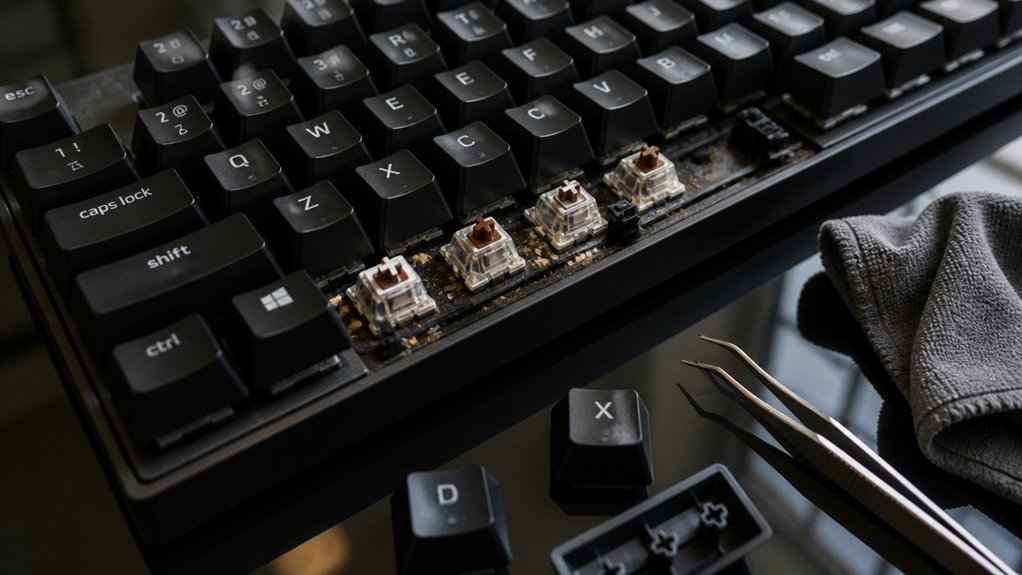
Deep cleaning your mechanical keyboard is essential because it removes dirt, grease, and food debris that regular surface wipes can’t reach. Over time, these particles settle beneath the keycaps, causing dirt buildup that can affect your keyboard’s performance. Proper tools like keycap pullers and brushes help facilitate thorough cleaning for better maintenance. Regular deep cleaning helps maintain typing accuracy by preventing sticky or unresponsive keys. To do this, you should unplug your keyboard, remove keycaps carefully, and clean underneath to eliminate trapped debris and grime.
Neglecting this step can lead to internal switch damage and reduced lifespan of your device. By performing thorough cleaning every few weeks—especially if you eat near your keyboard—you preserve its function and hygiene. Proper keyboards maintenance prevents dust and food debris from causing long-term damage, keeping your typing smooth and efficient.
How to Prepare Your Workspace and Tools for Safe Cleaning
Have you prepared your workspace and gathered all the necessary tools before starting your mechanical keyboard cleaning? Make certain your area is well-lit, clutter-free, and has plenty of room. Unplug your keyboard completely to prevent any electrical issues.
Ensure your workspace is organized, well-lit, and unplugged for safe, effective mechanical keyboard cleaning.
Gather essential tools like a keycap puller, microfiber cloth, cotton swabs, compressed air, dish soap, and 70%+ isopropyl alcohol. Use a keycap puller to safely remove keycaps, and keep them in a plastic container or strainer to avoid losing parts.
Use compressed air to dislodge dust and debris from the keyboard. Keep a microfiber cloth and cotton swabs handy for cleaning around switches and crevices.
Prepare a small bowl with dish soap or isopropyl alcohol for disinfecting and sanitizing surfaces, making certain a thorough cleaning process. Additionally, selecting a high-purity, residue-free isopropyl alcohol helps ensure quick evaporation and minimizes residue on delicate components.
How to Remove and Clean Keycaps Effectively

Removing your keycaps carefully is essential to prevent damage and guarantee a thorough clean. Use a keycap puller to gently remove keycaps from your mechanical keyboards, starting from one end. Take extra care with large keys that have metal stabilizers—slide out one end first. Before removal, photograph the keyboard layout to remember where each key belongs. Once removed, soak the keycaps in warm water mixed with dish soap for 15-20 minutes to loosen dirt and oils. Rinse them thoroughly under warm water, then dry completely with microfiber towels to avoid lint. Avoid using cleaning liquids with acids or bleach, as they can damage the plastic or fade legends. Consider material durability when selecting cleaning methods to ensure your keycaps maintain their longevity. This process guarantees your keycaps are clean and ready for reinstallation during your deep clean.
How to Clean the Keyboard Base and Switches for Best Performance
Once the keycaps are off, it’s time to focus on cleaning the keyboard base and switches to restore their peak performance. Use a soft brush or vacuum with an anti-static attachment to gently remove debris and dust from the keyboard base, avoiding damage to delicate switches. Dampen a cotton swab with 70%+ isopropyl alcohol to clean sticky residue and bacteria around switches, guaranteeing quick drying. For stubborn grime, gently brush with a soft-bristled toothbrush dipped in alcohol, taking care not to disturb switch mechanisms. Always air dry or wipe with a dry microfiber cloth before reassembling. Consider using electrostatic safe tools to prevent damage to sensitive components during cleaning.
How to Reassemble and Maintain Your Keyboard for Long-Term Use
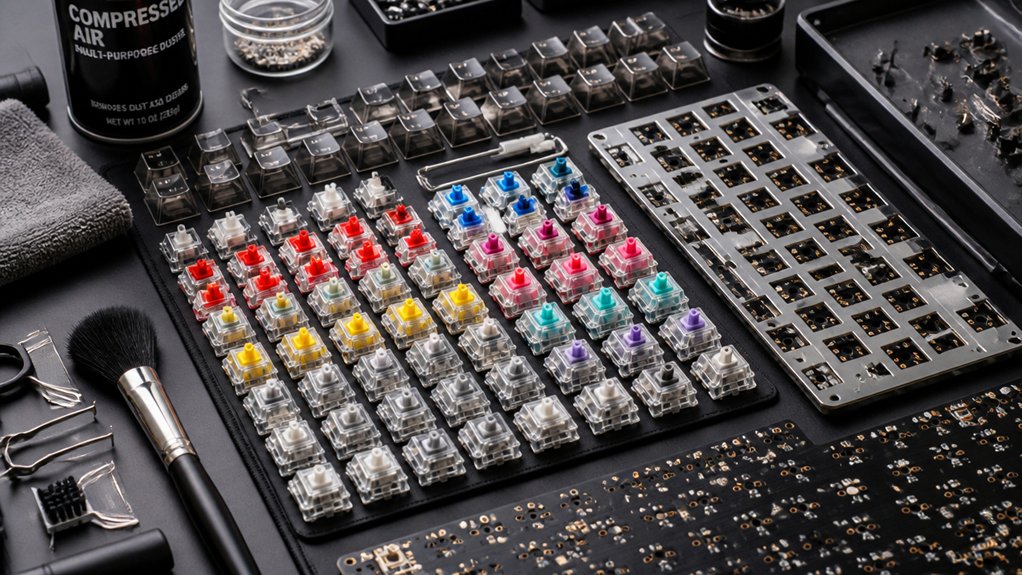
After thoroughly cleaning your keyboard, it’s essential to reassemble it carefully to guarantee long-term reliability. Start by ensuring all keycaps are completely dry to prevent moisture damage and function issues.
When reassembling keys, begin with larger keys containing stabilizers, gently pressure until you hear a click for secure placement. Use the initial photo of your keyboard layout as a reference to accurately position each keycap, avoiding misplacement.
To maintain the keyboard’s appearance and hygiene, regularly clean the exterior with a slightly damp microfiber cloth. Perform periodic deep cleanings every 4 to 6 weeks or as needed, which will extend your keyboard’s lifespan and keep it performing at its best.
Additionally, understanding the mount type of your stabilizers—plate mount or PCB mount—is crucial for proper reassembly and optimal performance. Proper reassembly and consistent keyboard maintenance are key to long-term durability.
Frequently Asked Questions
Can I Use Any Cleaning Solution on My Mechanical Keyboard?
You shouldn’t use any cleaning solution on your mechanical keyboard. Stick to isopropyl alcohol or mild soap mixed with water, and avoid harsh chemicals that might damage the keys or internal components. Always disconnect it first.
How Often Should I Deep Clean My Mechanical Keyboard?
You should deep clean your mechanical keyboard every three to six months, depending on usage and environment. Regular cleaning prevents dirt buildup, maintains functionality, and extends its lifespan, ensuring peak performance and hygiene for your device.
What Are the Risks of Using Excessive Water During Cleaning?
Using excessive water risks damaging your keyboard’s internal electronics and causing corrosion. Water can seep into the switches and PCB, leading to malfunctions or permanent damage, so always use minimal moisture and guarantee thorough drying afterward.
Are There Specific Tools Recommended for Cleaning Delicate Switches?
You should use a soft brush or a gentle compressed air canister for cleaning delicate switches. These tools help remove dust without causing damage, allowing you to clean effectively while preserving the switches’ functionality and longevity.
How Do I Prevent Damage When Removing Stubborn Keycaps?
To prevent damage removing stubborn keycaps, gently wiggle them while applying even pressure. Use a plastic pry tool or keycap puller, avoid excessive force, and work slowly to minimize risk of breaking or damaging the keycaps.
In Summary
Deep cleaning your mechanical keyboard is essential for peak performance and longevity. By preparing your workspace, carefully removing and cleaning keycaps, and thoroughly cleaning the base and switches, you guarantee a fresh, responsive typing experience. Regular maintenance prevents dust buildup and keeps your keyboard looking new. Follow these simple tips to maintain your keyboard’s health and enjoy its peak performance for years to come. A little effort now means cleaner, smoother typing every time.



