
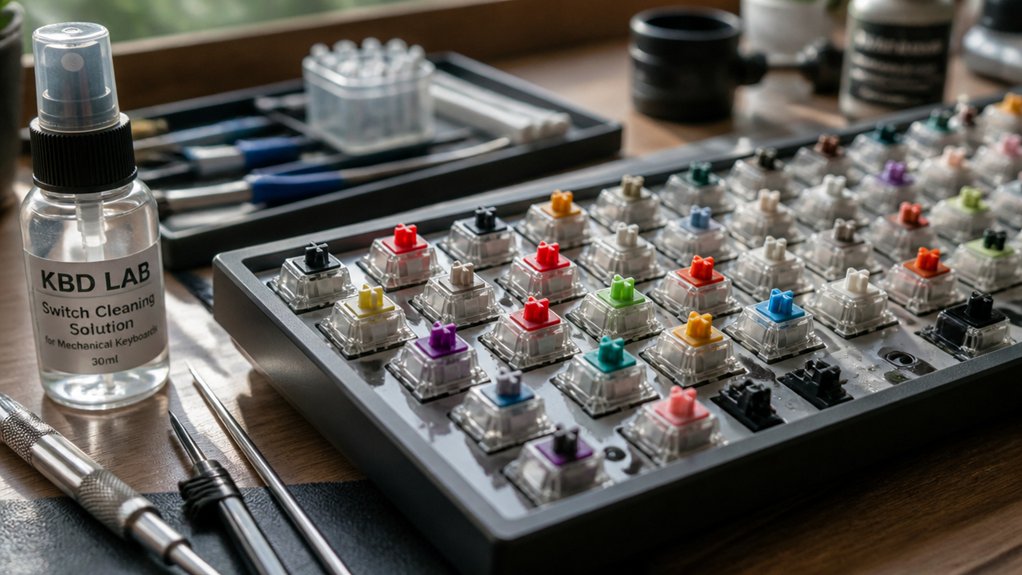
To clean mechanical switches in-place, start by unplugging your keyboard and using compressed air to remove dust. Apply a few drops of 90%+ isopropyl alcohol directly into each switch and actuate the keys 20–30 times to loosen grime. Use soft brushes and cotton swabs for detailed cleaning around switch stems and edges. Allow everything to dry fully before reconnecting. For more effective techniques, you’ll discover precise tips that keep your keyboard responsive and prolong its lifespan.
Why Regular Cleaning Extends Your Mechanical Switches’ Lifespan
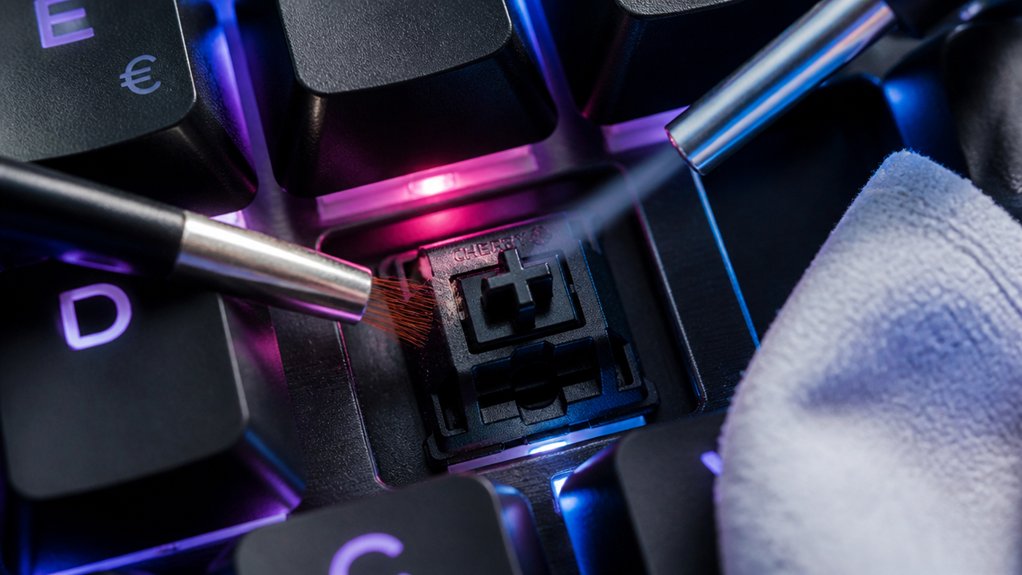
Regular cleaning plays a crucial role in extending the lifespan of your mechanical switches because it prevents the buildup of dust, grime, and oils that can cause switches to stick or become unresponsive.
Regular maintenance is especially important for mechanical keyboards, where dust and debris can quickly accumulate inside the switches.
Using isopropyl alcohol helps dissolve stubborn residue without damaging the delicate contact points. This prevents electrical issues and guarantees the switches remain reliable over time.
Keeping your switches clean reduces wear and tear, allowing them to reach their rated lifespan of 50–80 million key presses.
Selecting high-purity IPA ensures effective cleaning without leaving harmful residues that could impact switch performance.
By maintaining your switches regularly, you preserve their tactile feedback and typing feel, and you avoid costly replacements.
Consistent cleaning is key to prolonging the life of your mechanical keyboard’s switches.
Gather Tools and Prepare Your Workspace Safely
Before you begin cleaning your mechanical switches, it’s important to gather the right tools and set up a safe workspace. To effectively clean a mechanical keyboard, you’ll need a soft brush, compressed air, and some isopropyl alcohol.
Make sure your workspace is well-lit, ventilated, and stable to prevent any accidental damage. Unplug your keyboard to avoid electrical hazards and to protect the switches. Keep a microfiber cloth nearby for gentle wiping.
Avoid using liquids directly on the keyboard or switches, and use compressed air first to blow out dust from the gaps around the switches. Consider using a moisture-free compressed air product to prevent any moisture-related issues during cleaning. Have all your tools ready before starting, so you can work efficiently and safely. Proper preparation guarantees a thorough cleaning without risking damage to your keyboard or switches.
How to Diagnose Sticky or Unresponsive Switches?
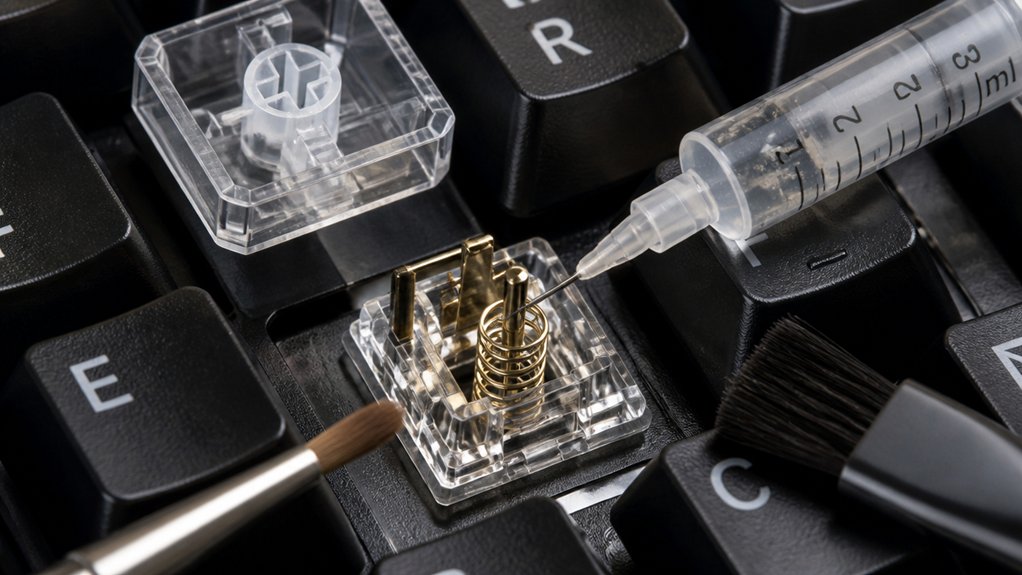
How can you tell if a switch is sticky or unresponsive? First, test the key actuation; if the keys feel sluggish, fail to register, or produce inconsistent input, you likely have sticky or unresponsive switches.
Remove the keycap to inspect the switch housing for debris or damage. Sometimes, residue buildup causes stickiness, which can be checked by applying 1–2 drops of 90%+ isopropyl alcohol into the switch housing and actuating the switch 20–30 times. Persistent issues after cleaning suggest switch wear or failure, often requiring replacement.
Paying attention to the lubrication quality used during assembly is also crucial, as improper or inadequate lubrication can lead to sticky switches.
Also, observe whether specific keys consistently misbehave despite reinsertion or testing other keys, which helps determine if the fault resides in the switch itself or the PCB. Proper diagnosis saves time and effort in the cleaning process.
Step-by-Step In-Place Cleaning Using Isopropyl Alcohol
To clean your switches in place, start by unplugging your keyboard to guarantee safety and prevent any electrical damage.
Use 90%+ isopropyl alcohol, which minimizes moisture risk. For sticky or unresponsive switches, apply 1–2 drops of isopropyl alcohol directly into each switch housing without removing the key. Actuate the switch 20–30 times to distribute the cleaner and loosen grime. This helps break down residue inside the switch, restoring responsiveness.
Choosing a brush with anti-static properties can further protect delicate components during the cleaning process.
Afterward, let the switches air dry in a well-ventilated area for at least 10–15 minutes to confirm complete evaporation. Repeat the process if needed, but be careful not to over-saturate, as too much moisture can cause internal damage or prolong dry time.
Using Brushes and Cotton Swabs to Remove Dust and Grime
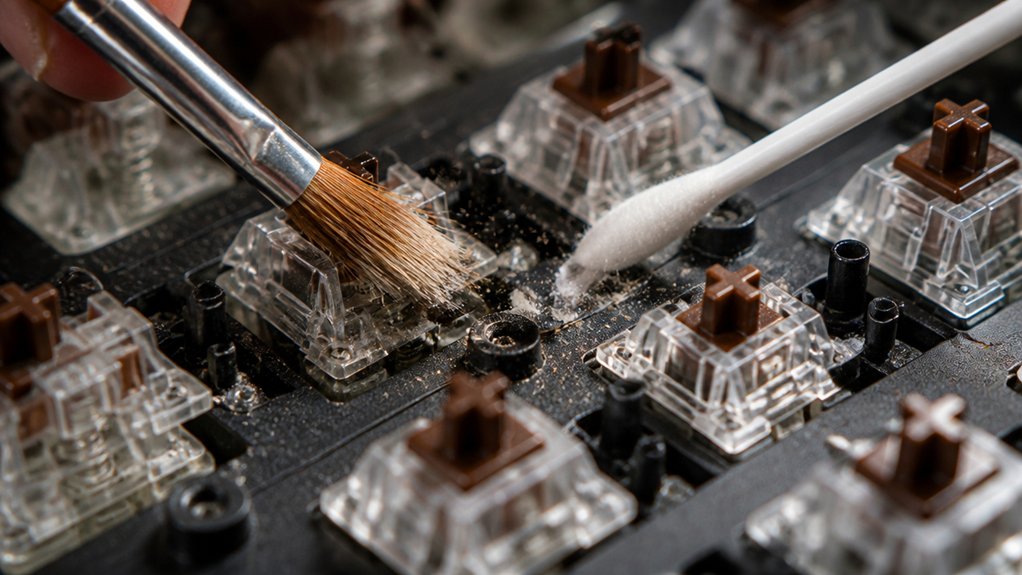
Using brushes and cotton swabs is an effective way to remove dust, debris, and grime from your mechanical switches without removing keycaps. A soft brush or small paintbrush gently sweeps away loose particles, preventing buildup that could cause sticky keys.
For more thorough cleaning, lightly moisten cotton swabs with isopropyl alcohol (90%+) and carefully clean around the switch housing and stem, targeting grime and oils. Be cautious not to saturate the swabs, preventing liquid from dripping into the switch internals.
Regularly using these cleaning methods helps maintain smooth switch operation and prolongs switch lifespan. Always guarantee your keyboard is unplugged, and let any residual moisture from the cotton swabs fully evaporate before reconnecting or typing.
Additionally, utilizing anti-static brushes helps prevent electrostatic damage during in-place cleaning.
Cleaning Switch Contacts With Light Moisture
To clean switch contacts with light moisture, you need to apply just 1–2 drops of 90%+ isopropyl alcohol directly into the switch housing.
Actuate the switch 20–30 times to help spread the alcohol and loosen dirt, then let it dry completely.
Be careful to use only a minimal amount of moisture to prevent damage and guarantee quick evaporation.
Using a plastic-safe cleaner ensures that sensitive components are protected during the cleaning process.
Applying Minimal Moisture Carefully
Applying minimal moisture is essential for safe and effective switch cleaning. You should apply isopropyl alcohol with care, using 1–2 drops directly into the switch housing to prevent excess liquid.
After applying, actuation of the switch 20–30 times helps disperse the cleaner and loosen any residue on the contacts. Use cotton swabs lightly dampened with isopropyl alcohol to clean contact points without soaking internal parts. Always keep the switch unplugged during this process.
Once cleaned, allow the switch to air dry in a well-ventilated area for at least 10–15 minutes before testing or powering on. This approach minimizes the risk of short circuits or corrosion while ensuring effective cleaning with minimal moisture.
Using Isopropyl Alcohol Properly
When cleaning switch contacts with isopropyl alcohol, selecting a high concentration—preferably 90% or higher—is key. This guarantees quick evaporation and minimizes residue, protecting your mechanical switch contacts.
To apply effectively:
- Use 1–2 drops of isopropyl alcohol directly into the switch housing—targeted moisture is safer than soaking.
- Focus on the switch contacts and avoid over-wetting the switch housing.
- Actuate the switch 20–30 times to spread the alcohol and loosen debris inside.
- Let the switch air dry thoroughly for 10–15 minutes in a well-ventilated area before testing or using.
Avoid excess alcohol to prevent residue buildup or prolonged moisture, which could affect switch performance. Proper application keeps your mechanical switches clean without risking damage.
In addition, using alcohol with a high purity level ensures cleaner removal of oxides and contaminants which can impair electrical conductivity and contributes to the longevity of your switches.
How to Flush or Soak Switch Areas Without Removing Keycaps?
Ever wondered how to clean your mechanical switches without removing keycaps? To do this, avoid water and instead, carefully apply a few drops of 90%+ isopropyl alcohol directly onto the switch housing using a dropper or a small brush.
Use a keycap puller to gently lift any surrounding keycaps if needed, but keep the switches last. Actuate each switch 20–30 times after applying alcohol so it circulates inside, helping flush out dirt and grime.
I prefer alcohol because it evaporates quickly and is non-conductive, unlike water, which could cause damage.
For more precise cleaning, use a damp cotton swab or Q-tip to gently clean around switch stems and keycap edges, making sure not to drip excess liquid.
Finally, let everything air dry upside down in a well-ventilated space for 10–15 minutes before testing.
Troubleshooting Common Issues After Cleaning
If your keys aren’t registering or feel sticky after cleaning, start by testing each switch individually. Sometimes, minor residue or misalignment can cause issues, so check for proper seating and cleaning thoroughly. If problems persist, consider reapplying isopropyl alcohol or replacing the switch to guarantee reliable performance. For consistent results, ensure that your switches and components are well-insulated and free from heat damage, which can affect electrical contact and functionality.
Key Not Registering
Keys may stop registering after cleaning if the switch isn’t completely dry or if cleaning residues remain inside.
To troubleshoot a non-responsive key, try these steps:
- Remove keycaps and verify the keyboard switches are thoroughly dry before pressing any keys again. Residual moisture can hinder proper contact.
- Apply 1–2 drops of 90%+ isopropyl alcohol into the switch housing, then actuate the switch 20–30 times to dislodge any sticky residue.
- Check keycap alignment and make sure they’re securely seated—it’s a common cause of unregistered keys.
- Inspect the switch connection to the PCB for looseness or damage; poor contact disrupts signal transmission.
- Consider switch compatibility and ensure the switches used are suitable for your keyboard model to prevent malfunctions.
Re-clean or replace the switch if issues persist after these steps.
Sticky or Unresponsive Keys
After cleaning your mechanical keyboard, sticky or unresponsive keys can still happen if residues haven’t been fully removed or if the switch isn’t dry enough. To fix this, apply 1–2 drops of 90%+ isopropyl alcohol directly into the switch housing, then actuate the switch 20–30 times to loosen any remaining debris. Using flux with non-corrosive, no-clean formulas can also help prevent residue buildup and ensure cleaner, more reliable joints over time. It’s essential to let the switch dry in a well-ventilated area for 10–15 minutes before testing. Using compressed air to blow out dust and dirt around the keycaps helps prevent buildup. If a key remains unresponsive after a second cleaning, replacing the switch might be your best option. Be careful not to over-lubricate, as excess lubricant can cause a mushy feel and worsen key responsiveness.
Tips to Maintain Smooth and Responsive Mechanical Switches
Maintaining smooth and responsive mechanical switches requires regular, targeted cleaning practices. Here are four essential tips:
Regular cleaning keeps mechanical switches responsive and smooth for optimal performance.
- Gently wipe around switches with a microfiber cloth dampened with 90%+ isopropyl alcohol to remove oils and residue.
- Apply 1–2 drops of 90%+ isopropyl alcohol directly into each switch housing to dissolve grime and restore smooth movement.
- Actuate each switch 20–30 times after applying alcohol, helping distribute the cleaner and loosen debris.
- Use compressed air in short bursts to blow out dust and particles, preventing buildup that causes sluggish response or stickiness.
Stick to these steps frequently to keep your switches clean, ensuring peak responsiveness and feel.
Preventative Maintenance Tips to Keep Your Keyboard Clean and Functional
To keep your keyboard functioning well, make dust removal a regular habit using compressed air every couple of weeks.
Clean the surface and keycaps often with a microfiber cloth dampened with isopropyl alcohol to prevent grime buildup.
Handle keycaps properly when cleaning to avoid damage and guarantee smooth, reliable switches.
Regular Dust Removal
Regular dust removal is essential for keeping your mechanical keyboard functioning smoothly.
To maintain performance, follow these simple steps:
- Use compressed air in short, controlled bursts held upright to blow out dust and debris from between switches without removing keycaps.
- Gently shake the unplugged keyboard upside down weekly to dislodge loose particles trapped under keys.
- Wipe keycaps with a dry or slightly damp microfiber cloth regularly to prevent dust buildup on accessible surfaces.
- For detailed cleaning, lightly moisten cotton swabs with isopropyl alcohol to clean around switch edges, avoiding liquids directly on switches or the keyboard base.
Consistent dust removal helps prevent buildup and guarantees peak switch performance over time.
Consistent Deep Cleaning
Deep cleaning your mechanical keyboard every 6 to 12 months is essential for preventing buildup that can cause sticky or unresponsive switches.
To do a thorough deep clean, start by using a keycap puller to carefully remove all keycaps. Clean each keycap separately, and then focus on the surrounding area of the switches.
Use compressed air to dislodge dust and debris without removing switches, and apply a few drops of 90%+ isopropyl alcohol directly into the switch housing. Actuate each switch 20–30 times to dissolve residue and keep them smooth.
Be sure to unplug your keyboard before cleaning and let everything dry fully before reassembling. Occasionally, lubricate switches sparingly after cleaning to reduce friction and prolong their lifespan.
Proper Keycap Handling
Handling keycaps properly is essential for maintaining your keyboard’s longevity and performance. When removing keycaps, make sure to use a keycap puller or gentle hand pressure to avoid damaging switch stems or keycaps.
Before removing them, take a clear photo of your keyboard layout to guarantee accurate reassembly and prevent misplacing keys. Use a soft brush to carefully clean around the switches and keycaps after removal, removing dust and debris effectively.
Frequently Asked Questions
How to Clean a Mechanical Switch?
To clean a mechanical switch, apply a few drops of isopropyl alcohol, actuate it repeatedly, and gently clean around the stem with a moistened cotton swab. Let it air dry thoroughly before testing or reassembling.
How to Lubricate Mechanical Switches?
To lubricate mechanical switches, you apply a thin layer of lubricant to the slider and spring using a small brush or precision applicator. Be gentle, avoid over-lubricating, and test the switch for smoother, quieter keystrokes afterward.
Can I Use WD40 on Keyboard Switches?
You shouldn’t use WD40 on keyboard switches. It’s petroleum-based and can cause damage, attract dust, and ruin the contacts. Instead, opt for keyboard-specific lubricants like Krytox or Tribosys for safe, effective switch cleaning and lubrication.
Can I Clean Mechanical Switches With Water?
You shouldn’t clean mechanical switches with water because it can cause damage, corrosion, and short circuits. Instead, use 90%+ isopropyl alcohol applied carefully inside the switch housing, which evaporates quickly and keeps your switches safe and clean.
In Summary
Regularly cleaning your mechanical switches can greatly extend their lifespan and keep your keyboard performing at its best. By following the steps outlined, you’ll remove dust, grime, and stickiness without disassembling your entire setup. Remember to use the right tools and techniques, troubleshoot issues promptly, and practice preventative maintenance. With a bit of care and routine cleaning, you’ll enjoy smooth, responsive keystrokes for years to come. Your keyboard will thank you for the effort!



