
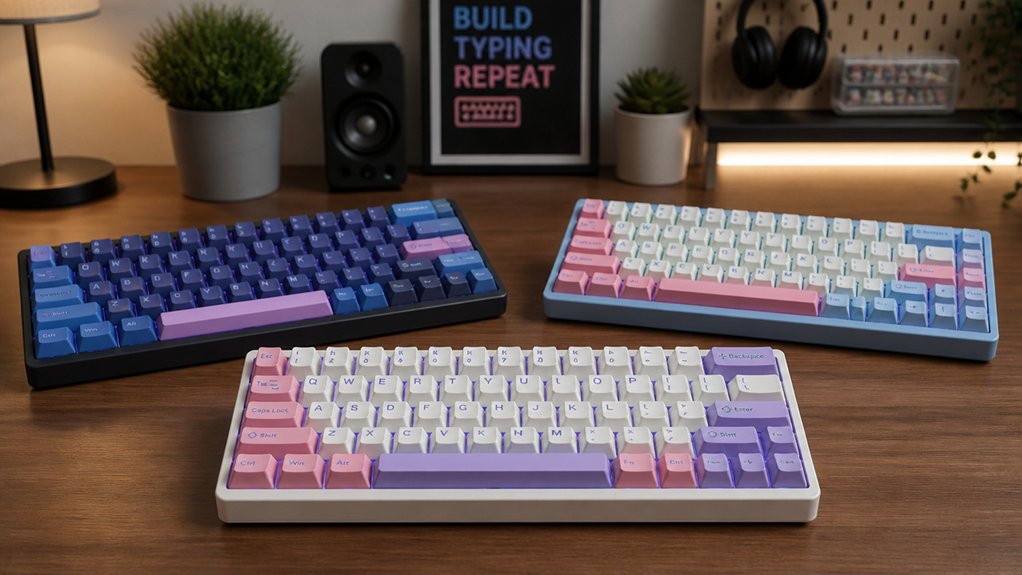
If you’re starting with a tight budget, choose a 60% or 65% layout with a hot-swappable PCB for easy upgrades. Opt for affordable switches like Gateron Yellow or Akko V3 Pro, and pair them with durable PBT keycaps to save money and guarantee longevity. Use simple mods like case foam and lubricants to improve sound and feel. Organize your workspace and use second-hand parts to cut costs further. Keep exploring how to get the most out of your build!
Why Build a Budget Mechanical Keyboard for Beginners?
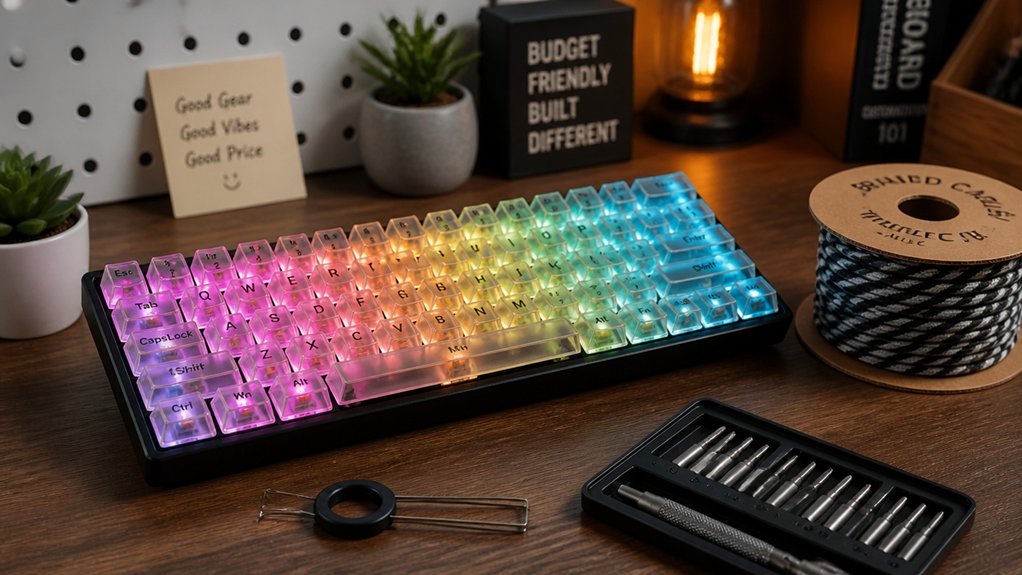
Ever wondered why so many beginners choose to build budget mechanical keyboards? It’s because they offer an affordable way to customize your typing experience without breaking the bank.
Budget mechanical keyboards make customization accessible and affordable for beginners.
Budget keyboard kits like the GMK67 and ILOVBEE i61 include features such as hot-swap sockets, making it easy to change switches without soldering. Using budget switches, like smoother reds, helps you feel the difference without high costs.
Starting with these kits teaches you essential skills like switch lubing and stabilization adjustments while keeping expenses low. Smaller layouts, such as 60% or 65%, cut costs further and simplify assembly.
Plus, simple mods like adding case foam or lubing switches improve sound and feel at minimal extra expense. Building budget keyboards is a great, accessible entry into keyboard customization.
How to Set Your Budget and Choose Your Build Priorities
Start by setting a realistic budget under $150 to balance customization and affordability, focusing on switches and keycaps, which usually take up most of your funds.
Prioritize components like a hot-swappable PCB for easy upgrades and consider smaller layouts like 60% or 65% to keep costs down.
Use any leftover money on quality switches and durable keycaps to improve your typing experience without overspending.
Additionally, opting for budget PCBs that support standard components and have pre-tinned holes can simplify assembly and ensure reliable solder joints.
Determine Your Spending Limit
Establishing a clear budget is an essential first step in building a mechanical keyboard that meets both your needs and financial comfort. Knowing your spend limit helps you focus on components that fit within your overall total cost and prevents overspending. Moreover, understanding the assembly difficulty of different kits can help you select options that align with your current skill level and the complexity you’re willing to take on. For a super budget build, aim for $50–$70 with kits like ILOVBEE i61/i87. If your budget allows, $110–$150 can get you higher-quality parts like the GMK67 65%. Consider these key points:
- Prioritize essential components such as switches and keycaps, which consume 40-50% of your budget.
- Choose smaller layouts like 60% or 65%, which lower overall costs and leave room for quality parts.
- Factor in extra expenses for tools and accessories that enhance your build without exceeding your spend limit.
This approach guarantees your budget build balances quality and affordability.
Prioritize Key Components
To make the most of your budget, focus on the key components that most impact your typing experience—namely switches and keycaps—since they typically take up 40-50% of your total spend.
In budget-friendly mechanical keyboards, prioritize kits with hot-swappable PCBs, which let you change switches easily without soldering, offering flexibility and upgrades down the line.
Choosing smaller layouts like 60% or 65% can cut costs while still providing a functional typing experience.
Opt for plastic cases instead of aluminum, as they’re more affordable and still perform well.
Don’t forget to allocate part of your budget for quality stabilizers and basic tools, which guarantee smooth keypresses and easier assembly, making your build both functional and budget-conscious.
Additionally, selecting components with reliable build quality ensures durability and a better overall experience without overspending.
Which Keyboard Layout and Size Are Best for Your Budget?
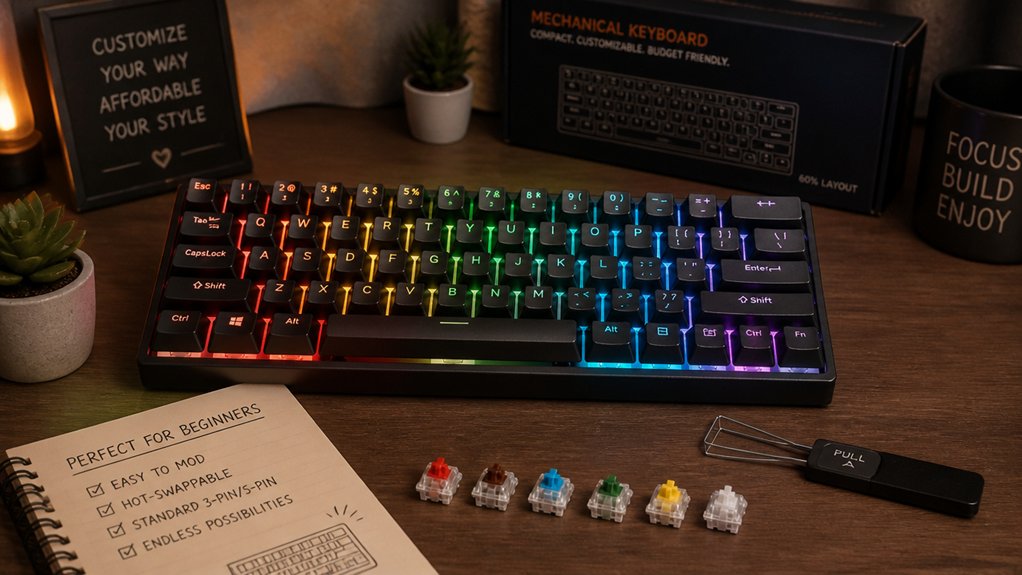
Choosing the right keyboard layout and size can make a significant difference in sticking to your budget. If you’re aiming for affordability, a 60% layout is your best choice, since it eliminates the number pad and many function keys, cutting costs and leaving room for better switches and keycaps.
A 65% layout offers a compact design with essential arrow keys and navigation controls, providing a good balance between functionality and price—generally in the $110-$150 range. Smaller layouts like these reduce parts, lowering costs.
A 65% layout balances essential keys and affordability, typically costing $110–$150.
Additionally, selecting hot-swappable PCBs makes upgrading switches easier without soldering, saving money in the long run. Hot-swappable PCBs enable switch upgrades without extra expense.
What Are the Best Affordable, Reliable Parts for Your DIY Keyboard?
Since layout and size can influence the overall budget of your keyboard build, selecting affordable yet reliable parts is key for maximizing value. Hot-swappable PCBs priced around $40–$60 are ideal, as they make assembly easy and allow you to replace switches without soldering. Additionally, choosing PCBs that support common switch types like MX or Choc ensures compatibility with a wide range of hot-swap sockets, simplifying upgrades and modifications. Budget switches like Gateron Yellow or Akko V3 Pro cost roughly $0.35–$0.45 each, offering smooth, dependable performance, and full kits are about $20–$26. For keycaps, PBT sets start at $25–$35, providing durability, better color options, and longevity compared to ABS alternatives. Reliable stabilizers, such as Durock V2 screw-ins, priced at $10–$15, greatly reduce rattling. Enhancing the build’s sound and feel can also be achieved by applying Krytox 205g0 lubricant and adding case foam, all while keeping costs low.
Tools and Workspace Setup for Building Your First Keyboard
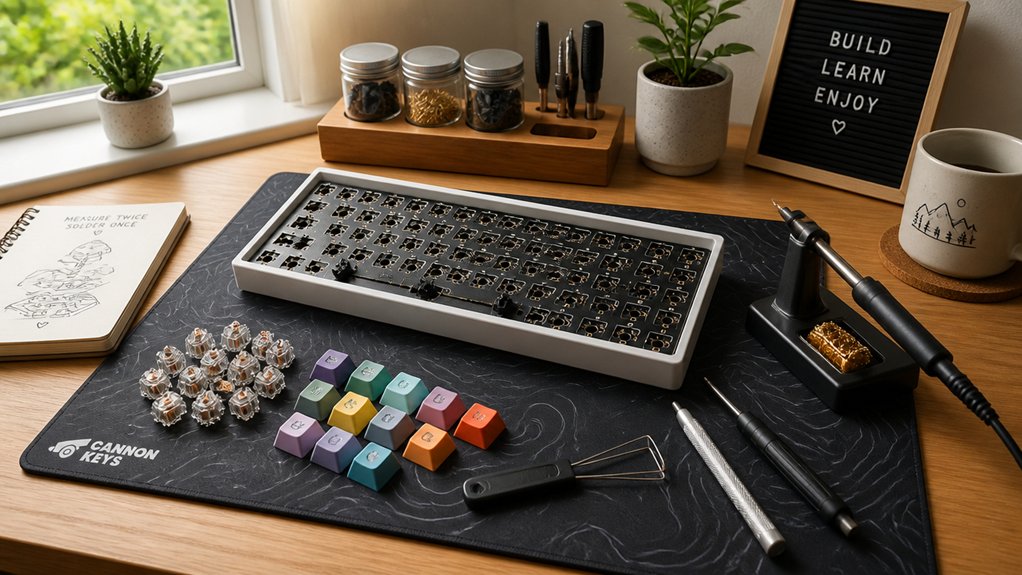
Building your first mechanical keyboard is easier when you set up a dedicated, organized workspace. A clean, flat surface with good lighting helps you focus and prevents mistakes. Use an anti-static mat to protect sensitive PCB components during assembly.
Keep small parts like screws, stabilizers, and springs in bowls or magnetic trays to prevent loss and speed up the process. Essential tools include a switch and keycap puller (~$4), a stem holder (~$4.90), and optional switch openers (~$19), lubing brushes (~$4), and other tidy storage.
When assembling, install stabilizers first, then insert switches carefully into hot-swappable sockets, ensuring proper alignment for peak build quality. Having everything organized makes the process smoother and helps you avoid damaging switches or keycaps.
Additionally, choosing an appropriate ESD protection setup can further safeguard your components during assembly, preventing static damage.
How to Assemble Your Mechanical Keyboard Step by Step
Ready to assemble your keyboard? Begin by installing screw-in stabilizers on the PCB’s slots for larger keys like the spacebar and Enter, tightening the screws just enough for smooth key presses.
Next, insert switches row by row into the hot-swappable PCB sockets, starting with corner switches to align the plate and PCB properly. Confirm each switch clicks securely in place.
Once all switches are seated, place your keycaps, starting with larger keys to keep everything aligned. Press firmly until the keycaps lock onto each switch stem.
Set up your workspace with necessary tools like a keycap puller and switch puller, organizing small parts in bowls or trays.
Before final assembly, test your mechanical keyboard with online key testers to catch any issues like bent pins or stabilizer misalignment for peak performance. For extra peace of mind, consider verifying stabilizer compatibility and proper installation to ensure minimal noise and rattling during use stabilizer compatibility.
What Are the Top Budget Switches and Keycaps for Beginners?
If you’re starting with budget switches, options like the Akko V3 Pro line or Gateron Yellow/Red are reliable and affordable choices.
Pair these with durable PBT keycaps from brands like Kinetic Lab or PBTfans to guarantee lasting quality and unique colors.
When selecting switches, consider waterproof and dustproof features for added protection and longevity in your build.
Best Budget Switches
Are you searching for budget-friendly switches that deliver a satisfying typing experience without breaking the bank? You can find options that balance smoothness, responsiveness, and durability, making them perfect for beginners.
Choosing the right switches or keycaps can greatly enhance your build’s overall feel and performance.
- Akko V3 Pro switches offer smooth, reliable performance with a premium feel at an affordable price, perfect for budget cases.
- Gateron Yellow and Red switches are cost-effective, providing a good mix of responsiveness and smooth typing.
- Moon V2 linear switches, when hand-lubed with Krytox 205g0, result in an amazing typing experience that surpasses stock switches.
- Additionally, selecting durable materials such as PBT for keycaps ensures longevity and resistance to wear for your budget build.
These choices maximize your budget, ensuring an enjoyable typing experience without sacrificing quality.
Affordable Keycap Options
For beginners on a budget, choosing the right keycaps can greatly enhance your typing experience without overspending. Budget-friendly keycap sets, especially PBT keycaps from brands like Kinetic Lab and PBTfans, offer durability and vibrant color options within a $25–$35 range.
While cheap keycaps made of ABS start around $20, they tend to wear faster and may fade over time. Higher-quality dye-sublimated PBT keycap sets, costing $35–$45, provide better legend longevity and a premium feel without breaking the bank.
Combining these with affordable switches like Gateron Reds or Yellows and basic stabilizers makes for a practical, durable, and satisfying beginner build. Double-shot molding is a key technique that ensures legends remain sharp and resistant to fading over years of use. Prioritizing quality in your keycaps guarantees a smoother, more enjoyable typing experience for less.
Switch and Keycap Compatibility
Choosing the right switches and keycaps that work well together is essential for building a budget-friendly mechanical keyboard. Selecting compatible switch types and keycap profiles guarantees smooth operation and easy customization.
For beginners, budget switches like Gateron Yellow and Red, Akko V3 Pro, and Moon V2 linear switches are ideal, costing around $0.35–$0.45, and deliver a satisfying typing experience. Popular budget keycaps, such as PBT sets from Kinetic Lab and PBTfans, are durable and usually use dye-sublimated legends, lasting long without exceeding $40.
Using hot-swappable PCBs compatible with MX-style switches makes switching switches and keycaps simple, without soldering. Opt for switches with south-facing stems if you plan to use certain custom keycap profiles, like GMK sets, for better compatibility.
How to Find Quality Parts in Second-Hand Markets and Save Money
Looking to save money while building a high-quality mechanical keyboard? You can find quality parts in second-hand markets at 30-50% discounts, making it easier for beginners to afford premium cases, PCBs, switches, and keycaps.
To get the best value, thoroughly inspect second-hand parts for wear—look for scratches, bent switch pins, or discoloration—and request detailed photos or videos from sellers to verify full functionality. Always purchase new stabilizers (~$4–$8), as they’re essential for smooth, rattling-free keystrokes and tend to degrade over time.
Before buying, test pre-assembled second-hand keyboards for proper key registration and software compatibility to avoid surprises later. Use community forums and trusted sellers to find seasonal discounts, further lowering your overall build cost.
Simple Mods and Customizations to Improve Sound and Feel
Enhancing your mechanical keyboard’s sound and feel doesn’t require expensive parts or complex modifications. Simple tweaks can make a big difference.
Adding case foam like Geon Keyboard Foams between the PCB and case reduces echo and dampens sound.
Adding case foam beneath the PCB reduces echo and softens your keyboard’s sound for a more refined typing experience.
Lubricating switches with Krytox 205g0 on stem rails and springs makes typing smoother and quieter.
Using TX switch films ($5.50) tightens switch housings, lowering wobble and improving sound consistency.
Additionally, lubricating stabilizers with dielectric grease or keyboard lube eliminates rattling and enhances the feel of larger keys like spacebar and enter.
For further comfort, installing O-rings on keycap stems dampens bottom-out noise and softens impacts.
These budget-friendly mods are easy to implement, greatly improving both the typing feel and sound profile of your keyboard.
Troubleshooting Common Issues During Assembly and Use
As you assemble and start using your mechanical keyboard, encountering common issues is normal, but many can be quickly resolved with simple steps.
If you notice bent switch pins, carefully straighten them with tweezers before seating the switch in hot-swap sockets to prevent connectivity problems.
Stabilizer rattle is often fixed by ensuring stabilizers are properly seated and lubricated with dielectric grease or keyboard-specific lubricant like Krytox 205g0.
For scratchy or sticky keys, apply a thin layer of lubricant to switch stems and springs, avoiding metal contacts.
Misaligned keycaps, especially Cherry profile ones, can be fixed by firmly pressing them onto stems and checking for damage.
Testing your keyboard with online key testers before full assembly helps identify faulty keys, saving time troubleshooting later.
How to Save Money Without Sacrificing Quality in Your Build
To save money without sacrificing quality, focus on essential components like reliable switches and durable keycaps, which greatly affect your typing experience.
Choose budget-friendly parts such as kits with hot-swap sockets or second-hand components to cut costs while maintaining performance. Sticking to smaller layouts like 60% or 65% also reduces the number of parts needed, saving you money without losing functionality.
Prioritize Essential Components
Focusing on essential components can save you a lot of money while still building a high-quality mechanical keyboard. Start with a hot-swappable PCB, typically in the $50–$70 price range, to avoid soldering costs and allow easy switch upgrades.
Allocate around 40-50% of your budget to switches and keycaps, since these directly affect typing feel; reliable options like Gateron Yellow cost about $20–$26. Choose a plastic case over aluminum to save around $30–$50 without sacrificing durability or aesthetics.
Additionally, investing in affordable stabilizers like Durock V2 ($4–$8) can drastically improve keypress smoothness and reduce rattling. Prioritizing these components guarantees you get the best bang for your buck without compromising overall quality.
Opt for Budget-Friendly Parts
Choosing budget-friendly parts doesn’t mean you have to compromise on quality; smart selections can give you a high-performing keyboard without overspending. Focus on affordable kits like the ILOVBEE i61 or GMK67, which offer solid build quality for $25-$70, freeing funds for better switches and keycaps. Prioritize a hot-swappable PCB to save on soldering costs and make switch upgrades easy. Use reliable, affordable switches like Gateron Yellow or Akko V3 Pro, costing around $0.35-$0.45 each, balancing performance and price. For keycaps, opt for durable PBT sets in the $25-$35 range. Cost-effective mods like case foam and lubing stabilizers with Krytox 205g0 add to the build’s feel without breaking the bank.
| Component | Budget Options | Benefits |
|---|---|---|
| Build | ILOVBEE i61, GMK67 | Solid build, affordable price |
| PCB | Hot-swappable | Easy upgrades, no soldering |
| Switches | Gateron Yellow | Cost-effective, reliable |
| Keycaps | PBT sets | Durable, budget-friendly |
Leverage Second-Hand Markets
Exploring second-hand markets offers a smart way to maximize your budget without sacrificing quality. Buying used parts can save you 30-50% compared to new, making it a great option for a custom keyboard on a tight budget.
Look for second-hand hot-swappable PCBs and new stabilizers ($4–$8) to simplify assembly and guarantee durability, without soldering. Always request detailed photos and the item’s usage history to inspect for scratches, bent pins, or discoloration. Testing pre-assembled second-hand keyboards for full key registration before buying helps avoid hidden issues.
- Focus on used but well-maintained components like switches and keycaps, especially during seasonal discounts.
- Prioritize quality used parts that won’t compromise the build’s reliability or feel.
- Resell or swap components later, keeping your budget flexible and your custom keyboard built to last.
Final Checks and Maintenance Tips for Your Custom Keyboard
Before finalizing your custom keyboard setup, it’s essential to perform thorough checks and maintenance to guarantee peak performance. Inspect keycaps and switches for damage or misalignment, and re-seat any loose or crooked components to maintain a consistent typing feel.
Regularly clean your keyboard every 1–3 months by removing keycaps, washing them, and using compressed air to clear debris from the PCB and switches. Lubricate stabilizers with dielectric grease or Krytox 205g0 to reduce rattling noise and improve keypress smoothness. Use an online key tester to check for faulty or unresponsive keys before and after assembly.
Additionally, apply case foam or dampening materials inside the housing to minimize echo and enhance sound quality during typing. Proper maintenance guarantees your keyboard remains responsive and satisfying to use.
Next Steps: Upgrading and Exploring Advanced DIY Builds
Ready to take your mechanical keyboard build to the next level? Upgrading your switches with premium options like Akko V3 Pro or Boba U4Ts can greatly enhance your typing feel and sound quality without replacing the entire keyboard.
To further improve performance, explore advanced mods such as applying Krytox 205g0 lubricant for smoother switch action and installing TX Switch Films to reduce wobble. Moving to gasket-mounted or screw-in stabilizers—found in mid-range kits like the CF81—offers quieter, more stable key presses.
Additionally, sound-dampening modifications, like adding case foam layers and lubing stabilizers, can refine your keyboard’s acoustic profile. These upgrades reveal better performance, helping you enjoy a more refined and professional typing experience as you expand into advanced DIY builds.
Frequently Asked Questions
Are Budget Mechanical Keyboards Suitable for Gaming or Typing-Intensive Tasks?
Yes, budget mechanical keyboards are suitable for gaming and typing. While they might lack premium features, they still deliver good performance, satisfying your gaming and typing needs without breaking the bank.
How Long Do Budget Keyboard Builds Typically Last With Everyday Use?
Budget keyboard builds typically last 3-5 years with everyday use, depending on the quality of components and how well you maintain them. Proper cleaning and avoiding excessive force can extend their lifespan, ensuring reliable performance over time.
Can I Customize RGB Lighting on Budget-Friendly Mechanical Keyboards?
Yes, you can customize RGB lighting on budget-friendly mechanical keyboards, especially if they feature programmable keys or support third-party software. Just make sure the keyboard explicitly offers lighting customization options before purchasing for the best experience.
What Are Common Compatibility Issues With Affordable DIY Keyboard Parts?
You might encounter compatibility issues with affordable DIY keyboard parts, like key switches not fitting the PCB, incorrect plate sizes, or incompatible connectors. Always double-check specifications and compatibility guides before assembling to guarantee all parts work seamlessly together.
Is It Worth Investing in Higher-Quality Switches for a Budget Build?
Yes, investing in higher-quality switches improves typing experience, durability, and sound. While it might cost more upfront, it offers better performance and longevity, making your budget build more enjoyable and reliable in the long run.
In Summary
Building a budget-friendly mechanical keyboard is an exciting way to customize your setup without breaking the bank. By setting clear priorities, choosing the right components, and following simple steps, you can create a reliable and personalized keyboard. Don’t forget to troubleshoot issues carefully and maintain your build for longevity. With this guide, you’re well on your way to enjoying a high-quality, affordable keyboard that suits your needs today—and possibilities for upgrades tomorrow.



