
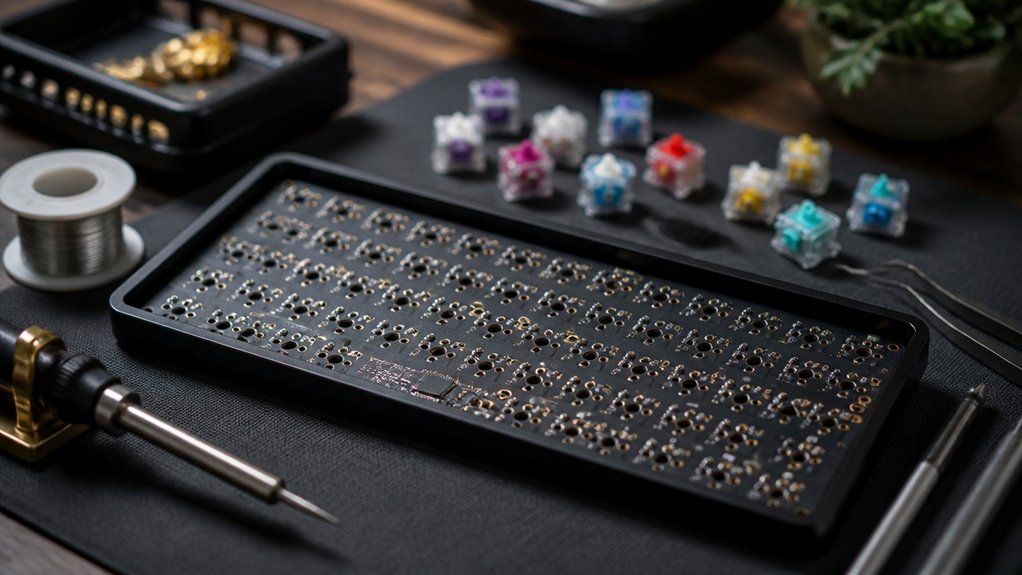
To solder your budget mechanical keyboard effectively, start with a temperature-controlled iron set to 330–350°C and use 0.8mm rosin core solder for smooth joints. Fully insert switches, then heat both the PCB pad and switch pin simultaneously before applying minimal solder to avoid bridges. Clean the tip often, work in small bursts, and double-check your joints for neatness and reliability. If you keep practicing, you’ll improve your technique and create solid, professional-quality builds.
Essential Tools and Materials for Budget Keyboard Soldering
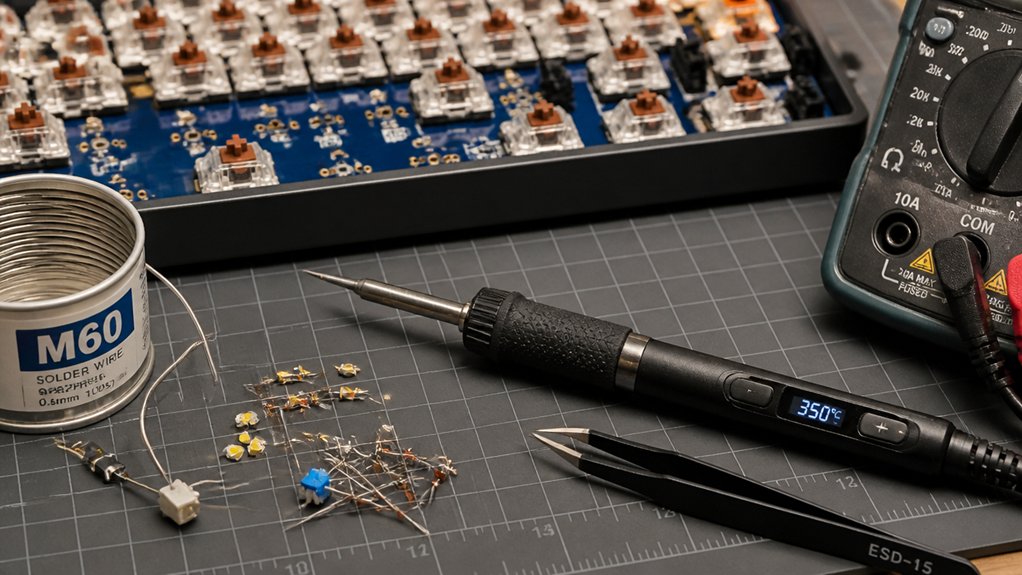
To get started with budget-friendly mechanical keyboard soldering, you’ll need a basic soldering kit that includes essential tools. A good soldering iron, preferably temperature-controlled, is crucial for precise control and preventing damage to components.
For solder, use leaded 63/37 rosin core wire around 0.031″ (0.8mm) — it’s ideal for beginners thanks to its smooth flow. Flush cutters help trim switch leads and diode legs cleanly, giving your build a professional look. A solder sucker or copper wick can be useful for correcting mistakes or desoldering, saving you from costly tools later.
Even on a budget, prioritize safety with eye protection and a stable workspace. These essentials will give you a solid foundation to confidently solder your keyboard components efficiently and safely. Component handling is equally important to ensure a reliable and durable build.
How to Set Up Your Soldering Station for Cheap and Safety
Setting up your soldering station with affordability and safety in mind guarantees a smooth and secure keyboard assembly process. Use an affordable, temperature-controlled soldering iron like the TS100 or FNIRSI HS-02B, heated to around 330-350°C for peak performance. Keep your work area organized and clean, with a soldering iron stand and a brass wool tip cleaner to maintain your soldering iron tip. Protect your workspace with a heat-resistant silicone mat, such as the budget-friendly Kaisi mat, to prevent damage. Set up a low-cost solder fume extractor like the KOTTO model to minimize inhalation of solder fumes. Always wear safety gear like glasses and gloves, and keep a clutter-free 1’ x 2’ space for safe handling of hot tools and molten solder. Using a soldering iron with a ceramic heating element, like those in the compact and portable soldering irons, ensures quick heat-up times and consistent temperature control throughout your work.
Picking the Right Solder for Budget Mechanical Keyboard Builds
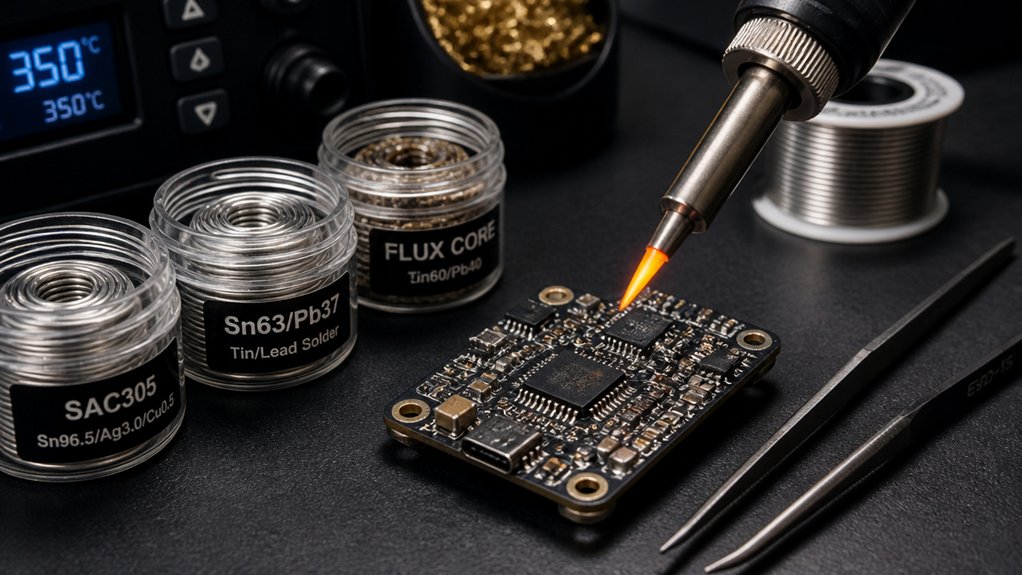
Choosing the right solder is key to a smooth, budget-friendly keyboard build. You should consider the alloy type and diameter to guarantee good flow and precision, especially if you’re just starting out.
While leaded solder like 63/37 is easier to work with, be aware that it contains lead and requires a lower melting point, making your soldering job safer and simpler.
Solder Alloy Choices
When selecting solder for a budget mechanical keyboard build, opting for a leaded alloy with a 63/37 or 60/40 tin-to-lead ratio is usually your best choice. These solders have a lower melting point (~183°C) and flow more easily, making soldering simpler for beginners.
Using a solder with the right alloy composition helps ensure strong, reliable joints and reduces thermal stress on delicate components. A rosin core solder is essential, as it cleans metal surfaces during the process, ensuring better joint reliability without extra flux. While lead-free solder offers a less toxic option, it requires higher temperatures (~217°C) and produces harsher fumes, which can be challenging on a budget.
Stick to approximately 0.8mm solder diameter to balance control and coverage on switch pins and PCB pads. Choosing these compatible solder alloys simplifies your soldering and enhances your build quality.
Diameter for Precision
Ever wondered how to get more control when soldering small or densely packed keyboard components? The key is choosing the right solder diameter for your soldering iron.
For most budget mechanical keyboard builds, a 0.8mm (0.031″) solder wire strikes a good balance between ease of use and precision. It flows well and enables you to create clean, reliable joints without too much effort.
If you’re working on tiny SMD components, thinner solder wire like 0.6mm or 0.020″ can give you even finer control, helping you minimize solder blobs and achieve neat, cone-shaped joints critical for switch stability.
Starting with a medium thickness solder wire allows you to develop control, then you can switch to finer gauges as you gain confidence and skill. Using flux core solder can further improve flow and joint quality by reducing the need for additional flux.
Leaded vs. Lead-Free
For beginners working on budget mechanical keyboard builds, leaded solder is often the preferred choice due to its lower melting point and easier handling characteristics.
Leaded solder, usually a 63/37 or 60/40 tin-to-lead mix with a 0.8mm diameter, melts at around 361°F (183°C), allowing you to use a lower temperature soldering iron. Rosin core solder helps improve flow and guarantees good electrical connections without extra flux.
While lead-free solder is safer and more environmentally friendly, it melts at about 423°F (217°C), requiring a hotter soldering iron and making soldering more challenging for newcomers.
Although leaded solder emits more fumes, working in a well-ventilated space with safety gear minimizes health risks. Additionally, choosing a flux paste with minimal residue can ease post-solder cleanup and protect your components.
Step-by-Step Soldering Tutorial for Beginners
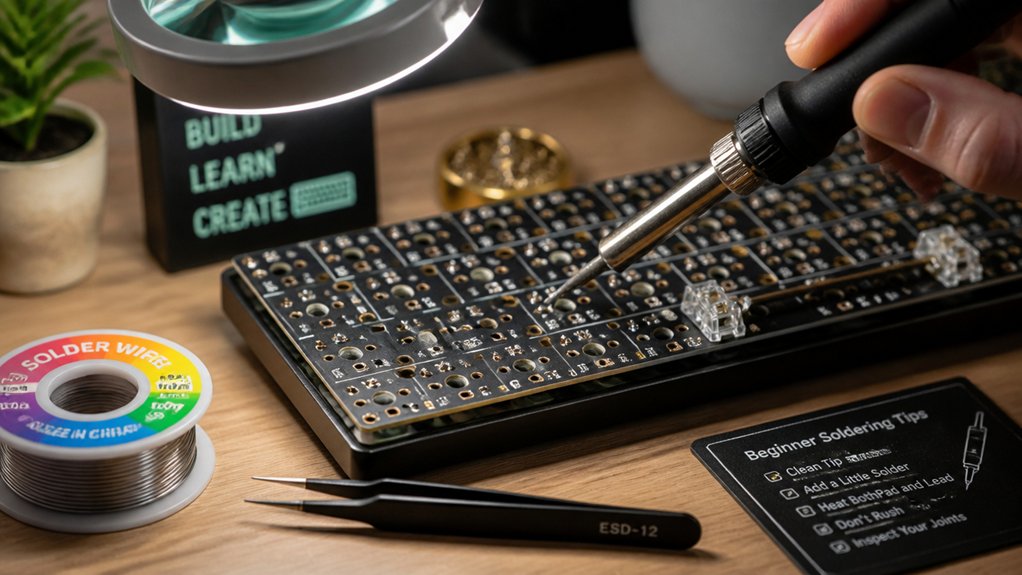
Getting started with soldering your mechanical keyboard switches can seem intimidating, but following a clear, step-by-step process makes it manageable.
First, heat your solder iron to about 330–350°C and tin the tip with a small amount of solder for better heat transfer. Insert your keyboard switches fully into the PCB, ensuring the legs go through the holes. Hold them in place while soldering each pin for 1–2 seconds, then apply minimal solder to create small, volcano-shaped joints, avoiding excess.
Keep your solder iron tip clean by wiping it on brass wool or a damp sponge every 3–4 joints. For plateless builds, solder one pin, allow it to cool, then reheat to press the switch down firmly before soldering the remaining pins.
Using a desoldering pump can help clean up any accidental excess solder or mistakes, making your work look neat and professional.
Finally, test your connections and clean flux residue with isopropyl alcohol and a soft brush.
Tips for Achieving Neat, Strong, and Reliable Solder Joints
Achieving neat, strong, and reliable solder joints hinges on controlling the heating process and applying solder precisely. Start by setting your soldering iron to the right temperature—around 330°C—to guarantee efficient heat transfer.
Neat, strong solder joints require precise heating and careful application for reliable electrical connections.
Heat the switch pin and PCB pad simultaneously for 1-2 seconds before feeding minimal 0.8mm diameter rosin core solder, forming a smooth cone-shaped joint without blobs or gaps.
Regularly clean and tin your soldering iron tip with brass wool or a sponge every 3-4 joints to maintain performance and prevent oxidized tips.
Hold the switches firmly in place while reheating the soldered pin, assuring proper seating and alignment.
Avoid rushing and use steady, controlled motions lasting no more than 4-5 seconds per pin to prevent cold joints and damage.
Heat resistance of PCB materials is crucial; using holders made of aerospace-grade aluminum and magnetic bases ensures stability even during high-temperature soldering processes.
How to Properly Seat Switches for Better Sound and Feel
Properly seating switches is essential for optimizing both sound and feel, and it begins with ensuring each switch is fully inserted into the PCB before soldering. Make sure all switch legs are completely through the PCB holes to avoid misalignment and uneven sound.
When soldering, heat both the pin and PCB pad simultaneously with your soldering iron, then reheat the soldered pin while pressing the switch firmly into place. This guarantees correct seating, reducing wobble and improving keypress consistency.
For plateless builds, solder one pin per switch first, allow it to cool, then reheat while pressing the switch into position for stability.
Proper seating eliminates unwanted noise and wobble, ensuring a tight mechanical connection that enhances both the sound and overall feel of your keyboard. Electrical contact quality is crucial for reliable performance, so double-check that each switch is firmly set before finalizing your solder joints.
Budget-Friendly Techniques for Desoldering and Corrections
When you need to make adjustments or correct mistakes in your soldered switches, budget-friendly desoldering techniques can save time and money. Start with a solder sucker for quick removal of excess solder; it’s simple and affordable but may need multiple attempts. For more precise control, use brass wire to wick away solder when heated properly—it’s a cost-effective solution but requires steady technique. Keep your soldering iron in short bursts, tinned for better heat transfer, to prevent PCB damage. Avoid excessive heat to protect your board. Have wire cutters handy to trim leftover solder wick or remove excess component leads after desoldering. Using the right airflow adjustment and temperature control can further improve your desoldering accuracy. Practice on spare PCBs first to build confidence before repairing your main keyboard. These techniques are efficient and wallet-friendly for troubleshooting and corrections.
Post-Solder Cleanup and Inspection for Beginners
After soldering, carefully inspect each joint to guarantee it’s shiny, solid, and free of gaps.
Clean the flux residue with isopropyl alcohol and a soft brush, avoiding pressure that could dislodge components.
Make sure all joints look good and the board is completely dry before powering on or reassembling.
Additionally, verifying the purity level of the isopropyl alcohol used ensures minimal residue and safe, residue-free cleaning.
Inspect Solder Joints Carefully
Once you’ve finished soldering the switches and stabilizers, it’s vital to carefully inspect each solder joint to verify everything is secure and functioning correctly. Use a magnifying tool or good lighting to inspect solder joints closely.
Look for a small, shiny, volcano-shaped mound with no visible gaps between the pin and PCB pad, indicating a good connection. Check for excess flux residue and solder splatter on the PCB, which can be cleaned afterward but shouldn’t interfere with the joints.
Avoid solder joints that appear like blobs or uneven, cold, or cracked surfaces, as these indicate insufficient or excessive solder. If you find questionable joints, reheat and touch up with a good amount of solder to guarantee reliable electrical contact and prevent future issues during keyboard use.
Clean Flux Residue Properly
Cleaning flux residue after soldering is an essential step to guarantee your keyboard’s longevity and appearance, even if you used no-clean solder. Use isopropyl alcohol and a soft brush to gently remove flux residue and solder splatter from your circuit board. This cleaning prevents long-term corrosion and keeps your board looking tidy. Use gentle pressure to avoid damaging sensitive parts like diodes or surface-mount components. For solder splatter, a dry soft brush works well without solvents. After cleaning, inspect all solder joints to confirm solid connections.
| Cleaning Step | Purpose |
|---|---|
| Isopropyl alcohol use | Remove flux residue and solder splatter |
| Soft brush | Prevent damage and clean effectively |
| Gentle pressure | Protect sensitive components |
| Inspection after cleaning | Confirm solid solder joints |
| Optional dry brush | Remove solder splatter without solvents |
Ensure No Cold Joints
Ensuring that your solder joints are solid is a crucial step in achieving a reliable mechanical keyboard. After soldering, gently clean the PCB with isopropyl alcohol and a soft brush to remove flux residue and solder splatter.
Inspect each solder joint for a small, shiny, cone-shaped mound with no gaps between the pin and PCB pad; this confirms a good connection. Test your switches immediately after soldering a few joints to check for proper electrical conductivity.
Cold joints often look dull, cracked, or irregular, so reheat them with your soldering iron and add a small amount of solder to improve reliability. Avoid excessive solder or overheating, as these can cause defects.
Keep your soldering iron tip clean for consistent heat, ensuring every solder joint is strong and dependable.
Troubleshooting Common Soldering Problems in Budget Builds
Budget keyboard builds often present unique soldering challenges that can disrupt the assembly process and affect your keyboard’s performance. One common issue is cold solder joints, which appear dull or cracked and can cause connectivity problems. To fix this, reheat the joint and add a small amount of fresh solder for a solid connection.
Insufficient solder on switch pins leads to intermittent connections; applying just enough solder to form a volcano-shaped joint improves stability. Bent or misaligned switch pins prevent proper insertion and cause poor joints, so straighten them gently beforehand.
Dirty or oxidized soldering iron tips reduce heat transfer, weakening the joints—clean tips with brass wool and re-tin regularly. Finally, flux residue and solder bridges can cause shorts; clean the PCB with isopropyl alcohol and inspect joints under magnification for safety.
Frequently Asked Questions
Can I Reuse Switches After Desoldering for Future Keyboard Builds?
Yes, you can reuse switches after desoldering, but be careful. Properly clean and inspect them for damage. If they’re still functional, store them safely for future keyboard builds, ensuring they remain in good condition for reuse.
What Safety Gear Is Essential When Soldering Budget Mechanical Keyboards?
You should wear safety goggles to protect your eyes from solder splashes and guarantee good ventilation to avoid inhaling fumes. A heat-resistant mat and tweezers also help you handle components safely during soldering your budget mechanical keyboard.
How Long Should I Wait Before Testing Each Switch After Soldering?
You should wait at least 10-15 seconds for each switch to cool down after soldering before testing. This guarantees the solder solidifies properly and prevents damage. Rushing can cause connection issues or damage the switch.
Are There Specific Techniques to Prevent Cold Solder Joints on Budget Setups?
To prevent cold solder joints, make sure your soldering iron is hot enough, apply the solder smoothly and evenly, and hold the components steady while soldering. Inspect your work carefully and rework any dull, cracked, or dull-looking joints.
How Do I Identify and Fix Cold or Faulty Solder Joints Easily?
You can identify cold solder joints by looking for dull, cracked, or uneven surfaces. Fix them by reheating the joint with a soldering iron, adding a small amount of fresh solder, then gently cooling to guarantee a solid, shiny connection.
In Summary
Soldering your budget mechanical keyboard may seem tricky at first, but with the right tools and patience, you’ll improve quickly. Focus on neat, solid joints and proper switch seating for the best sound and feel. Don’t worry about mistakes—practice makes perfect, and many issues are fixable. Keep your workspace safe, stay patient, and enjoy customizing your keyboard. Before long, you’ll be building and soldering confidently, creating a custom keyboard that’s both affordable and satisfying to use.



