
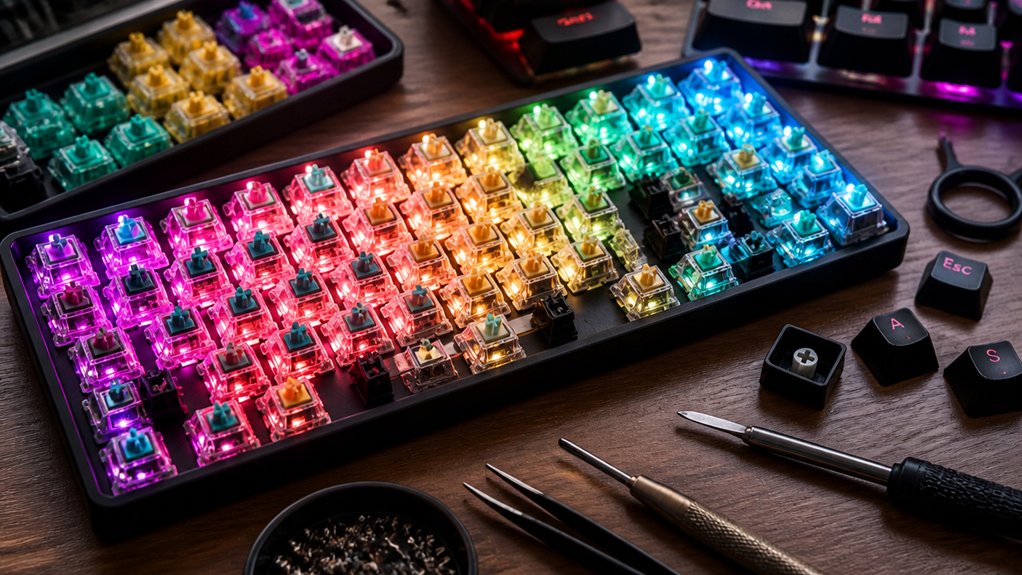
To build a budget RGB mechanical keyboard, choose hot-swappable PCBs like Keychron V1 or GMMK 2 for easy upgrades, and pick affordable switches like Gateron Milky Yellow. Use durable, RGB-compatible PBT keycaps, and select cost-effective plates like aluminum or FR4 for great sound and durability. Shop from trusted sellers, tune stabilizers, add foam dampening, and avoid soldering. Following these tips will help you create a solid, budget-friendly setup—stay tuned to learn even more.
Why Choosing Affordable Components Saves You Money and Hassle
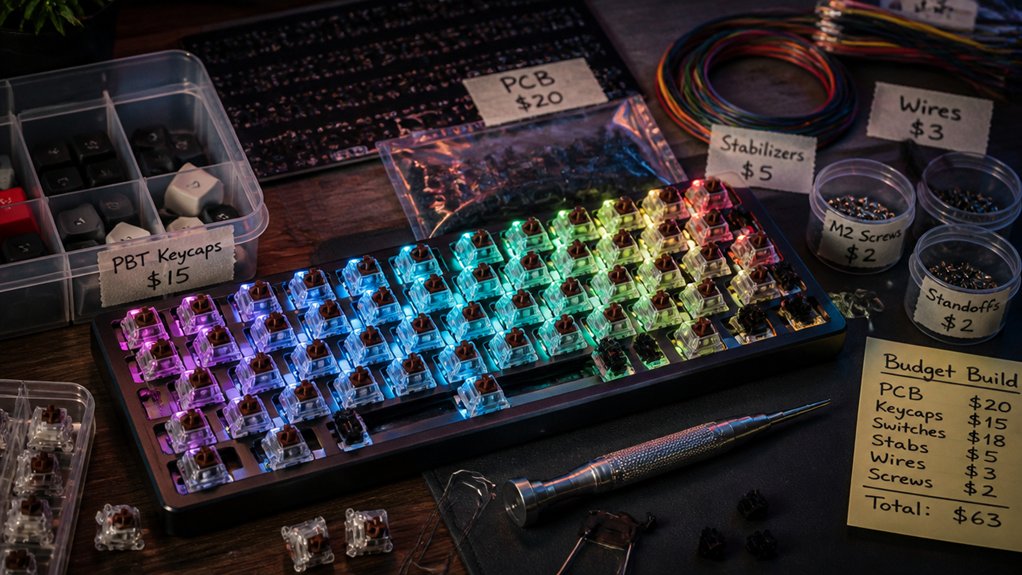
Choosing affordable components for your mechanical keyboard can substantially save you money and hassle down the line. A budget-friendly board like the Keychron V1, priced around $70-$80, is hot-swappable, letting you replace switches easily without soldering. This means fewer technical frustrations and lower upgrade costs later.
Opting for affordable mechanical switches such as Gateron Milky Yellow ($22 for 70-pack) provides smooth performance ideal for gaming and typing, without splurging on premium switches. Budget-friendly RGB-compatible keycaps like HyperX Pudding ($20 for 104 keys) keep your keyboard vibrant and colorful without blowing your budget.
Additionally, choosing plates made of aluminum or FR4 offers a solid typing feel without expensive materials. Understanding hot-swap socket applications and how they improve stability and ease of switch replacement can help you select the best components for a durable build. These affordable choices help you build a functional, appealing keyboard without sacrificing quality or convenience.
How to Choose a Budget-Friendly PCB With Hot-Swap Switches
Finding a budget-friendly PCB with hot-swap switches is a smart move for building an affordable mechanical keyboard. These PCBs let you change switches easily without soldering, making customization simple and beginner-friendly.
Look for a PCB that supports common switch pin types (3-pin and 5-pin) to maximize switch options and avoid needing adapters. Pair it with aluminum or FR4 plates; this helps balance typing sound and durability without breaking the bank.
Guarantee the PCB is compatible with VIA or QMK firmware—this allows you to remap keys and control RGB lighting without extra software costs. Features like gasket mount or built-in foam support can also enhance the typing experience by improving sound and feel, all while staying budget-conscious. Compatible PCB features ensure easier setup and greater customization options.
Selecting Cost-Effective Plate Materials for Great Sound and Durability
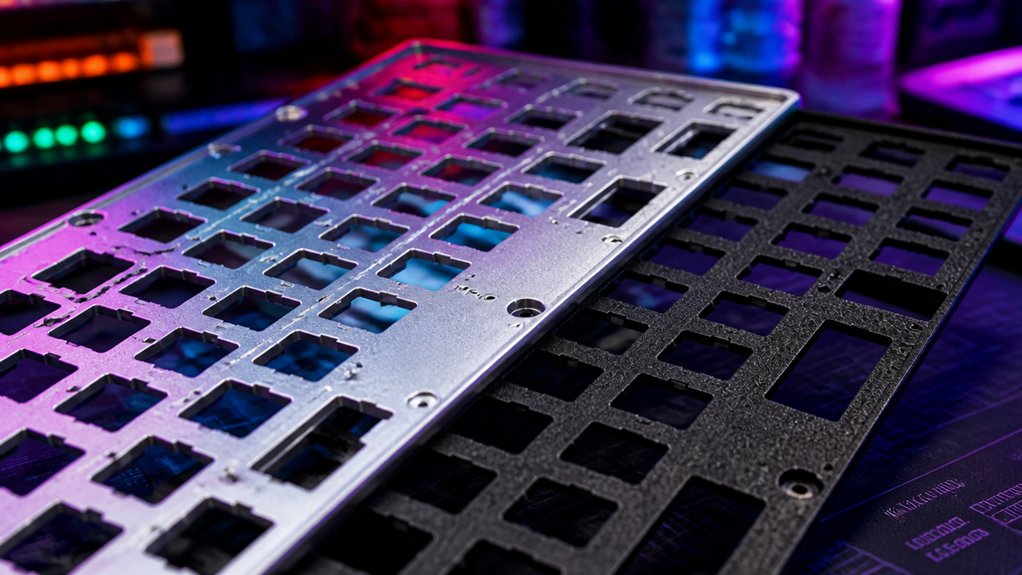
Choosing the right plate material directly affects your keyboard’s sound and durability, especially when working on a budget. Thicker, denser materials like aluminum and FR4 strike a good balance between quality and cost, while softer options can improve acoustics but may wear faster. Additionally, selecting a material with enhanced heat dissipation can extend the lifespan of your components and maintain performance over time. Keep compatibility and ease of modification in mind to get the best performance and sound from your build.
Material Density Impact
The density of your keyboard’s plate material greatly influences both sound and durability, making it a key factor in budget-friendly builds. Aluminum and FR4 plates strike a good balance, offering solid acoustic resonance and durability without the high cost of exotic materials.
Mechanical keyboard enthusiasts often choose these for their satisfying keyboard sounds and reliable feel. Denser materials like brass create sharper tones and a stiffer typing experience but markedly increase the price point. Softer, less dense options such as POM or polycarbonate produce a deeper, softer sound but may sacrifice some durability. Incorporating hot-swap sockets can further enhance customization and ease of switch repairs, making flexible upgrade options more accessible for budget builds.
Compatibility and Modification
Selecting the right plate material is essential for balancing cost, sound, and durability in a budget RGB mechanical keyboard. Aluminum and FR4 plates are cost-effective options that support a stable mount for switches, ensuring consistent sound and a satisfying typing experience. These materials allow well-diffused backlighting, enhancing RGB visibility without sacrificing build quality. Incorporating dense foam dampening between the plate and PCB can further reduce resonant noise, creating a softer and more refined sound profile. Softer plastic plates like POM or polycarbonate reduce typing noise and create a quieter sound profile, improving the overall sound of your keyboard. While brass plates offer a stiffer feel and higher-pitched sound, their higher cost makes them less suitable for budget builds.
Picking Affordable Keycaps That Balance Quality and Cost
Finding the right balance between quality and cost is key when picking affordable keycaps for your RGB mechanical keyboard. PBT keycaps are your best bet—they’re durable, resist shine, and produce a deeper sound compared to ABS. Sets like HyperX Pudding, made of double-shot PBT, guarantee legends won’t fade and allow excellent RGB diffusion. The Gliging minimalist set, with 137 Cherry-profile PBT keycaps, offers a satisfying typing feel without breaking the bank. Focus on keycaps compatible with your keyboard available in OEM or Cherry profile to optimize ergonomics and RGB visibility. Here’s a quick comparison:
| Set | Price | Features |
|---|---|---|
| HyperX Pudding | $20 | Double-Shot PBT, RGB diffusion |
| Gliging Set | $26 | Cherry profile, PBT, 137 caps |
| Artisan caps | $$$ | Custom, premium feel |
A good understanding of double-shot molding techniques is essential to ensure the durability and longevity of your budget keycaps.
Which Switches Offer a Great Feel Without Breaking the Bank?
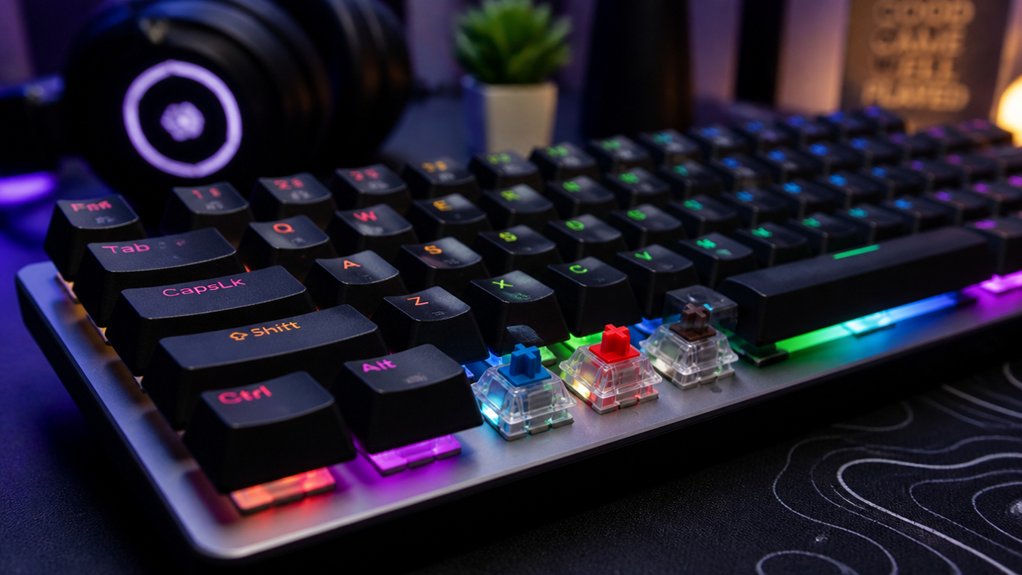
Looking for budget-friendly switches that still deliver a satisfying typing experience? Gateron Milky Yellow switches are a top choice, offering excellent price-to-performance at around $22 for a 70-pack. These linear switches are popular for smooth keystrokes and budget gaming, providing a great switches feel without premium cost.
For a boost in quality, Gateron Oil King switches offer enhanced smoothness and durability at roughly twice the price. Using a hot-swappable PCB makes testing and swapping affordable switches easy—no soldering needed.
To maximize your budget mechanical build, consider lubricating switches for improved sound and feel. Here’s what to look for:
- Budget gaming linear switches
- Custom mechanical options
- Easily switch in hot-swappable setups
- Smooth feel without high price tags
How to Find and Install Cheap Stabilizers and Mods
Ever wonder how to improve your mechanical custom keyboards’ sound and stability without breaking the bank? The trick is finding affordable stabilizers like Durock or generic Cherry-style options, typically costing around $5–$10. Properly lubing them with a syringe lube kit, costing about $10–$15, reduces rattling and extends their lifespan, often without full disassembly. Using stabilizer pads and dampening materials can further minimize noise and vibration. Simple mods like the band-aid or tape mod, where you place blue painter’s tape under the PCB, enhance acoustics and add a deeper “thock” sound at minimal cost. Installing foam or Poron inside the case is an inexpensive way to dampen sound and improve typing feel.
Additionally, clipping and lubing stabilizer wires guarantee smoother key presses, making your budget mechanical keyboard feel more refined without costly upgrades.
Budget Tips to Tune Your Mechanical Keyboard’s Sound and Feel
To enhance your mechanical keyboard’s sound and feel on a budget, start by applying simple modifications that make a noticeable difference without much expense.
Using PBT keycaps offers a deeper, more satisfying keyboard sound and better durability, boosting your build’s overall feel. Adding blue painter’s tape on the underside of your PCB improves acoustics and amplifies the satisfying “thock” sound of tactile switches.
Installing aluminum or FR4 plates balances stiffness and sound profile, avoiding the high-pitched feedback from other materials. Lubricating stabilizers with a syringe reduces rattling noises, enhancing stability.
Finally, placing soft materials like Poron or PolyFil foam inside your case muffles resonance, delivering a quieter, richer experience—all without breaking the bank. Incorporating foam switch dampeners can further shape the sound character and reduce vibration, providing an even more refined typing experience.
Where to Shop for Reliable, Cheap Mechanical Keyboard Parts
Wondering where to find reliable, budget-friendly parts for your mechanical keyboard? You should start by checking out the best budget mechanical keyboards, like Keychron V1 and Glorious GMMK 2, which offer excellent hot-swappable options with RGB features around $70-$80. These boards make sure you get solid build quality without overspending.
For switches, Gateron Milky Yellow packs at about $22 make an economical choice that balances cost and performance. Affordable keycap sets like HyperX Pudding Double-Shot PBT, at around $20 for 104 keys, enhance RGB lighting visibility.
When selecting switches, prioritizing ones with dust-proof and waterproof features can significantly extend your keyboard’s lifespan, especially in messy or unpredictable environments. Top retailers such as Amazon, AliExpress, and Newegg often carry these parts, plus links on our site make it easy to buy a new set. Look for options compatible with VIA or QMK for customizable RGB and remapping features.
Avoid Common Budget Build Mistakes and Save Money Later
To save money later, focus on choosing essential components that meet your needs without paying extra for unnecessary features. Skipping costly soldering tools by selecting hot-swappable PCBs can make upgrades easier and cheaper. Additionally, prioritize compatibility with free software like VIA or QMK to avoid proprietary software costs that add up over time. Opting for hot-swappable PCB options, such as those found in many of the best 75% PCBs listed, can further reduce upgrading costs and simplify customization.
Prioritize Essential Components
Focusing on essential components from the start can save you money and hassle down the line. Choosing a hot-swappable PCB lets you upgrade switches easily without soldering, saving future repair costs.
Prioritize durable PBT keycaps, like the HyperX Pudding set, for longevity and RGB compatibility within a budget. Select linear switches such as Gateron Milky Yellow for smooth, quiet typing suited to gaming and everyday use.
Invest in a reliable, affordable board like the Glorious GMMK 2 to avoid hidden upgrade expenses. Don’t overlook stabilizer tuning; lubing and tuning stabilizers improve typing feel and sound without extra cost.
Prioritizing these core components guarantees your build stays affordable, adaptable, and high-quality from the start.
Avoid Overpaying for Features
Choosing the right features for your budget keyboard can greatly reduce costs in the long run. Opt for hot-swappable boards like the Keychron V1 or Glorious GMMK 2 to avoid extra tools and future switch replacements. Select budget-friendly PBT keycap sets, like HyperX Pudding ($20), ensuring RGB compatibility without paying premium prices. Instead of high-end switches, choose balanced options such as Gateron Milky Yellow (~$22 for 70-pack), which provide smooth linear feel and RGB support. Avoid keyboards with bundled and hard-to-configure RGB software like some Ajazz models. Instead, go for VIA-compatible boards that offer free, user-friendly RGB and key remapping.
| Feature | Cost-effective Choice |
|---|---|
| Keyboard layout | 65% or 75% saving space and cost |
| Switch type | Balanced switches such as Gateron Milky Yellow |
| Keycap material | Budget-friendly PBT sets like HyperX Pudding |
| RGB software | VIA-compatible, free software |
Final Tips to Build an RGB Mechanical Keyboard Under $120
Building an RGB mechanical keyboard for under $120 is entirely doable if you prioritize the right components. Opt for a hot-swappable 65% or 75% build like the Keychron V1 or Glorious GMMK 2, priced around $70-$80. This allows easy switch customization without soldering, keeping costs low.
Use affordable, quality RGB-compatible keycaps such as HyperX Pudding double-shot PBT sets for about $20—offering vibrant lighting and durability. Choose reliable linear switches like Gateron Milky Yellow for approximately $22 per 70-pack, delivering smooth keystrokes.
Use VIA software support to customize RGB effects and remap keys without extra cost. For convenience, select a wireless connection option if available, and consider simple sound mods like painter’s tape to improve sound quality without overspending.
Frequently Asked Questions
Can I Upgrade Switches Later on a Budget-Friendly PCB?
Yes, you can upgrade switches later if your PCB supports hot-swappable sockets. Just make sure the new switches are compatible with your PCB type and layout, so you can easily swap them without soldering or damaging your keyboard.
How Do I Choose the Best Sound Dampening Methods Cheaply?
You can choose foam sheets or thick felt for cheap, effective sound dampening. Place them inside your keyboard case, between the PCB and key switches, to reduce noise without spending much. Experiment to find what mutes best.
Are There Affordable Options for Custom RGB Lighting?
Yes, you can find affordable custom RGB lighting options by exploring budget-friendly LED strips, using affordable keycap sets with built-in RGB, or repurposing inexpensive RGB modules from electronics stores. DIY solutions also help cut costs substantially.
What Tools Are Necessary for Building a Budget Mechanical Keyboard?
You’ll need a soldering iron, keycap puller, switch puller, screwdriver, tweezers, and possibly a multimeter. Gather a quality PCB, switches, keycaps, stabilizers, and RGB LEDs. These tools make assembly easier and guarantee a successful build.
How Do I Troubleshoot Common Issues in Budget Keyboard Builds?
You troubleshoot common issues by double-checking connections, verifying firmware updates, and ensuring compatibility of parts. Test each component individually, look for loose wires or contacts, and consult online forums for specific solutions to common problems.
In Summary
Building an RGB mechanical keyboard on a budget is totally doable when you choose affordable components wisely. By focusing on cost-effective switches, plates, and keycaps, you can create a great-feeling keyboard without overspending. Shop smart and avoid common mistakes to save money and hassle. With these tips, you’ll enjoy a personalized, vibrant keyboard that fits your budget—making your setup uniquely yours without breaking the bank.



