
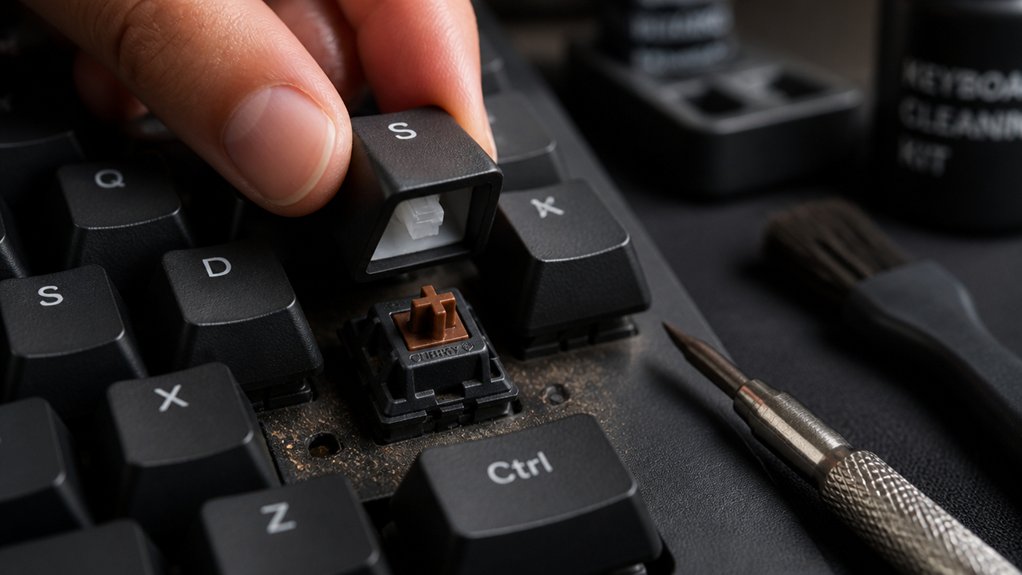
To fix common budget mechanical keyboard issues, start by cleaning dust and debris from under keycaps and switches using compressed air and isopropyl alcohol. Re-lubricate or replace sticky or unresponsive switches, and check connections or update firmware to resolve double typing and detection problems. Upgrading keycaps or switches can improve performance and durability. If issues persist, it’s usually more cost-effective to contemplate replacement. Keep exploring to learn more effective tips and tricks for maintaining your keyboard.
How to Identify Common Budget Mechanical Keyboard Problems
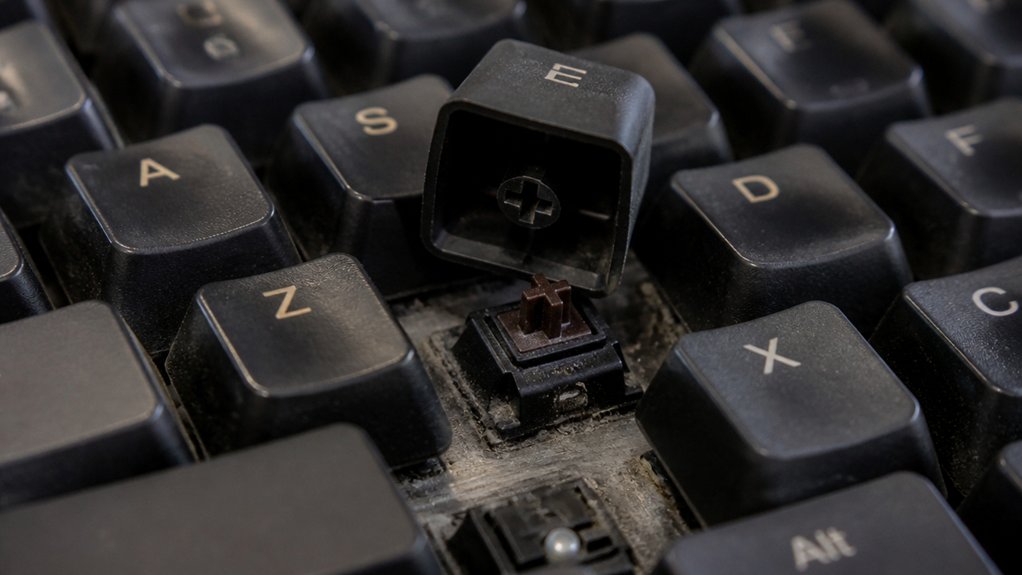
Have you ever experienced keys that suddenly stop responding or produce multiple characters with a single press? This is common with mechanical keyboards, especially budget models.
Unresponsive keys often result from debris or dust trapped under keycaps and switches, preventing proper contact. Sticky keys can occur when dirt, spilled liquids, or insufficient lubrication inside switches slow down key return, causing occasional repeats. Key chatter happens when a single press registers multiple times, often due to switch wear or incorrect debounce settings.
To identify these issues, check if pressing a key doesn’t register, or if it repeats or feels sticky. Listen for rattling noises from stabilizers under larger keys, indicating misalignment or lack of lubrication. Recognizing these signs helps determine which problem your keyboard faces and how to address it. Additionally, understanding how to properly install stabilizers can improve key stability and reduce rattling sounds.
What Causes Dust and Debris to Make Keys Unresponsive or Sticky?
Ever wonder why some keys suddenly become sticky or unresponsive on your mechanical keyboard? It’s often due to dust build-up and debris inside the switches. These particles can get trapped under keycaps or inside mechanical switches, blocking the actuation mechanism and preventing proper key registration. An effective way to prevent such issues is regularly using anti-static sprays that neutralize static buildup and repel dust, keeping your keyboard cleaner for longer.
Everyday usage introduces skin flakes, food crumbs, and lint, which infiltrate switch housings, making keys feel sticky or unresponsive. Spilled liquids or oily residues combine with dust to form gummy substances that hinder smooth key movement.
Budget mechanical keyboards are especially vulnerable because they typically use less sealed switch designs, allowing more dust and debris inside. Over time, trapped debris damages switch contacts and parts, leading to delayed responses or key failure until you clean out the buildup.
Step-by-Step: Cleaning Your Mechanical Keyboard on a Budget
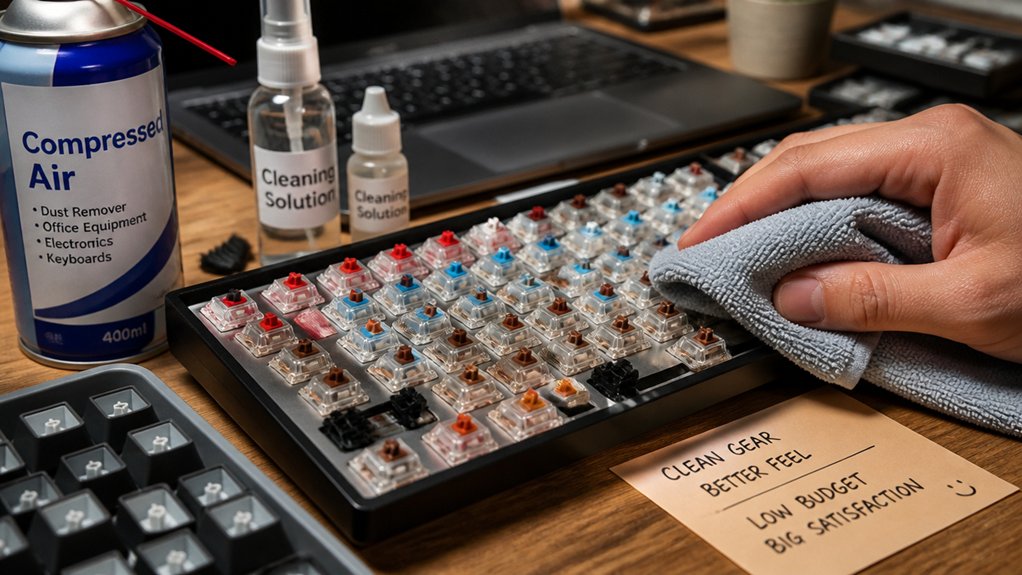
Dust and debris buildup inside the switches is a common cause of sticky or unresponsive keys, especially on budget mechanical keyboards with less sealed switch designs.
To clean your keyboard effectively, start by removing the keycaps using a keycap puller. Soak the keycaps in warm, soapy water for about 30 minutes for a deep clean.
While they soak, use compressed air or a soft brush to blow out dust and debris from the switches and surface without dismantling the entire unit. Wipe down the keyboard’s exterior and between the keys with a slightly damp microfiber cloth or a cotton swab dipped in isopropyl alcohol. Avoid harsh chemicals and excess moisture, which can damage the mechanical switches or the PCB.
Regular cleaning every few months keeps keys responsive and prolongs your keyboard’s lifespan.
How to Fix Double Typing and Key Chattering Easily
You can often fix double typing and key chattering by adjusting your keyboard’s firmware debounce settings. Cleaning the switches or replacing faulty ones can also improve performance, especially on hot-swappable boards. Ensuring your keyboard’s hardware components are of good quality and properly installed is crucial for optimal operation material quality. If these steps don’t help, updating the firmware or swapping out switches is the best way to resolve the issue.
Adjust Firmware Debounce Settings
Adjusting firmware debounce settings is an effective way to resolve double typing and key chatter issues on your mechanical keyboard. By fine-tuning debounce settings, you control how long the keyboard waits before registering a second keypress, reducing unintended inputs.
To do this, you’ll need to access your keyboard software or firmware, often available through manufacturer downloads. First, update the firmware if necessary, then locate the debounce or delay settings. Increasing the debounce time typically minimizes chatter and double typing.
Many budget keyboards allow you to adjust settings directly within the software, giving you control over how your keyboard responds. For example, specific support for firmware features like debounce adjustment can enhance your troubleshooting process.
- Use keyboard software to access debounce settings
- Update firmware for better control and options
- Adjust settings to increase debounce delay
- Test adjustments and fine-tune for peak performance
Clean and Replace Switches
Key switches are often the culprit behind double typing and key chatter on budget mechanical keyboards, especially when dirt, dust, or debris find their way inside. To fix this, start by removing keycaps and clean the switches with compressed air or a small brush to remove debris.
If cleaning doesn’t solve the issue, consider replacing the affected switches, especially if your keyboard has hot-swappable options. Before replacing switches, verify your firmware is up to date, as some double typing problems can be fixed through software updates that adjust debounce settings.
Regular maintenance, like cleaning switches every few months, helps prevent dust buildup that causes key chatter. Whether cleaning or replacing, staying proactive keeps your keyboard functioning smoothly and fixes persistent double typing issues effectively. For added assurance, using stabilizers can also influence the noise and rattle issues that sometimes contribute to inconsistent key registration.
Troubleshooting Connection, Firmware, and Detection Issues
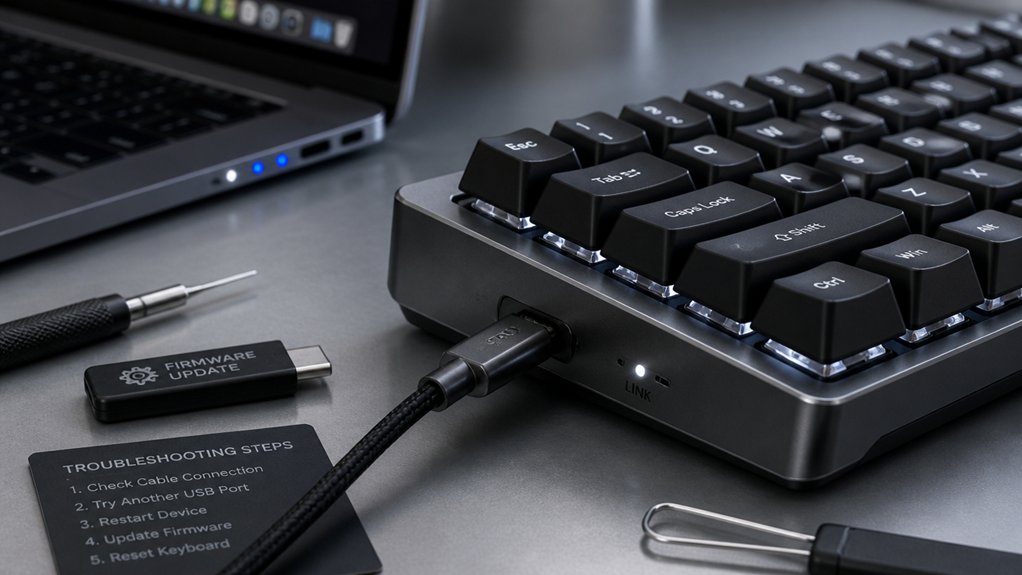
When a mechanical keyboard isn’t being recognized properly, it’s important to systematically rule out connectivity and software issues. Start by checking and reseating the USB connection, and try different USB ports to identify faulty USB or loose cables.
If your keyboard still isn’t detected, replace or test with a different USB cable, as damaged cords are common causes of connectivity failure. Also, update or reinstall the keyboard’s drivers from the manufacturer’s website to fix outdated software conflicts.
If problems persist, perform a firmware reset following the vendor’s instructions—this can resolve glitches that prevent proper detection or function. Additionally, consider the hot-swap compatibility of your keyboard components, as poorly connected or incompatible switches can cause detection issues.
Finally, test the keyboard on another computer to determine whether the issue stems from hardware faults or your system’s specific configuration.
- Check and reseat USB connection
- Try different USB ports
- Replace or test with a new USB cable
- Update drivers and perform firmware reset
How to Fix RGB Lighting and Visual Glitches
After confirming that your keyboard is properly connected and recognized by your system, attention turns to fixing RGB lighting and visual glitches.
First, update your keyboard’s firmware and dedicated RGB software, available on the manufacturer’s website, to fix common lighting issues. Check and firmly reconnect any detachable USB or RGB cables to guarantee stable power delivery to the LEDs.
If you notice flickering or uneven lighting, try resetting the software or rebooting your computer before exploring deeper fixes. Disabling backlighting temporarily can help identify if the problem is hardware-related.
Additionally, regularly clean around the keycaps and surface; dust buildup can interfere with under-key RGB LEDs, causing visual glitches. These steps can often resolve common lighting issues without extensive repairs.
To improve overall lighting stability, ensure your power supply matches the voltage rating of your LED strips and avoid connection issues that could cause flickering.
Re-Lubricating or Replacing Faulty Switches for Better Performance
If your budget mechanical keyboard feels sticky or unresponsive, re-lubricate the switches to restore smoothness and improve performance. Start by carefully removing keycaps and testing the switches.
Clean them thoroughly with compressed air or isopropyl alcohol to eliminate dust and debris. Then, re-lubricate the switch sliders using a recommended lubricant like Krytox GPL 205, which reduces friction and enhances tactility.
If issues like key chatter or double typing persist, you may need to replace the faulty switch, especially if your keyboard supports hot-swappable switches for easy swaps. Be sure to match switch types precisely to avoid damaging the PCB.
Regular maintenance like re-lubricating switches can extend their lifespan and keep your keyboard typing smoothly. Properly applied lubricants ensure optimal performance and reduce unwanted noise during use.
How to Improve Durability With Stabilizer and Build Fixes
Lubricating and replacing switches can dramatically improve your keyboard’s feel, but addressing the stabilizers is just as important for durability and consistent performance. Properly lubricating stabilizers with appropriate grease reduces squeaking and rattling, enhancing key feel and extending their lifespan.
Make sure stabilizer wires are properly clipped into the housing at both ends to prevent loose movement, noise, and premature wear. Upgrading to premium, pre-lubed stabilizer kits can offer quieter, smoother keypresses and improve overall durability. Additionally, reinforcing your build components—like choosing full aluminum bodies or reinforced frames—boosts the structural stability of your mechanical keyboard. Regular cleaning of stabilizers and build parts removes debris that might cause stress or deterioration, ensuring your keyboard lasts longer and performs reliably. Maintaining the correct stabilizer compatibility and installation practices will help prevent issues and extend the life of your keyboard.
When and How to Reset or Update Firmware for Optimal Functionality
Are you experiencing unresponsive keys, flickering RGB lights, or erratic performance from your budget mechanical keyboard? These issues often signal the need to reset or update your keyboard’s firmware.
You should consider resetting or updating firmware when you notice bugs, lighting glitches, or degraded responsiveness.
To do this, follow the manufacturer’s official instructions—usually found on their website or included software.
- Disconnect other USB devices and connect your keyboard directly to your PC.
- Backup your current settings if possible before updating.
- Use the official update tools to install the latest firmware.
- If the keyboard becomes unrecognized, utilize recovery modes or recovery tools.
- For quick resets, you may also consider reset buttons designed for various firmware flashing and troubleshooting purposes.
Resetting or updating firmware can restore your keyboard’s full functionality, ensuring better stability and performance.
Affordable Upgrades: Replacing Keycaps and Switches
Upgrading your keyboard’s keycaps and switches can considerably enhance its feel and durability without breaking the bank.
Replacing standard ABS keycaps with PBT keycaps offers better durability and a more satisfying typing experience.
If you have a hot-swappable mechanical keyboard, switch replacement is straightforward—no soldering needed. You can easily upgrade to switches with higher actuation lifespans, like those rated for 50-80 million presses, boosting your keyboard’s longevity.
Additionally, affordable mechanical switch sets and keycap replacement kits are available online, often costing less than a dollar per piece.
Before swapping switches, clean and lubricate them to improve smoothness and eliminate noise or sticky keys.
These simple, cost-effective upgrades can make a significant difference in your keyboard’s performance and feel.
Simple Tips to Maintain Your Keyboard and Prevent Issues
Wondering how to keep your budget mechanical keyboard working smoothly? Regular cleaning is key—use compressed air and a soft brush to remove dust and debris that can cause sticky keys.
Carefully remove keycaps with a puller, and clean around switches with isopropyl alcohol to prevent grime buildup.
Remove keycaps carefully and clean around switches with isopropyl alcohol to prevent grime accumulation.
Make sure your software, including firmware and drivers, stays updated to fix glitches like double typing or unregistered presses.
Avoid eating or drinking near your keyboard to prevent liquid spills, which can lead to sticky switches or damage the cable.
When not in use, store your keyboard in a dust-free environment and unplug it safely to extend switch lifespan.
- Use compressed air regularly to keep dust out
- Clean around switches with isopropyl alcohol
- Keep software and firmware updated
- Avoid damaged cables for safe operation
Should You Replace Your Budget Mechanical Keyboard? When and Why
If your keyboard has multiple sticky or unresponsive keys, or persistent issues like key chatter, it might be time to replace it.
Consider whether repairs are worth it financially and practically, especially if physical damage or hardware wear is evident. Upgrading to a more reliable model could save you hassle and improve your overall typing experience.
Signs of Mechanical Wear
Mechanical wear signs can silently undermine your keyboard’s performance, making typing frustrating and unreliable. If you notice issues like keys becoming unresponsive, sticky, or exhibiting key chatter despite regular switch cleaning and firmware updates, it’s a red flag.
Budget mechanical keyboards often have switches rated for fewer key presses, meaning they wear out faster. Persistent problems, such as double typing or sticky keys that don’t improve after switch cleaning or lubrication, indicate switch degradation.
Additionally, physical damage like worn-out keycaps or damaged switch stems signals it’s time for a replacement. When multiple keys fail or experience inconsistent input that cleaning doesn’t fix, replacing your keyboard may be the more practical solution. Recognizing these signs helps you determine when it’s time for an upgrade.
Cost-Effectiveness Considerations
Considering the costs associated with repairing a budget mechanical keyboard often makes replacement the more practical choice once certain issues arise. If your board’s failure occurs after the warranty expires, repair costs—like replacing switches or seeking professional servicing—might outweigh the value of repairing it. Frequent issues such as unresponsive keys or chatter often can’t be fully fixed through cleaning or firmware updates due to build limitations.
Here’s a quick look at when to replace:
| Issue | When to need to replace |
|---|---|
| Early switch failure | Repair costs exceed replacement value |
| Persistent hardware faults | Repairing PCB or stabilizers is complex and costly |
| Frequent key chatter | Not fixed by cleaning, better to replace |
| Build limitations | Long-term durability favors new, mid-range keyboards |
Replacing makes sense when repair costs pile up or failure steadily recurs.
Upgrade Versus Replacement
While repairing a budget mechanical keyboard might seem feasible at first, ongoing issues often make replacement the smarter choice. These keyboards often use lower-quality switches and materials, limiting upgrade options and making replacement more cost-effective when issues over time persist.
If you experience persistent problems like unresponsive keys or key chatter after cleaning and firmware updates, replacing your keyboard is usually better because many budget models lack hot-swappable switches or repair-friendly features.
When RGB lighting or software compatibility issues can’t be fixed through updates, a more reliable or premium replacement can greatly improve performance.
Additionally, frequent hardware failures or a diminished typing experience after extended use justify jumping to a new keyboard rather than investing in minor upgrades or repairs.
Frequently Asked Questions
How to Fix Common Keyboard Issues?
You can fix common keyboard issues by cleaning dust and debris, updating firmware, adjusting debounce settings, replacing faulty switches, and ensuring proper connection. Regular maintenance, software updates, and troubleshooting different ports or cables help resolve most problems efficiently.
What Is a 96% Keyboard Missing?
A 96% keyboard is missing a dedicated navigation cluster, such as Insert, Home, and Page Up keys, and a separate number pad. It combines most numpad keys with the main cluster for a space-saving design.
Why Is My Mechanical Keyboard Not Working Properly?
Your mechanical keyboard isn’t working properly because dust or debris may be under the keys, the firmware might need updating, switches could be worn out, or there could be connection issues. Check and clean, update, or reset it to fix the problem.
Is 84 Keys 75%?
Yes, an 84-key keyboard is typically classified as a 75% layout. You get most essential keys, including the function row and arrow keys, in a smaller, space-efficient design that balances functionality and desk space.
In Summary
Keeping your budget mechanical keyboard in top shape doesn’t have to be costly. Regular cleaning and troubleshooting small issues can extend its lifespan and improve performance. Don’t hesitate to replace keycaps or switches if needed, and keep your firmware updated. With some simple care, you can enjoy reliable, satisfying typing for years. Remember, if problems persist beyond basic fixes, it might be time to evaluate a replacement—saving you frustration and ensuring a better typing experience.



