
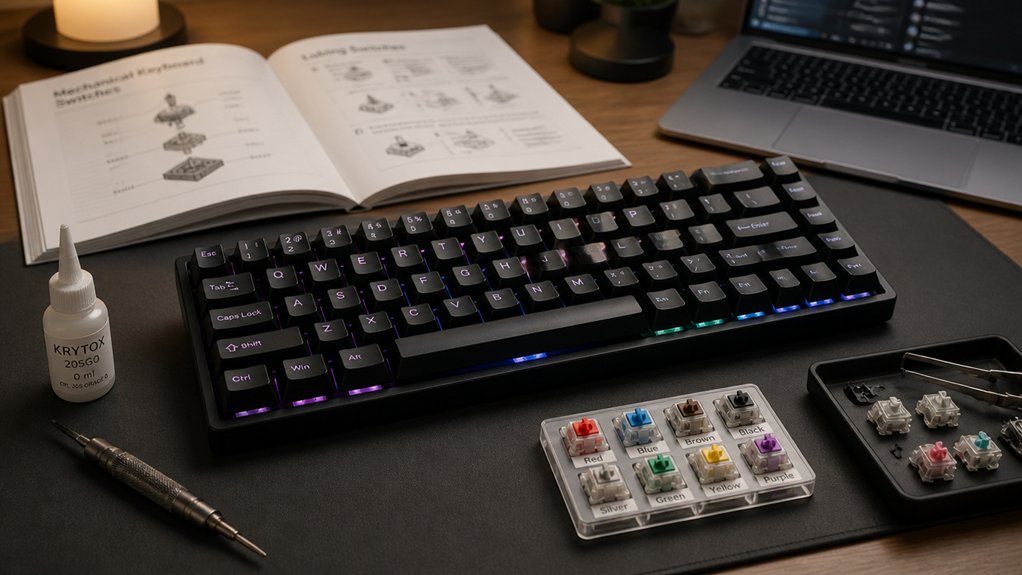
Start by setting a budget between $70 and $150 and prioritize wireless options like Bluetooth or 2.4 GHz for seamless use. Choose a compact layout such as 60%, 65%, or 75%, with hot-swap PCBs for easy switch changes. Lubricate linear switches and tune stabilizers to improve sound and feel, and add foam inside the case for damping. If you keep these tips in mind, you’ll learn more about building a reliable, budget-friendly wireless keyboard.
Define Your Budget and Key Features
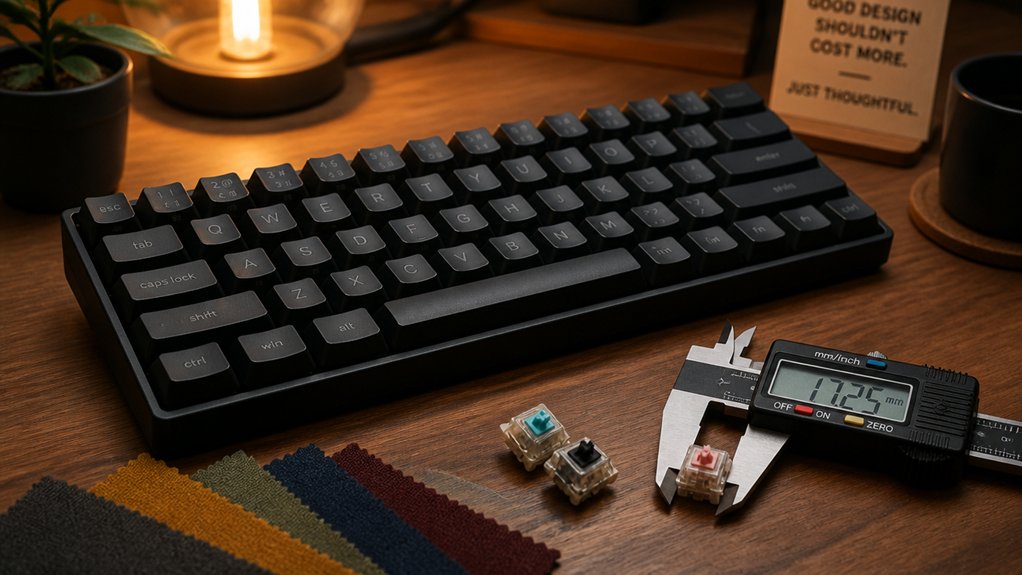
Before choosing a wireless mechanical keyboard, it’s important to define your budget and identify the key features you need. Budget wireless mechanical keyboard kits and switches typically start around $70-$150, but costs can rise with keycaps and accessories.
Prioritize wireless connectivity options like Bluetooth or 2.4 GHz for seamless use. Look for hot-swap PCBs if you want to change switches easily, and consider a compact layout—such as 60%, 65%, or 75%—to balance portability with functionality.
Think about whether you want extras like media controls or a volume knob, which can impact cost. Also, check for good battery life and reliable connectivity to prevent latency issues.
Finally, consider programmability options like onboard macros or RGB lighting to enhance your typing experience without overspending. Exploring PCB customization options can also help tailor your keyboard to your specific preferences and requirements.
Select Cost-Effective Parts Without Sacrificing Quality
Choosing cost-effective parts doesn’t mean you have to compromise on quality; smart selections can give you excellent performance without breaking the bank.
Opt for a hot-swap keyboard that supports 2.4 GHz wireless connectivity to avoid soldering and guarantee low latency, ideal for gaming and daily use. For switches, consider affordable linear switches like Gateron Milky Yellow, which offer smooth operation and can be improved with inexpensive lubing supplies.
Use PBT keycaps from reputable knockoff GMK clones to balance durability and aesthetics without waiting for group buys.
When building your custom mechanical keyboard, prioritize a sturdy plate and PCB in a quality keyboard kit, and enhance sound with simple mods like foam inside the case. Follow a build guide for peak assembly, focusing on value and performance. Additionally, selecting a 75% layout with features like hot-swappable switches and advanced connectivity options can greatly enhance your overall experience and versatility.
Pick a Compact, Wireless Layout That Fits Your Needs
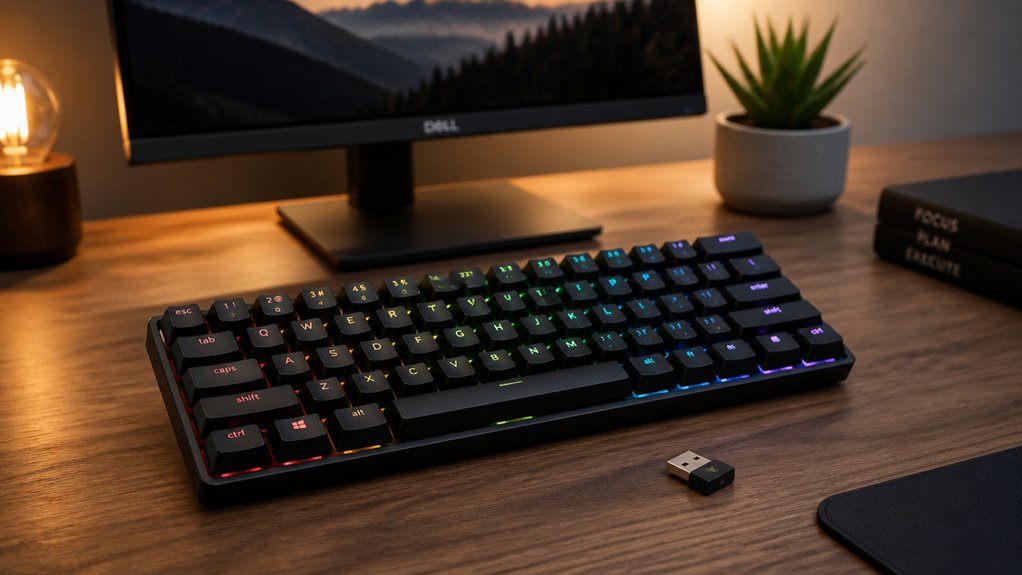
Opting for a compact, wireless layout can greatly boost your workspace efficiency and portability without sacrificing functionality.
Choose from compact wireless layouts like 60%, 65%, or 75%, which save desk space and are easy to carry. Popular wireless keyboards, such as the Keychron K1 or NuPhy Air75 V3, offer these layouts for casual typing and light gaming.
Prioritize keyboard layouts that include dedicated arrow keys and a function row, especially on 65% or 75% boards, for better navigation.
Hot-swap sockets on some models enable easy switch replacements and customization without soldering.
Consider Bluetooth or 4 GHz wireless modes for low latency and broad device compatibility.
Being aware of layout options ensures you select a keyboard that perfectly matches your preferences and workflow.
Picking a layout that matches your needs guarantees a balance of functionality and portability for your custom keyboard build.
Improve Sound and Feel With Easy Mods and Lubrication
Improving the sound and feel of your budget wireless mechanical keyboard can be surprisingly simple with a few easy modifications. Start by lubricating switches, especially linear switches like Gateron Milky Yellow, with Krytox 205g0. This improves smoothness and reduces scratchy sounds.
Enhance your budget wireless keyboard by lubricating switches to improve smoothness and reduce noise.
Next, focus on stabilizers: clip and lube plate-mounted stabilizers’ housings and wires to minimize rattling and noise. Adding a band-aid mod or tape underneath stabilizers enhances damping.
Inside the keyboard build, insert foam or polyfill to dampen hollow resonance and improve the acoustic profile. Using sound absorbing materials, like thin foam layers, further softens bottom-out noise and enhances thock.
Prioritize stabilizer tuning first, as good stabilizers greatly influence overall sound and feel before lubing switches and adding insulation. Considering foam dampeners can significantly shape the sound profile and vibration control for an even better typing experience.
Prepare and Execute Your Build With Realistic Expectations
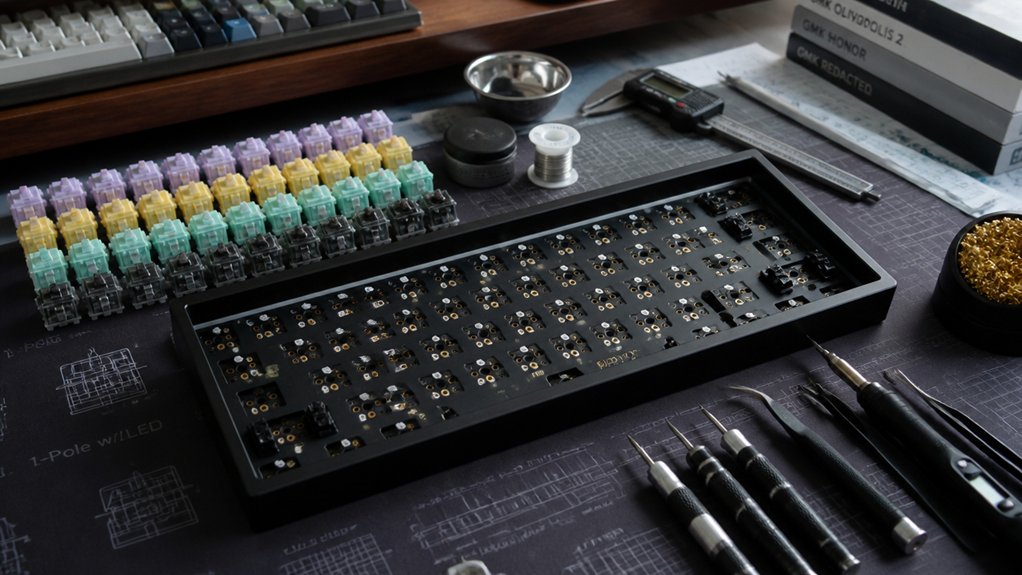
Building a budget wireless mechanical keyboard requires careful planning and tempered expectations, as compromises are often necessary to stay within your budget. Expect to choose plastic cases, possibly with aluminum frames, to balance durability and cost.
Hot-swap PCBs supporting five-pin switches make modding easier, allowing you to swap switches without soldering. Keep in mind that software limitations in budget kits may restrict RGB customization unless you’re comfortable with less flexible tools.
Sound quality might be lower due to hollow plastic bottoms and north-facing LEDs, so plan for mods like foam or stabilizer lubing to improve acoustics. Using affordable keycaps and switches, like Gateron Milky Yellow, helps keep costs under $100, but additional modding supplies are optional expenses. For easier switch replacement, selecting kits with hot-swap compatibility can save you time and frustration.
Patience and realistic expectations will guide your successful build.
Frequently Asked Questions
Is It Cheaper to Build Your Own Mechanical Keyboard?
Yes, building your own mechanical keyboard can be cheaper initially, especially if you choose basic components. However, costs can add up with tools and modifications, making DIY builds roughly comparable to or slightly less than mid-tier pre-built options.
What Is a Good Budget Mechanical Keyboard?
A good budget mechanical keyboard is the Keychron K1 or TM-680, costing under $150, featuring a compact layout, hot-swap switches, reliable PCBs, and optional RGB lighting, perfect for customizing and improving sound and feel affordably.
What Is a 96% Keyboard Missing?
A 96% keyboard is missing dedicated macro and navigation clusters, extra keys like Print Screen or Scroll Lock, and often a separate numeric keypad. It combines essential keys into a compact layout, saving desk space while maintaining full typing functions.
Is 84 Keys 75%?
Yes, an 84-key keyboard typically fits into the 75% layout category. You get a compact design with dedicated arrow keys, function row, and navigation cluster, offering the essential features in a smaller, more portable form factor.
In Summary
Building a budget wireless mechanical keyboard is completely doable with the right planning. Focus on your key features, choose quality parts that won’t break the bank, and pick a layout that suits your needs. Simple mods and lubrication can greatly enhance the sound and feel without extra cost. With patience and realistic expectations, you’ll end up with a personalized, high-functioning keyboard that fits your budget and style. Enjoy the build process and your new typing setup!



