

If you want a custom DIY keyboard kit with an OLED display, look for models featuring hot-swap PCBs and support for QMK or VIA firmware for real-time visual feedback and customizable animations. Gasket mounts provide comfortable typing while protecting the OLED, especially in aluminum cases that manage heat well. Expect kits starting around $150 with premium build quality and sleek designs. To truly enhance your setup, exploring mount types, case materials, and firmware options will boost both aesthetics and performance.
Why OLED Displays Transform Custom DIY Keyboards
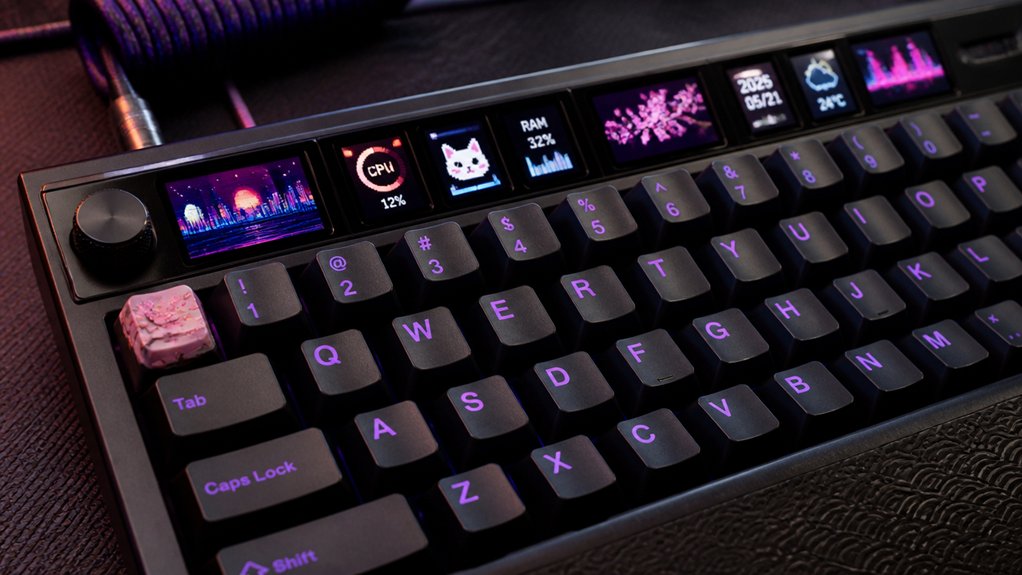
When you add an OLED display to your custom DIY keyboard, you gain real-time visual feedback that makes layers, macros, and system stats instantly accessible. OLED displays allow you to monitor essential keyboard functions at a glance, boosting your workflow and interaction with the device.
They bring a sleek, high-tech look that pairs perfectly with CNC-machined cases and RGB lighting, making your custom keyboard stand out visually. These displays work seamlessly when paired with compatible PCBs and firmware like QMK or VIA, giving you control over what appears on-screen.
Plus, OLEDs consume minimal power and offer deep blacks and sharp contrast, ensuring clear visibility in any environment. By integrating an OLED display, you transform a simple input tool into an advanced, visually dynamic experience.
Key Features to Look for in OLED Keyboard Kits
Although OLED keyboard kits come in various styles, several key features consistently enhance functionality and user experience. When choosing your kit, prioritize integrated OLED displays that offer customizable visuals like system stats and animations. Support for QMK or VIA firmware is essential, letting you program dynamic OLED content alongside macros. Look for hotswap PCBs, which simplify switch installation and enable OLED-driven updates without extra software. These features come mostly in premium models, starting around $150, emphasizing build quality and personalization.
| Feature | Benefit |
|---|---|
| OLED Display | High-contrast, customizable visuals |
| Firmware Support | Dynamic content and macro control |
| Hotswap PCBs | Easy switch changes, OLED updates |
| Build Quality | Premium feel and durability |
Gasket vs Tray Mounts: Which Is Best for OLED Keyboards?
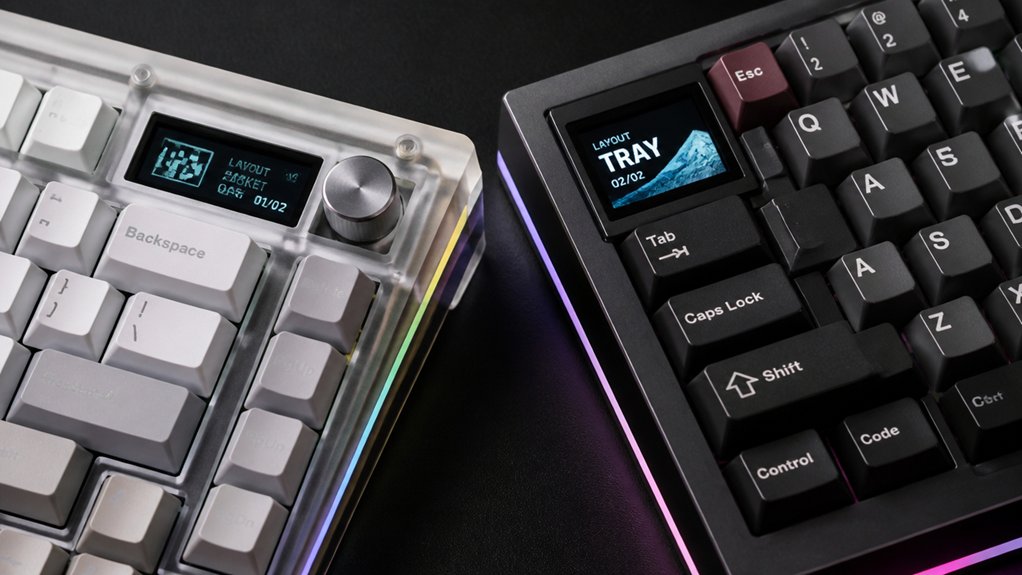
How do you choose between gasket and tray mounts for your OLED keyboard? If you want a softer typing feel that cushions keystrokes and reduces vibrations, a gasket mount is your best bet. Its elastomer strips help protect your delicate OLED screen from impact while minimizing acoustic feedback, enhancing display clarity.
In contrast, a tray mount offers a firmer, more rigid typing experience but may transmit more vibrations directly to the case and OLED, which can affect screen durability and comfort. Your choice boils down to whether you prioritize typing comfort and OLED protection with a gasket mount or prefer a solid, less flexible feel despite potential extra screen vibrations from a tray mount.
Ultimately, it’s about your typing style and how much you value OLED screen preservation.
Choosing the Right Case Material and Design for OLED Keyboards
When choosing a case for your OLED keyboard, you’ll want to weigh materials that complement both function and style, like aluminum for its rigidity and heat dissipation or polycarbonate for enhancing the display’s glow.
The design can also impact how your OLED screen stands out, with angled surfaces and minimalist shapes drawing focus to the display.
Finally, don’t overlook heat management, since maintaining ideal temperatures helps protect your OLED’s longevity.
Case Materials Compatibility
What makes a keyboard case ideal for showcasing an OLED display? When building Custom Mechanical Keyboard Kits, you want a case that not only fits your style but also enhances the OLED display’s visibility and stability.
Aluminum cases offer a rigid structure that gives your keyboard a solid feel and louder, deeper sound, boosting the OLED’s impact. Polycarbonate cases provide flexibility and diffuse light better, reducing glare and letting your OLED shine with softer illumination. Acrylic cases deliver high RGB transparency, making the OLED colors pop, though they’re more fragile and less protective.
Also, pick a case design with proper cutouts or mounts to secure your OLED display without obstruction. Mount styles like gasket or top mount affect vibration transmission, influencing your OLED screen’s stability during use.
Design Impact On Display
Though selecting the right case material is essential for your keyboard’s overall feel, it plays an equally important role in optimizing your OLED display’s clarity and impact. Aluminum cases, common in premium DIY kits, provide sturdy housing that minimizes light bleed and reflections, enhancing OLED display legibility and sharpness.
Unlike translucent polycarbonate, which can reduce contrast, aluminum or other opaque materials keep your OLED crisp and clear. Design also matters: angled or intersecting surfaces, like those on the Oblique model, add visual depth that draws attention to the screen. Plus, gasket mount designs with elastomer strips cushion your typing without transferring vibrations to the OLED.
Finally, precise cutouts guarantee your OLED remains unobstructed, preserving sharp text and icons for seamless in-use feedback.
Heat Dissipation Considerations
Since OLED displays generate heat during extended use, choosing the right case material and design is essential to protect your keyboard’s longevity and performance. For your build, aluminum cases stand out, offering superior heat dissipation and longevity for OLED modules. Polycarbonate or acrylic options look great but trap heat. Incorporate internal dampening foam and ventilation to enhance airflow without sacrificing acoustics or aesthetics. Thicker aluminum or heat sink designs improve thermal management, especially for bright OLEDs. A gasket mount in an aluminum case balances typing feel and heat control well.
| Case Material | Heat Dissipation |
|---|---|
| Aluminum | Excellent |
| Polycarbonate | Poor |
| Acrylic | Poor |
| Aluminum + Foam | Enhanced |
| Aluminum + Gasket | Balanced comfort & cooling |
Best Hot-Swap PCBS With OLED Support for Easy Assembly
Several hot-swap PCBs with OLED support stand out for making keyboard assembly simple and enjoyable. These boards let you swap mechanical switches without soldering, speeding up builds and modifications.
Notable options include the Keychron Q1 V2 PCB, which features OLED functionality and supports VIA and QMK firmware for deep customization of both lighting and display content. The QwertyKeys Neo65 Core Plus offers an elegant design paired with OLED feedback, perfect for custom keyboards that blend aesthetics and functionality.
For TKL layouts, the Drop CTRL Barebones kit’s hot-swappable PCB with an integrated OLED screen allows you to monitor macros or system stats effortlessly. Choosing a hot-swap PCB with OLED support not only streamlines assembly but also enriches your typing experience with personalized visuals.
Top 3 Affordable OLED Keyboard Kits for Beginners
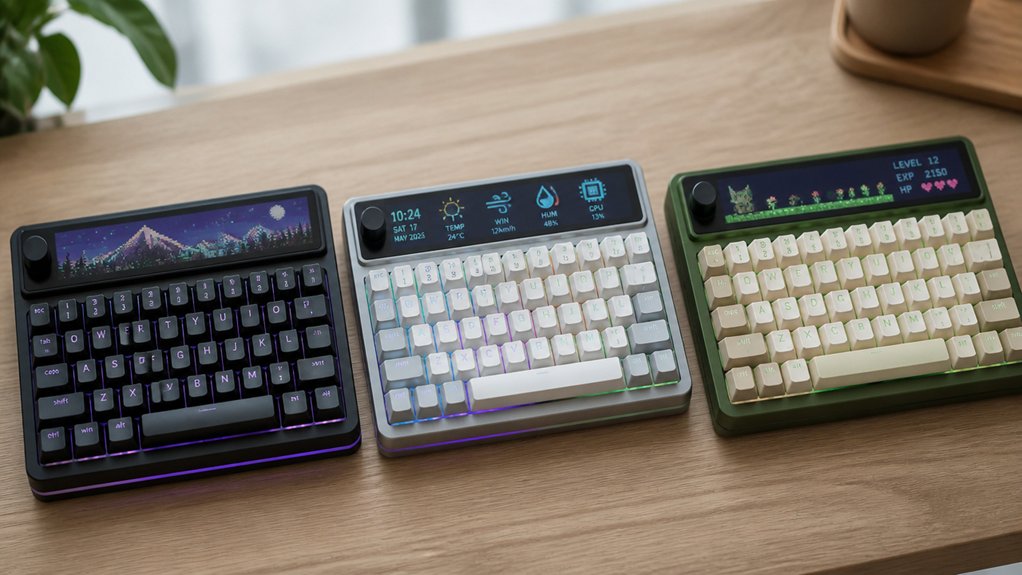
Finding an affordable OLED keyboard kit that balances ease of use and customization can jumpstart your custom keyboard journey.
For entry-level custom builders, the EPOMAKER GK61XS kit offers a compact 60% layout with wired and Bluetooth modes around $80, letting you add modular OLED displays easily. The Bauer Lite kit, priced near $120, features a 65% layout with RGB lighting and VIA software support, making it beginner-friendly with integrated OLED options.
Another top custom kit is the Neo65 Core Plus by QwertyKeys, costing $105–125, which includes a hot-swap PCB and tri-mode connectivity, perfect for versatile setups.
These kits combine hot-swap PCBs and OLED displays, giving you customization and easy assembly without breaking the bank—ideal for anyone stepping into the custom keyboard scene.
Premium OLED Keyboard Kits With Advanced Customization
How can you elevate your custom keyboard experience beyond entry-level kits? Premium OLED keyboard kits like the KBDFans Odin V2 and NovelKeys NK87 Aluminum Edition let you build your own keyboard with advanced customization options.
These kits feature durable aluminum cases, gasket or tray mounts, and hot-swappable PCBs compatible with VIA and QMK firmware for deep control. The integrated OLED displays do more than look great—they show real-time system info, RGB lighting adjustments, typing stats, and app-specific profiles.
Priced between $150 and $400+, these kits balance high-end CNC-machined components with enhanced typing feel. If you want a custom build that combines visual flair with functional interactivity, premium OLED kits offer layered foam, multi-material plates, and extensive firmware compatibility, making them perfect for enthusiasts ready to push beyond basic setups.
How to Customize OLED Displays With Firmware and Software
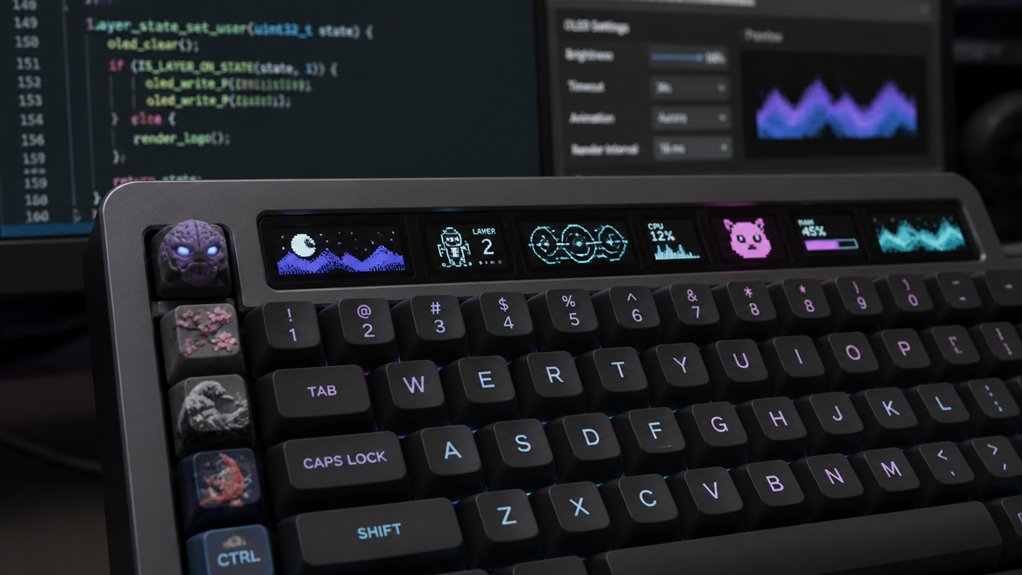
To customize your keyboard’s OLED display, you’ll work mainly with firmware like QMK or software like VIA that offer graphical and status update options.
You can tweak the OLED driver code or use visual tools to show things like layer changes or typing stats.
Getting comfortable with these tools lets you create a display that’s both functional and uniquely yours.
OLED Firmware Configuration
Although customizing OLED displays on your DIY keyboard might seem complex, firmware like QMK and VIA make it straightforward to program visuals such as logos, animations, and real-time info.
OLED firmware configuration involves editing keymap files or using QMK’s graphical configurator to define what shows up, when, and how. You can set content triggered by layer changes or keyboard states, displaying items like typing speed, layer indicators, or custom text.
Common OLED sizes, like 0.91-inch and 1.3-inch, support monochrome graphics and simple animations coded in C or converted from PNGs. After making your changes, you’ll recompile and flash the firmware using tools like QMK Toolbox to test updates.
Software Customization Tools
Mastering OLED firmware configuration lays the groundwork for using software customization tools that simplify the process and broaden your options.
With popular keyboards and kits, tools like VIA and QMK configurators let you tweak OLED displays without constantly reflashing firmware. These tools often use JSON files or simple interfaces to customize icons, text, animations, and layouts.
QMK’s advanced keycodes and layers offer fine pixel control, perfect for custom graphics, system stats, or typing indicators. Many kits include presets and shortcuts, so you can easily switch display modes or toggle features on the fly.
Whether you prefer hands-on code edits or user-friendly apps, software customization tools empower you to personalize your keyboard’s OLED screen exactly how you want.
Maintaining and Upgrading OLED Components in Your Keyboard
When you maintain and upgrade the OLED components in your custom keyboard, you help guarantee its display remains clear and functional over time. Start by gently cleaning the OLED screen with a microfiber cloth and a small amount of isopropyl alcohol to avoid damage.
Keep an eye on your firmware updates, since they often improve OLED performance and fix bugs—so staying current is essential. If you want to upgrade, check that your custom board’s PCB supports higher resolution or larger OLED modules before swapping them out.
Also, secure all solder joints and connector cables firmly to prevent intermittent display issues. Proper cable management, especially for I2C connections, reduces signal interference and guarantees stable OLED operation, helping your custom board’s display last longer.
Tips for Enhancing Your OLED Keyboard’s Typing Experience
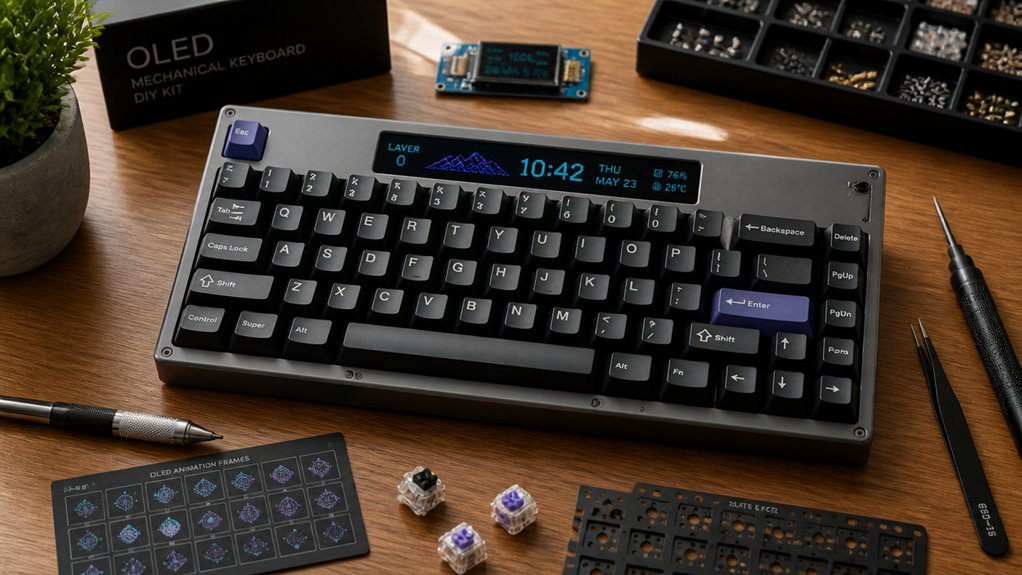
To enhance your OLED keyboard’s typing experience, start by choosing a kit with customizable firmware like QMK or VIA. These let you program dynamic animations and real-time stats, adding interactivity without disrupting your flow.
During the build process, optimize OLED brightness and timeout settings to prevent eye strain while keeping info visible. Pair your OLED with a gasket mount or aluminum case to achieve a satisfying typing feel and balanced sound—this combo guarantees tactile feedback and clear screen visibility.
Take advantage of customization features to display system metrics, current layers, or RF signal strength right on the screen. Finally, keep the OLED clean and smudge-free to maintain sharp contrast and complement your keyboard’s aesthetics, making your typing experience both functional and visually rewarding.
Frequently Asked Questions
Can OLED Keyboards Display Notifications From My Smartphone?
Yes, you can display smartphone notifications on OLED keyboards if you set up the right software and connectivity. You’ll need compatible apps and Bluetooth or USB connections to sync notifications seamlessly to your keyboard’s display.
How Much Power Do OLED Displays Consume Compared to Regular Keys?
OLED displays consume slightly more power than regular keys because they actively light up pixels, but the difference is minimal. You won’t notice a huge battery drain, especially in wired keyboards drawing constant power.
Are There Any OLED Keyboard Kits Compatible With macOS by Default?
Yes, you’ll find some OLED keyboard kits compatible with macOS by default, like the Keychron Q series. They support macOS layouts and shortcuts, letting you customize OLED displays while enjoying seamless Mac functionality right out of the box.
What Warranty Options Are Available for OLED Keyboard Components?
You’ll typically find limited warranties, often 6 to 12 months, covering manufacturing defects for OLED keyboard components. Some sellers offer extended options or replacements, but be sure to check each vendor’s policy before purchasing to avoid surprises.
Can I Replace the OLED Display if It Gets Damaged Later?
Yes, you can replace the OLED display if it gets damaged later. Just make sure to order a compatible replacement screen and follow the installation instructions carefully to avoid damaging other components during the swap.
In Summary
Choosing a custom DIY keyboard kit with an OLED display elevates your typing game and personalization options. By focusing on features like mounting style, case material, and hot-swap PCBs, you’ll guarantee durability and ease of use. Don’t forget to explore firmware customization to make your OLED truly your own. With regular maintenance and thoughtful upgrades, your keyboard will stay fresh and responsive. Jump in, experiment, and enjoy a keyboard that’s as unique as you are!



