
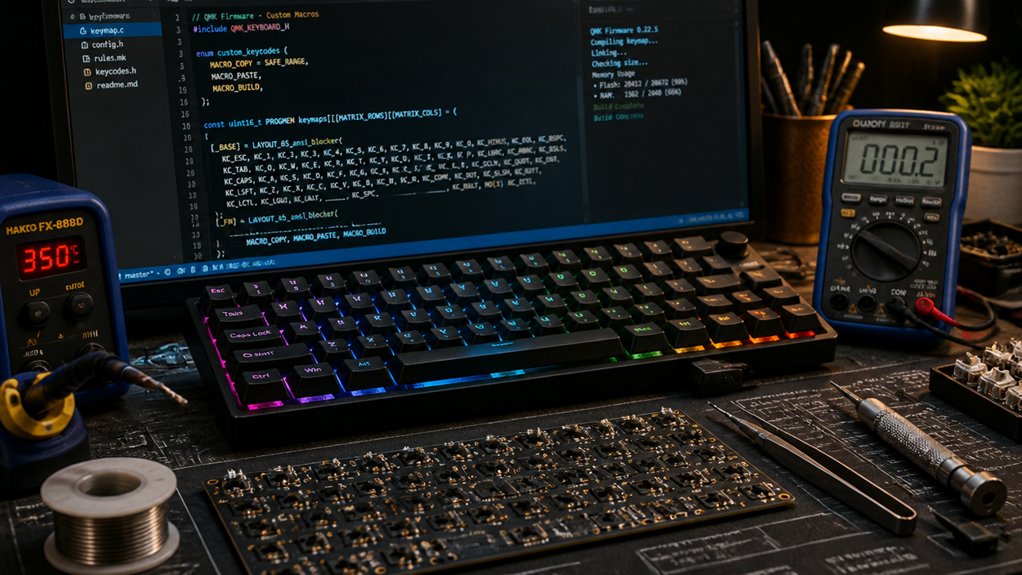
To create macros with QMK firmware, start by setting up your development environment and clone the firmware with submodules. Next, define your custom macros in keymap.c using enums and implement their behavior in process_record_user(). Assign macros to keys in your layout, then test and debug using tools like QMK Toolbox and delays for timing. Organize your files for clarity, and explore advanced options like JSON macros or chording. Keep improving your setup—more tips await if you continue exploring.
How to Create Your First Macro in QMK Firmware
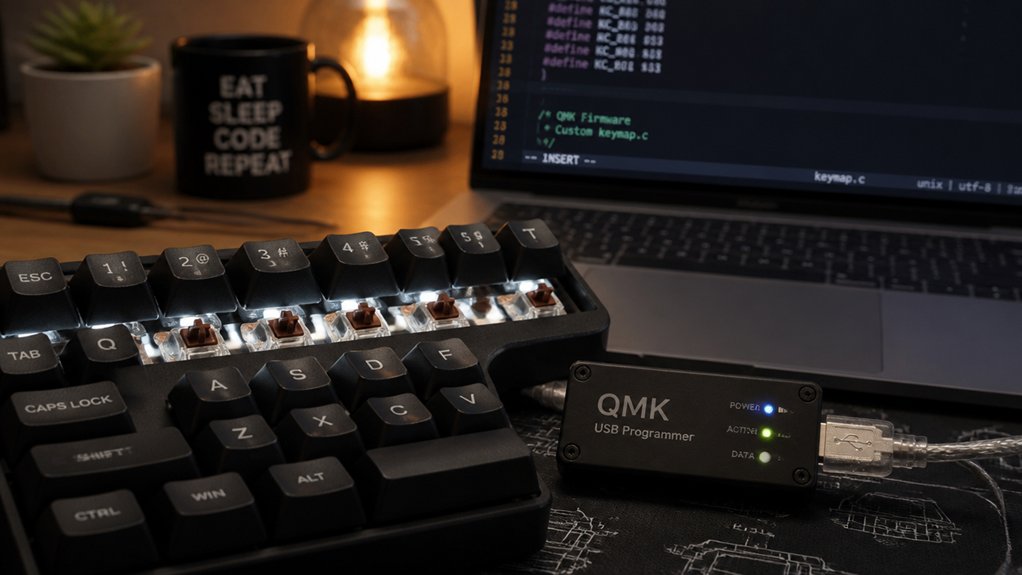
To create your first macro in QMK firmware, start by defining a custom keycode in the `keymap.c` file. You do this by creating a custom keycode in an enum section before your keymaps.
Next, implement the macro logic inside the `process_record_user()` function, which handles keypress events. Use `SEND_STRING()` for typing strings or `tap_code()` for individual key presses as part of your macro actions. When you press your custom keycode, the macro executes.
For simple macros, you can also define them in a JSON array within `keymap.json` using Configurator, with actions like `tap`, `down`, `up`, and `delay`.
It’s important to ensure your macro supports the layer system so it functions correctly across different keyboard modes.
Afterward, compile and flash your firmware with `qmk compile` and `qmk flash` to test your macro.
Setting Up Your Development Environment for Macros
Setting up your development environment for macros involves installing the QMK firmware and preparing your workspace. First, follow the official instructions to install QMK, whether using QMK MSYS on Windows or the setup suitable for your OS.
Clone the qmk_firmware repository with submodules using `git clone –recurse-submodules` and run `qmk setup` to initialize everything. Identify your keyboard model with `qmk list-keyboards` and create a new keymap directory with `qmk new-keymap`.
Confirm your keymap folder contains necessary files like keymap.c, config.h, and rules.mk. To enable macro recording and custom keycode support, add relevant options in rules.mk, such as `DYNAMIC_MACRO_ENABLE = yes`. This prepares your environment for effective macro development within the keyboard firmware.
Additionally, choosing a Pro Micro controller with appropriate features such as onboard protections and USB-C connectivity can enhance your build’s durability and compatibility with firmware features.
Defining Macros in QMK Keymaps: JSON and C Approaches
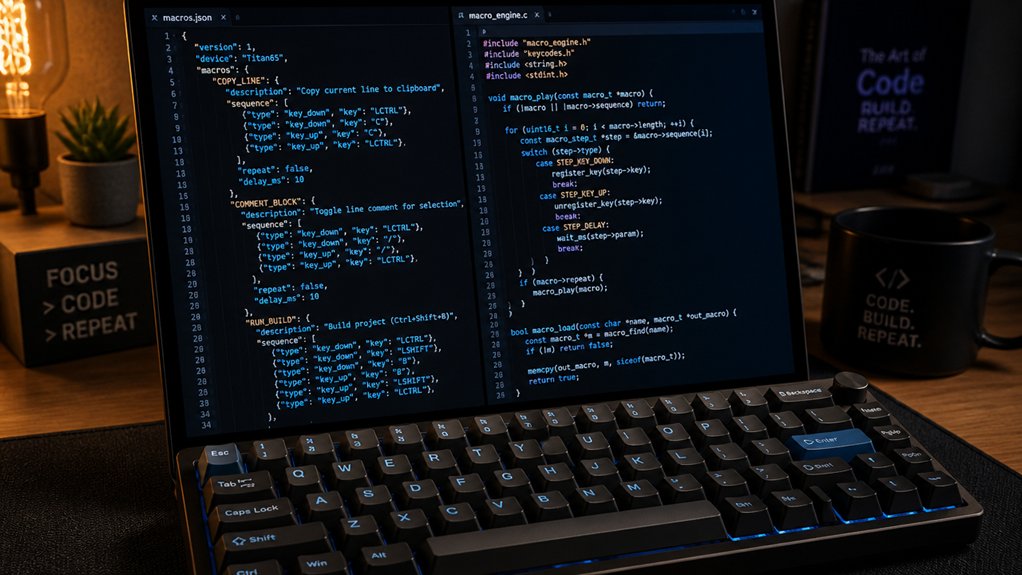
You can define macros in QMK either using JSON configurations or by writing custom C code. JSON macros are simple, supporting basic key sequences and actions, while C macros enable more complex behaviors like conditionals and delays. Additionally, the programmability of QMK firmware allows for tailored macro customization suited to different user needs. Choosing the right approach depends on whether you need straightforward sequences or advanced, stateful macros.
JSON Macro Configuration
JSON macro configuration in QMK allows you to define simple, sequence-based macros directly within the keymap.json file, making it easy to automate common typing patterns. These QMK JSON macros are stored under the “macros” keyword as arrays mixing typed strings and action objects with explicit “action” keys like tap, down, up, delay, and beep. Only basic keycodes without “KC_” are supported, and language-specific keycodes are recommended for non-English layouts. You can configure up to 32 macros to automate keystrokes or delays effectively. While JSON macros suit straightforward typing tasks, complex logic or modifier handling requires C macros. Moreover, proper compatibility with switch types and profiles ensures reliable macro execution. – Use for simple text sequences, delays, and key events – Limited to 32 macros per keyboard – Incorporate language-specific keycodes for better flexibility – Ideal for automating repetitive typing patterns – Suitable for basic custom keycodes, not complex scripts
C Macro Implementation
To implement more advanced or dynamic macros in QMK, defining a custom keycode in C offers greater flexibility than JSON configurations. You begin by creating an enum with SAFE_RANGE to assign unique identifiers to your custom keycodes.
Inside process_record_user(), you handle these keycodes, checking key press and release events. When your custom keycode activates, use SEND_STRING() to output ASCII strings, combining taps, delays, and modifier interactions for complex macros.
Functions like tap_code(), register_code16(), and tap_code16_delay() help manage keyDown and keyUp sequences precisely, ensuring a smooth macro execution. Proper key management is essential for preventing stuck keys or unintended states, so always unregister modifiers and keys explicitly—using clear_keyboard() or clear_mods()—after executing a macro, maintaining a smooth, reliable operation.
How to Assign and Trigger Macros on Your Keyboard
Assigning and triggering macros on your keyboard involves defining custom keycodes in your keymap and then linking them to specific actions or sequences. You’ll do this by creating custom keycodes with enums before your keymaps[] array and implementing their functions in process_record_user(). When you press a key mapped to a custom keycode, it executes the associated macro using QMK functions like SEND_STRING() or tap_code(). To create dynamic macros, use boolean flags and timers within process_record_user(). Incorporating hot-swappable switches can also enhance your macro customization flexibility and responsiveness.
- Define custom keycode enums before keymaps[]
- Implement macro behavior in process_record_user()
- Trigger macros through assigned custom keycodes
- Use QMK functions like SEND_STRING()
- Unregister codes after execution to prevent stuck keys
Using Delays, Modifiers, and Chorded Actions in Macros
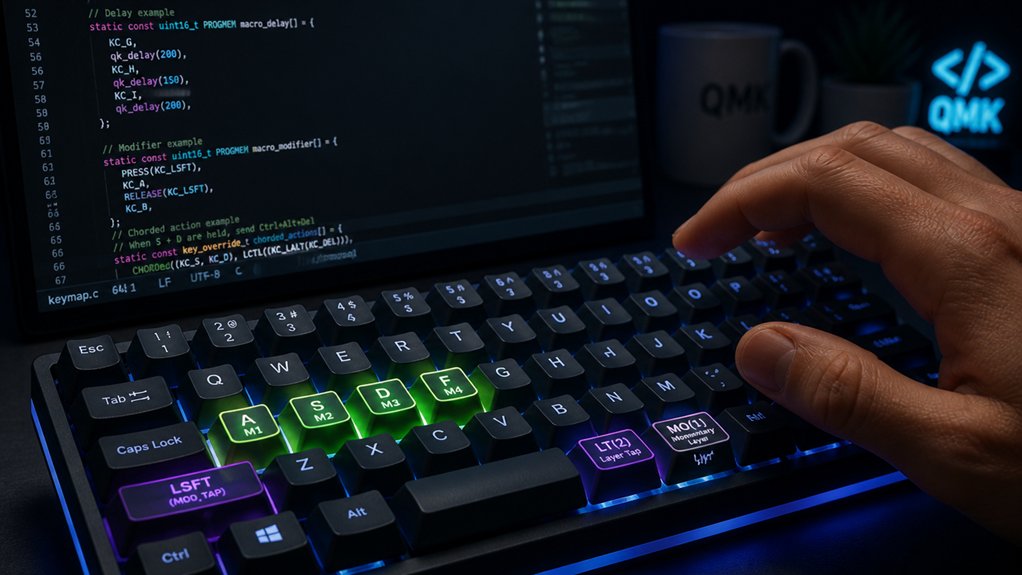
Using delays, modifiers, and chorded actions in QMK macros allows you to create more precise and complex key sequences. To pace key presses and prevent input overload, insert delays with SS_DELAY() or wait_ms(). Register modifiers with register_code16() and unregister_code16() to perform combined sequences like Shift+5. For quick key presses, use tap_code() or tap_code16(), adding tap_code_delay() for smoother timing in chorded actions. To press multiple keys simultaneously, register each with register_code(), then release them with unregister_code(), ensuring no keys stay stuck. Checking active modifiers with get_mods() and MOD_MASK_SHIFT enables conditional logic, such as applying Shift only when necessary. Additionally, utilizing multi-functional key actions allows for even more versatile macro setups. These techniques refine your macros, making complex, reliable key combinations possible within the QMK macro buffer.
How to Test and Debug Your Macros Effectively
To guarantee your macros work correctly, you need to verify their timing and compatibility across different programs. Use tools like QMK Toolbox, Switch Hitter, or Karabiner Event Viewer to monitor input in real-time and spot issues. A thorough understanding of ortholinear PCB layouts can also help you craft more effective and ergonomic macro setups. Don’t forget to enable debug logs and layer diagnostics to identify conflicts or unexpected behavior.
Verify Macro Timing
Ever wondered if your macros are executing as intended or if timing issues are causing unintended behavior? To verify macro timing, you need to test their execution closely. Use built-in delays like JSON `{action: delay, duration: 1000}` or C macro `SS_DELAY(msecs)` to insert pauses, ensuring macros don’t run too fast. Adjust delays with `tap_code_delay()` for individual key taps to improve compatibility. Incorporate hardware tools such as oscilloscopes or logic analyzers to observe signal timing directly for precise troubleshooting. Monitor your macros across various programs and OS environments for consistency. Employ tools like QMK Toolbox, Switch Hitter, or OS-specific event viewers like Karabiner Event Viewer to observe macro behavior and key event timing. Additionally, incorporate explicit wait functions like `wait_ms()` within `process_record_user()` to troubleshoot timing issues and prevent dropped keys.
- Test across platforms to identify inconsistencies
- Use delays to control macro speed
- Adjust tap_code_delay() for compatibility
- Monitor macro events with debugging tools
- Fine-tune timing within process_record_user()
Use Debugging Tools
Debugging your macros is essential to guarantee they execute correctly and consistently across different systems. Start by enabling debug logging in your keymap, setting CONSOLE_ENABLE = yes, and using functions like layer_debug() to identify layer conflicts that may block macro execution.
Use QMK Toolbox or QMK CLI’s real-time logging to monitor key press events and macro outputs, making it easier to spot issues.
To trace macro behavior, insert custom debug prints with uprintf() in process_record_user(), providing insights into key presses, rows, columns, and trigger points. Additionally, paying attention to physical setup and ensuring your hardware connections are stable can prevent subtle issues during testing.
Managing and Organizing Your Macro Files for Efficiency
Effective macro management begins with organizing your macro files logically, which can greatly streamline your workflow. To keep things tidy, separate simple macros in JSON keymap files using arrays of strings and action objects under the “macros” key.
For complex macros, define custom keycodes in C files, declared in enums before your keymaps, and handle their logic inside process_record_user() for clarity and expandability. Maintain modularity by avoiding mixing JSON and C-based macros in one file, reducing errors and confusion.
Use descriptive names for your macro definitions and custom keycodes, making your files easy to read and maintain. Proper organization guarantees your custom key macros are efficient, understandable, and scalable over time.
- Clear separation of JSON and C macro code
- Descriptive, consistent naming conventions
- Logical grouping of related macros
- Use of delays and proper execution commands
- Regular code reviews for clarity
Frequently Asked Questions
Can I Create Macros for Multiple Layers in QMK?
Yes, you can create macros for multiple layers in QMK. You define macros in keymaps for each layer, then assign them to specific keys across layers. QMK handles multi-layer macros seamlessly, giving you flexible, layered functionality easily.
How Do I Update Macros After Firmware Modifications?
You update macros by editing your keymap.c file, recompiling the firmware, and flashing it onto your keyboard. After making changes, test the macros to verify they perform correctly, then save and back up your updated firmware.
Are There Size Limitations for Macros in QMK?
Yes, macros in QMK have size limitations based on memory constraints of your microcontroller. You can optimize macro length and complexity to stay within these limits, ensuring your firmware remains stable and responsive during operation.
Can Macros Be Customized for Different Keyboard Layouts?
Yes, you can customize macros for different keyboard layouts in QMK. You just need to define distinct macro functions for each layout, then assign them appropriately in your keymap files to guarantee seamless functionality across various configurations.
How to Troubleshoot Macro Failures During Use?
To troubleshoot macro failures, first check your key mappings and verify the macro code is correct. Test the macro with different applications, and review your firmware configuration for errors. Update QMK firmware if needed, then reflash your keyboard.
In Summary
Now that you know the steps to create macros with QMK firmware, you’re ready to customize your keyboard for any task. Experiment with different sequences, delays, and triggers to make your workflow seamless. Keep your macro files organized and test thoroughly to guarantee everything works smoothly. With these skills, you’ll reveal new levels of efficiency and convenience, making your keyboard truly your own. Happy coding!



