
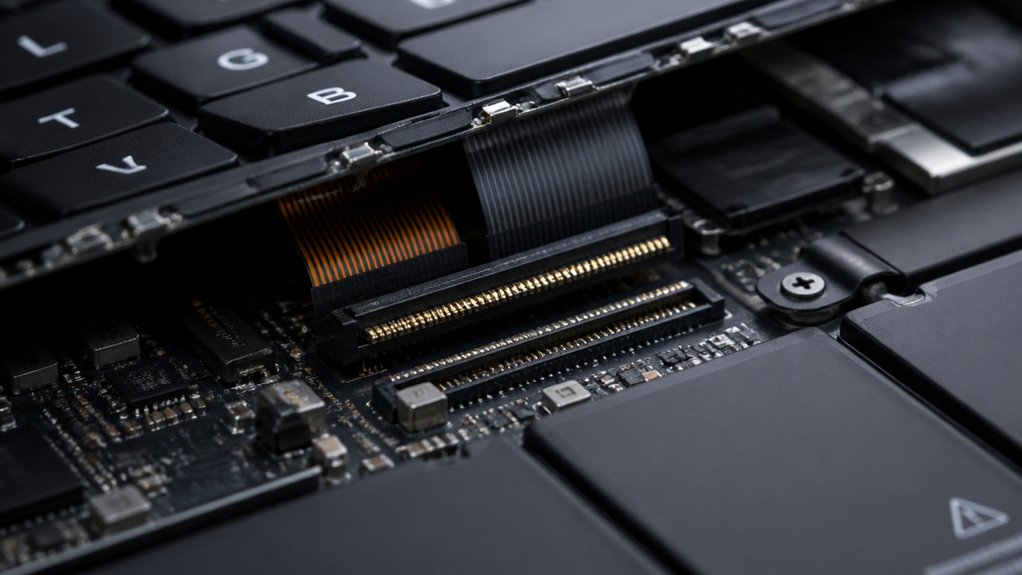
To diagnose keyboard connector problems, first check for unresponsive keys or faulty LED indicators, which suggests connection issues. Inspect and clean the cable, ports, and pins for dirt or damage. Restart your device, then test the keyboard on another computer or try a different keyboard on yours. Run the Windows Troubleshooter, update drivers, and verify BIOS/UEFI settings to guarantee recognition. Adjust language and accessibility settings if needed. Keep going to discover more detailed troubleshooting steps.
How to Recognize Common Symptoms of Keyboard Connection Problems
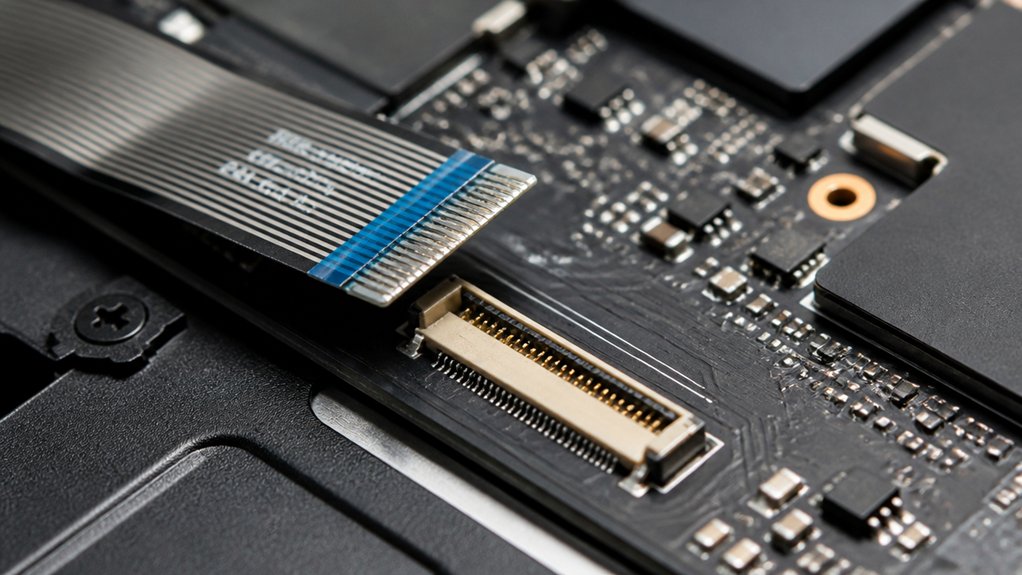
Recognizing common symptoms of keyboard connection problems is essential for quick troubleshooting. If the keys are pressed and nothing happens, or they work intermittently, it indicates a poor or faulty connection.
You might notice the keyboard’s LED indicators—like Caps Lock or Fn keys—don’t respond when pressed, which also signals connection issues. A physical inspection can reveal debris or damage near the keyboard connector or Type Cover port, suggesting a potential problem.
Additionally, testing keyboard keys in the UEFI firmware can help identify if the issue is hardware-related. Frequent disconnections or the keyboard not being recognized during startup are clear signs of connector faults or misalignment. Ensuring that the connector and cable are rated for durability and proper fit can prevent these problems from occurring durability and material quality.
Paying attention to these symptoms helps you determine if the connection is at fault before exploring further troubleshooting steps.
How to Check Your Hardware Connections and Inspect the Keyboard
Before delving into detailed troubleshooting, it’s important to verify that your keyboard or Type Cover is properly connected. Make certain it’s securely attached with proper alignment of the magnetic connector. Detach the keyboard and inspect the connector pins on both the keyboard and device for dirt, debris, or damage, using a magnifying lens if needed. Clean the contacts gently with compressed air or a soft brush to remove dust without causing harm. Check for signs of corrosion, bent pins, or uneven wear, which could indicate hardware failure. Reattach the keyboard firmly. Test the connection by pressing keys like Caps Lock or Fn, and observe the LEDs to confirm an electrical connection. Ensure you perform proper maintenance techniques to prevent further connection issues.
How to Run the Windows Troubleshooter for Keyboard Issues
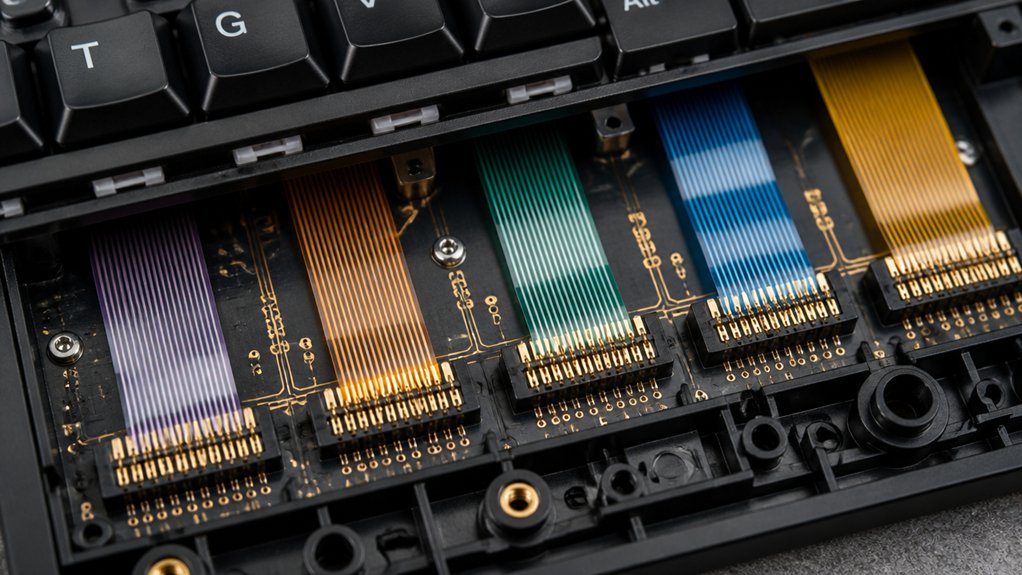
If you’re experiencing keyboard problems, running the Windows Troubleshooter can often pinpoint the source of the issue quickly. To do this, open Windows Settings and navigate to Update & Security > Troubleshoot > Additional troubleshooters.
Select Keyboard and click “Run the troubleshooter.” The tool automatically detects common keyboard issues like driver conflicts, connectivity problems, and misconfigured settings. It can determine if your keyboard connector is recognized by the system or if there’s a hardware communication failure.
After reconnecting your keyboard and restarting your PC, run the troubleshooter to guarantee accurate detection. Based on its findings, the tool provides step-by-step recommendations or applies automatic fixes, helping you resolve keyboard connector problems efficiently. Proper diagnosis may also involve checking test points with a multimeter, as described in professional troubleshooting tools, to verify hardware connections and continuity.
How to Test Keyboard Functionality Using Alternate USB Ports or Wireless Pairing
Testing your keyboard’s functionality across different connection options helps identify whether the issue stems from a faulty port or the keyboard itself. Start by plugging the keyboard into various USB ports and check the keyboard settings to confirm they recognize the device.
For wireless keyboards, verify Bluetooth is enabled and re-pair the keyboard via Windows Bluetooth settings. Test the keyboard in a text editor or UEFI settings to see if it responds, which helps pinpoint whether the problem is connection-related or software-related.
You can also run the Windows Troubleshooter under Update & Security > Troubleshoot > Additional troubleshooters > Keyboard. If the keyboard works in alternate ports or after wireless pairing, the original connection method or port may be defective, requiring repair or an alternative connection.
Additionally, ensure the cables used for wired connections support high data transfer speeds and adequate power delivery to prevent lag or connection issues, as highlighted in the Factors to Consider section of the knowledge.
How to Use BIOS/UEFI Settings to Confirm Keyboard Recognition
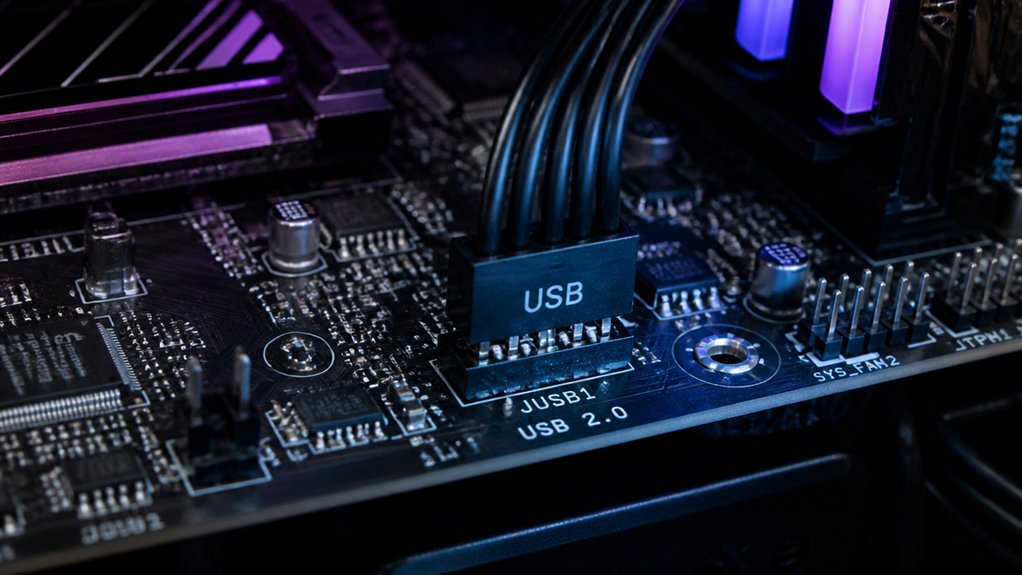
After verifying the keyboard’s connection through different ports or wireless pairing, checking its recognition in BIOS or UEFI settings provides valuable insight. To do this, access the UEFI menu on your device—on a Surface, hold Volume Up and press Power, then release both when the UEFI screen appears.
Using a USB keyboard, press keys to test responsiveness; if the cursor moves or LEDs like Caps Lock respond, your hardware is recognized. If the keyboard works in UEFI but not in Windows, it suggests a software or driver issue.
Some business models let you disable or enable the Type Cover port within UEFI’s Devices menu, which is helpful for troubleshooting. Lack of response indicates a hardware fault or connection problem needing physical inspection.
Additionally, if the keyboard features hot-swappable switches, ensure they are properly seated or try replacing them if issues persist.
How to Update Drivers and Firmware to Fix Connectivity Problems
Updating your drivers and firmware is a crucial step in resolving connectivity issues with your Surface keyboard. Start by using the Surface app or Microsoft Store to check for and install the latest updates tailored to your device.
If you’ve performed a custom or clean Windows installation, download and manually install the specific keyboard drivers to guarantee proper connection. Access Windows Update to get critical firmware patches that can fix communication problems between your key and the connector.
After completing updates, perform a force restart of your Surface to fully apply firmware changes and boost hardware recognition. Finally, verify in the Surface app that all keyboard compatibility updates are installed, as these can resolve known connector stability problems affecting key responsiveness. Ensuring the use of compatible PCB materials can also prevent connection failures caused by hardware incompatibilities.
How to Adjust Settings and Language Preferences to Resolve Keyboard Connectivity Issues
Sometimes, keyboard connectivity issues stem from mismatched settings rather than hardware faults, so verifying and adjusting your language preferences can make a difference. Start by accessing keyboard using Windows Settings > Time & Language > Language.
Confirm the input language matches your physical keyboard to prevent keystrokes from being misinterpreted. If necessary, remove and re-add your preferred keyboard language to refresh the configuration and resolve layout conflicts.
Check the Ease of Access settings at Settings > Accessibility > Keyboard, and toggle “Filter Keys” off, as it can delay or block inputs. Also, confirm your regional keyboard settings align with your keyboard type, like US or UK QWERTY.
Regularly reviewing your typing test software settings can help identify discrepancies that affect your keyboard performance, ensuring both speed and accuracy are maintained. After making these adjustments, restart your device to guarantee changes apply and the system recognizes the keyboard correctly.
Frequently Asked Questions
How to Fix Keyboard Not Connecting Properly?
You fix a keyboard not connecting properly by cleaning the connector with compressed air, reattaching it securely, testing in UEFI mode, restarting with the keyboard detached, and verifying port settings or trying another keyboard to identify hardware issues.
How to Diagnose Keyboard Problems?
You should start by testing the keyboard in the Surface UEFI menu, check for physical connection issues, run the Windows troubleshooter, update drivers, and inspect ports for damage or debris to diagnose keyboard problems effectively.
How Do I Check Keyboard Connection?
You check your keyboard connection by making sure it’s securely attached, inspecting for damage or debris, and repeatedly reattaching it to see if your device recognizes it. Test keys for LED indicators and access UEFI to verify hardware connection.
How to Troubleshoot a Wired Keyboard?
To troubleshoot your wired keyboard, first verify it’s securely connected and test it on another port or computer. Restart your device, run the Windows keyboard troubleshooter, and check for visible damage or debris on the connector or cable.
In Summary
Troubleshooting keyboard connection issues can be straightforward if you follow these steps. Check for visible damage, test different ports or wireless options, and run the Windows troubleshooter. Confirm keyboard recognition in BIOS, update drivers, and verify your settings are correct. With a bit of patience, you’ll likely resolve the problem quickly. If issues persist, consider replacing the keyboard or seeking professional help to get back to typing smoothly.



