
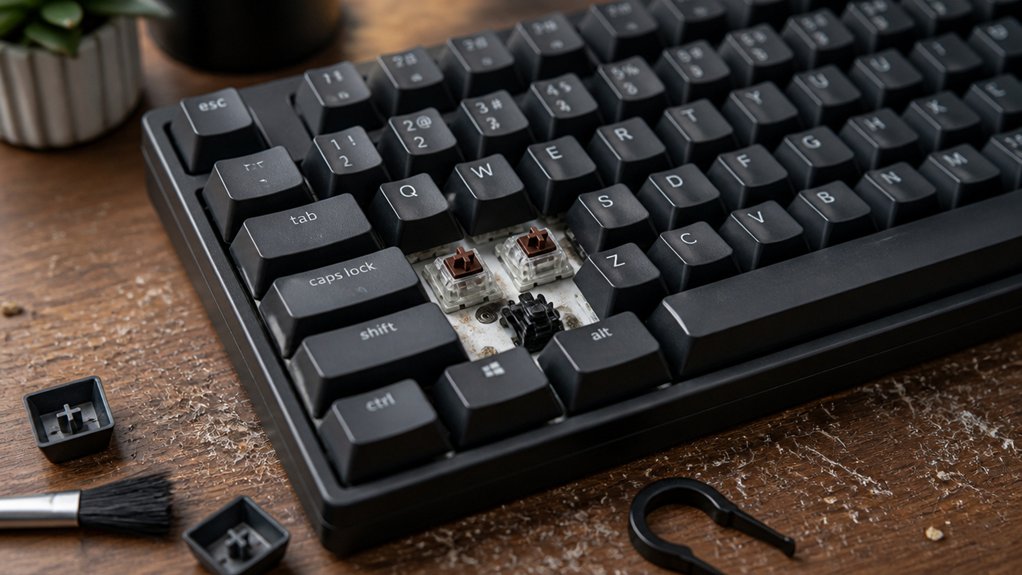
How often you should clean your mechanical keyboard depends on your usage and environment. Heavy users need to wipe down every 2–3 days and do a deep clean every 4–6 weeks, especially if you eat or drink near your desk. Regular wiping and occasional removal of keycaps keep your keys responsive and prevent buildup. If you notice dirt, sticky keys, or slower response, it’s time for a thorough clean. Stay tuned to learn more tips to keep your keyboard in top shape.
Why Regular Keyboard Cleaning Really Matters
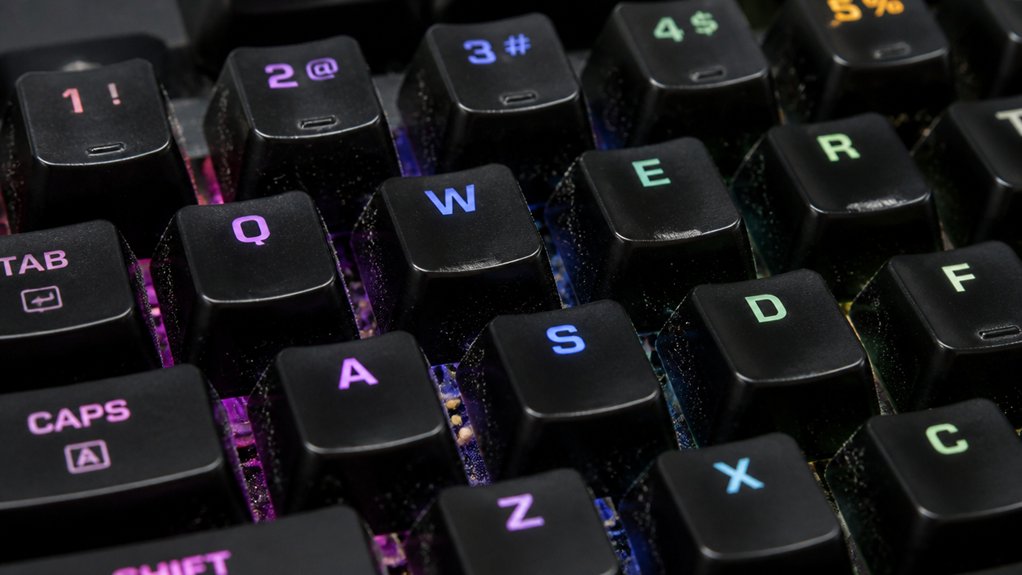
Regular keyboard cleaning is essential because accumulated grime, lint, and food particles can interfere with your keyboard’s performance over time. Regular cleaning prevents debris from building up under keycaps, which can hinder keyboard switches and cause missed keystrokes. A bristle firmness suited for different cleaning needs ensures effective removal without damaging delicate surfaces. Neglecting routine maintenance risks long-term damage to the mechanical switches, reducing your keyboard’s responsiveness and accuracy. Proper cleaning not only maintains functionality but also improves hygiene by removing bacteria and sticky residues from daily use and food exposure.
Vacuum brush accessories are more effective than compressed air jets at debris removal, pushing debris out rather than deeper. By consistently removing dirt and particles, you guarantee smoother operation, prolong the lifespan of your keyboard, and enjoy a cleaner, healthier workspace.
How Often Should You Clean Your Mechanical Keyboard?
How often you clean your mechanical keyboard depends on how heavily you use it and what you eat or drink nearby.
If you’re a heavy user, consider cleaning every keycap and wiping the surface every 2–3 days to prevent buildup.
For regular cleaning, performing a full surface wipe and removing keycaps every 1–2 months keeps your keyboard hygienic and functioning smoothly.
Deep cleanings, which involve soaking and fully removing keycaps, should be done every 6–12 months for maximum longevity.
If you frequently eat or drink at your desk, increase your cleaning frequency—deep clean every 4–6 weeks.
Regular cleaning routines prevent debris accumulation, protect your investment, and guarantee your keyboard stays responsive and in top condition. Incorporating appropriate keycap cleaning kits can further ensure thorough maintenance and restore your keyboard’s shine.
How Frequently Should You Dust and Wipe Your Keyboard?
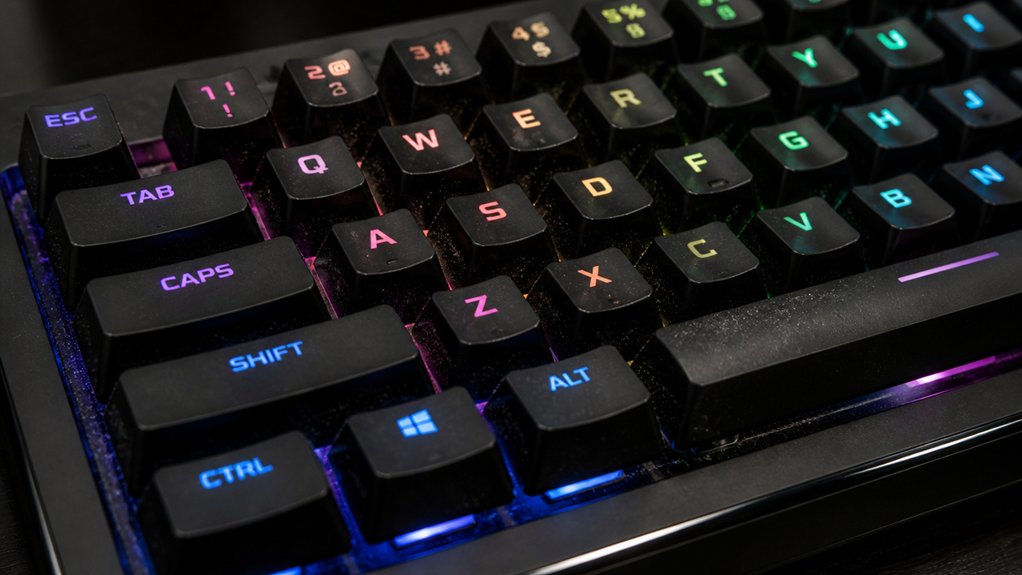
You should dust and wipe your keyboard regularly to keep it clean and functioning well. For most users, once or twice a week is enough, but if you eat at your desk or type often, every 2 to 3 days is better. Using a microfiber cloth and gentle motions helps remove dust and oils without damaging your keys, especially when utilizing fabrics that are designed for lint-free cleaning to prevent scratches or residue.
Regular Dusting Habits
Maintaining a clean mechanical keyboard requires consistent effort to prevent dirt and grime from accumulating. Regular dusting is key to keeping your keyboard’s surface free of debris. You should aim to dust and wipe the keyboard once or twice a week, which helps prevent dust buildup on the key surfaces and inside switches. Using anti-static sprays before dusting can help neutralize static charges that attract dust, making the cleaning more effective. Quick cleaning involves unplugging your keyboard, shaking out loose debris, and wiping the keycaps with a dry or slightly damp microfiber cloth. This routine supports key responsiveness and hygiene while reducing the need for more intensive deep cleaning. Heavy users or those who eat at their desks may need to dust every 2–3 days to avoid particles or crumbs from accumulating. Making dusting a habit helps extend your keyboard’s lifespan and preserves peak performance.
Wiping Frequency Recommendations
Wiping your mechanical keyboard regularly is essential for keeping it clean and functioning smoothly.
For general keyboard cleaning, wipe down the surface once or twice a week to remove dust and grime, using a microfiber cloth. If you’re a heavy user or eat at your desk often, increase wiping frequency to every 2–3 days to prevent buildup.
Quick wipes with a dry or slightly damp microfiber cloth help maintain cleanliness without needing deep cleaning. Keep in mind, surface wiping alone doesn’t remove debris underneath the keycaps, so deeper cleaning routines are necessary periodically.
Establishing a consistent weekly wiping habit makes your keyboard easier to maintain and helps prolong its lifespan. Regular wiping keeps your setup tidy and reduces the need for more intensive cleaning.
When Is It Time to Deep Clean Your Keyboard?
You should consider a deep clean when your keyboard shows noticeable dirt buildup or your keys start feeling gritty.
If you notice sticky or unresponsive keys, it’s a clear sign it’s time for a thorough clean. Addressing these issues promptly can prevent long-term damage and keep your typing smooth.
Noticeable Dirt Accumulation
How can you tell when it’s time to give your keyboard a deep clean? Noticeable dirt accumulation is a clear sign. If you see grease, dust buildup, pet hair, or sticky residues between your keycaps, it’s time for deep cleaning.
Regular surface wipes won’t remove buildup underneath the keys, so if you notice keys feeling gritty or sticky, a thorough clean is necessary—this involves removing keycaps and cleaning between them. Even if things look okay on the surface, particles often settle beneath keycaps and switches over time.
If you experience sticky keys or discoloration after prolonged use, it’s a sign that oils and grime have accumulated. When these signs appear, deep cleaning is essential to maintain your keyboard’s function and hygiene. Additionally, using appropriate cleaning solutions can help effectively remove flux-like residues and prevent long-term damage.
Keys Feel Gritty
When keys start feeling gritty during typing, it’s a clear sign that debris has built up beneath the keycaps, and surface cleaning alone isn’t enough. If your keyboard feels like a gritty mechanical keyboard, it’s time to remove the keycaps. Crumbs, dirt, and grime trapped underneath cause uneven resistance and sticky keys. Regular quick cleans won’t dislodge this buildup, so deep cleaning with soaking in mild soap and using isopropyl alcohol to clean switches becomes necessary.
| Gritty Mechanical Keyboard Signs | Action Needed |
|---|---|
| Keys feel sticky or catch | Remove the keycaps, clean with isopropyl alcohol |
| Increased resistance during presses | Soak keycaps and clean switch housings |
| Persistent dirt after surface wipe | Deep clean and disinfect thoroughly |
| Key presses unevenly | Clean under switches for smooth operation |
| Buildup after weeks of use | Schedule a deep clean every 4-6 weeks |
How Environmental Factors Influence Your Cleaning Schedule
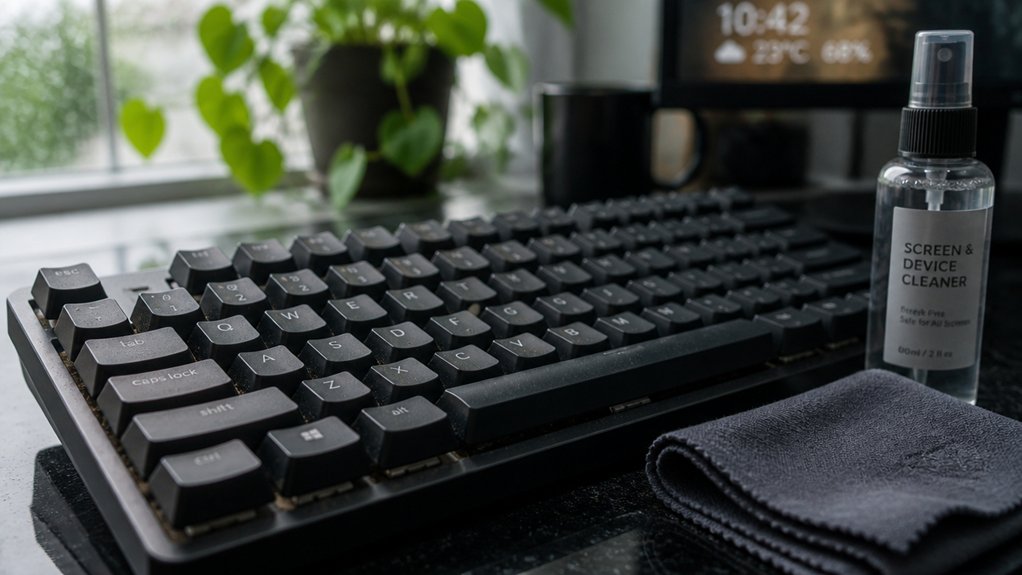
Environmental factors play a significant role in determining how often you should clean your mechanical keyboard.
If you eat or drink at your desk, you’ll likely notice grease, crumbs stuck, and sticky residues, requiring more frequent cleaning—every 4 to 6 weeks. In homes with pets or heavy dust exposure, debris and pet hair tend to gather beneath keycaps faster, increasing cleaning needs.
High-dust environments or seasonal humidity can also accelerate residue buildup, making regular cleaning essential.
Conversely, in clean, low-dust office settings with minimal eating habits, you can extend cleaning intervals, performing deep cleans every 6 to 12 months without issues.
Paying attention to your environment helps you optimize your cleaning schedule, keeping your keyboard in peak condition and ensuring smooth performance.
Additionally, understanding cleaning frequency guidelines for electronics can help prevent long-term damage caused by buildup.
Does Heavy Use or Eating Make You Need More Cleaning?
Are you typing and snacking at your desk throughout the day? If so, heavy use and eating can greatly impact your keyboard’s cleanliness. Every keycap is vulnerable to dirt, grime, and debris buildup from frequent use and food particles. A well-maintained keyboard also benefits from desoldering pump techniques for cleaning out dust and residue from internal components. Over time, this can lead to sticky keys and even reduced switch functionality. Regular quick wipes help, but they’re not enough for heavy users. You’ll need to schedule deep cleaning sessions more often—ideally every 4 to 6 weeks—to remove stuck-on grime and prevent long-term issues. Deep cleaning, including removing and soaking keycaps, is essential for maintaining hygiene and ensuring the switches need minimal intervention. Adjust your cleaning frequency based on your usage and snacking habits to keep your keyboard responsive and clean.
Signs That Your Keyboard Requires Immediate Attention
If your keys start feeling sticky, unresponsive, or produce inconsistent sounds, it’s time to clean your keyboard immediately. A buildup of dust, grime, or debris trapped under the keycaps also signal urgent maintenance. Additionally, unusual behavior like keys catching or jamming points to a need for quick deep cleaning. Regularly using a compressed air duster can help prevent such issues by removing dust from hard-to-reach areas for electronics cleaning.
Sticky or Unresponsive Keys
Sticky or unresponsive keys are clear signs that your mechanical keyboard needs immediate attention. When you experience sticky or unresponsive keys, it often means debris or residue has built up inside the switch housing, preventing proper contact.
To clean switches, start by removing the affected keycap with a keycap remover. Then, apply 1–2 drops of alcohol directly into the switch—using 90%+ isopropyl alcohol is best—and actuate the key 20–30 times. This helps loosen grime causing sticking.
It’s also beneficial to use appropriate flux in conjunction with cleaning to ensure optimal contact and prevent oxidation, especially for frequent or extensive repairs. After cleaning, dry the switch in a well-ventilated area for 10–15 minutes, preventing moisture damage. If issues persist after cleaning, it’s likely that the switch is damaged and needs replacement. Proper maintenance can restore your keyboard’s responsiveness and extend its lifespan.
Excessive Dust Buildup
When dust and debris accumulate deep within your keyboard, they can cause keys to feel gritty, sticky, or unresponsive, signaling it’s time to clean the keyboard. Excessive dust buildup is often visible as debris and lint lodged between keycaps, showing that a deeper cleaning is overdue.
If routine wiping and compressed air don’t improve the performance of your mechanical keyboards, heavy dust has likely embedded further inside. This buildup can clog switches, leading to stuck or double-typed keys. Ignoring this can cause grime to damage switch mechanisms and degrade your typing experience.
Regular maintenance—including using compressed air—is vital to prevent excessive dust buildup. When you notice these signs, it’s essential to act promptly and thoroughly clean the keyboard to keep your mechanical keyboards in prime condition. Proper cleaning techniques are essential to effectively remove dust and debris from sensitive components.
Unusual Keyboard Behavior
Have you noticed your keyboard behaving oddly during use? Keys and keycaps that stick or require extra force to register are signs grime and debris are blocking smooth operation, needing immediate cleaning.
Unresponsive or double-pressing keys may result from sticky switch housings caused by spills or dirt buildup, which can often be fixed with careful rubbing alcohol cleaning.
Audible changes, like squeaks or scratchy sounds, indicate lubrication breakdown or dirt ingress that require switch maintenance.
Physical keycap wobbling or unusual movement suggests stabilizer issues or debris trapped beneath the keys, demanding thorough inspection and cleaning.
Visible grime, discoloration, or sticky residues on keycaps or the keyboard surface are clear cues for deep cleaning.
Addressing these signs promptly helps prevent long-term damage and keeps your keyboard functioning flawlessly.
How to Incorporate Routine Cleaning Into Your Daily Workspace
Incorporating routine cleaning into your daily workspace helps keep your mechanical keyboard in ideal condition and prevents buildup of dirt and grime. Start by unplugging your keyboard and using short, 1-2 second bursts of compressed air to blow out debris between the keycaps. Hold the can upright to avoid pushing crumbs further inside.
Regularly wipe the tops of keycaps with a dry or slightly damp microfiber cloth to stop surface grime from accumulating. Keep a small vacuum with a brush attachment nearby to quickly remove dust and lint, reducing the need for more intensive cleaning.
These simple actions can become part of your daily routine, ensuring your keyboard stays clean and responsive without taking up much time.
Can Regular Cleaning Help Your Keyboard Last Longer?
Regular cleaning directly contributes to your keyboard’s longevity by preventing dirt, dust, and grime from causing long-term damage. When you perform regular cleaning, you reduce debris accumulation under keycaps, which helps keep switches functioning smoothly and prevents sticky or unresponsive keys.
Routine keyboard maintenance also involves deep cleaning every 4 to 6 weeks, including removing and soaking keycaps, which keeps grease and oils from damaging the plastic. By consistently maintaining your keyboard, you avoid the wear and degradation caused by dirt and lubricants over time.
This proactive approach not only preserves key responsiveness but also extends the overall lifespan of your device. Stick to a cleaning schedule, and you’ll minimize costly repairs or replacements, maintaining peak performance for longer.
Tips for Maintaining Your Keyboard Between Deep Cleans
Between deep cleans, you can keep your keyboard in good shape by performing quick, routine maintenance every few days or weekly. These simple steps prevent dirt buildup and maintain responsiveness.
- Clean every few days by unplugging your keyboard, shaking out debris, and wiping keycaps with a slightly damp microfiber cloth.
- Use compressed air in short bursts (1–2 seconds) with the can held upright to dislodge dust and crumbs without pushing debris deeper.
- Regularly vacuum the surface with a brush attachment to remove grit and lint safely.
- Dampen a microfiber cloth slightly and wipe the key surfaces once or twice weekly to keep hygiene high.
Avoid liquids directly on the keyboard or switches to prevent moisture damage.
Frequently Asked Questions
What Is a 96% Keyboard Missing?
A 96% keyboard is missing a dedicated, full-size number pad, which is integrated into the main layout, making it more compact while retaining most keys but sacrificing the separate numerical section.
What Happens if I Don’t Clean My PC for 2 Years?
If you don’t clean your PC for two years, dust, grime, and debris will build up, causing overheating, slow performance, and possible hardware damage. Neglecting maintenance can shorten your PC’s lifespan, reduce efficiency, and lead to costly repairs.
Is 84 Keys 75%?
Yes, an 84-key keyboard typically falls under the 75% layout category. You’ll find it offers a compact design, includes essential function and navigation keys, and is popular for saving desk space while maintaining functionality.
Do Mechanical Keyboards Get Dirty?
Yes, your mechanical keyboard gets dirty over time as dust, food particles, and pet hair accumulate beneath the keys. Regular cleaning helps prevent sticky, unresponsive keys and extends your keyboard’s lifespan by removing debris that can cause damage.
In Summary
Keeping your mechanical keyboard clean regularly not only guarantees peak performance but also extends its lifespan. By sticking to a consistent cleaning schedule, you’ll prevent grime buildup and catch issues early. Incorporate simple habits like dusting daily and deep cleaning periodically. Your keyboard will thank you with smoother keys and fewer malfunctions, creating a better typing experience. Stay proactive with your maintenance, and your keyboard will serve you well for years to come.



