

To configure VIA keyboard firmware in 7 steps, start by understanding how VIA enhances customization without flashing. Install the VIA software on your browser or desktop, then connect your keyboard and load its keymap. Remap keys, set up layers, and create macros to suit your workflow. Next, adjust RGB lighting effects and brightness. Save your settings and troubleshoot common issues. If you explore further, you’ll uncover even more advanced features and tips to optimize your keyboard setup.
Understand How VIA Firmware Enhances Keyboard Customization
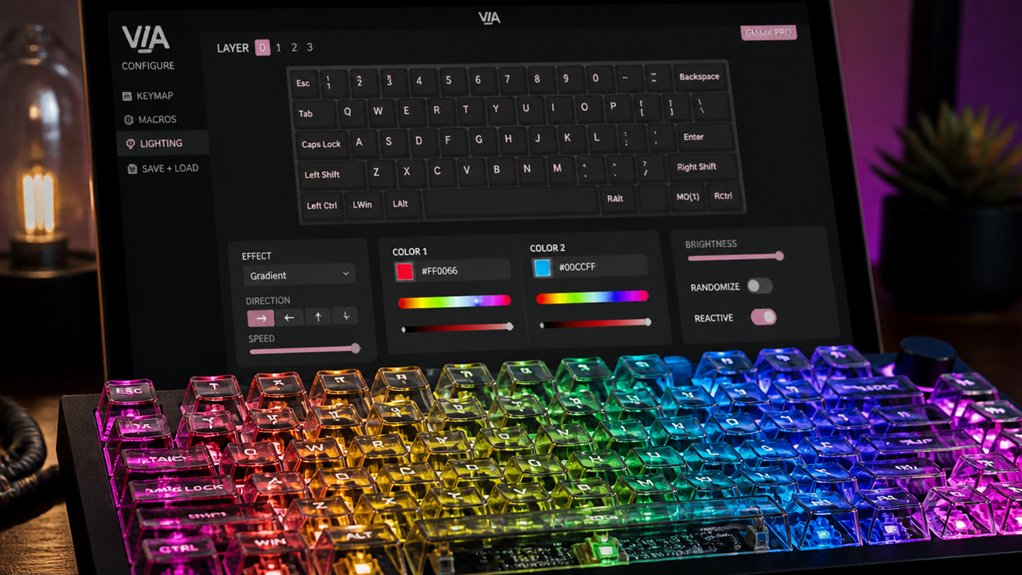
Ever wondered how you can tailor your keyboard exactly to your preferences without complicated flashing processes? VIA firmware makes that possible with its intuitive interface. You can remap keys, modify the keyboard layout, and customize RGB lighting directly on your keyboard.
All your changes are stored in the EEPROM, so they stay even after you unplug or restart your device. Using a keymap JSON file, you can easily create complex layers or assign macros, giving you advanced functionality like Layer-Tap or Mouse Keys.
The firmware requires setting VIA_ENABLE to yes, ensuring compatibility with over 1,400 keyboard models as of March 2026. This flexibility lets you craft a highly personalized experience that’s simple to update and share across devices.
Additionally, understanding how microcontroller support influences the configurability ensures seamless customization for your specific keyboard model.
Install VIA Software on Your Web Browser or Desktop
To get started with VIA, you can use either the web-based app or the desktop version, depending on your preference. The VIA web (usevia.app) works best in Chromium-based browsers like Chrome or Edge, as it requires WebHID support. When using VIA web, you’ll need to authorize HID device access to connect your keyboard. Alternatively, the desktop app, available on GitHub for Windows, macOS, and Linux, requires an internet connection and benefits from Plugging in your keyboard after launching for proper detection. Here’s a quick comparison:
| Feature | VIA Web | Desktop App | Notes |
|---|---|---|---|
| Browser requirement | Chromium-based | Not browser-dependent | Use Chrome or Edge for VIA Web |
| Keyboard detection | Automatic after authorization | After plugging in and launch | Guarantees proper detection |
| Connection | Web-based, no download | Download from GitHub | Desktop app offers offline access |
| Supported features | Limited customization options | Full feature set with configuration files | Reference hot-swap PCB compatibility for hardware flexibility |
Connect Your VIA-Enabled Keyboard and Load Your Keymap
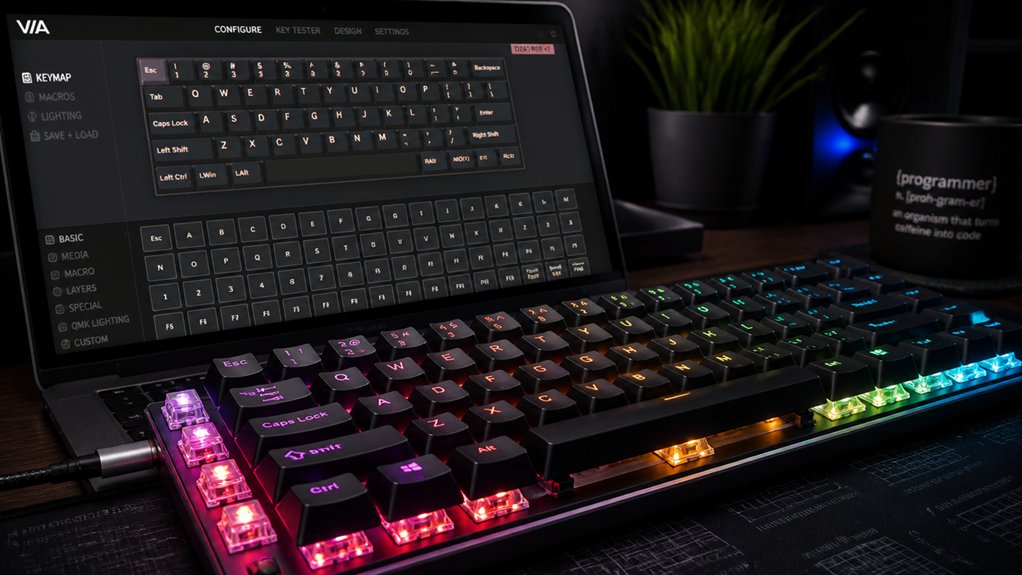
After installing the VIA software and accessing it through your browser or desktop, the next step is to connect your VIA-enabled keyboard properly. Use a wired USB connection, as Bluetooth isn’t supported.
Once connected, select your keyboard from the dropdown menu in VIA to load its default keymap. If VIA doesn’t automatically detect your keyboard, go to the Settings and enable the Design tab, then manually load your keyboard’s JSON file via “Load Definition.”
To verify everything works correctly, switch to the Key Tester tab and press physical keys; they should highlight on-screen, confirming proper mapping. This process guarantees your VIA-enabled keyboard is correctly connected and ready for further customization. Remember that hot-swappable switches support easy switch changes, enhancing your customization experience.
Remap Keys, Configure Layers, and Create Macros
Once you’ve connected your VIA-enabled keyboard and loaded its default keymap, you can start customizing its functionality by remapping individual keys, setting up layers, and creating macros.
After connecting your VIA-enabled keyboard and selecting the default keymap, easily customize with remaps, layers, and macros.
VIA makes remapping a key simple—just click the key on the layout and pick a new function from categories like Basic, Media, Macro, or Layers, all without reflashing firmware.
You can configure up to four layers, using layer toggle keycodes like MO, TG, or LT to switch between them dynamically.
To create macros, go to the Macro Recorder tab, where you can capture sequences of key presses or plain text inputs, supporting QMK Firmware keycodes with curly brackets for complex actions.
All changes are automatically saved to your keyboard’s EEPROM for persistence.
Additionally, hot-swap compatibility allows you to easily change switches without soldering, making customizing your keyboard even more flexible.
Adjust RGB Lighting Effects and Brightness Settings
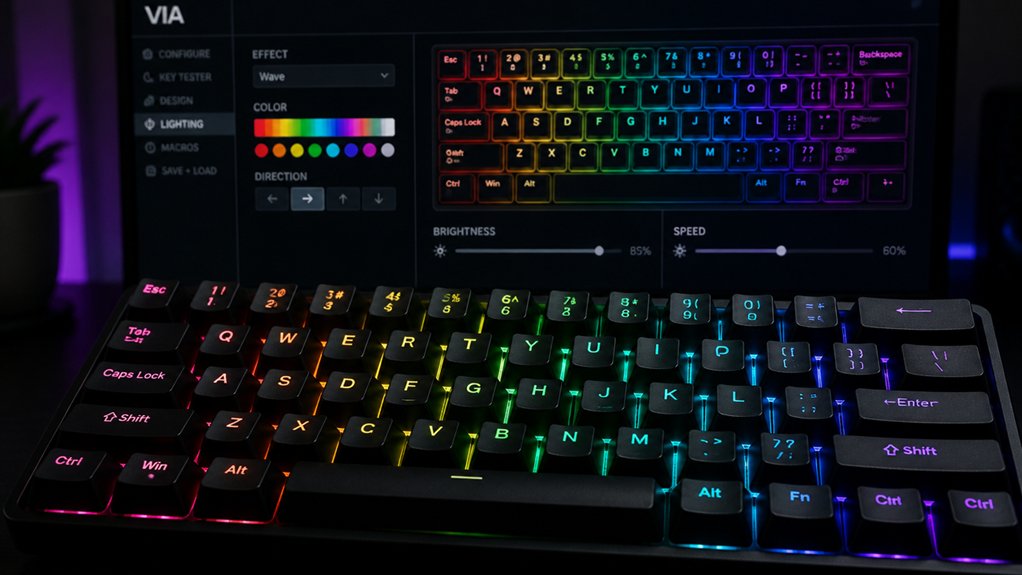
With your key remapping and macro setup complete, it’s now time to customize your keyboard’s RGB lighting effects and brightness levels. Using VIA, you can access the lightbulb icon to adjust RGB lighting, select lighting effects, and modify brightness.
VIA allows you to switch between static, breathing, rainbow waves, reactive patterns, and more. You can directly change brightness from bright to dim, saving your preferred levels to the EEPROM—so settings stay even after disconnecting.
To enhance control, assign lighting keycodes like RGB_TOG for toggling, RGB_MOD for changing effects, and RGB_VAI or RGB_VAD to increase or decrease brightness. You can also offload lighting controls to specific layers, creating dynamic effects without cluttering your main layout. Additionally, understanding lighting effects variety helps in selecting the perfect ambiance for your setup.
Save Your Settings and Troubleshoot Common Issues
Saving your settings in VIA is straightforward because the firmware automatically stores all keymap, macro, and RGB lighting changes to the keyboard’s EEPROM. To back up or transfer your configuration, use the Configure tab’s Save + Load option to export or import JSON keymap files. If VIA doesn’t detect your keyboard or shows “Searching for devices…,” try resetting the EEPROM by holding the Bootmagic key (usually Esc) while plugging in the USB. Confirm your keyboard is properly connected and authorized in the VIA app before saving or troubleshooting. For undetected keyboards, manually load the keyboard definition by accessing Settings > Show Design > Load Definition. Remember, the JSON file contains your keymap and layout, making it essential for configuration recovery. Additionally, understanding PCB layout and switch compatibility can help optimize your setup for better performance and comfort.
| Issue | Solution |
|---|---|
| VIA not detecting keyboard | Reset EEPROM; verify connection and authorization |
| Settings not saving | Confirm correct keyboard definition is loaded |
| Export/import errors | Use Configure tab’s Save + Load for JSON files |
| Changes not applying | Confirm keyboard is connected and recognized |
| Persistent problems | Restart VIA and reattempt setup |
Explore Advanced Features and Keep Firmware Updated
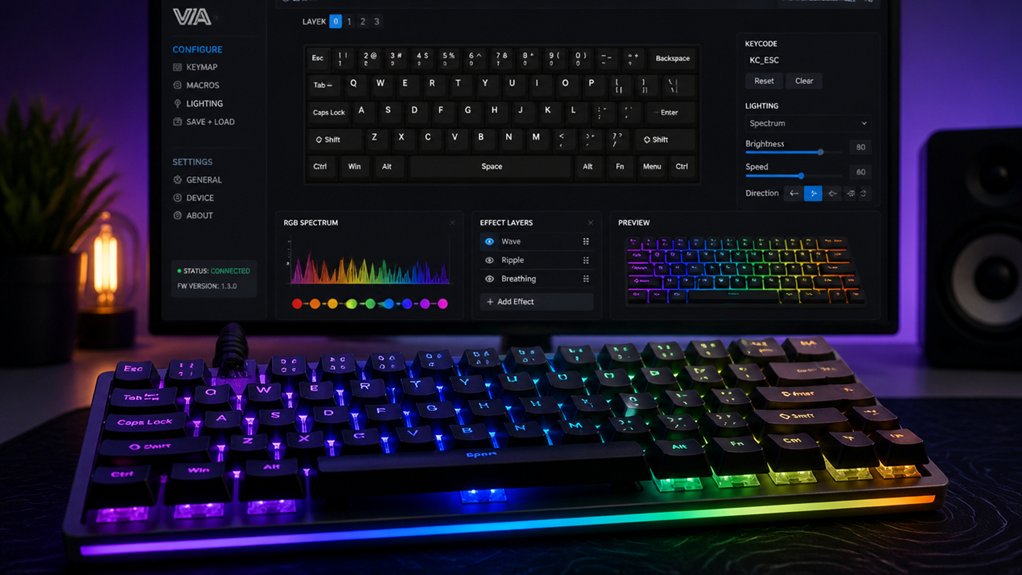
To access the full potential of your VIA-compatible keyboard, you should explore its advanced features like Layer-Tap, Mouse Keys, and encoder remapping, which can greatly enhance your workflow and customization options. A thorough understanding of switch compatibility ensures that your chosen features work seamlessly with your keyboard’s hardware capabilities. Guarantee your firmware includes VIA support by confirming the via keymap directory is present and that VIA_ENABLE = yes is set in the rules.mk file. Keep your firmware up-to-date to stay compatible with the latest VIA app versions, revealing new features and fixing bugs. If VIA doesn’t recognize your keyboard after updates, manually load the latest JSON layout files via the Design Tab. Advanced users can go beyond VIA by modifying the QMK firmware source code and recompiling with updated VIA support, further tailoring their keyboard’s capabilities.
Frequently Asked Questions
How to Configure Keyboard Using Via?
To configure your VIA keyboard, connect it via USB, open the VIA web app, authorize it, then remap keys, assign macros, customize lighting, and save your settings. You can also create backups for easy restoration later.
How to Configure Keyboard Settings?
You configure keyboard settings by opening the VIA app, selecting your keyboard, and customizing keymaps, lighting, and advanced options. Save changes directly, and guarantee your firmware supports your modifications for seamless performance and personalized functionality.
How Do I Update a Keyboard Firmware?
To update your keyboard firmware, you download the VIA-enabled firmware, connect your keyboard via USB, use a flashing tool like QMK Toolbox, and follow prompts to flash and reset if needed, ensuring it’s recognized by VIA software afterward.
How to Access Settings via Keyboard?
You access settings via the VIA app by connecting your keyboard with USB, then opening the app, selecting your device, and moving through to the Configure and Settings tabs. From there, you can customize keymaps, layers, macros, and RGB lighting.



