

To effectively lubricate vintage switches, disassemble them carefully and clean all parts thoroughly with isopropyl alcohol, avoiding soaking housings. Use a fine brush to apply compatible lubricants like Krytox or Tribosys sparingly to friction points such as leaf bumps, rails, and spring surfaces. Focus on precise, thin coats to prevent buildup and noise. Regular inspection and touch-ups will keep your switches smooth and quiet—continue exploring for more detailed techniques to get the best results.
Why Proper Switch Lubrication Matters
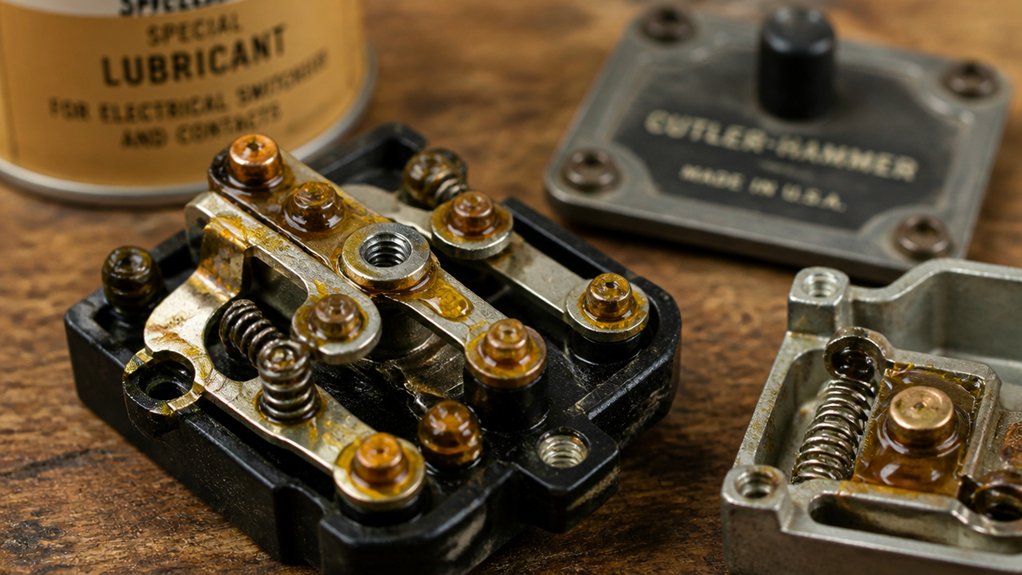
Proper switch lubrication is essential because it directly impacts the performance and longevity of vintage switches. Applying proper lubrication reduces friction between switch components like the stem, switch housing, and spring guide tube, resulting in smoother keypresses and a longer lifespan.
It also dampens noise by minimizing impacts and spring sounds, which is especially noticeable in vintage switches with worn parts. To guarantee effective lubrication, you’ll need to clean the switch housing with isopropyl alcohol before applying a suitable lubricant like Krytox 205g0. This prevents dust and corrosion from degrading the components further. Using a high-quality lubricant such as stabilizer lubricants ensures consistent performance and protection against wear.
Proper lubrication of a linear switch maintains tactile feedback and prevents sticky or gritty keypresses. Regular maintenance with precise application preserves switch performance and keeps your vintage keyboard functioning reliably for years.
Choosing the Best Lubricant for Vintage Switches
When choosing a lubricant for vintage switches, make sure it’s compatible with the materials inside your device to prevent damage.
Consider the viscosity and type—silicone-based greases often work best because they protect contacts without interfering with conductivity. Selecting the right product guarantees smooth operation and long-lasting performance. A high-quality lubricant with thermal stability up to 204°C ensures durability during extended use.
Compatibility With Switch Materials
Choosing the right lubricant for vintage switches hinges on understanding their materials, as many contain plastics like nylon or early formulations prone to damage from aggressive chemicals. You want a switch lube that won’t harm the housing and stem or cause discoloration after thorough cleaning. Silicone-based dielectric greases are ideal, sidestepping issues like cracking or hazing common with petroleum-based products. Proper lubrication also involves considering the electrical properties and lifespan of the switch components to ensure optimal performance.
Viscosity and Lubricant Type
Selecting the right viscosity and type of lubricant directly impacts the performance and longevity of vintage switches. For the best results, choose lubricants with a smooth consistency, like silicone-based dielectric greases or food-grade clear silicone greases.
Medium to high viscosity lubes are ideal, as they reduce friction and wear without evaporating quickly. Avoid thin oils that attract dust or evaporate fast, and steer clear of petroleum-based products like WD40, which can leave sticky residues and harm plastics. Grease lubricants stay in place longer and provide lasting friction reduction.
- Use dielectric greases for moisture protection
- Opt for lubes that resist dirt buildup
- Avoid penetrating oils that drip or dry out
- Choose lubricants that won’t degrade switch materials
- Prioritize long-lasting, stable lubricants
- Proper application techniques, such as precise dab and spread, maximize the effectiveness of your lubrication.
Preparing and Cleaning Switch Components
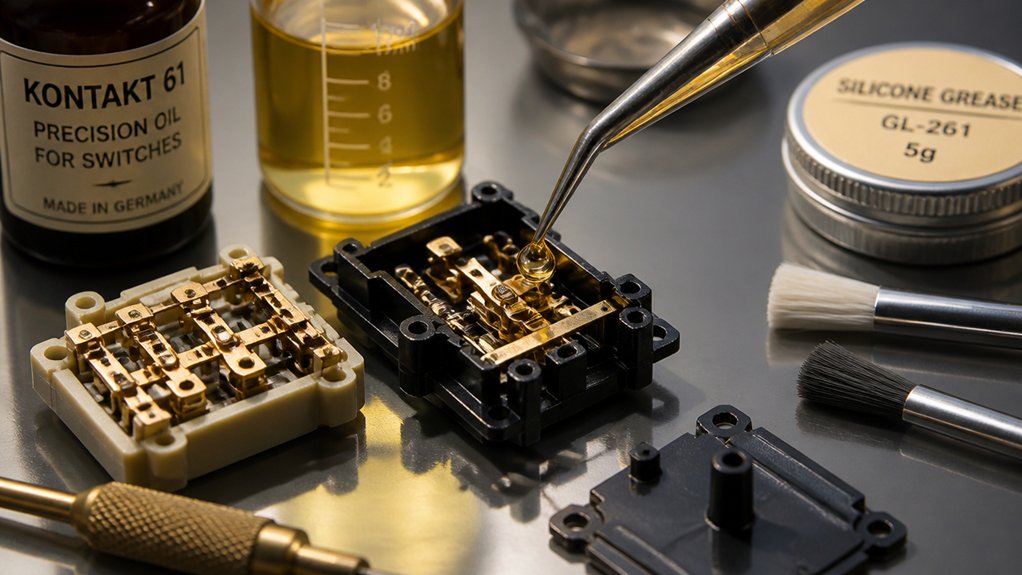
Before you start lubricating vintage switch components, thorough cleaning is essential to guarantee peak performance. Begin by disassembling the switches carefully using a switch opener, separating the stems, springs, and housings. Take photos beforehand to confirm correct reassembly.
For cleaning, use isopropyl alcohol with 90% or higher concentration, applied via lint-free microfiber cloths and high-density cotton swabs. Focus on removing old grease and debris from switch housings without soaking them, as moisture can cause damage or discoloration. Meanwhile, soak stems and springs in alcohol or an ultrasonic cleaner for 3–5 minutes to dissolve stubborn residue. Selecting the right cleaning product is crucial for safe and effective maintenance, ensuring no harmful residues are left behind.
Always wear nitrile gloves and work in a well-ventilated area. Allow all parts to dry thoroughly for at least 8 hours before moving on to lubrication.
How to Lubricate Vintage Mechanical Switches Step by Step
Begin by carefully disassembling your switches with a switch opener, keeping parts organized and intact. Next, clean all components thoroughly, ensuring no moisture remains before you begin lubrication. To ensure optimal joint strength and reliability, use a high-purity, low-residue lubricant for durable joints, applying it precisely to the moving parts. Finally, apply precise amounts of lubricant to key areas, reassemble carefully, and test for smooth, quiet operation.
Disassembly and Inspection
Disassembling vintage mechanical switches requires careful preparation to prevent damage and guarantee a thorough inspection. First, unplug your keyboard, document the switch layout with photos, and gently remove keycaps and switches.
Use a proper switch opener tool, like the KeebsForAll Switch Opener, to safely separate the top housing, bottom housing, stem, and spring. As you disassemble, inspect every part under bright light or with a fine brush and magnifying glass for old lubricant residue, dirt, or corrosion. Pay special attention to the switch’s bottom housing and contact leaves.
- Remove and examine each component carefully
- Look for signs of wear, corrosion, or damage
- Clean parts using isopropyl alcohol and lint-free materials
- Check the spring tension and contact leaf condition
- Make certain all parts are fully dry before lubrication
- Consider the material and build quality to determine appropriate lubrication compatibility and durability
Precise Lubrication Techniques
Once all parts are thoroughly cleaned and dried, you can proceed to the lubrication step. Based on experience, you need lube only on specific areas like the slider rails, stem rails, leaf bumps, and spring contact surfaces. Use a fine brush (00 size recommended) to apply a thin, even layer—avoid thick coats, which can impair switch performance. Remember, too much lube is one of the best ways to cause mushiness or sluggishness.
To help you stay organized, here’s a handy table:
| Part | Lubricant Type |
|---|---|
| Slider rails | Krytox GPL-205 |
| Stem rails | Krytox GPL-205 |
| Leaf bumps | Tribosys 3204 |
| Spring contact surfaces | Light application of Krytox or Tribosys |
| Springs | Permatex Dielectric Grease |
Take your time for precision, and reassemble only once sure everything’s properly lubricated.
Troubleshooting Noisy or Sticky Switches
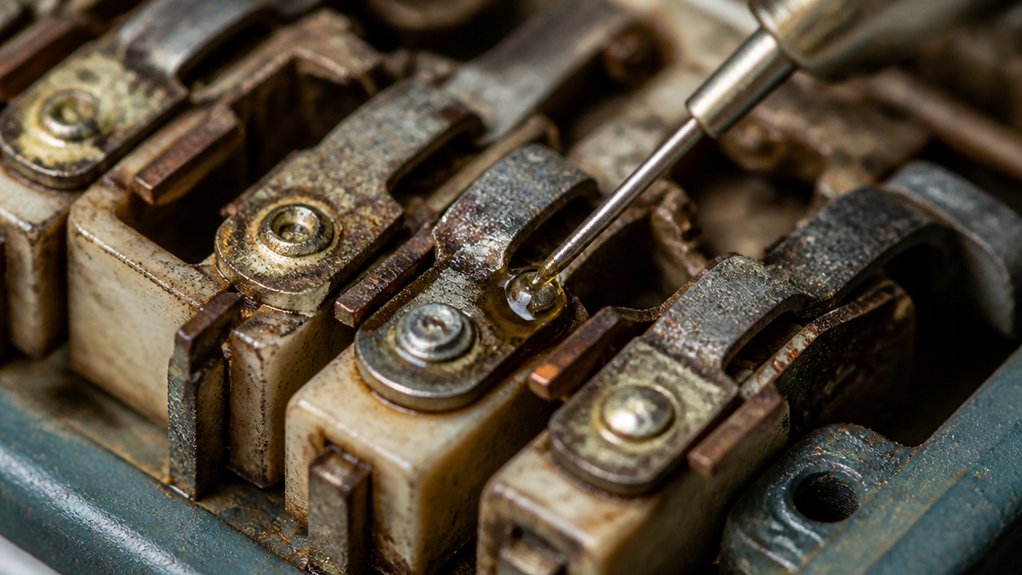
When a vintage switch becomes noisy or sticky, it’s often a sign that the lubricant has degraded or become contaminated over time. Dust, humidity, and long-term use cause this, leading to increased friction or oxidation.
To troubleshoot, start with a small amount of isopropyl alcohol (90% or higher). Make sure to carefully clean the contacts with soft brushes or cotton swabs to remove grime and reduce noise.
Avoid solvent-based cleaners like WD40, as they leave sticky residues that worsen stickiness and noise. For switches with metal contacts, use appropriate contact cleaners such as Deoxit D5.
Once clean, apply a thin layer of dielectric silicone-based grease or specialized electrical contact lubricant. Proper cleaning and lubrication restore smooth operation and diminish noise caused by degradation.
Maintaining Your Switches for Long-Term Performance
Regular inspection of your vintage switches helps catch signs of wear, such as grit, stickiness, or noise, before they lead to more significant issues.
For linear switches and tactile switches, timely cleaning and lubrication preserve their performance. Use contact-specific cleaners like RS PRO Lubricant Contact Cleaner or Deoxit D5 to gently clean the components, especially the contact leaf and springs. After cleaning, make certain all parts are thoroughly dry to prevent corrosion.
When lubricating, apply a small amount of silicone-based dielectric grease or food-grade clear silicone grease onto the housing, stems, and rails—focusing on friction points like leaf bumps and spring guide tubes. Proper, sparing lubrication reduces wear and noise, maintaining switch tactility and smooth operation over the long term.
Final Tips for Successful Switch Lubrication
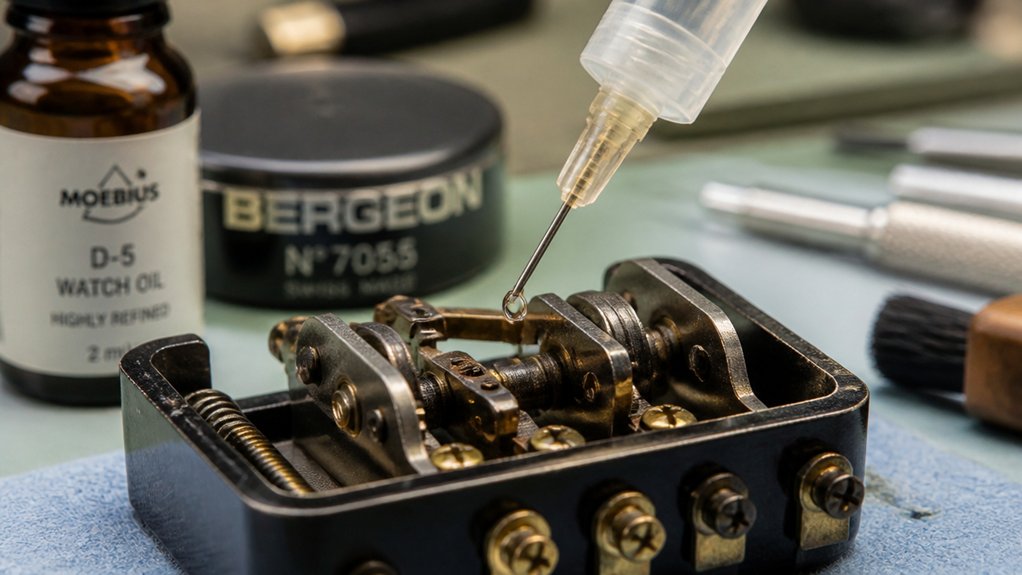
To guarantee successful switch lubrication, it’s essential to follow a few key tips that promote long-term performance. Always make certain vintage switch components are thoroughly dried after cleaning to prevent moisture damage. Using lubricants suited for vintage switches, like dielectric or food-grade silicone grease, is always used as a good idea. When applying lubricant, decide whether a sparing amount with a fine brush is enough—it’s pretty hard to avoid buildup. Apply only on friction points such as slider rails or contact leaves, avoiding sticky or dirt-attracting substances. Regularly inspect your switches for discoloration, stickiness, or noises to catch issues early. Being aware of switch compatibility can help you select the proper lubricants and prevent damage. Always dried components before lubrication. Use suitable lubricants. Apply sparingly and precisely. Avoid sticky or dirt-attracting lubricants. Perform routine inspections.
Frequently Asked Questions
What Is the Best Lubricant for Switches?
You should choose Krytox GPL-205 for smooth, durable lubrication of vintage switches, especially sliders. Use Tribosys 3204 for tactility and springs, and dielectric grease for stabilizers. Match lubricants to switch components for peak performance.
How to Easily Lube Switches?
To easily lube switches, disassemble them carefully, clean all parts thoroughly with isopropyl alcohol, apply a thin layer of lubricant using a fine brush only on key friction points, then reassemble with minimal lube for smooth, balanced typing.
Can You Use WD40 to Lube Keyboard Switches?
You shouldn’t use WD40 to lubricate keyboard switches. It leaves a sticky residue that hampers performance, may damage components, and isn’t designed for electrical contacts. Opt for specialized lubricants like Krytox or Tribosys instead.
How to Lubricate an Electrical Switch?
You should clean your switch contacts thoroughly with contact cleaner, then carefully apply a small amount of dielectric silicone-based grease to the moving parts. Use a tiny brush or cotton swab, avoiding excess and ensuring even coverage for best operation.



