

To open switches for lubrication, first remove the keycaps using a keycap puller. Then, use a switch opener tool, gently prying the housing apart at the clips—apply even pressure at a 45-degree angle to avoid damage. Carefully handle each internal component, keeping parts organized. If you follow these steps carefully, you’ll be able to access and lubricate switch parts effectively. Keep exploring for detailed techniques to guarantee a smooth disassembly process.
How to Identify When Your Switches Need Cleaning and Lubrication
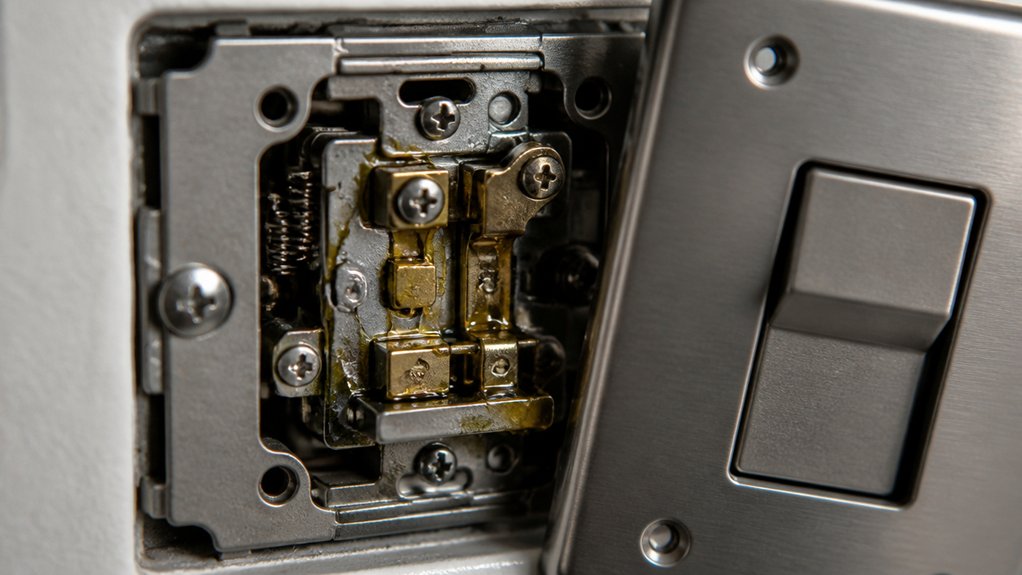
Have you noticed your keyboard switches feeling gritty, sticky, or producing uneven keypresses? If so, it’s a sign you need to make certain they’re properly maintained.
Over time, dust, humidity, and frequent use degrade the lubrication, causing switches to feel sluggish or noisy. Struggling with strange sounds or inconsistent tactility indicates that the lube has worn out and needs renewal. Regularly inspecting your switches helps catch these issues early, preventing long-term damage. Using the right lubrication products ensures optimal performance and prolongs switch lifespan.
When you open them up, guarantee they’re thoroughly cleaned to remove debris and old lubricant. Afterward, reapply lube to the housing to restore smooth, responsive performance.
Correct maintenance not only improves feel and sound but also prolongs the lifespan of your switches.
Preparing Your Workspace for Safe Switch Disassembly
Start by organizing a clean, well-lit workspace to keep dust and debris away from your switches. A well-chosen switch opener can further simplify the disassembly process and minimize accidental damage. Gather all essential tools, such as openers, tweezers, and containers, to keep everything within reach. Set up a soft surface that prevents parts from rolling away or getting damaged during disassembly.
Clear and Organized Space
Ensuring your workspace is clear and organized sets the foundation for a safe and efficient switch disassembly process. A clean surface helps prevent small switch components from rolling away or getting lost during disassembly.
Keep your tools—switch openers, tweezers, and keycap pullers—within easy reach to prevent losing valuable parts or wasting time searching. Use small containers or trays to group disassembled switch parts separately, minimizing the risk of mixing components from different switches.
Taking a few moments to wipe down the workspace reduces dust and debris, protecting switch internals during opening and cleaning. Additionally, using durable tools made from stainless steel or polycarbonate ensures longevity and reduces the risk of tool failure during disassembly. A well-organized space not only improves your workflow but also keeps your tools and lubricants safe and accessible, making the entire disassembly process safer and more efficient.
Proper Lighting and Tools
A well-prepared workspace begins with proper lighting and the right tools, which are essential for a safe and efficient switch disassembly process. Bright, adjustable lighting helps you see small components clearly, reducing mistakes and strain.
Gather essential tools such as a switch opener, tweezers, a keycap puller, and containers to organize parts. Using the proper tools guarantees you handle switches gently and prevent damage. A keycap puller makes removing keycaps easy and safe, while a switch opener provides better access.
Keep your workspace on a stable, flat surface to keep switches steady and parts organized. Wearing nitrile gloves can help maintain cleanliness and prevent dirt transfer. Avoid dust and debris by working in a well-ventilated area for a safer, more effective disassembly process. Additionally, choosing ergonomic tools with comfortable grips can reduce hand fatigue during extended work sessions.
Step-by-Step Guide to Opening Different Types of Mechanical Switches
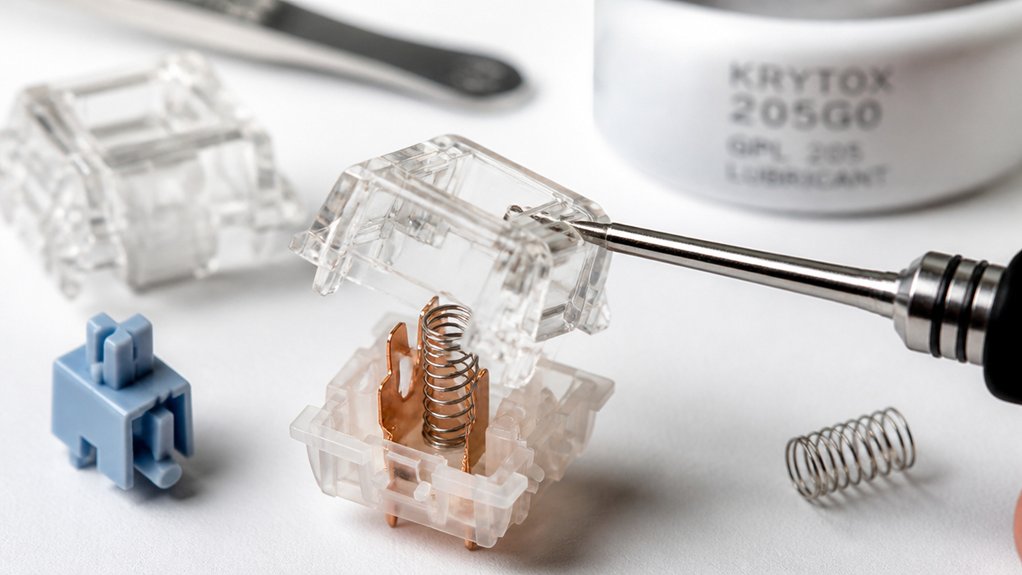
To open different types of mechanical switches safely, you’ll need the right disassembly tools, like a switch opener, and knowledge of each switch’s design. Using the appropriate keycap puller and switch opener tools can prevent damage during the process. Carefully follow safe opening techniques tailored to the switch type to prevent damage. Proper organization of parts during disassembly will make reassembly smoother and more effective.
Disassembly Tools Needed
When disassembling mechanical switches for lubrication, having the right tools is essential to avoid damage and make the process smoother. You’ll need a dedicated switch opener, like the KeebsForAll Switch Opener, to safely pry open the switch without harming components. Using a switch puller or desoldering tool helps remove switches if they aren’t hot-swappable, and a keycap puller is crucial to remove the keycaps easily. Keep switch parts organized in labeled containers—separating stems, springs, and housings to avoid mixing. When opening the switch, focus on gently removing the bottom housing to access the internals for switch lube. Proper tools make the disassembly process more efficient and help maintain the switch’s material quality, integrity, and longevity throughout the lubrication step.
Switch Types and Variations
Different types of mechanical switches have unique designs that determine how they open and can be lubricated. For example, Cherry MX style switches often feature housing clips that require a switch opener held at a 45-degree angle to release the clips safely. Some switches, like Alps or Topre variants, have distinctive housings or no clip mechanism at all, making them harder to open without desoldering or specialized tools. In hot-swappable keyboards, you can simply pull the switch out with a switch puller, but you must be careful not to bend the switch’s crosspoints. When lubing switches together, proper disassembly is key. Organize switch parts, and remember that different switch types open differently, so understanding their design helps guarantee success during disassembly and lubrication. Additionally, choosing the right stabilizer type can significantly influence sound and rattle reduction, especially when combined with proper opening and lubrication techniques.
Safe Opening Techniques
Begin by removing the keycap from your switch to access the internals, making sure you use a keycap puller to prevent damage.
When opening different types of switches, use a switch opener tool to apply gentle upward pressure at a 45-degree angle on one side of the switch housing. This helps you safely separate the top and bottom housings without damaging the contact leaves.
For switches with a tighter fit, carefully repeat the process on the opposite side, ensuring you don’t bend or break the delicate contact leaves inside. Keep the separated parts—stem, spring, housing—organized to prevent mixing.
To maintain smooth operation and reduce future rattling, consider applying a lubricating compound suited for plastic and metal surfaces during reassembly.
Handling and Disassembling Switch Components Safely
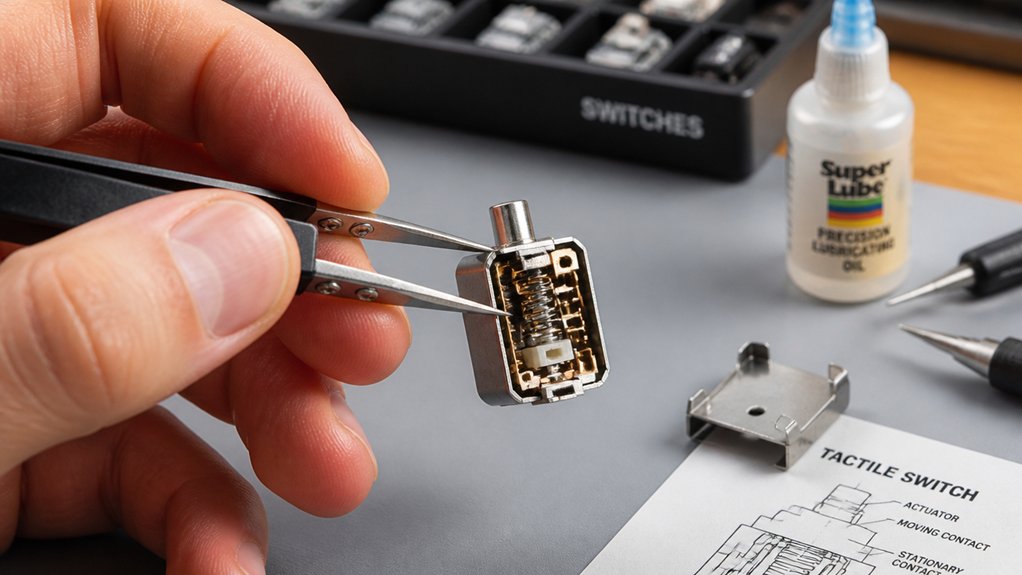
Handling switch components carefully is essential to prevent damage during disassembly. Use a switch opener tool to avoid stressing delicate parts like the crosspoint contact leaf. Poke at about a 45-degree angle on each side, noting that tighter fits may require gentle pressure to prevent breaking clips. Keep components—upper housing, lower housing, stem, and spring—organized separately in small containers to avoid mixing. Handle all parts gently, especially the crosspoint contact leaf, to maintain electrical functionality. Avoid soaking housings in isopropyl alcohol; instead, clean them with swabs or cloths to prevent damage or discoloration. Ensuring proper component organization can streamline your workflow and reduce the risk of mishandling.
Cleaning and Lubricating Switch Parts Effectively
Cleaning and lubricating switch parts properly is essential for ensuring smooth keystroke performance and long-term reliability. To do this, carefully clean every part with high-purity isopropyl alcohol and lint-free swabs or microfiber cloths, avoiding excessive soaking. Using products that are residue-free ensures no sticky deposits remain on delicate components. Once dry, apply a small amount of lube to key areas like the stem sides, stem slider, spring coils, and housing contact points, using fine brushes. This helps tactile switches move smoothly and prevents stickiness.
Proper cleaning and lubrication ensure smooth, reliable keystrokes and long-lasting switch performance.
- Visualize each part getting a light coat of lube for peak performance
- See clean components free of debris and oxidation
- Imagine a switch that presses effortlessly, thanks to effective lubrication
Reassembling Switches and Testing Their Performance
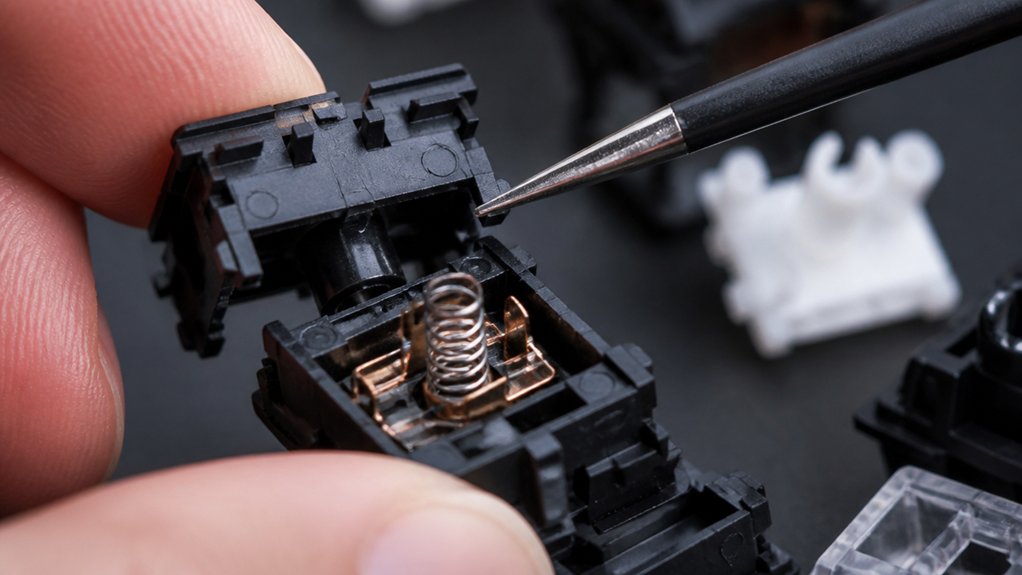
To reassemble switches properly, start by aligning the stem’s pointed edges with the gold contact leaf inside the lower housing. Make sure the tactile bump fits snugly around the edges for smooth key travel and reliable feedback.
Gently slot the upper housing onto the lower, pressing firmly until you hear one or two clicks, confirming the switch is locked tightly.
After reassembly, press the switch multiple times, applying just enough pressure to distribute the lubricant evenly. Check for smooth stem movement without stickiness or resistance.
Conduct key testing using software or by reinstalling on your keyboard to verify consistent actuation and absence of unusual noise.
If keys feel mushy or don’t register, inspect for excess lube or misalignment with the contact leaf, then disassemble and fix as needed.
Frequently Asked Questions
How to Open up Switches?
You should use a dedicated switch opener tool, inserting it at a 45-degree angle on each side to pry open the switch housing gently. Stay careful not to damage internal parts during separation and organization.
How to Easily Lube Switches?
To easily lube switches, you should use a fine brush to apply a small amount of Krytox 205 G0 on the stem, spring, and housing rails. Reassemble carefully, then press the switch repeatedly to distribute the lubricant smoothly.
How to Open Switch Casing?
You open the switch casing by gently prying it at a 45-degree angle on one side using a switch opener or small flat tool. Then, carefully release the clips on both sides, lifting the top housing away for access.
How to Remove Factory Lube From Switches?
You remove factory lube from switches by disassembling them carefully, soaking stems and springs in 90% isopropyl alcohol for 3-5 minutes, then cleaning housings with damp cotton swabs, and drying all parts thoroughly before re-lubrication.



