
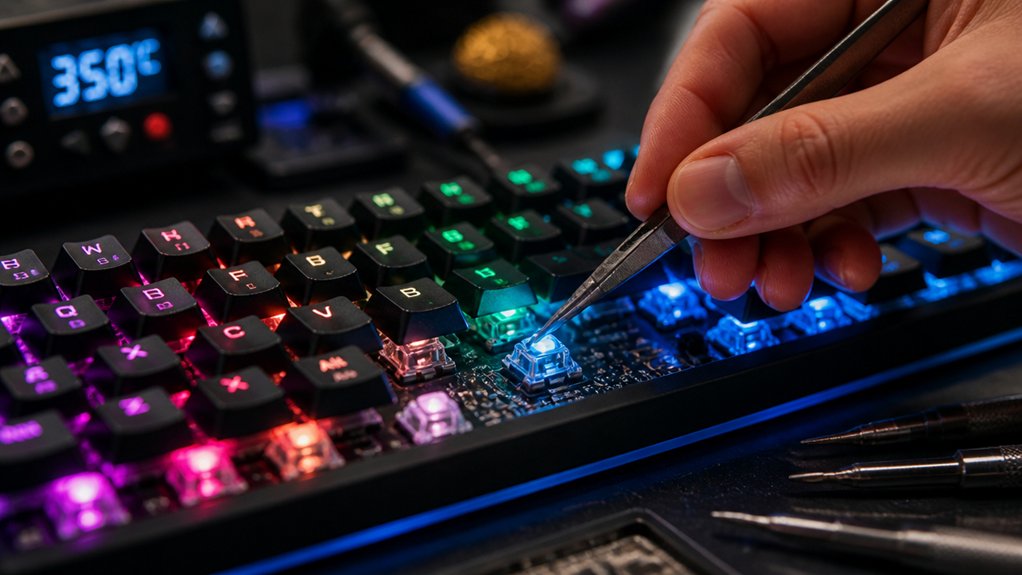
If your RGB lighting is stuck or flickering, start by checking connections and using your manufacturer’s software to reset colors. Test on a different USB port or computer to rule out power issues, and update firmware and drivers. If problems persist, inspect the PCB for damaged solder joints, then reflow or replace faulty LEDs carefully. For long-term reliability, keep your keyboard clean and well-maintained. Continue exploring these troubleshooting tips to restore your RGB lighting perfectly.
Why Is My RGB Keyboard Stuck on One Color?
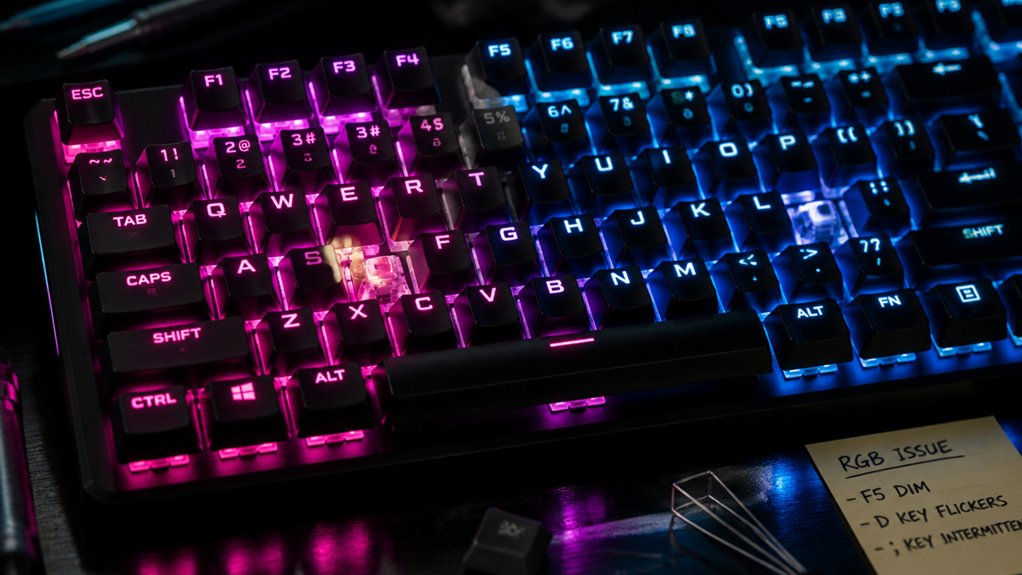
If your RGB keyboard is stuck on one color, you might wonder what’s causing the issue. Usually, this points to a hardware failure, such as a faulty RGB LED or damaged solder joints on the PCB.
A stuck RGB color often indicates hardware failure, like a faulty LED or damaged solder joints on the PCB.
The problem often affects specific keys or zones, which stay fixed on a single color like red or blue due to broken electrical connections. Software resets, profile adjustments, or firmware updates rarely fix hardware failure-related RGB lighting issues.
Sometimes, the color might temporarily shift or flicker if there’s an intermittent connection, but fixing this requires solder reflow or replacing the faulty LED. Additionally, understanding the lighting control hardware and circuitry can help in diagnosing and repairing such issues effectively.
To diagnose, test your keyboard on different PCs and inspect the PCB for damage. Repairing or replacing the defective components is essential for restoring full RGB lighting functionality.
How Can I Diagnose Hardware vs. Software RGB Issues?
To figure out if your RGB issue is hardware or software, start by looking for hardware signs like flickering LEDs or dead zones that stay fixed after restarts.
Then, run software tests such as updating drivers or resetting profiles to see if the problem resolves—if it does, it’s likely software-related.
Connecting your keyboard to another computer can also help identify whether the fault lies with the device itself or your system.
Pay attention to the power source and ensure it matches the requirements of your RGB setup, as voltage mismatches can cause inconsistent lighting.
Recognizing Hardware Indicators
Recognizing hardware indicators of RGB issues involves examining the behavior and physical condition of your keyboard or device. Persistent dead spots, flickering, or individual keys stuck on wrong or single colors that remain after restarts strongly suggest hardware defects. A thorough soldering quality check can reveal poor or cracked solder joints that cause LED failures. If these issues occur on multiple devices and aren’t resolved by software resets or driver updates, a hardware problem is likely. Visual inspections help confirm hardware faults—look for cracked solder joints, burnt marks, or loose connections on the PCB. Testing keys in single-color modes can reveal inconsistent LED responses or discoloration, pinpointing specific hardware faults versus software profile errors. Whole-keyboard pattern issues usually resolve with software fixes, while irregular individual LED failures point toward hardware damage like PCB trace faults.
Conducting Effective Software Tests
When diagnosing RGB lighting issues on your keyboard, it’s essential to determine whether the problem stems from software settings or hardware faults. To do this effectively:
- Test the keyboard on a different computer to see if the issue persists; if it does, it’s likely a hardware problem.
- Use the manufacturer’s RGB control software to set all keys to a single, solid color, such as white, which helps identify dead or stuck LEDs.
- Restart your computer and reinstall the manufacturer’s drivers; if problems remain, it’s probably hardware-related.
- Run Windows’ keyboard troubleshooter or device diagnostics to spot driver conflicts or software errors affecting keyboard lighting.
If individual keys flicker or display wrong colors despite these steps, hardware malfunctions are usually the cause.
Additionally, ensure that your keyboard’s firmware is up to date, as outdated firmware can also impact RGB lighting performance and stability.
Troubleshoot Connection and Power Problems Quickly
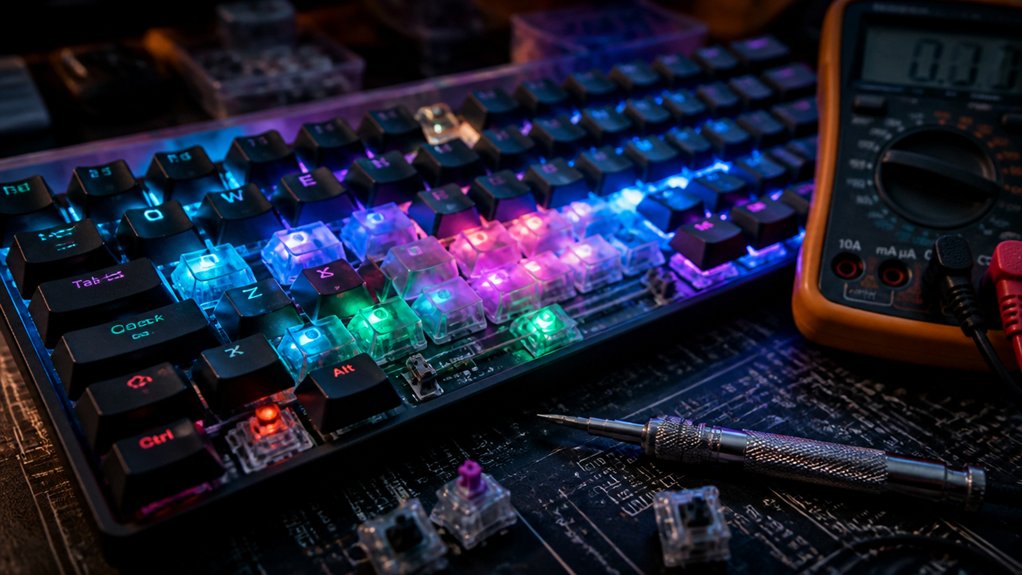
Are you experiencing flickering or non-responsive RGB lighting on your keyboard? To fix RGB issues quickly, start by making sure your keyboard is directly connected to a USB port on your computer, avoiding USB hubs for stable power and data. Check that cables are secure and undamaged—reconnect the keyboard if needed. Try different USB ports—both USB 2.0 and 3.0—to see if power delivery improves. If you’re using a wireless model, verify battery levels and re-pair the dongle to prevent power interruptions. Use the table below for quick reference:
| Action | Details |
|---|---|
| Fix RGB | Reconnect and test different USB ports |
| USB power | Switch ports for stability |
| Reconnect the keyboard | Reset connection when issues persist |
| Check cables | Make sure secure, undamaged connection |
| Verify wireless connections | Confirm batteries and pairing |
Following these steps swiftly restores RGB lighting.
How to Update Firmware and Drivers for Your RGB Keyboard
Once you’ve confirmed your keyboard is properly connected and powered, updating its firmware and drivers can resolve lingering lighting issues or compatibility problems. Follow these steps:
Ensure your keyboard is connected and powered before updating firmware and drivers to fix lighting and compatibility issues.
- Enter bootloader mode by holding Fn + Esc or pressing the reset button.
- Download the latest firmware update and drivers directly from the manufacturer’s website to guarantee compatibility and bug fixes.
- Use tools like QMK Toolbox or Vial for flashing the firmware, and check the Windows Device Manager for driver updates.
- After updating, reset your keyboard by holding Fn + Esc for 5 seconds, then reconfigure your RGB profiles to confirm the fix.
- Consult QMK Firmware Guides for detailed programming and troubleshooting tips specific to custom RGB lighting configurations.
Always back up your profiles beforehand to prevent loss during updates, and make certain your keyboard has a stable power connection.
Repair Hardware Failures: Reflow Solder and Replace RGB Modules
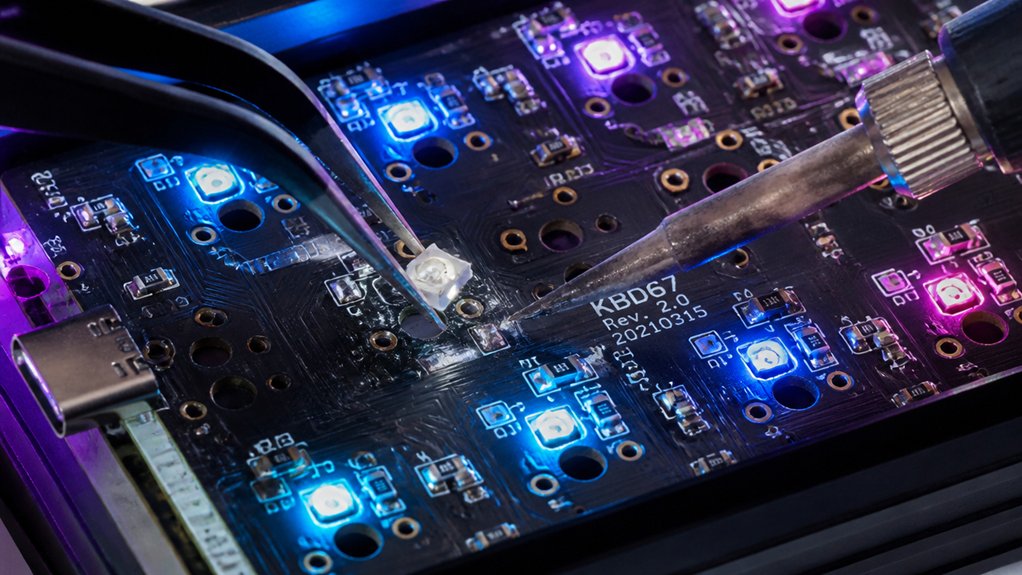
You can start by checking for loose solder joints, which often cause RGB LEDs to malfunction, especially when keys flicker or stay stuck.
If you find cracked or damaged solder points, performing a reflow at around 315°F (160°C) can restore proper connections.
When soldering isn’t enough, replacing faulty RGB modules requires careful desoldering and installing new LEDs with correct polarity to guarantee reliable lighting.
Additionally, selecting the appropriate solder wire with the right alloy composition and flux content, as described in pro-grade PCB work, ensures strong, durable joints and long-lasting repairs.
Identifying Loose Solder Joints
Identifying loose solder joints is a critical step in troubleshooting RGB lighting issues on mechanical keyboard PCBs, as these often cause flickering lights, incorrect colors, or LEDs stuck on a single hue.
To locate these issues:
- Visually inspect the PCB under magnification for cracked or cold solder joints around the RGB LEDs.
- Look for inconsistent or dull solder points that may signify a loose connection.
- Check for signs of PCB flex or thermal stress causing microfractures in solder around the LEDs.
- Gently wiggle suspect LEDs to see if flickering or disconnection occurs.
- Understanding proper soldering techniques, such as reflow solder, can help effectively repair these joints and restore lighting functionality.
Performing Solder Reflow Process
When suspecting that loose solder joints are causing RGB lighting issues on your keyboard, performing a solder reflow can often restore proper connectivity. For RGB keyboards, cold or cracked solder joints can interrupt LED illumination, mimicking software issues. Disassemble the keyboard to access the PCB carefully. Use a temperature-controlled soldering iron set around 315°F (160°C) to heat the affected joints gently. This process melts and reflows existing solder, re-establishing a solid electrical connection. Gently tap the keyboard to help identify faulty LED connections if needed. Be cautious, as incorrect reflow can damage delicate components or void your warranty. Ensuring proper temperature regulation during the process prevents overheating the components and prolongs the lifespan of your repair.
Replacing Faulty RGB Modules
Faulty RGB modules often cause stuck or dead colors on a mechanical keyboard, usually resulting from cracked or broken solder joints on the PCB due to the brittleness of lead-free solder. To fix this, you need to carefully disassemble the keyboard, desolder the defective RGB LED module at about 160°C with a temperature-controlled soldering iron, and replace it with a new one.
A good understanding of solder joint reliability can help prevent future issues and ensure durable repairs. Follow these steps for a successful fix:
- Remove the faulty RGB module carefully, noting correct LED orientation.
- Use flux and rosin-core solder to reflow joints, strengthening connections.
- Solder the new RGB module securely, ensuring proper alignment.
- Test the LEDs in single-color mode before reassembling to confirm the fix.
Tips to Keep Your RGB Lighting Reliable Long-Term
To keep your RGB lighting reliable over time, proactive maintenance is essential. Regularly clean your keyboard with compressed air and a damp microfiber cloth every 3 to 6 months to remove dust that can cause issues with LED brightness or responsiveness.
Avoid exposing your keyboard to direct sunlight or extreme temperatures, as these can damage delicate RGB components and affect lighting performance.
Keep your keyboard drivers and RGB control software up to date to prevent compatibility issues and bugs. Periodically inspect and reseat connections, steering clear of USB hubs and using direct USB ports for stable power and signal delivery to the RGB modules.
Additionally, use high-quality lubricants and carefully maintain switch components to prevent mechanical stress that could impact the RGB LED solder joints and overall lighting reliability.
Regularly checking the shine-through legends and ensuring they are free of dirt or oils can also help maintain the vividness of your RGB build’s lighting effects.
When Should You Replace Your RGB Keyboard?
Ever wonder if it’s time to upgrade your RGB keyboard? If you’re facing persistent common issues with the lighting, it might be a sign. Consider replacing your keyboard if:
Persistent lighting issues may mean it’s time to upgrade your RGB keyboard for better performance and reliability.
- Multiple keys have dead or discolored LEDs that don’t improve after attempts like reflowing solder.
- Hardware faults cause stuck lighting on single colors, especially with confirmed RGB module or PCB damage.
- Firmware updates, driver troubleshooting, or power adjustments don’t fix lighting problems, or if the issues keep recurring.
- Your warranty is expired, and frequent LED or PCB failures happen shortly after repair attempts.
If these issues stop your RGB from functioning smoothly, it’s usually more practical to invest in a new RGB keyboard from trusted brands to guarantee better reliability and user experience.
Frequently Asked Questions
How to Fix RGB on a Mechanical Keyboard?
You fix the RGB on your mechanical keyboard by toggling settings with Fn keys, updating software and drivers, checking connections, testing on different computers, and inspecting hardware if LEDs stay stuck or flicker.
Why Are the RGB Lights on My Keyboard Not Working?
Your RGB lights might not work because of loose cables, faulty hardware, outdated drivers, or software glitches. Check your USB connection, press relevant Fn keys, update drivers, and confirm BIOS settings aren’t interfering to restore your keyboard’s lighting.
How to Reset RGB Lights on Keyboard?
To reset your keyboard’s RGB lights, hold down the Fn and Esc keys simultaneously for about 5 seconds until the LEDs flash. Then, wait 30 seconds before reconfiguring or updating your lighting settings through the manufacturer’s software.
How to Fix Broken RGB?
You fix broken RGB by disassembling the keyboard, checking solder joints and PCB traces with a multimeter, then reflowing solder or replacing damaged LEDs. If unsure, consider professional repair; improper soldering can cause more damage.
In Summary
By troubleshooting software, hardware, connections, and updating firmware, you can often fix RGB lighting issues on your mechanical keyboard. If problems persist, consider repairing hardware components or replacing faulty modules. Regular maintenance helps keep your lighting reliable over time. Ultimately, if your keyboard frequently malfunctions despite your efforts, it might be time to replace it. Staying proactive with these steps guarantees your RGB experience remains vibrant and frustration-free.



