
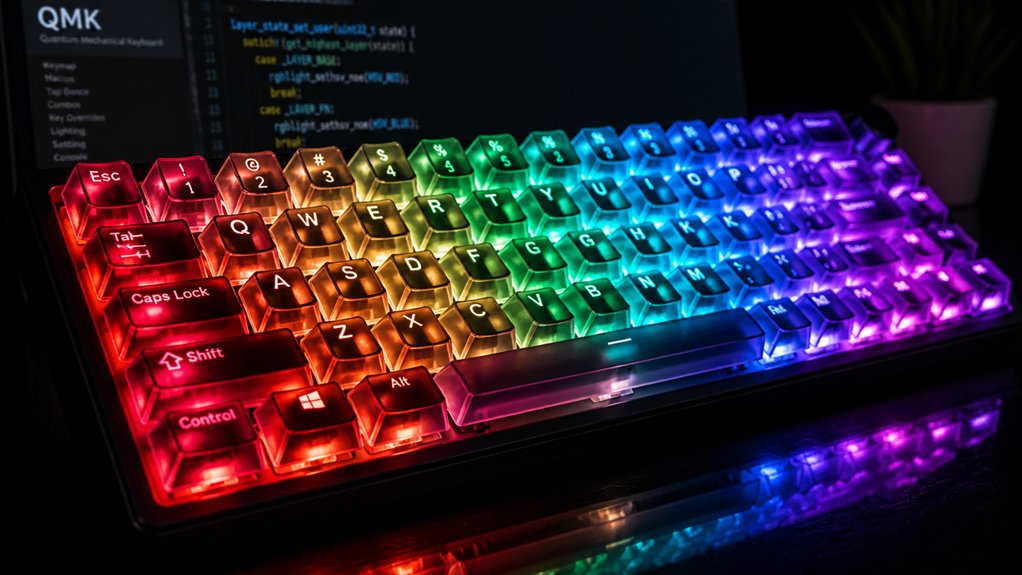
To master RGB lighting customization with QMK firmware, start by enabling `RGBLIGHT_ENABLE` and configuring your pin settings. Experiment with layers, overlays, and custom effects by defining `RGBLIGHT_LAYERS` and creating animations with the QMK API. Adjust brightness, enable blinking, and sync split keyboards for a seamless look. Keep troubleshooting common issues like flickering or wiring faults. If you keep exploring, you’ll reveal even more advanced lighting techniques for a truly personalized keyboard.
Common Issues and Quick Fixes for RGB Lighting in QMK
When RGB lighting isn’t working correctly in QMK, the issue often stems from misconfigurations or wiring problems. First, verify that `RGBLIGHT_ENABLE = yes` in your `rules.mk` and check that the `WS2812_DI_PIN` matches your hardware wiring.
Ensure `RGBLIGHT_ENABLE` is enabled and compare `WS2812_DI_PIN` with your wiring to fix RGB lighting issues.
If you use a split keyboard, enable `RGBLED_SPLIT` and `SPLIT_LAYER_STATE_ENABLE` to keep both halves synchronized. Limiting brightness with `#define RGBLIGHT_LIMIT_VAL 120` can prevent flickering and power issues.
If your LEDs aren’t lighting properly, try resetting EEPROM or use `rgblight_sethsv_at()` to adjust hue, saturation, and value directly. Additionally, ensuring your power supply matches the waterproofing ratings of your RGB PCBs can help maintain consistent lighting performance and prevent issues caused by inadequate power sources.
To update firmware, use `qmk flash` or QMK Toolbox, ensuring you’d flashed both halves and checked all wiring.
Proper setup resolves most lighting glitches quickly.
What You Need: Hardware and Software Setup for Custom RGB Layers
To set up custom RGB layers in your keyboard firmware, you’ll need compatible addressable RGB LEDs like WS2812, SK6812, or APA102 connected to your PCB or keyboard with available data and (if applicable) clock GPIO pins. Proper power and ground connections are essential to guarantee stable lighting. Additionally, selecting a strip with individually addressable LEDs allows for more detailed and customizable lighting effects. Using QMK firmware, you’ll define `RGBLIGHT_LAYERS` in your config, and possibly increase layer support with `RGBLIGHT_MAX_LAYERS`. For split keyboards, flashing both halves and enabling `SPLIT_LAYER_STATE_ENABLE` keeps RGB Matrix effects synchronized. Managing brightness with `RGBLIGHT_LIMIT_VAL` (max 120) helps prevent power overloads. Additionally, making sure your software environment, including QMK MSYS and Python 3.7+, is set up is key to successfully customizing and flashing your RGB lighting layers.
Enabling and Customizing RGB Layers in Your Keyboard Firmware
Enabling RGB layers in your QMK firmware involves editing your `config.h` and `keymap.c` files to define and organize different lighting effects. Add `#define RGBLIGHT_LAYERS` to enable layer support, and increase layers with `#define RGBLIGHT_MAX_LAYERS 32`. Define lighting segments for each layer using `rgblight_segment_t` arrays, then aggregate them in `RGBLIGHT_LAYERS_LIST` for layered effects. You can toggle layers with `rgblight_set_layer_state(layer_number, is_on)`, useful for active layers, caps lock, or reactive effects. For split keyboards, enable `#define SPLIT_LAYER_STATE_ENABLE` to synchronize RGB states across halves, especially when customizing custom RGB effects or adjusting for the number of LEDs connected. Additionally, understanding layer management and how it interacts with lighting in the firmware helps you create dynamic and responsive lighting setups.
Creating and Linking Custom RGB Effects and Animations
Creating and linking custom RGB effects in QMK involves writing specialized animation code that integrates seamlessly into the firmware’s update cycle. To activate custom effects, set `RGB_MATRIX_CUSTOM_USER = yes` in `rules.mk` and add your code to `rgb_matrix_user.inc`.
For keyboard-specific animations, enable `RGB_MATRIX_CUSTOM_KB = yes` and use `rgb_matrix_kb.inc`. You’ll use the QMK RGB Matrix API to control individual LEDs, based on LED indices and your layer state, enabling dynamic RGB control and animated effects.
Register your custom effects by defining functions that generate each animation frame, which are called during the RGB matrix update cycle. This allows you to add RGB effects tailored to your mechanical keyboard, LED strip, or other RGB setups, with precise control over data pin and LED positioning. Additionally, understanding hot-swap socket applications can help you customize or upgrade your RGB configurations more easily.
Managing Overlays, Blinking, and Brightness in RGB Layers
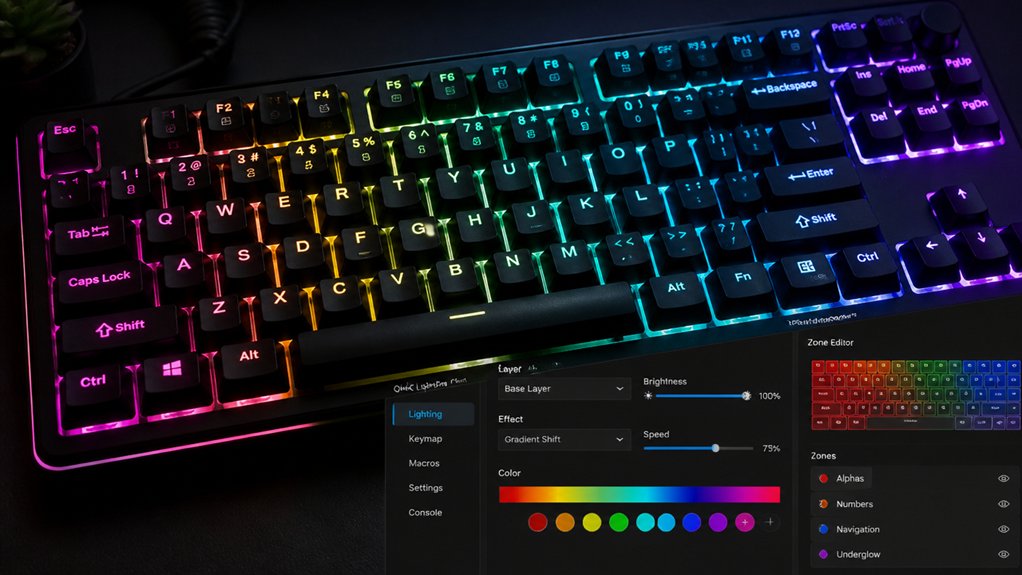
Managing overlays, blinking, and brightness in RGB layers allows you to enhance visual feedback and maintain consistent lighting states across your keyboard. To create effects like blinking, define `RGBLIGHT_LAYER_BLINK` in your `config.h`, making layers blink briefly as feedback for toggling actions.
Use `rgblight_blink_layer_repeat(layer)` to add repeated blink effects across multiple RGB layers for more dynamic responses. To control blinking, call `rgblight_unblink_layer(layer)` or `rgblight_unblink_all_but_layer(layer)` to stop specific layer effects.
With `RGBLIGHT_LAYERS_OVERRIDE_RGB_OFF`, overlays such as underglow remain visible even when main RGB is off. Preserving the brightness across layers is easy by defining `RGBLIGHT_LAYERS_RETAIN_VAL`, ensuring your preferred brightness level stays consistent during layer switches. Additionally, understanding the durability of switches can help sustain consistent lighting effects over prolonged use.
Troubleshooting Tips and Optimization for Your RGB Lighting Setup
When your RGB lights aren’t responding or flicker, the problem often involves misconfigured settings or wiring issues. First, confirm `RGBLIGHT_ENABLE = yes` is set in your `rules.mk`.
For split keyboards will require, verify `RGBLED_SPLIT` and `#define SPLIT_LAYER_STATE_ENABLE` are configured correctly to synchronize lighting across both halves. Define the data pin and clock pin accurately, like `WS2812_DI_PIN`, `APA102_DI_PIN`, or `APA102_CI_PIN`, along with the LED count in `config.h`.
To prevent power issues, retain brightness by limiting values with `#define RGBLIGHT_LIMIT_VAL 120`. Reset the EEPROM if needed, or use functions like `rgblight_setrgb_at()` to fix inconsistent colors. Disable unused animations that may strain firmware, and confirm stable power and wiring for reliable lighting behavior. Hot-swap sockets can also help in troubleshooting physical connection issues during assembly.
Frequently Asked Questions
How Do I Synchronize RGB Effects Across Multiple Keyboards?
You can synchronize RGB effects across multiple keyboards by configuring shared keymaps and effects in QMK firmware, then flashing the same firmware onto all devices. Use a centralized configuration file for consistent lighting patterns and effects.
Can I Automate RGB Effects Based on System Events?
Yes, you can automate RGB effects based on system events by programming QMK firmware to trigger specific lighting patterns. You’ll need to create macros or use custom code that responds dynamically to system notifications or states.
What Are the Best Practices for Conserving Power With RGB Lighting?
You should lower the brightness, enable sleep modes, and disable RGB effects when not in use. Additionally, choose energy-efficient lighting modes, limit animations, and turn off RGB lighting during idle periods to conserve power effectively.
How Do I Create Custom RGB Effects Without Modifying Core Firmware?
You can create custom RGB effects without modifying core firmware by using QMK’s feature called ‘RGB Matrix’ or ‘RGB-Light’ configurations. Customize lighting patterns in your keymap’s config files, then compile and flash your firmware for personalized effects.
Is It Possible to Share RGB Configurations Between Different Keyboard Models?
Yes, you can share RGB configurations between different keyboard models using QMK’s keymap sharing features, like config files and macros. Just make sure the hardware supports similar RGB protocols, and use compatible firmware versions for seamless transfer.
In Summary
With the right hardware, software, and a bit of customization, you can master your RGB lighting in QMK firmware. Experiment with layers, effects, and animations to create a setup that truly reflects your style. Just remember to troubleshoot common issues and optimize your configuration for smooth performance. Once you get the hang of it, your keyboard will not only look fantastic but also enhance your typing experience. Keep exploring, and enjoy the vibrant possibilities!



