
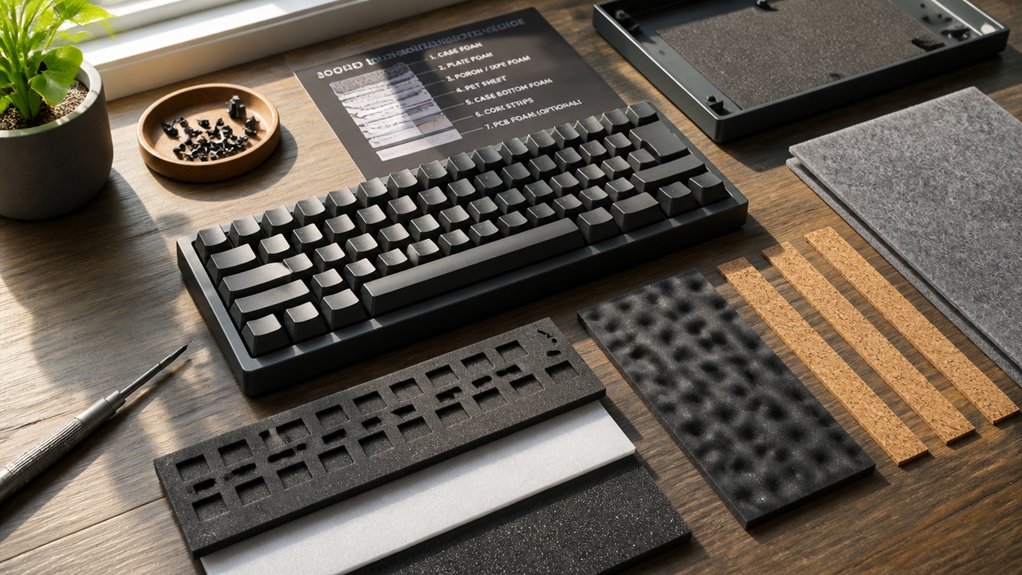
To improve your keyboard’s sound dampening, start by identifying noisy keys and potential issues like rattling stabilizers or case reverberation. Choose soft, non-conductive foam like PE or EVA that fits snugly without causing misalignment. Install foam carefully between the PCB and case, trimming for a perfect fit. Lubricate stabilizers and switches to reduce rattles, and fine-tune screw tension for ideal sound and feel. For more detailed tips, keep exploring; you’ll find even better ways to perfect your setup.
How to Assess Your Keyboard’s Noise and Identify Issues

How can you pinpoint the specific sources of noise from your keyboard? Start by typing normally to identify loud noises, rattles from stabilizers, and sharp bottoming-out sounds, which signal areas needing sound dampening or lubrication.
Identify keyboard noise sources by typing normally, listening for rattles, bottoming-out sounds, and areas needing dampening or lubrication.
Listen closely to see if the noise stems from switch type—clicky, tactile, or linear—or if case reverberation and hollow sounds contribute to overall keyboard noise.
Check stabilizers on larger keys for wobble or rattles; lubrication or band-aid mods can reduce these.
Inspect keycaps for material and thickness, as thin ABS amplifies sound more than thicker PBT.
Record your typing sounds or compare your keyboard to a reference to detect which key presses produce unwanted noise or lack a smooth, quiet typing feel. This helps identify target areas for effective sound dampening.
Additionally, analyzing the sound profile of your keyboard can help you determine if foam dampeners chosen are appropriate for deeper sound absorption.
How to Choose the Best Materials for Sound Dampening
Selecting the right materials for sound dampening is essential to achieving a quieter keyboard without compromising performance or fit. Start with non-conductive foam, like 0.5mm PE or anti-static IXPE, for safe Keyboard Foam Installation that dampens the sound without risking damage to your PCB. Thicker foams over 1.5mm can cause case misalignment or switch fitting issues, so choose thinner sheets for easier installation and proper fit. EVA and Poron foams offer deeper, muted tones by reducing hollowness and metallic echoes, ideal for muffling sounds from mechanical switches. Soft silicone or cotton layers between the PCB and plate create that creamy “thock” sound, while silicone or neoprene pads placed in strategic spots dampen vibrations and rattling noise inside the keyboard case. Additionally, considering the foam density and acoustic performance can help optimize vibration absorption and durability for a more refined typing experience.
How to Install Foam and Dampening Components Effectively

Begin by carefully removing all keycaps, switches, and case screws to create a clear workspace for foam installation. Measure and cut foam sheets, such as 0.5mm PE or IXPE, to match your PCB shape, ensuring holes for switch pins and LEDs. Place the foam between the PCB and switches to enhance dampening, producing a creamy, poppy sound while reducing switch noise. Use a keycap puller to assist with removal. Avoid using foam thicker than 1.0mm, as it can cause case misalignment or key registration issues. Trim the foam as needed for a snug fit without compression. After installing, test all keys for proper function and confirm LEDs are unobstructed. Reassemble the case with moderate case screws to prevent excessive foam compression. Be mindful of foam density and thickness, as these affect sound dampening and device integrity.
How to Fine-Tune Your Mods for the Perfect Balance of Sound and Feel
Achieving the perfect balance between sound and feel requires careful fine-tuning of your mods alongside foam installation. Start by testing different foam placements—under the PCB, between the plate and PCB, or inside the case—to dampen sound and reduce vibrations.
Use a foam sheet or install o-rings to soften keystrokes without muffling them. Lubricate stabilizers and switches to minimize rattling and guarantee smooth operation. Adjust case screws moderately to avoid over-compressing the foam, which can cause misalignment.
Consider adding plate foam or gasket mounts for better sound absorption. Conduct sound tests after each adjustment to evaluate acoustics and key response. Fine-tuning switch housing and optimizing foam placement allows you to strike the ideal balance between desirable keyboard acoustics and satisfying feel.
Additionally, exploring stabilizer tuning techniques, such as applying lubricant or using stabilizer kits with higher quality materials, can significantly improve the overall sound and stability of your keyboard.
How to Troubleshoot and Maintain Your Sound Dampening Setup

Maintaining your sound dampening setup is essential for consistent performance, especially as foam material degrades over time.
To troubleshoot, start by checking if pressing a key results in missed registers — this might mean foam is blocking switch sockets or pins are bent.
Second, inspect the foam for excessive compression or wear, and replace it if needed to preserve noise dampening.
Third, consider testing the foam’s weather resistance and durability, as exposure to humidity or heat can affect its longevity and effectiveness.
Finally, guarantee LED holes are cut precisely; poorly cut holes can dim RGB lighting.
Key steps include:
- Check for foam blocking switch sockets or bent pins after installing.
- Regularly inspect for compression wear and replace foam with 0.5mm thickness to avoid case misalignment.
- Verify LED holes are cut accurately to maintain lighting.
Properly maintaining these areas will keep your keyboard quiet, responsive, and visually vibrant.
Frequently Asked Questions
How to Sound Dampen a Keyboard?
You can dampen your keyboard’s sound by adding foam between the PCB and switches, using switch pads, lubricating stabilizers, and inserting O-rings. Also, place case foam inside the case to absorb vibrations and reduce reverberations.
Do Gamers Prefer Membrane or Mechanical?
You prefer mechanical keyboards if you value precision, tactile feedback, and faster responses for gaming. They offer durability and customization, though they’re louder. If quietness and budget are priorities, membrane keyboards are more suitable, but they lack mechanical responsiveness.
How to Install Keyboard Dampeners?
To install keyboard dampeners, start by removing keycaps and switches carefully, trace and cut foam for precise fit, position foam between PCB and switches, and reassemble, testing all keys for proper function while ensuring components sit correctly.
Do Keyboard Sound Dampeners Really Work?
Yes, keyboard sound dampeners really work to reduce noise by cushioning impacts and absorbing vibrations. When combined with lubricated stabilizers and switches, they refine your typing sound, making it softer and more pleasant without eliminating noise entirely.



