
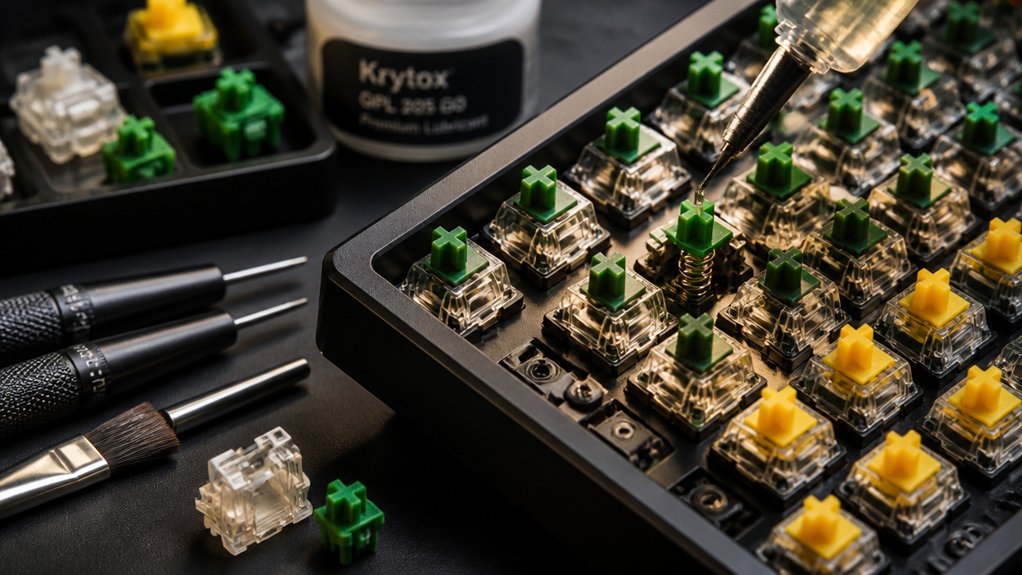
To lubricate your keyboard switches, start by removing keycaps and opening each switch with a switch opener. Carefully inspect the parts for damage or dirt, then apply a thin layer of lubricant like Krytox or Tribosys to the stem sides, rails, and springs. Reassemble the switches, ensuring compatibility, and test them for smoothness and sound. If you keep going, you’ll discover detailed tips to perfect your setup and maintain your switches effectively.
Why and When to Lube Your Keyboard Switches
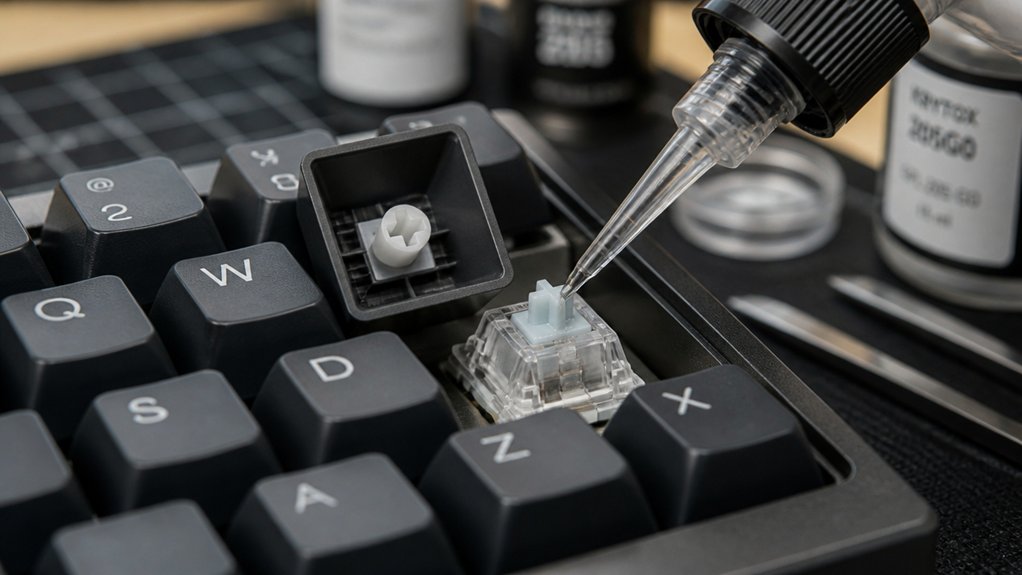
Have you ever wondered why some mechanical keyboards feel smoother and quieter than others? The secret often lies in lubricating keyboard switches. Switch lube reduces friction, making keystrokes smoother and more responsive.
It also greatly improves the sound profile by dampening scratchiness, spring ping, and switch rattle, resulting in quieter operation. Most switches from manufacturers aren’t pre-lubed, so lubing your switches is an essential step for enhancing performance.
Using the right lubricant and proper application tools can significantly influence the effectiveness and longevity of your upgrades. If you’re seeking a premium typing experience, lubing is highly recommended. However, it’s optional for casual users satisfied with the stock feel. Be cautious with clicky switches—using too much or the wrong type of lubricant can dampen tactile feedback and sound undesirably. Conduct your lubing at the right time for best results.
Gather the Right Tools and Materials for Switch Lubrication
Gathering the right tools and materials is essential for a successful switch lubrication process. Start with a switch opener to easily access the internal components without damaging the housing. A switch puller is also helpful for removing switches from your keyboard safely. You’ll need a keycap puller to detach keycaps first, providing space and preventing damage. Additionally, utilizing a high-quality switch opener designed with durable materials ensures longevity and precise opening without risking switch damage. Use a fine lubricant brush (size 0 or 00) to apply lubricants precisely on stems and springs. For lubricants, Krytox 205g0 is excellent for linear switches, guaranteeing smoothness, while Tribosys 3203 works well for tactile switches.
Keep switch parts organized in containers or trays, and work in a clean, well-lit environment. Using the right tools and proper lubricants guarantees a smooth, effective lubrication process.
Prepare Your Workspace and Keyboard for Switch Lube
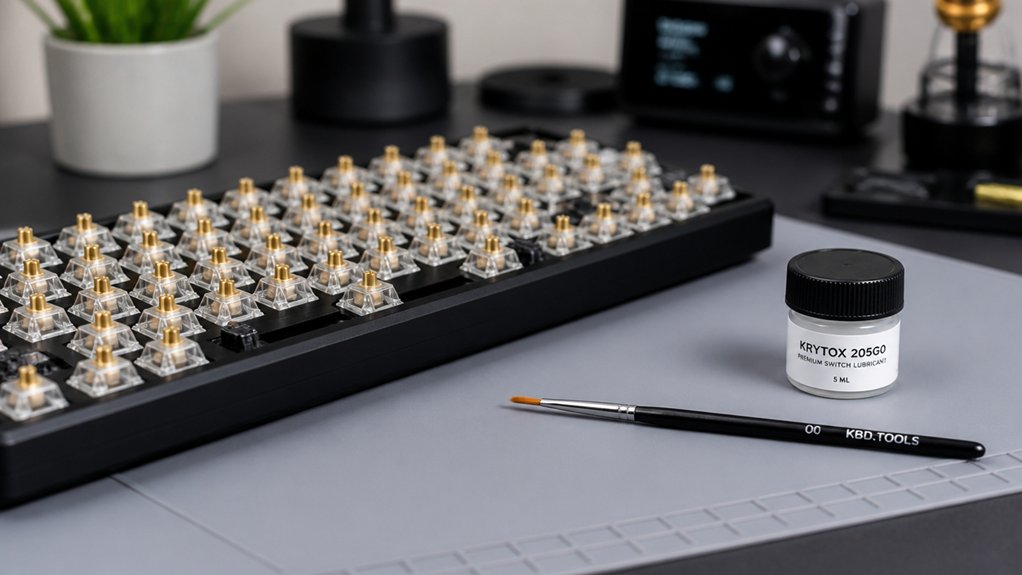
Before you begin lubricating your switches, it’s important to prepare your workspace and keyboard to guarantee a smooth process. Choose a clean, well-lit area with enough space for organizing keycaps, switch parts, and tools. Disconnect your keyboard and switch off all power to stay safe. Use a wire keycap puller to carefully remove your keycaps in an organized way, possibly photographing the layout for easy reassembly. If your keyboard is hot-swappable, gently remove switches with a switch puller; for soldered boards, plan for desoldering tools. Use small containers or trays to separate switch components immediately after disassembly. Ensuring you have the right tools, such as precise lubricants, can make the process much more efficient and effective.
Safely Disassemble and Inspect Your Switches
Before disassembling, unplug your keyboard and carefully remove the keycaps with a wire keycap puller, keeping them organized for reassembly.
Use a switch puller to gently extract each switch, being cautious not to damage the sockets or solder joints.
Open the switches with a switch opener, then inspect all parts closely for damage, dirt, or residue before cleaning and lubricating.
Pay particular attention to the pre-lubrication quality of the switches, ensuring that the lubricant is evenly applied to reduce friction and wobbling during operation.
Removing Keycaps Carefully
Carefully removing your keycaps is an essential step to guarantee safe disassembly and inspection of your switches. Use a wire keycap puller to grasp each keycap firmly from the sides and gently pull upward. This method prevents bending or damaging the stems or keycaps. High-quality tools with durable construction ensure longevity and reduce the risk of damaging your keyboard components. Remove all keycaps systematically, keeping them organized by their original keyboard position for easy reassembly. Photograph the keyboard layout before removing the keycaps so you have a reference for correct placement during reinstallation. Handle the keycaps and switch components over a clean, soft surface to avoid scratches or losing parts during disassembly. Once the keycaps are removed, visually inspect the switch tops for dust, debris, or visible damage before proceeding with further steps.
Inspecting Switch Components Visually
Have you ever wondered if your switch components are still in good condition? To find out, carefully disassemble each switch using a switch opener or small flathead screwdriver.
Once open, inspect the stem for wear or defects, making sure the legs and slider rails are intact and free of debris, which guarantees smooth keystroke travel. Next, examine the contact leaves closely; look for bends or oxidation that could hinder electrical signal registration.
Check the spring for consistent tension, and verify there’s no rust or deformities that could affect actuation force. Keep each component organized in separate containers to prevent loss.
Visually inspecting your switches helps identify issues early and guarantees your keyboard functions flawlessly after lubrication. Additionally, inspecting the materials used, such as high-quality steel and durable plastics, ensures longevity and reliable performance over time.
How to Lubricate Switch Parts Step-by-Step
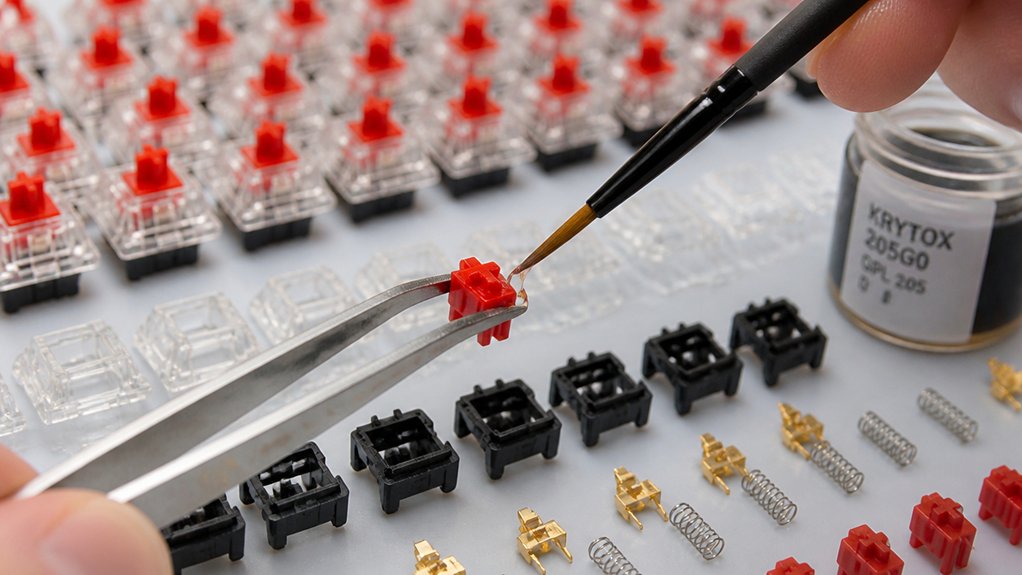
To effectively lubricate your keyboard switches, start by disassembling them with a switch opener, which helps you separate the top housing, stem, spring, and bottom housing into organized containers. For lubing mechanical keyboard switches, apply a thin, even coat of lubricant—like Krytox 205g0 for linear switches or Tribosys 3203 for tactile ones—along the stem’s sides, rails, and center pole. Be careful to avoid the tactile legs to keep feedback intact. Lightly lubricate the bottom housing rails and corners to reduce friction and scratchiness, but don’t lube the crosspoint contact leaves to prevent misfires. For springs, brush or shake them inside a sealed bag with lubricant to mute pinging sounds and guarantee smooth return force. Ensure that your lubrication process covers all contact points for optimal performance. Reassemble carefully, making sure all parts remain undamaged.
Reassemble Your Switches and Check Compatibility
Once you’ve finished lubing your switches, reassemble them by placing the bottom housing first, then inserting the spring, and finally the stem, guaranteeing the stem’s legs are aligned correctly to avoid bending the contact leaves.
Carefully reassemble the switch, pressing the top housing firmly until it clicks into place. Make sure the stem moves smoothly within the housing without resistance or snagging.
During reassembly, avoid touching or lubing the crosspoint contact (metal leaf), as this can cause missed keystrokes.
To check compatibility, verify that the pin count (3-pin or 5-pin) matches your keyboard’s PCB hot-swap sockets for proper fit and function.
After reassembling, use key testing software to confirm each switch operates correctly before final installation.
Test Your Keyboard After Lubing for Smooth and Quiet Typing
After reassembling and reinstalling your lubed switches, it’s essential to thoroughly test each key to guarantee smooth and reliable performance. To test switches, use dedicated key tester software and press each key multiple times.
Listen for a quieter, muted “thock” sound, which indicates reduced friction and effective lubrication without mushiness. Pay attention to any sluggish or unresponsive keys, as these may signal excess lubricant or improper application on contact leaves, needing inspection and cleanup.
Feel the tactile feedback; proper lubed switches should preserve or enhance smooth tactile bumps without dulling them. Conduct repeated keypress cycles to evenly distribute lubricant internally and verify consistent, smooth feel across your keyboard. This process also helps in detecting potential material compatibility issues or uneven lubrication that could affect performance.
This guarantees your lubed switches deliver peak quiet, smooth, and responsive performance.
Troubleshoot Common Lubbing Issues and Maintain Your Switches
When troubleshooting lubing issues, start by checking for bent switch pins and straighten them gently with tweezers or your fingernails. A careful inspection of the actuation force can help determine if the switch requires more lubrication or needs to be cleaned. If you experience sluggish keys or chattering, remove excess lubricant carefully and clean debris from socket areas with compressed air. Make sure the crosspoint contact remains dry, and retest your switches to confirm proper function.
Bent Pins Correction
Bent pins on your mechanical switches can lead to connection issues, causing keys to not register or respond inconsistently. If you notice problems, carefully examine the pins under magnification during switch disassembly.
Straighten any bent pins with precision tweezers or a fingernail before reinserting the switch. This prevents further damage and guarantees proper contact in hot-swap sockets. When installing, avoid applying excessive force, and double-check that your switch type (3-pin or 5-pin) matches your keyboard’s socket.
Regular maintenance, like cleaning sockets with compressed air, can also help prevent pin misalignment. Correcting bent pins early saves you from potential troubleshooting headaches and prolongs your switches’ lifespan, ensuring reliable key registration and smooth typing experience.
Excess Lubricant Removal
Excess lubricant can greatly impact switch performance by making keys feel sluggish or unresponsive. If you notice mushy or inconsistent keystrokes, excess lube might be the culprit.
To fix this, use a lightly dampened microfiber cloth or an alcohol swab to gently clean around the stem legs and contact areas. Be careful not to wet the internal contacts to avoid damage. Focus on wiping away excess lube from the stem and housing, ensuring no surplus remains that can cause sticky or sluggish keys. Additionally, selecting a high-quality foam dampener can help reduce vibration and resonance, contributing to smoother keystrokes and quieter operation.
After cleaning, press each key several times to help distribute the lubricant evenly. Regular maintenance like this prevents buildup and maintains switch responsiveness.
Switch and Socket Checks
To guarantee your switches function properly, it’s vital to inspect their pins before installation. When switches are removed, check for bent or damaged pins, as these can prevent keys from registering properly. Use compressed air to clean hot-swap sockets and switch contacts, removing debris or dust that hinder proper seating and electrical contact.
Always inspect switch pins for straightness, as bent pins may cause malfunctions. Avoid applying lubricant on the crosspoint contact leaves, which can lead to inconsistent key actuation. If keys feel sluggish after lubing, check for excess lubricant on stem legs or contact areas and carefully remove the surplus.
Regularly maintain and clean stabilizers and PCB sockets during switch swaps to minimize key chatter and guarantee smooth, reliable switch performance.
Frequently Asked Questions
Can I Lubricate Any Type of Keyboard Switch?
You can generally lubricate most mechanical keyboard switches, but some may not be suitable due to their construction or material. Always check the switch type first, and use compatible lubricants to avoid damaging delicate parts.
How Long Does Lubrication Typically Last?
Lubrication usually lasts between six months to a year, depending on usage, type of lubricant, and environment. Regularly check your switches’ feel and sound; re-lubricate if they become sticky, noisy, or feel less smooth over time.
What Are the Risks of Over-Lubricating Switches?
Over-lubricating switches can cause them to become sluggish, sticky, or unresponsive. It may lead to residue buildup, damaging the switch components, reducing typing quality, and requiring more extensive cleaning or replacement. Use lubricant sparingly to avoid such issues.
Can I Use Household Oils or Greases for Keyboard Switches?
You shouldn’t use household oils or greases for keyboard switches because they’re not designed for this purpose. They can damage the switches, gum up the parts, and cause long-term issues, so stick to products meant for keyboard lubrication.
Is Special Equipment Needed for Cleaning Switch Parts?
Yes, you need special tools like tweezers, a switch opener, and brushes for cleaning switch parts thoroughly. These tools help you handle tiny components carefully, ensuring proper cleaning without damaging delicate switch parts or affecting performance.
In Summary
Lubricating your keyboard switches can greatly improve your typing experience by making it smoother and quieter. With the right tools and careful steps, you can DIY this upgrade confidently. Remember to disassemble gently, apply lubricant precisely, and test thoroughly. Maintaining your switches regularly will keep your keyboard performing at its best. Take your time, be patient, and enjoy the enhanced feel of your personalized setup. Happy lubing!



